Summer Dye Experiments: Sequoia, Madder, Marigold & Cutch
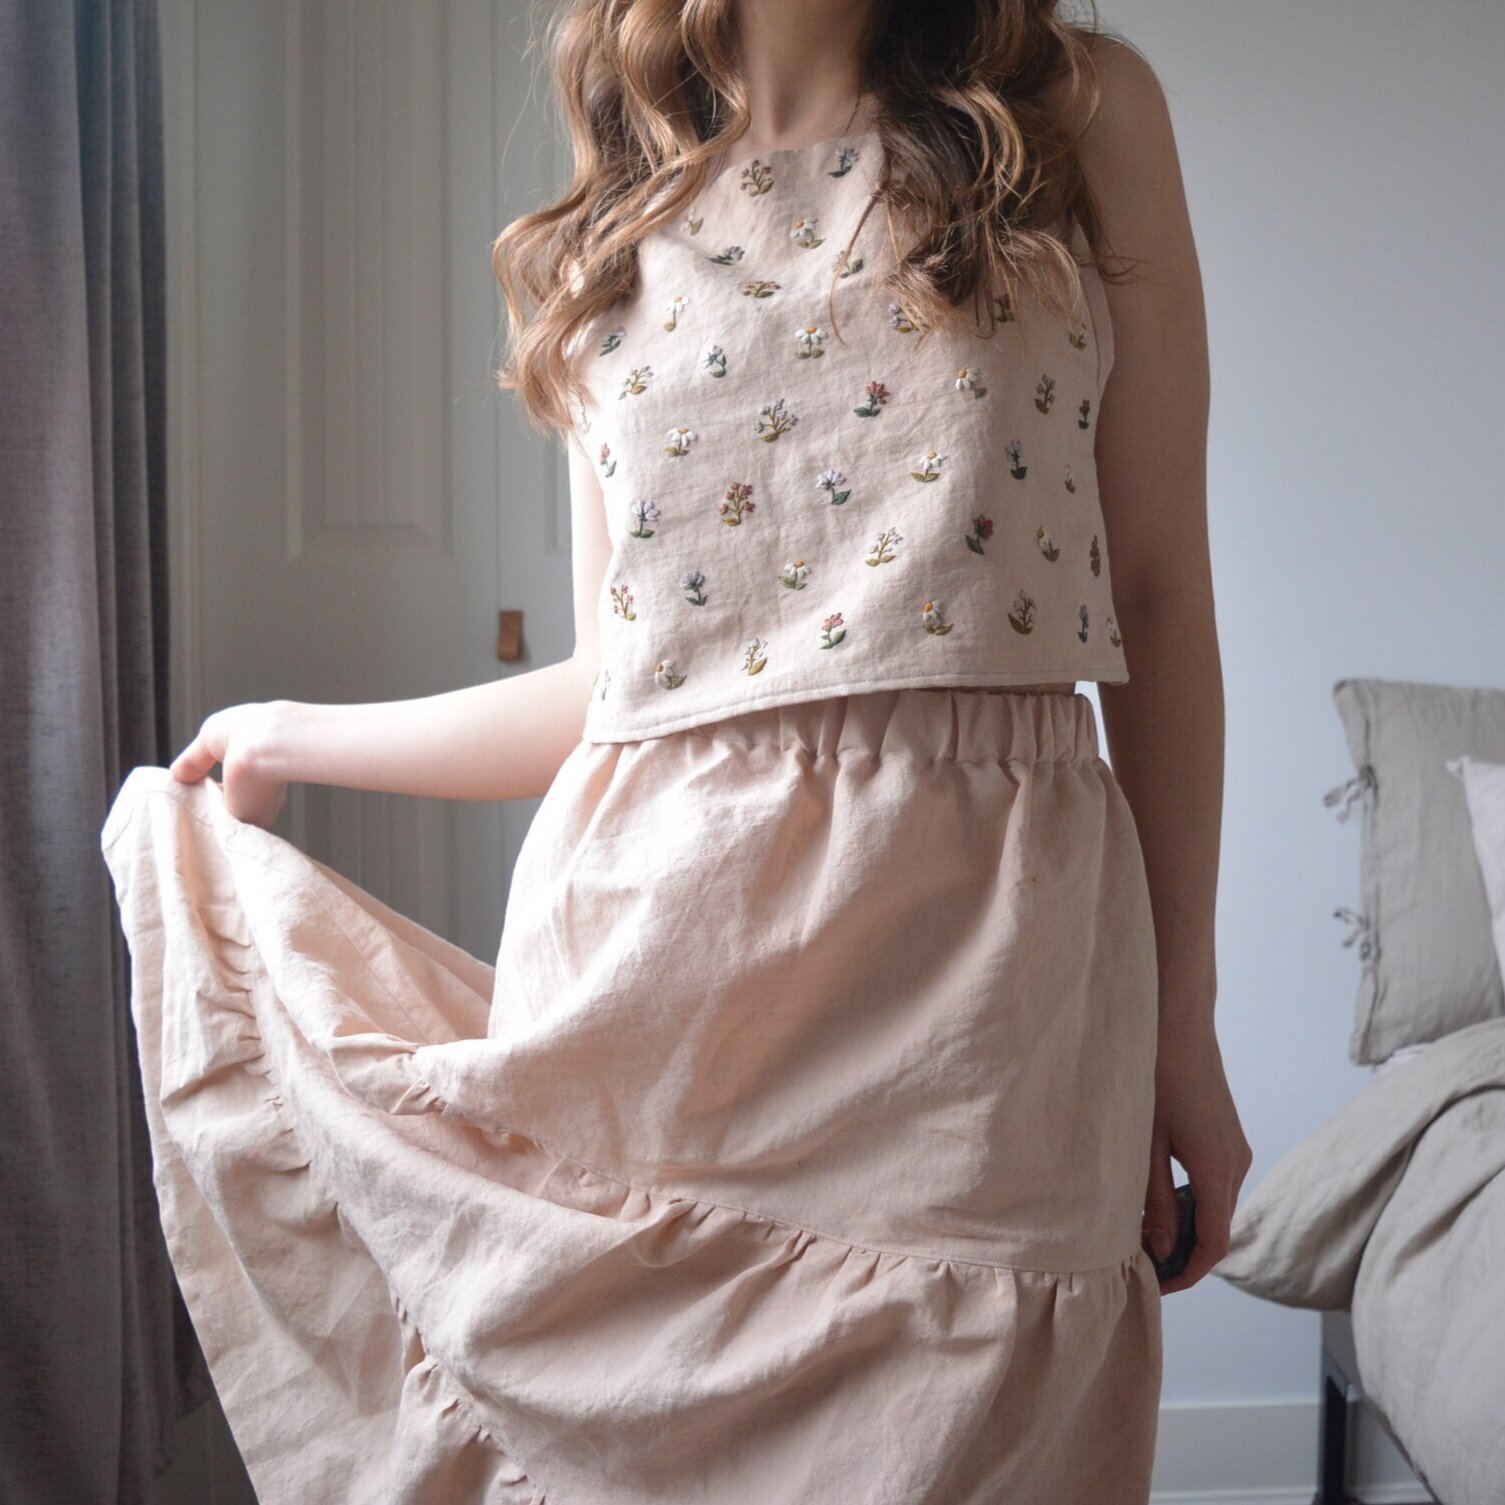
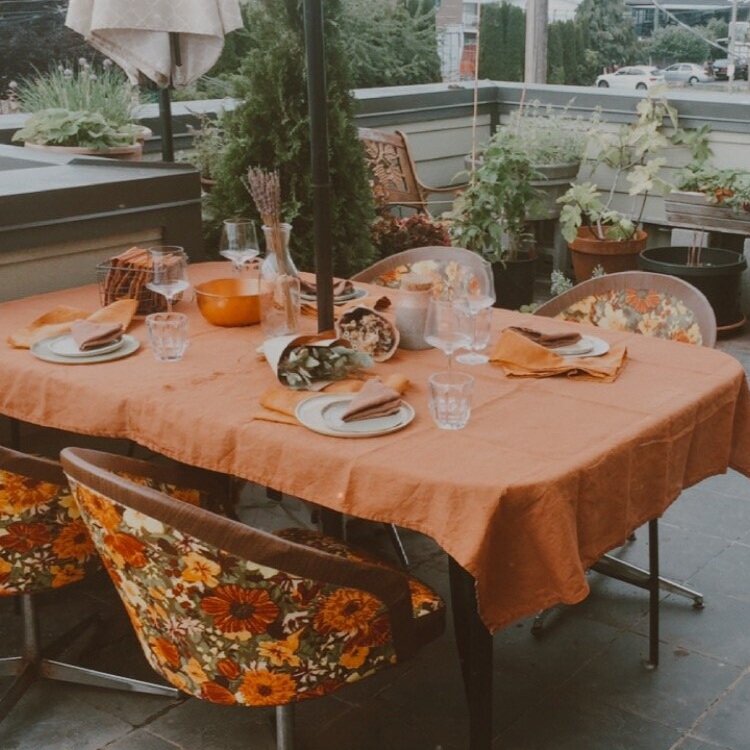
With this batch of natural dye experiments I wanted to finish with more than a pile of colourful swatches and trims to add to my stash, so I decided the theme of this dye weekend would be to make a table setting for a late summer dinner party. I thought along side that I could make a set of tea towels for the kitchen, and the napkins I made would be a smaller "everyday" style napkin that could be used instead of paper napkins when eating all of our meals at home. So a table cloth, tea towels, and napkins was the plan, and of course a pile of swatches to add to my stash because why not throw any extra bits of fabric in when you have the dye pot going.

2020-07-19_20-59-19.jpg

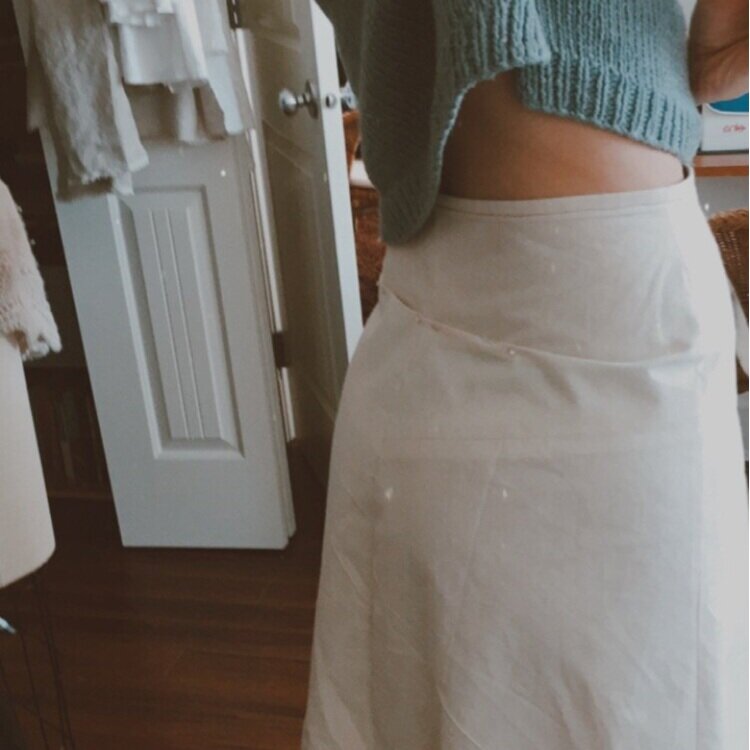
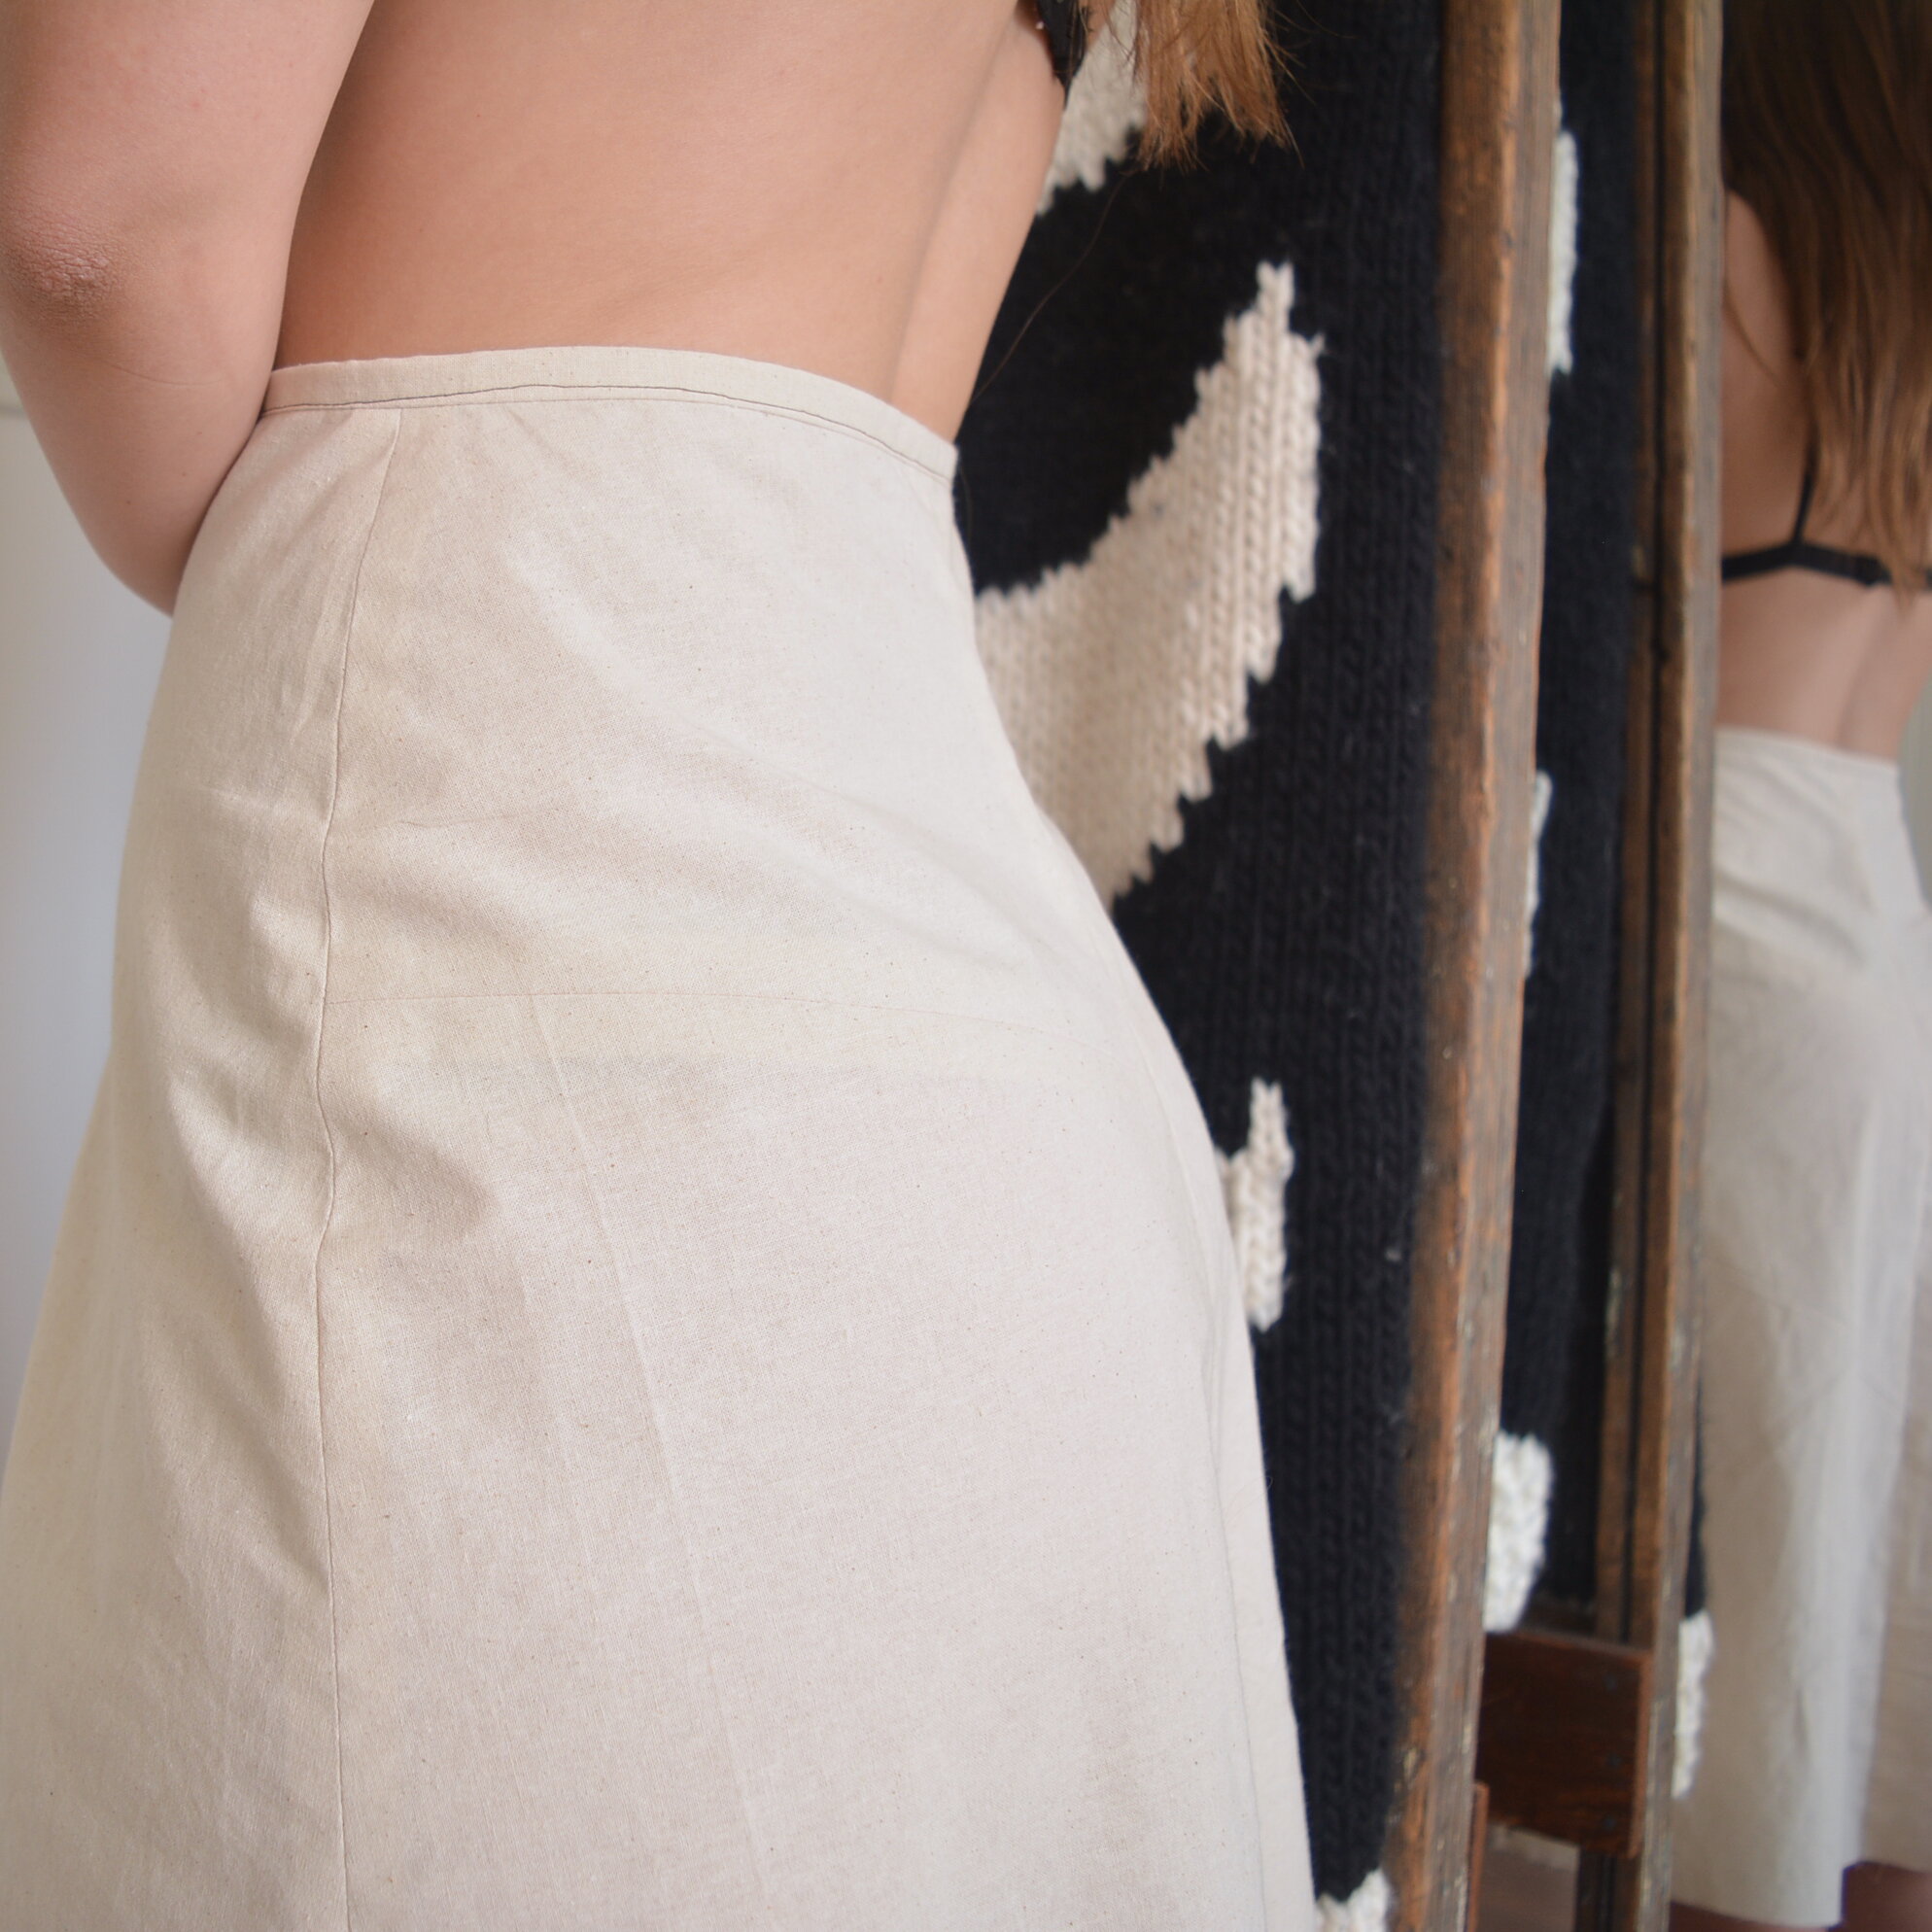
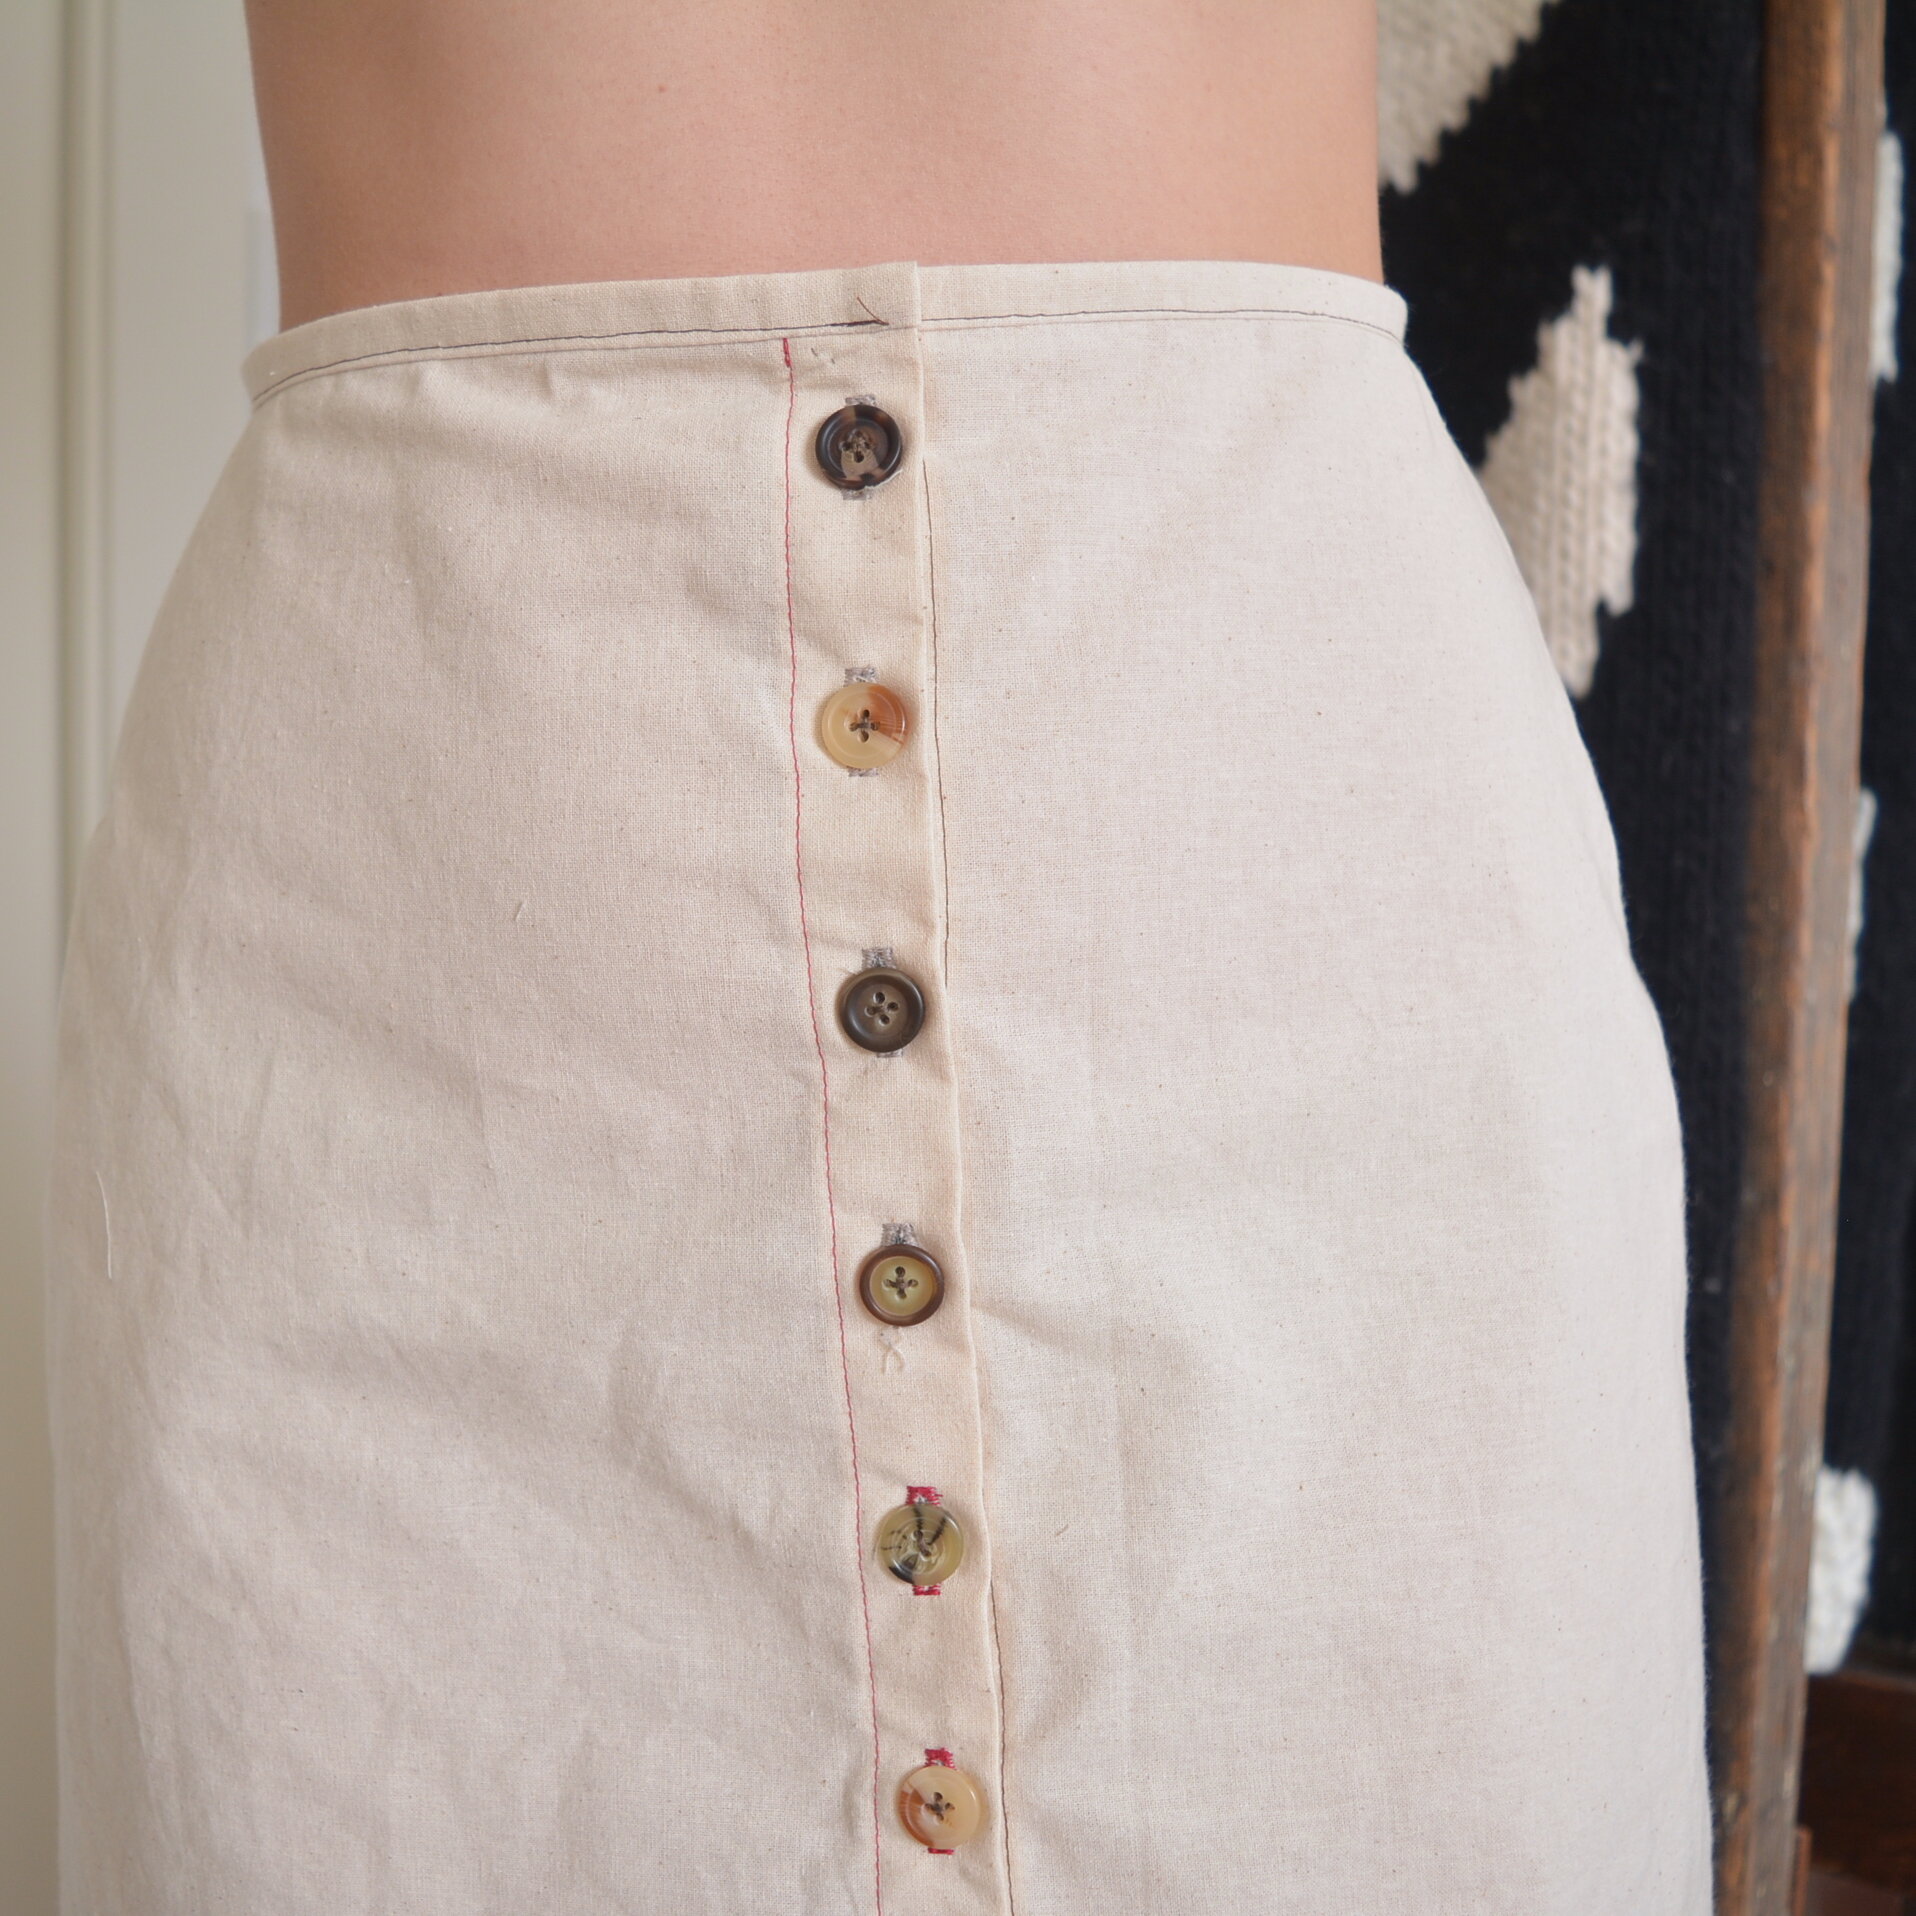
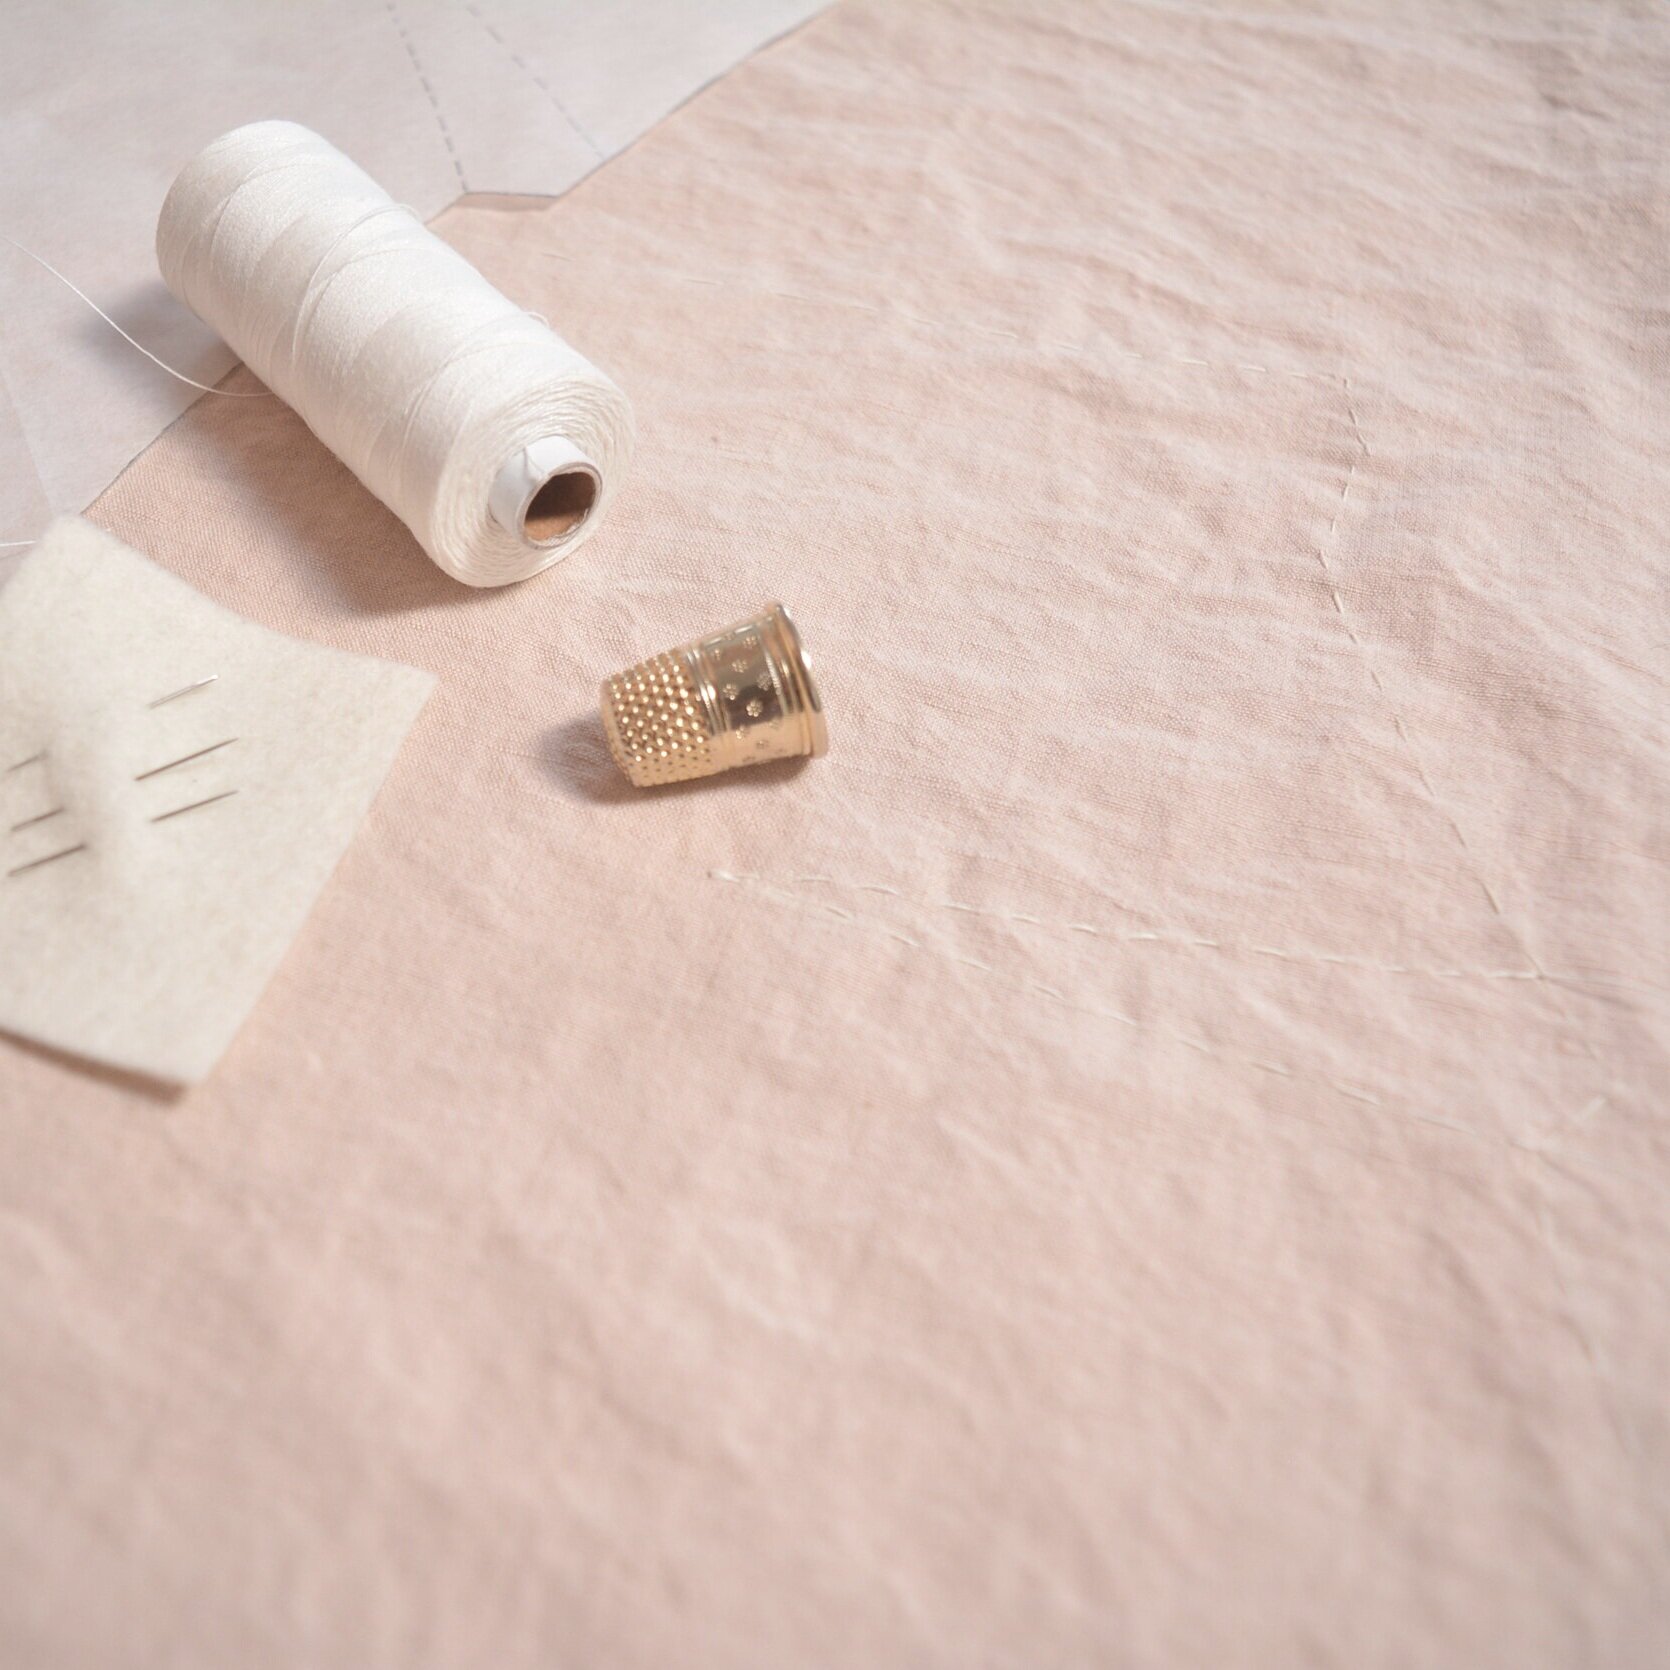
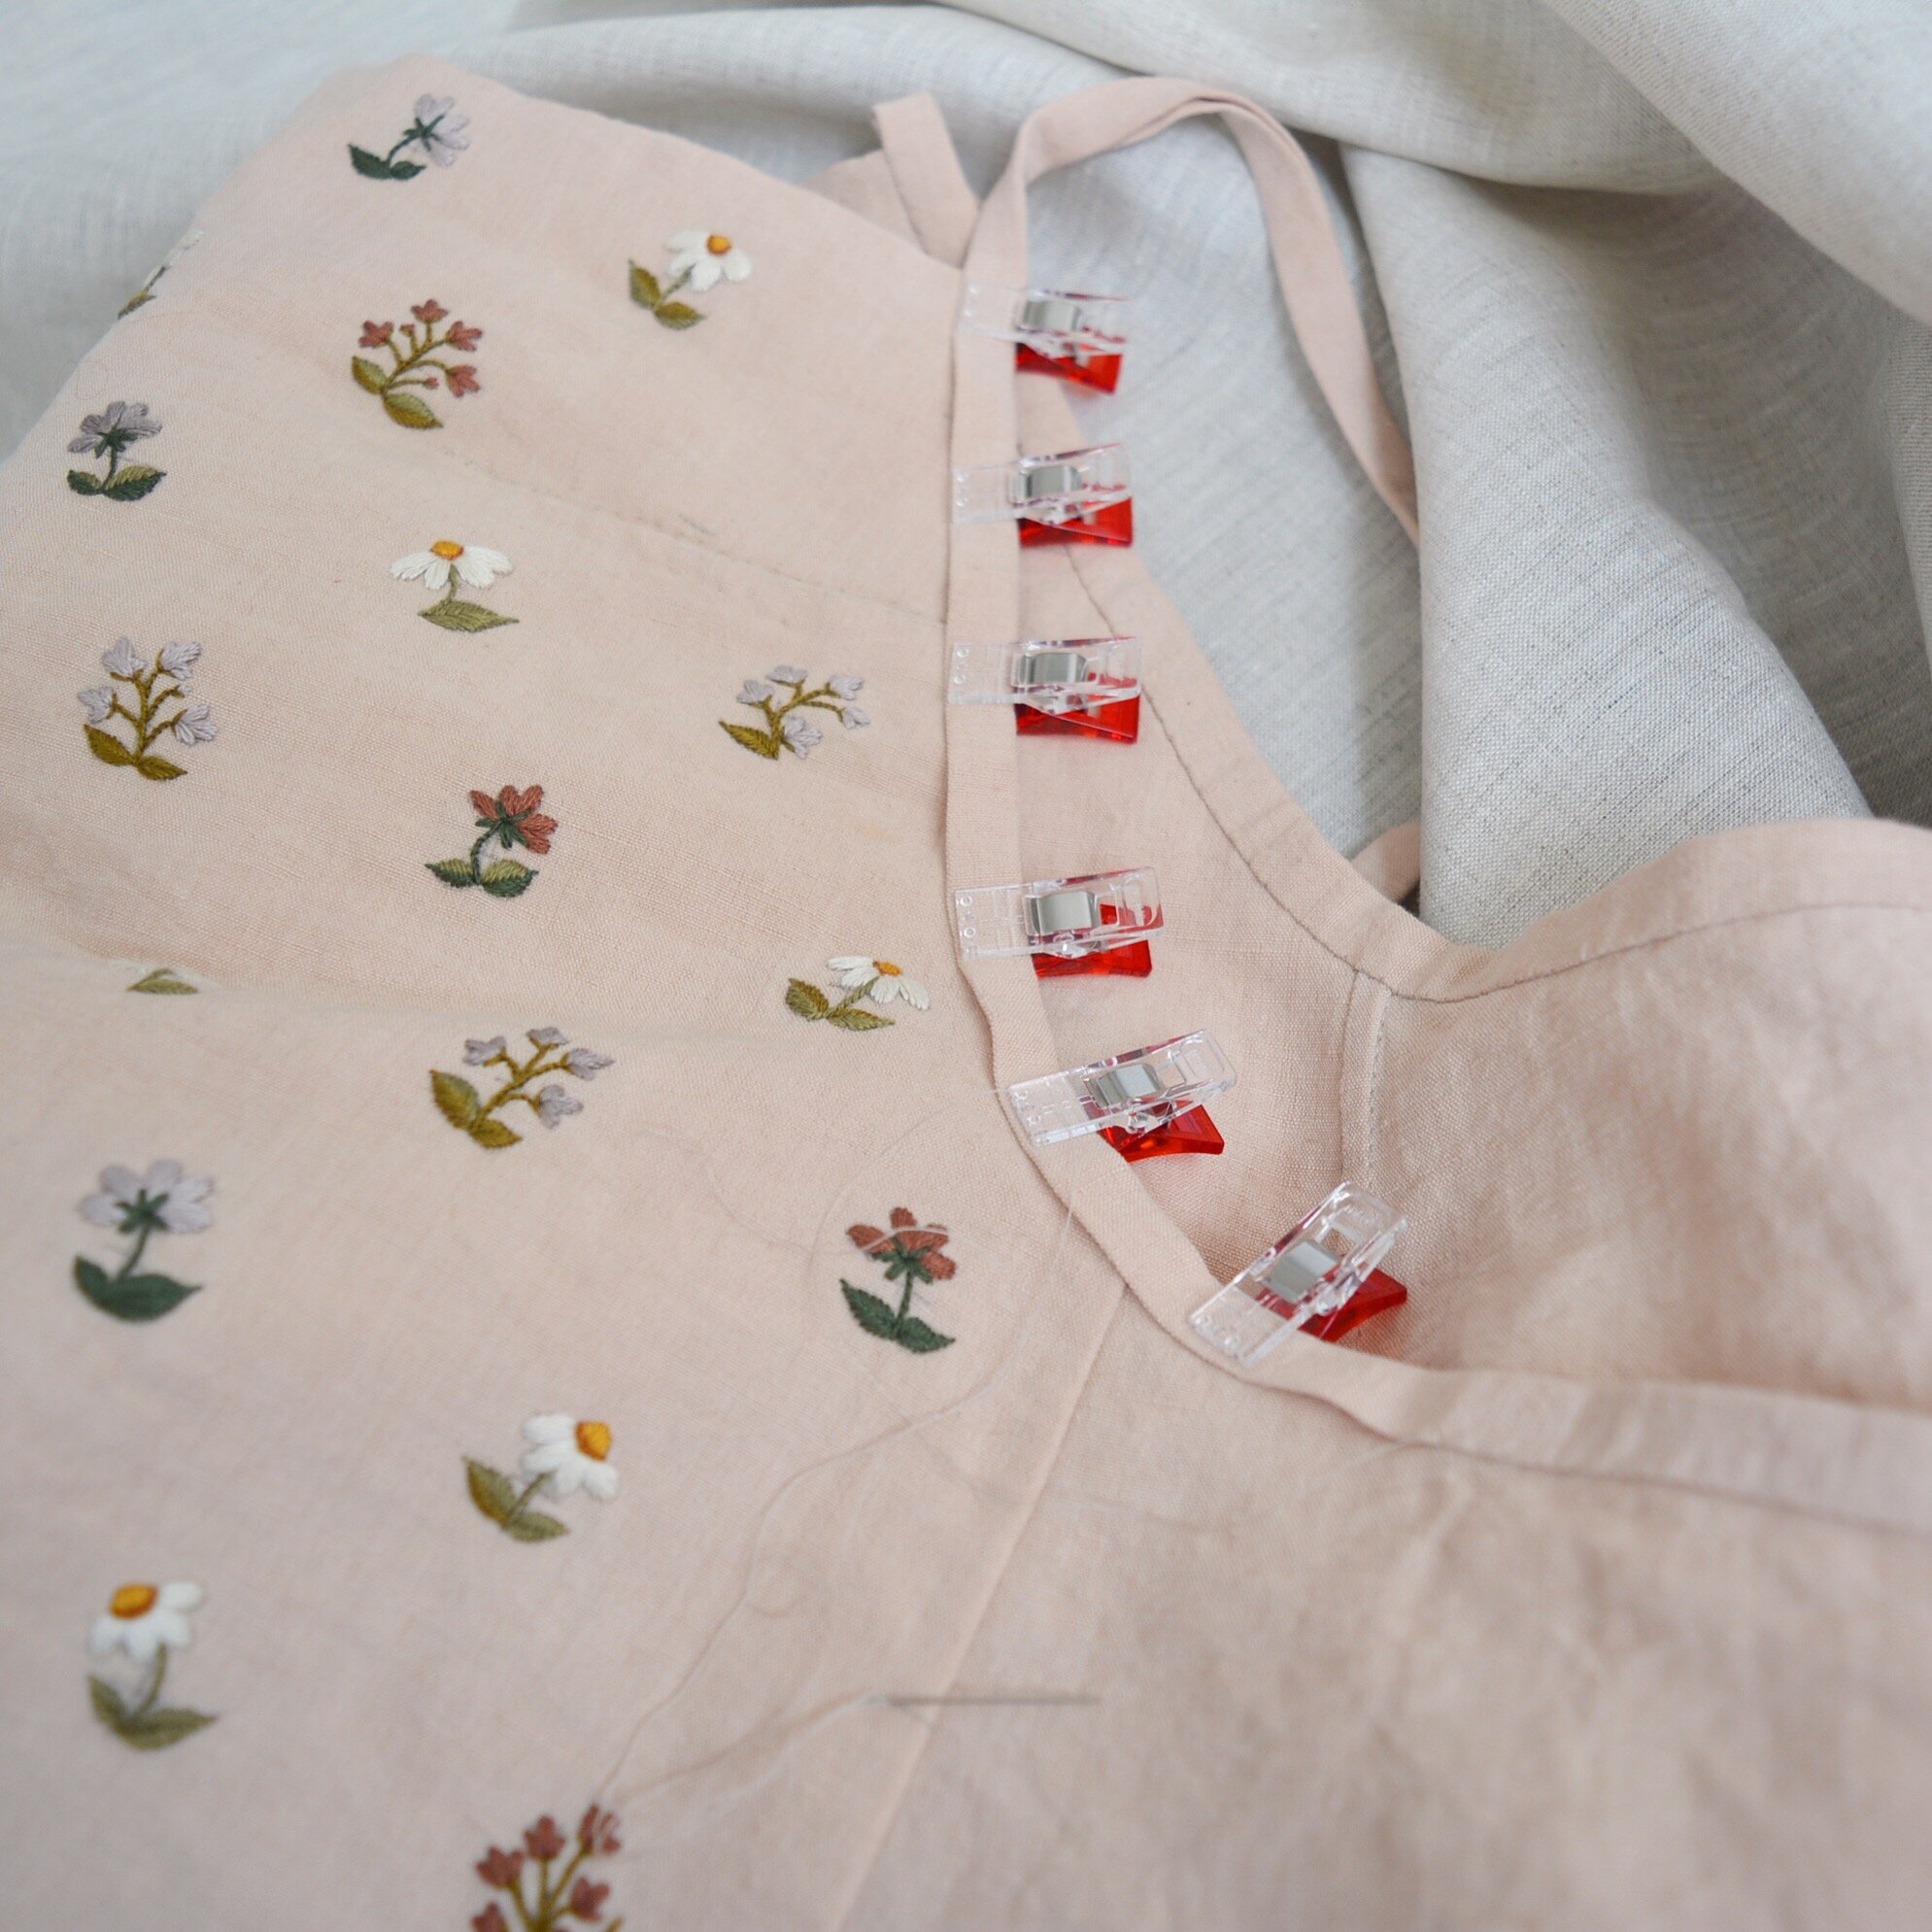
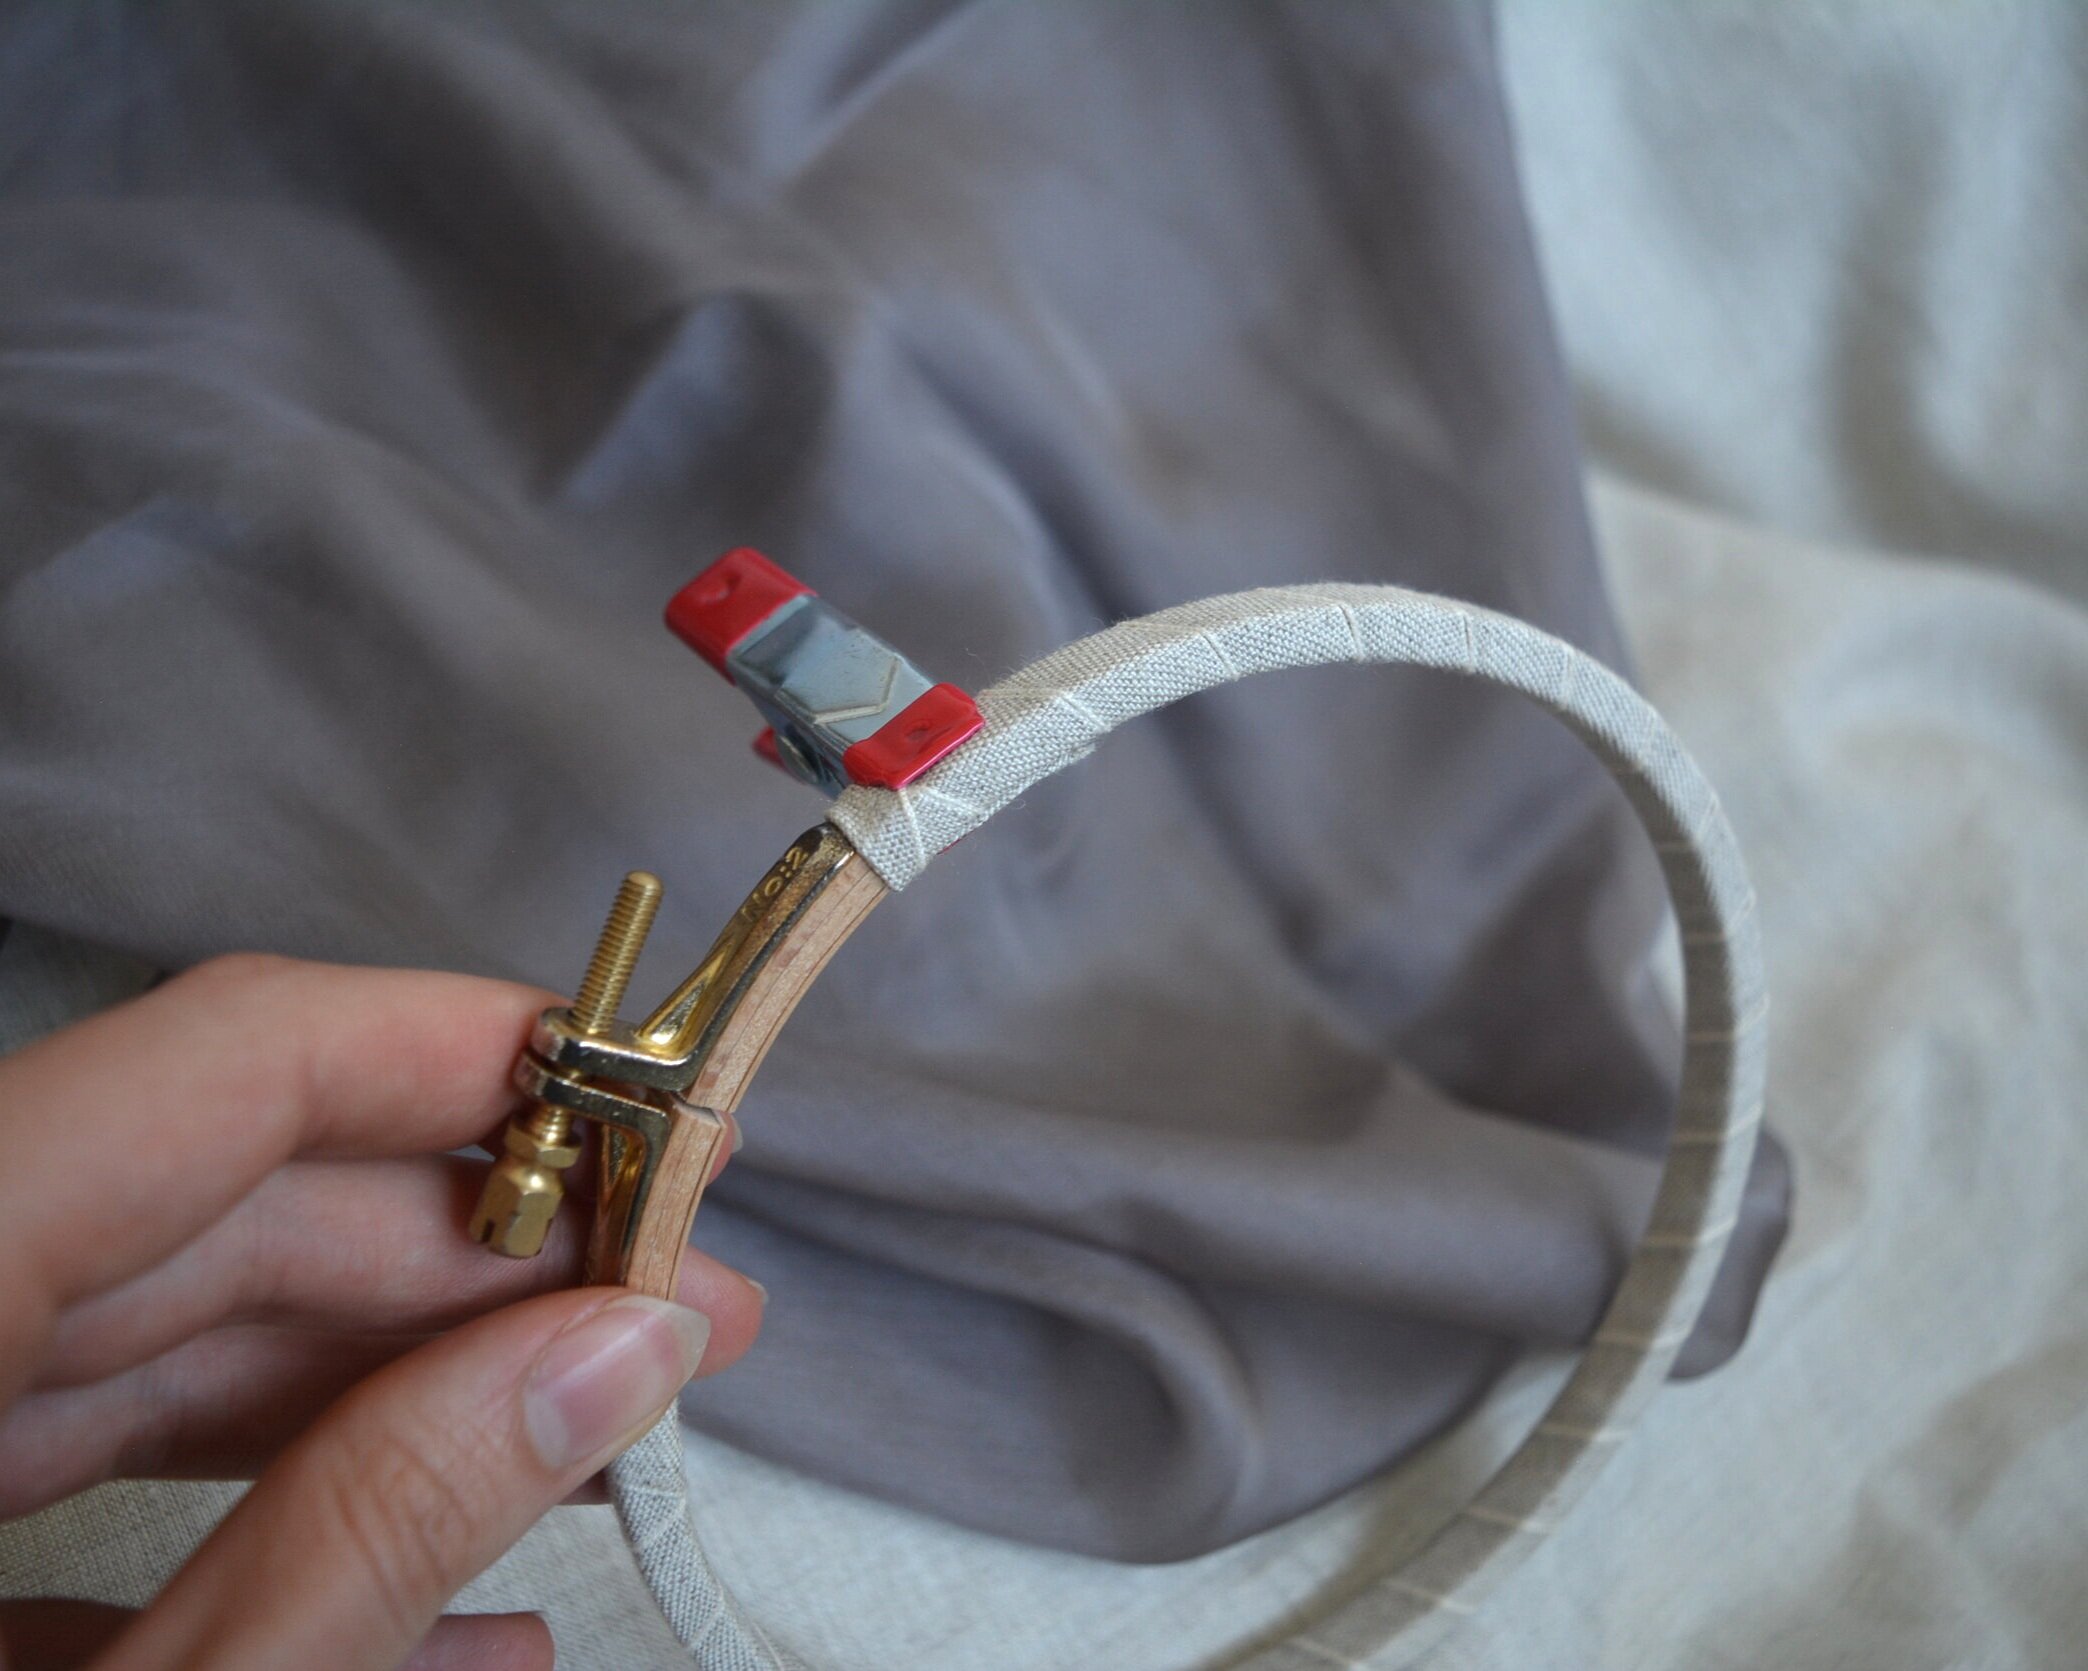
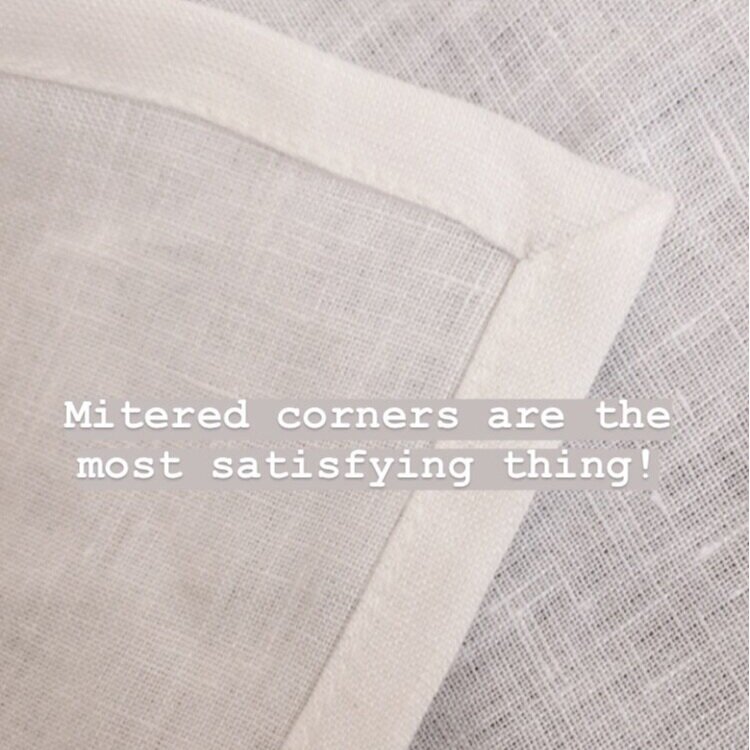
So before I even got started with the dyeing I had to make the things I wanted to dye. The table cloth I made by hemming two large pieces of linen and then adding buttons and buttonholes, which allowed the pole of our umbrella to come up through the two pieces. And then 16 tea towels and 16 napkins took me a couple weeks to finish, following the metered corner tutorial from Purl Soho (link to tutorial at the end of this post).

I made 4 dye pots, as always following the free instructions from Maiwa as closely as I could. Below WOF is an abbreviation for "weight of fabric", which is how dye stuff is measured when natural dying.

Cutch:

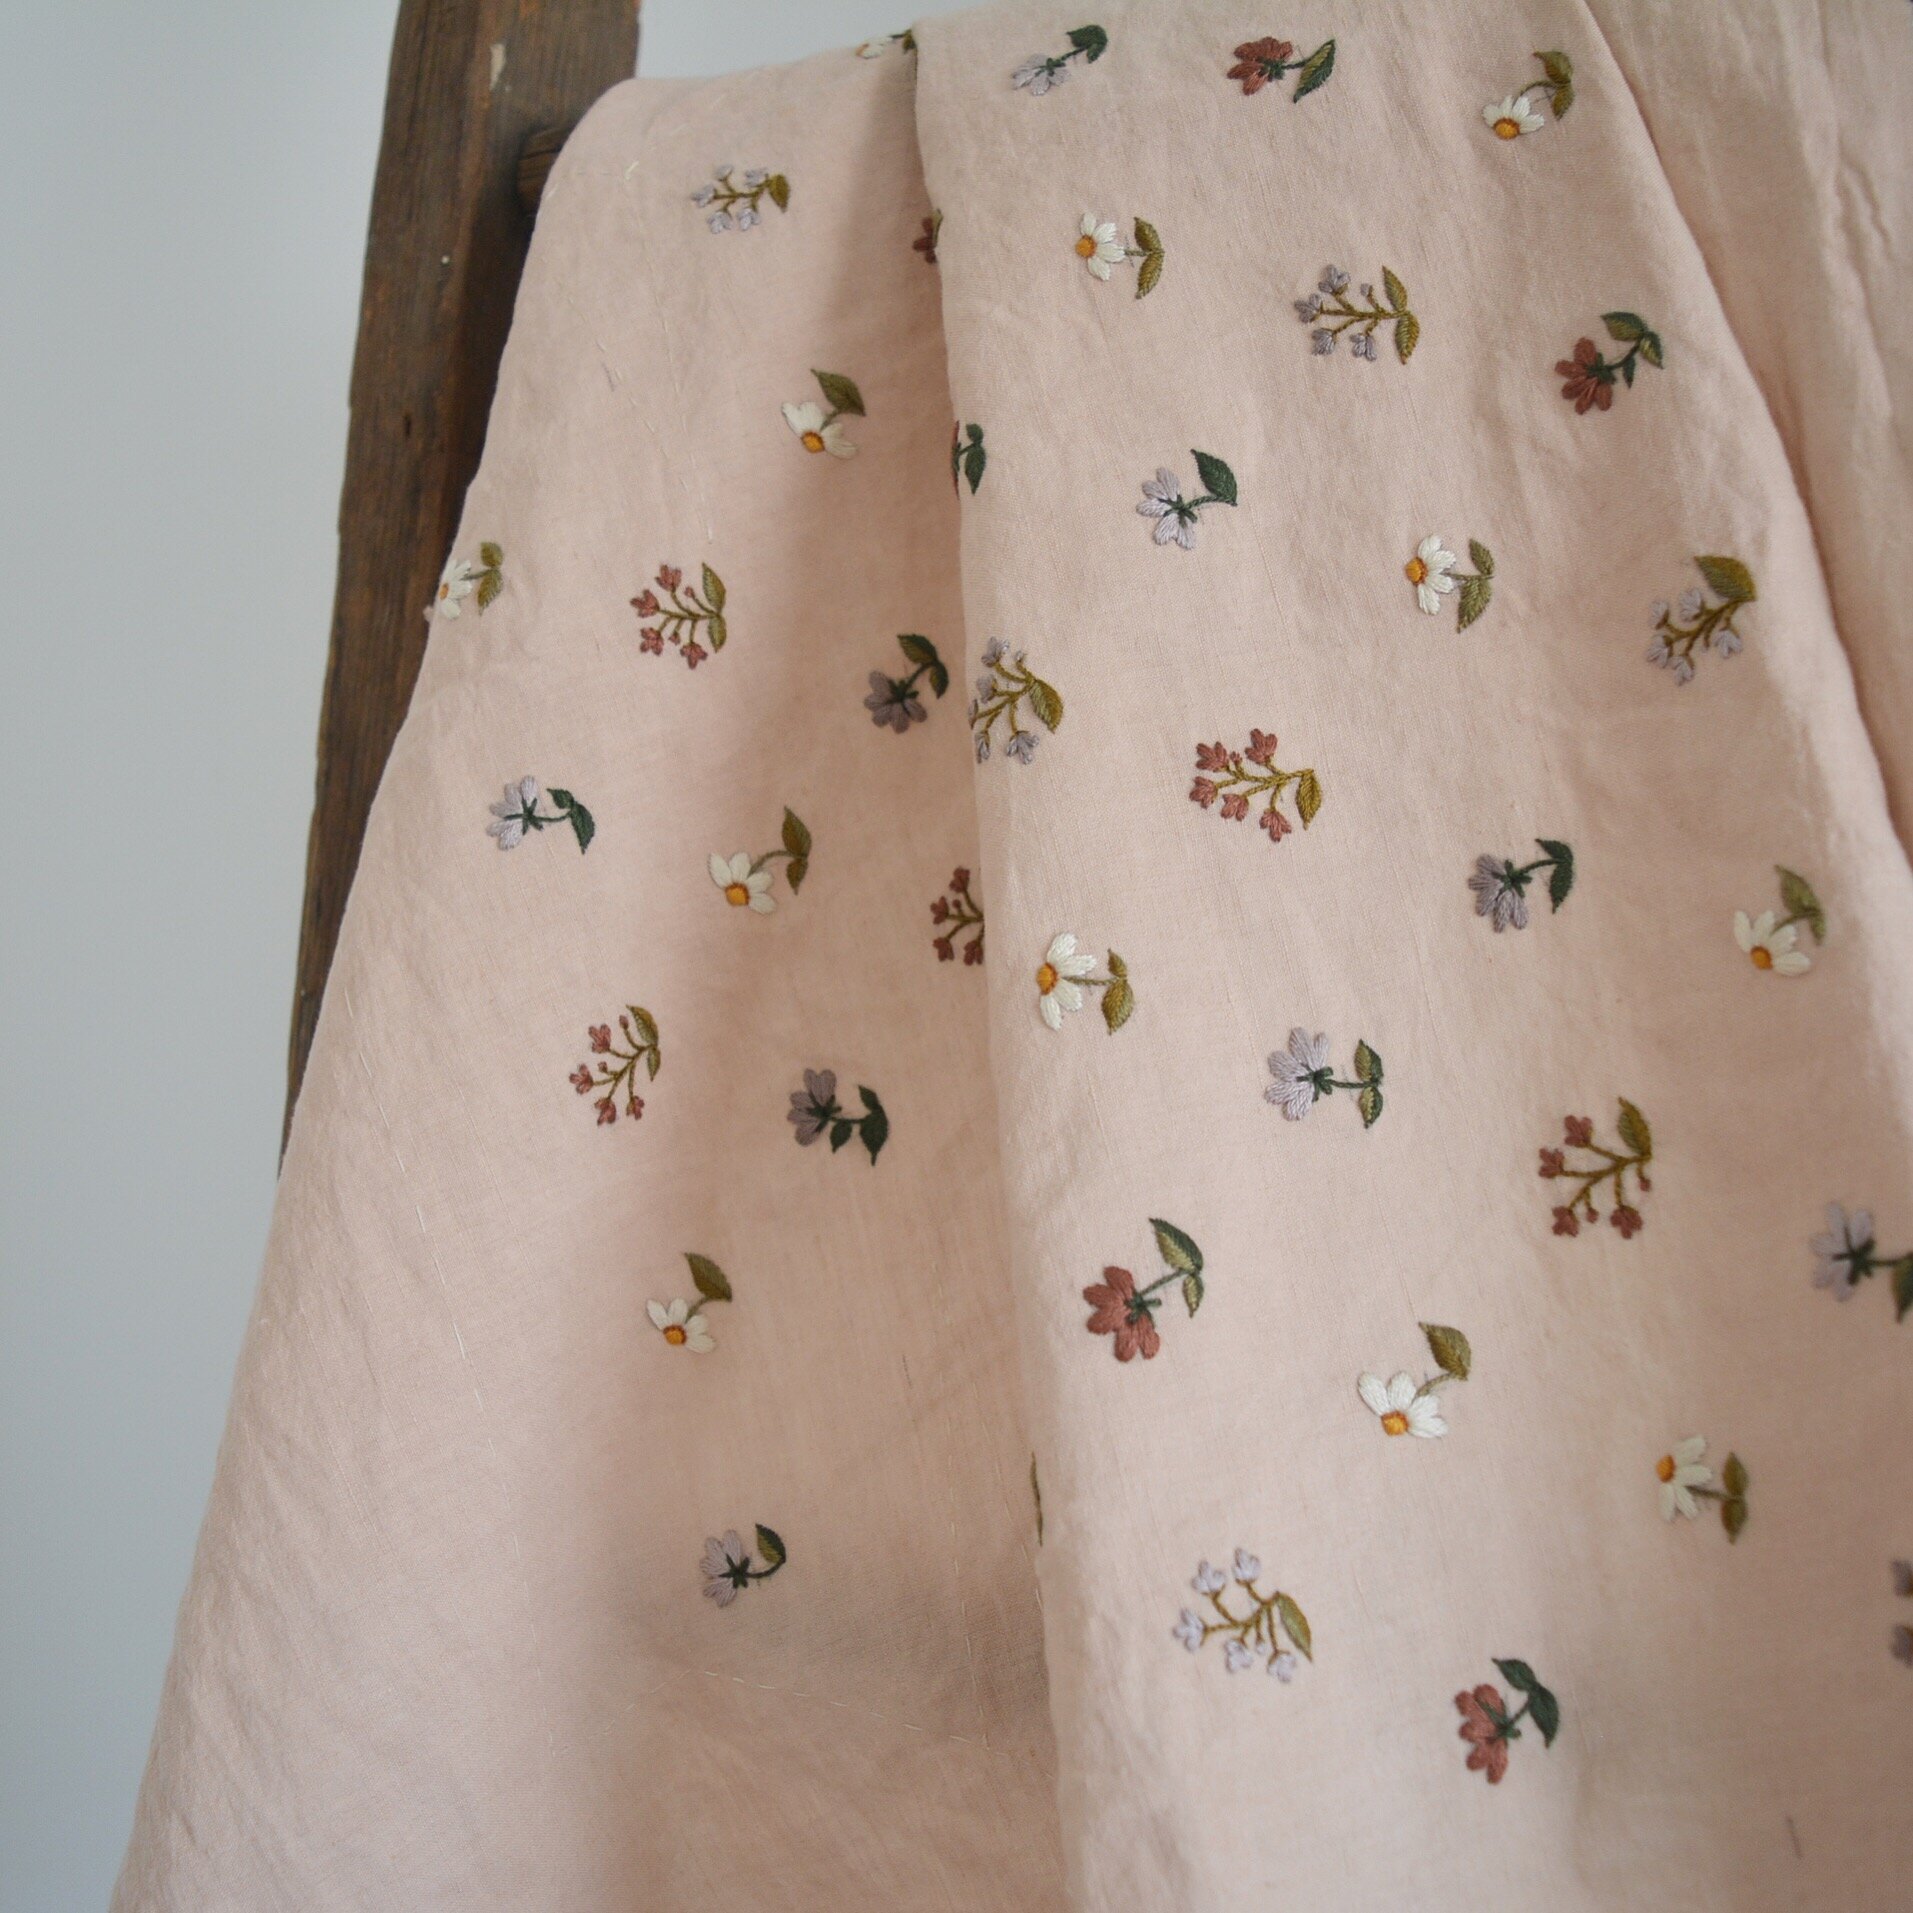
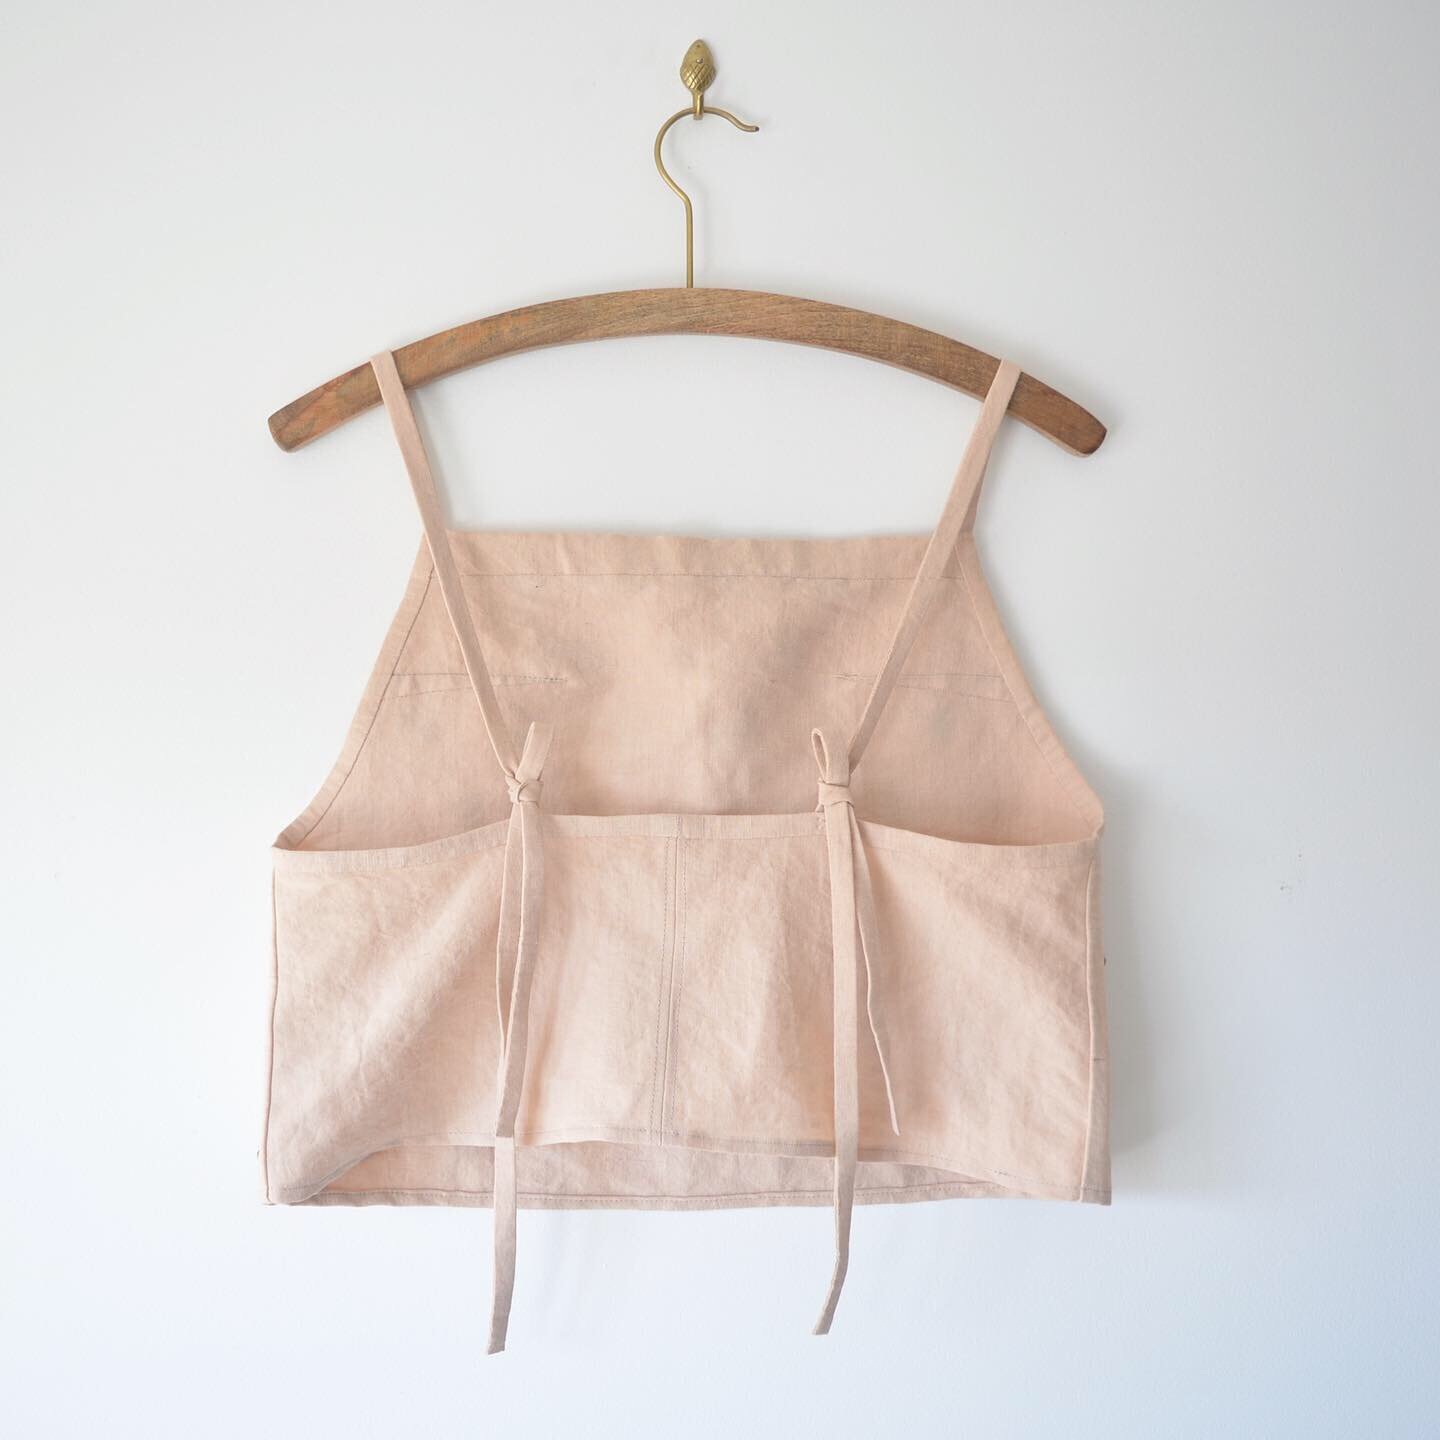
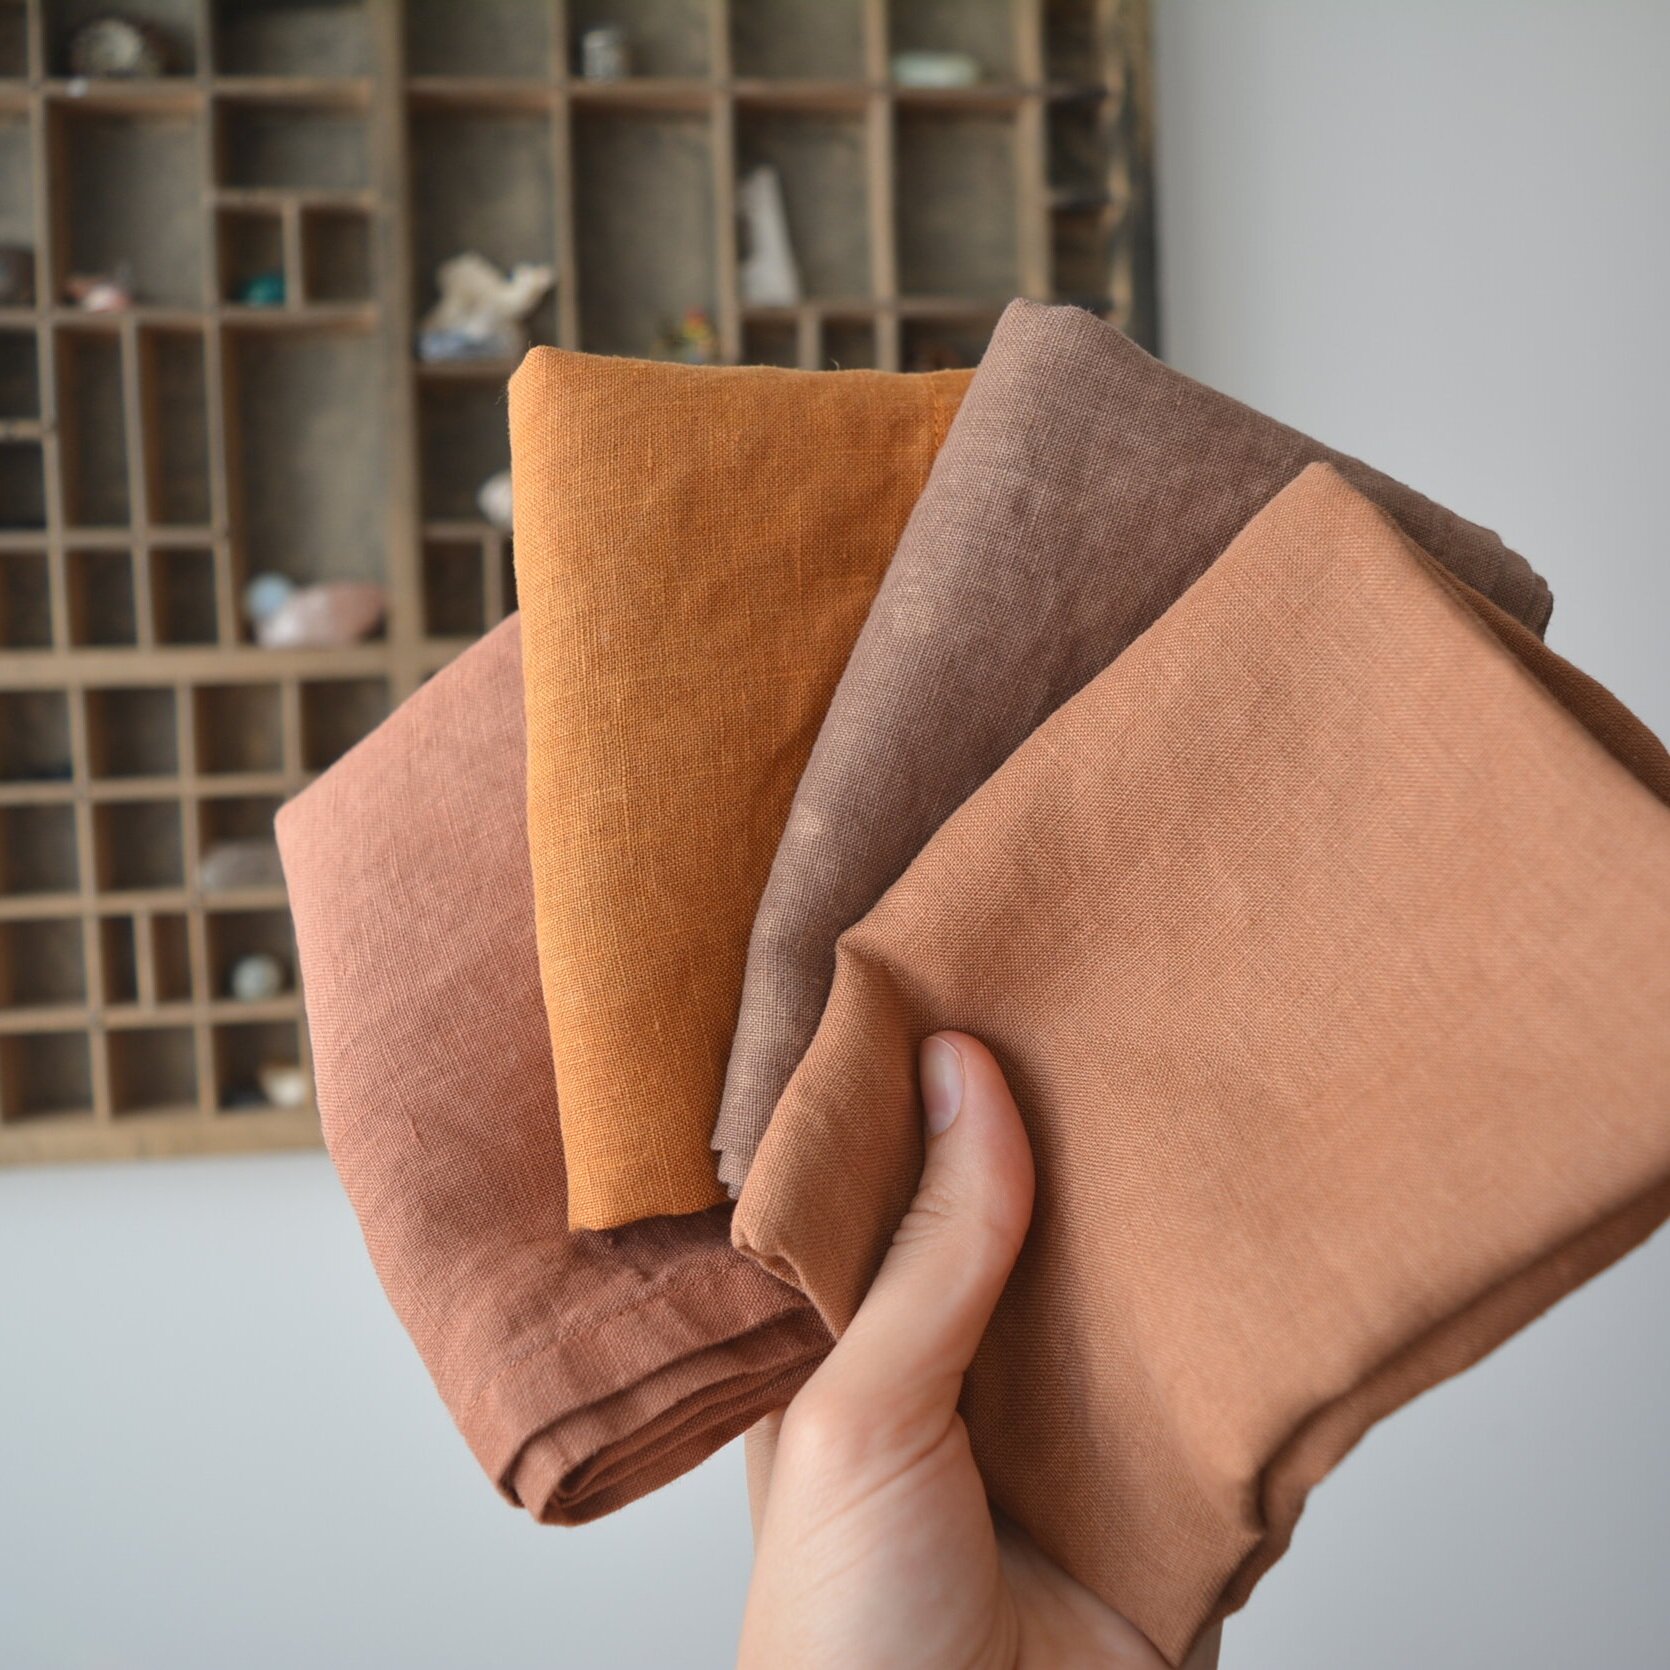
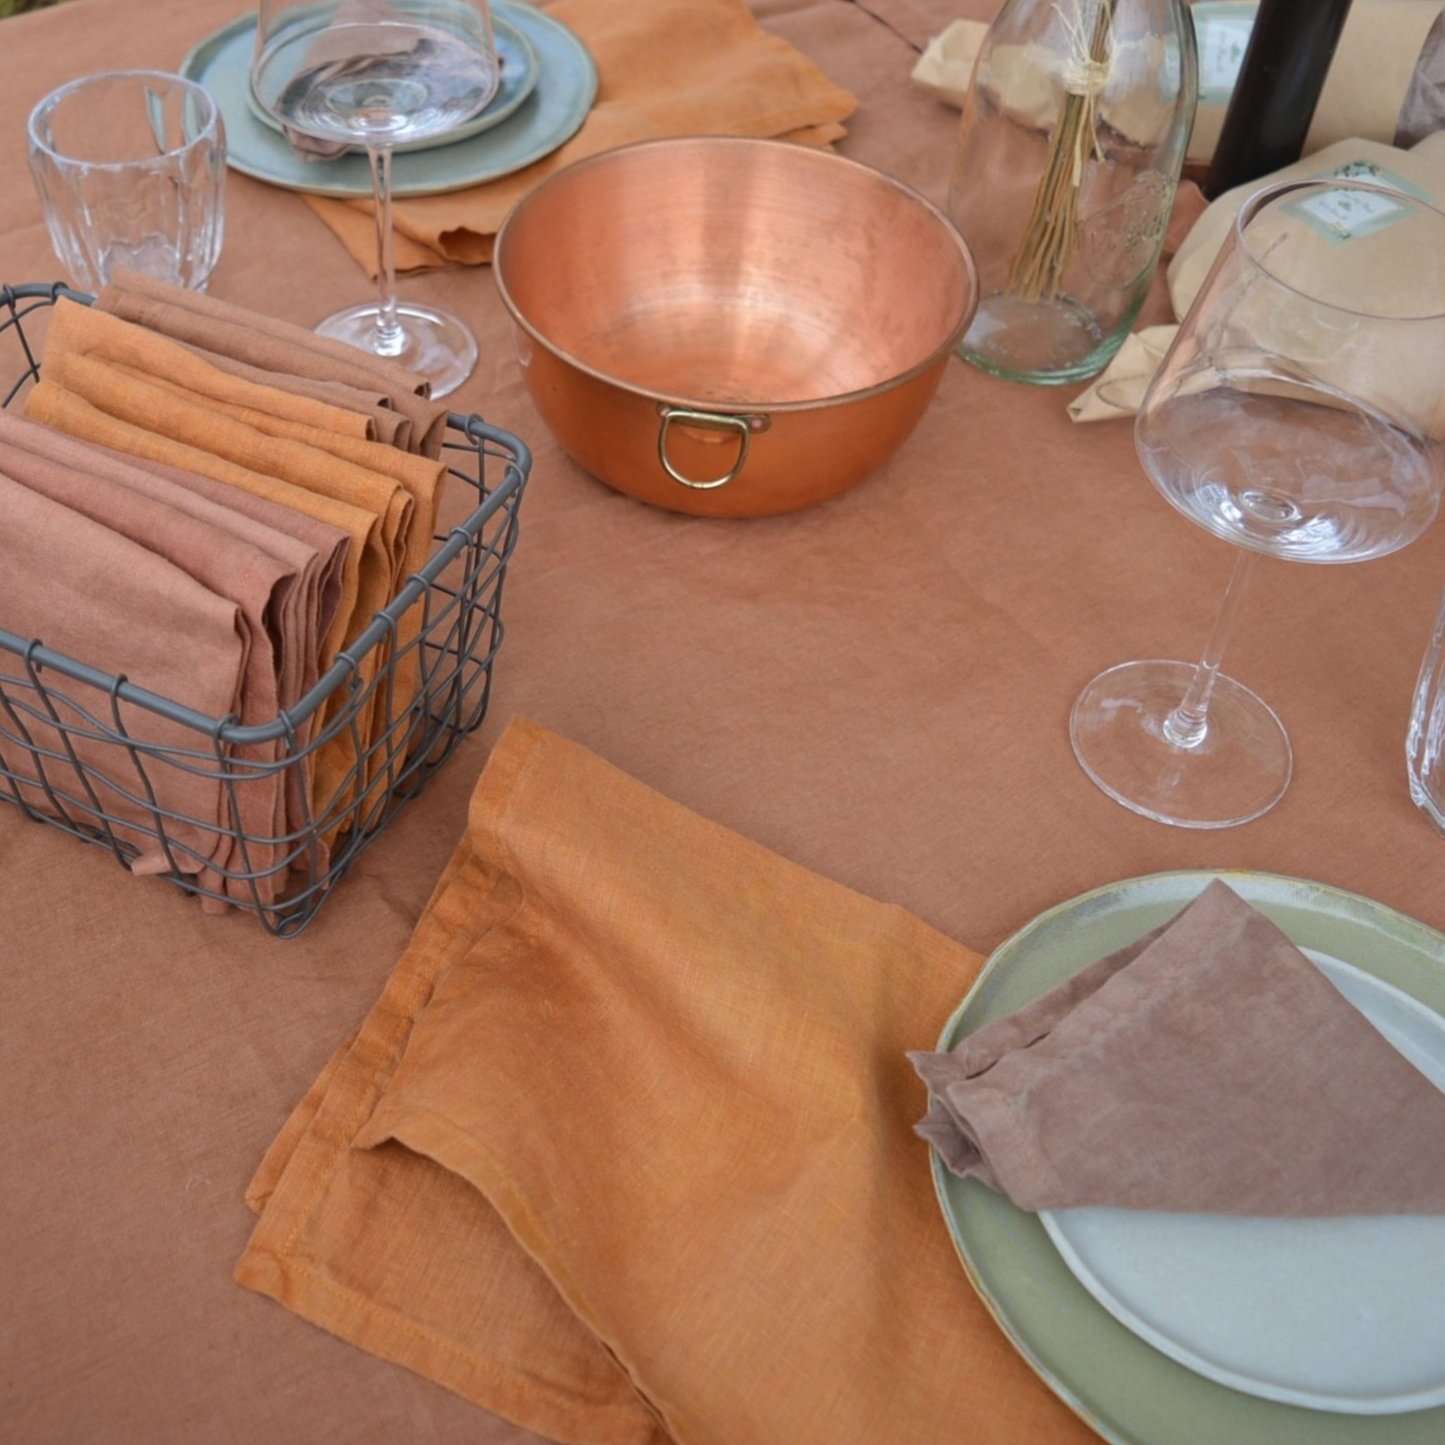
Measured at 30% WOF. No tannin is needed for cutch so I just scoured the fibres and mordanted with alum at 15% WOF, then a second alum mordant at 10% WOF. The table cloth went into this dye bath and it made such a beautiful brown. This is the dye from this summer that I am most looking forward to learning more about in the future, as there are so many ways to shift the colour by adding things to the dye bath as you work.

Cutch & Madder:

Cutch was measured at 45% WOF and Madder at 15% WOF. No tannin is needed for cutch so again I scoured the fibres and mordanted with alum at 15% WOF, then a second alum mordant at 10% WOF. I was hoping for a deep rust colour, and I like the reddish brown that I got but I'm still going to work towards a more perfect rust colour.
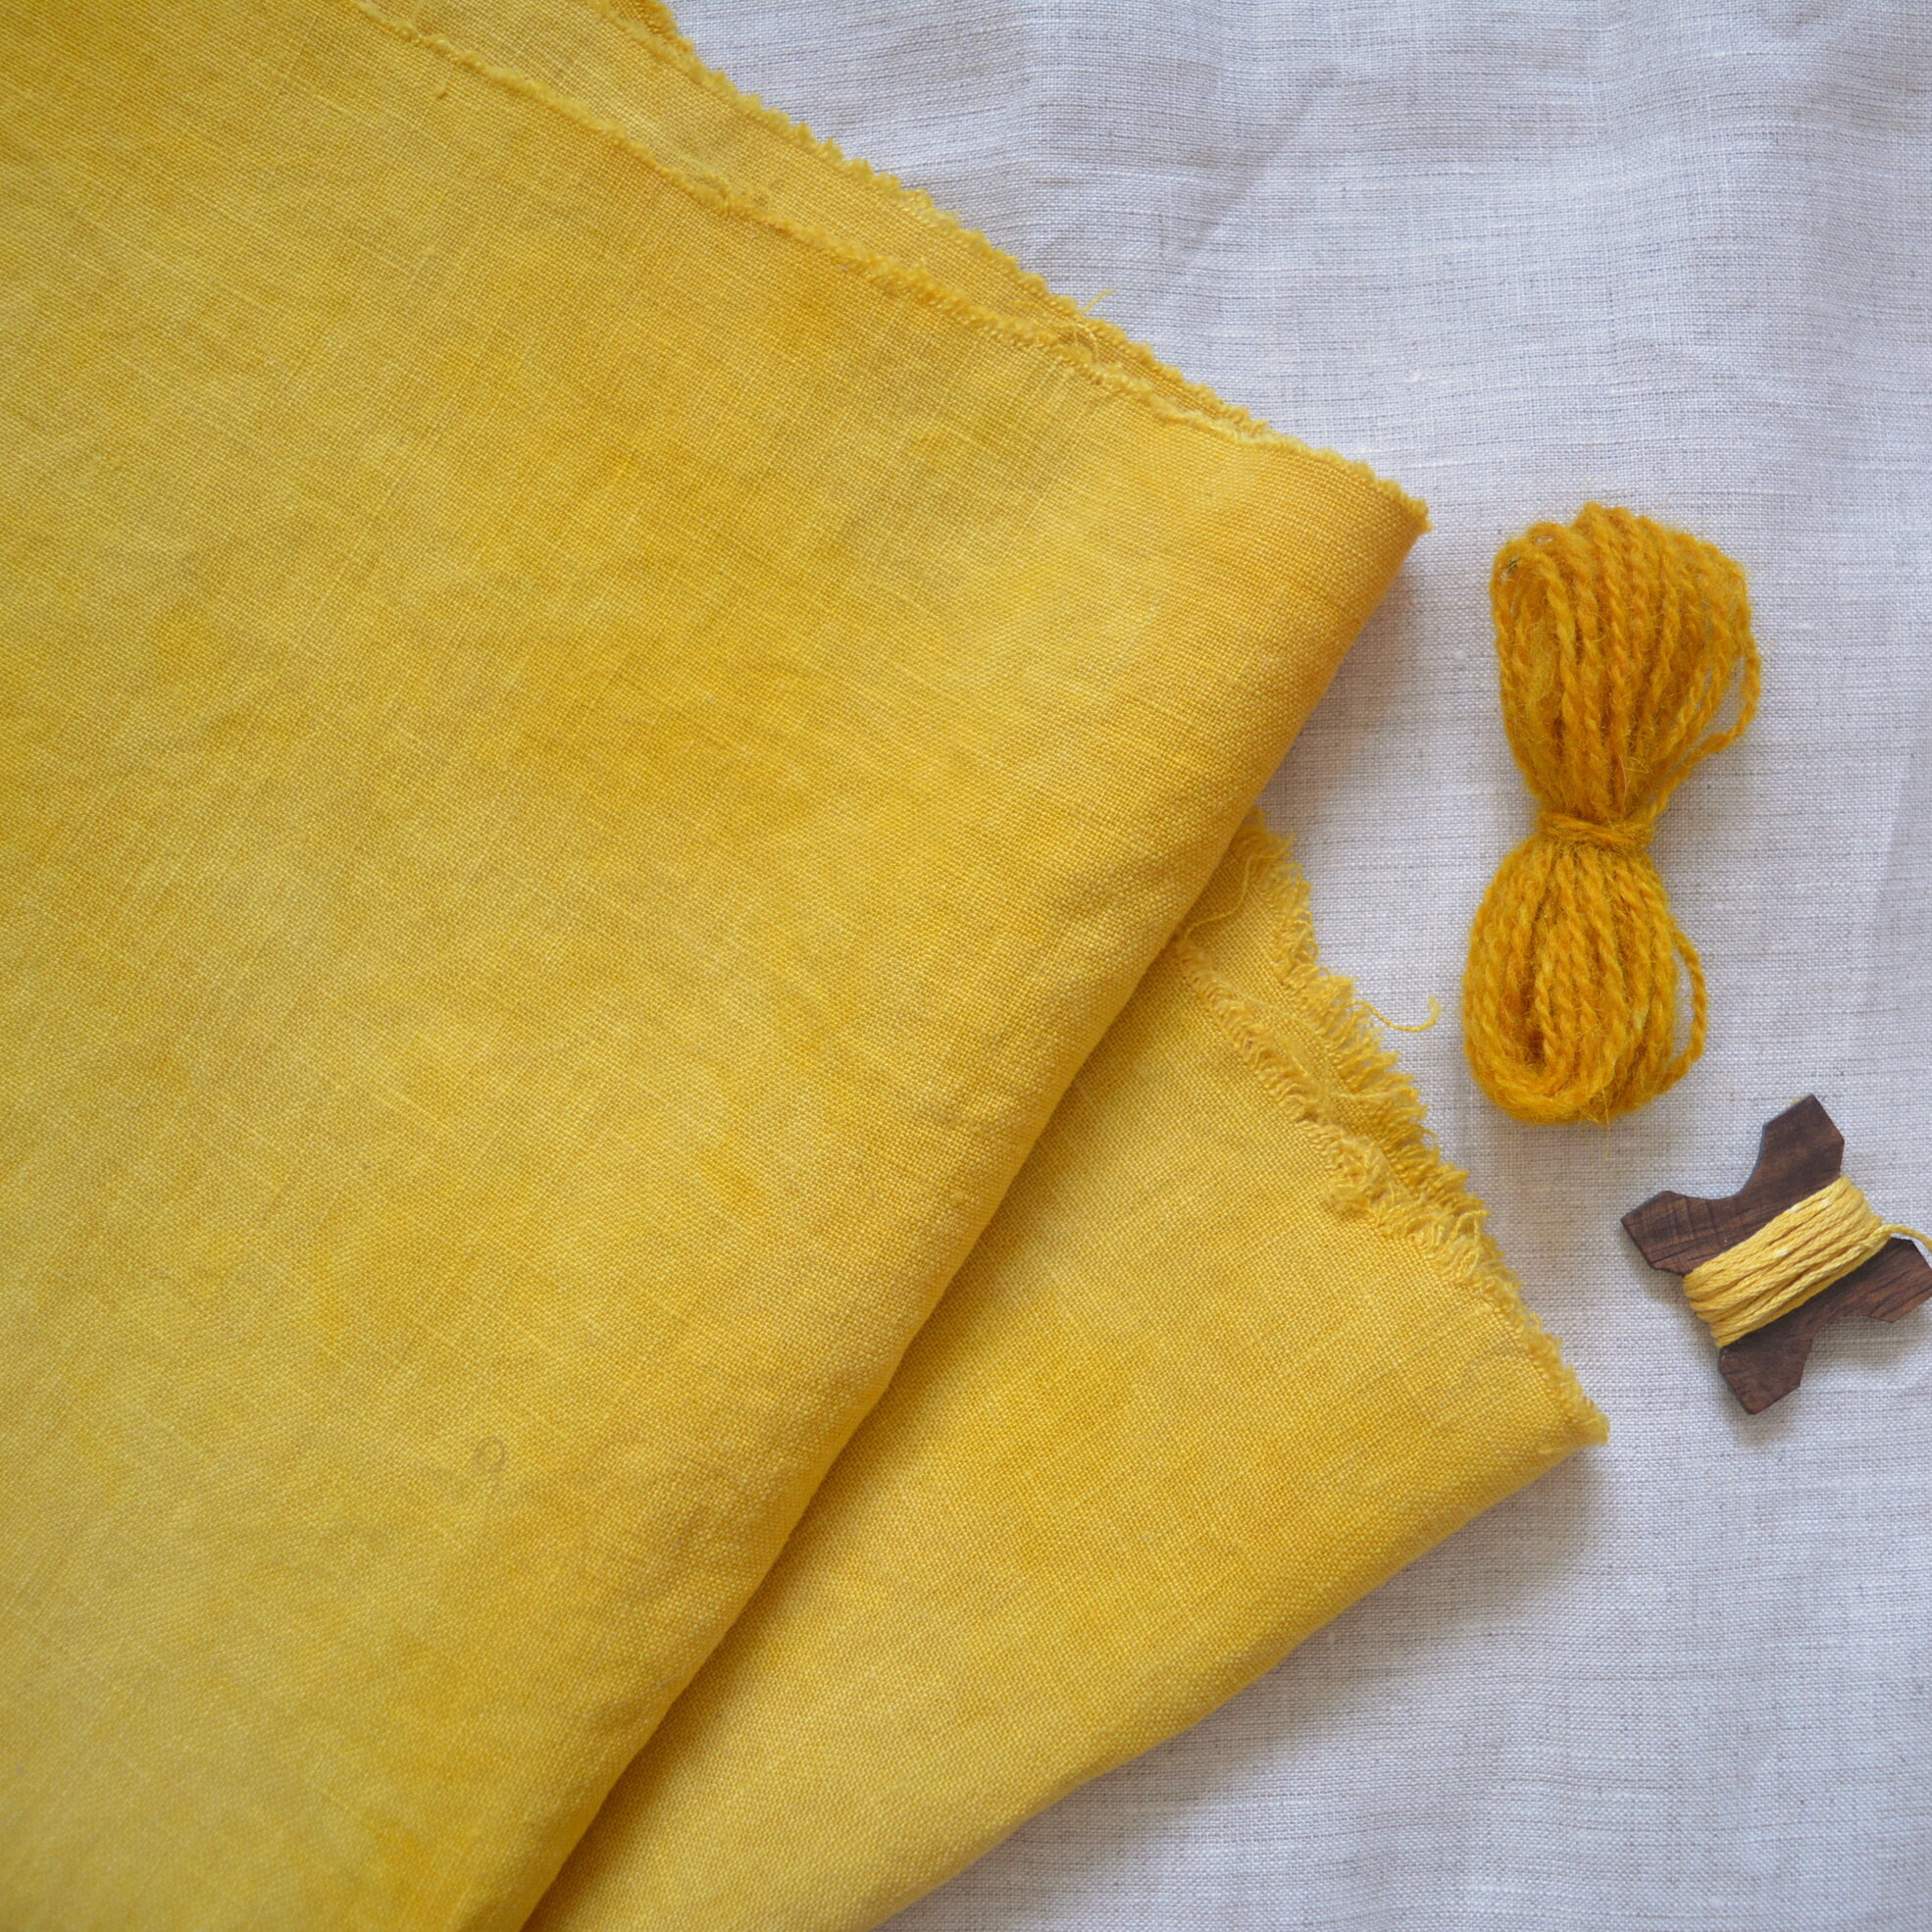
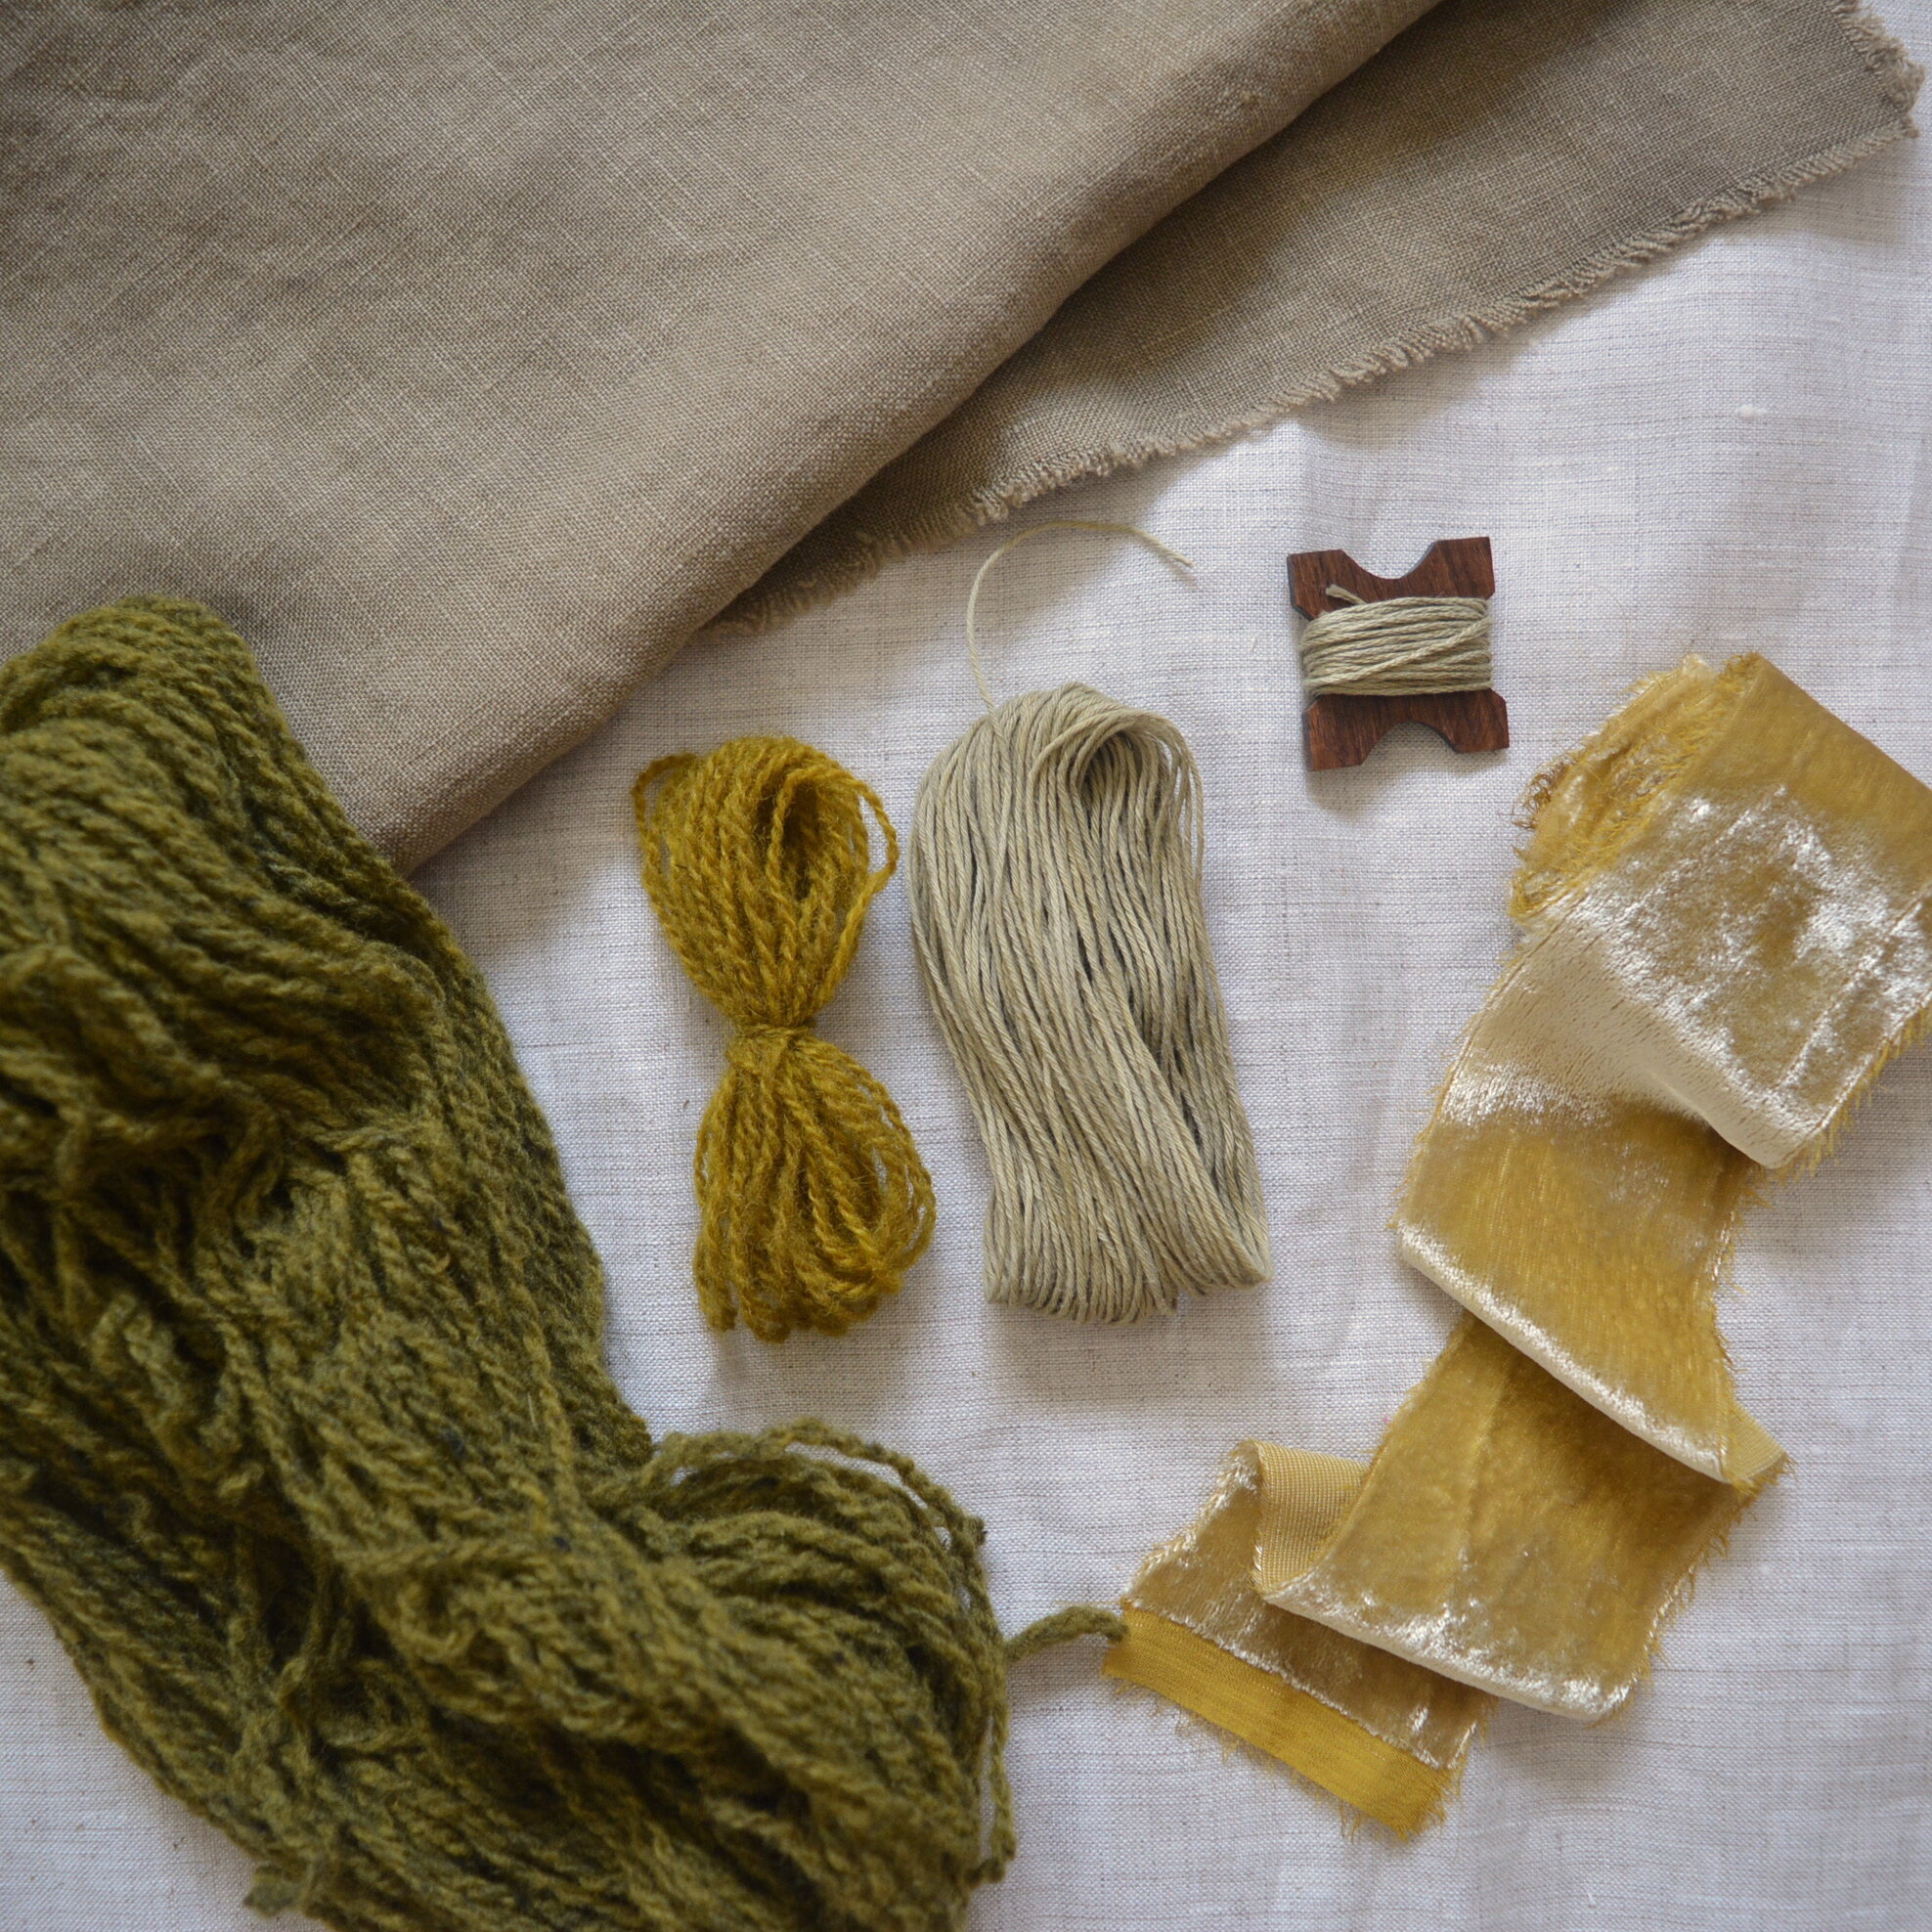
Marigold & Madder:

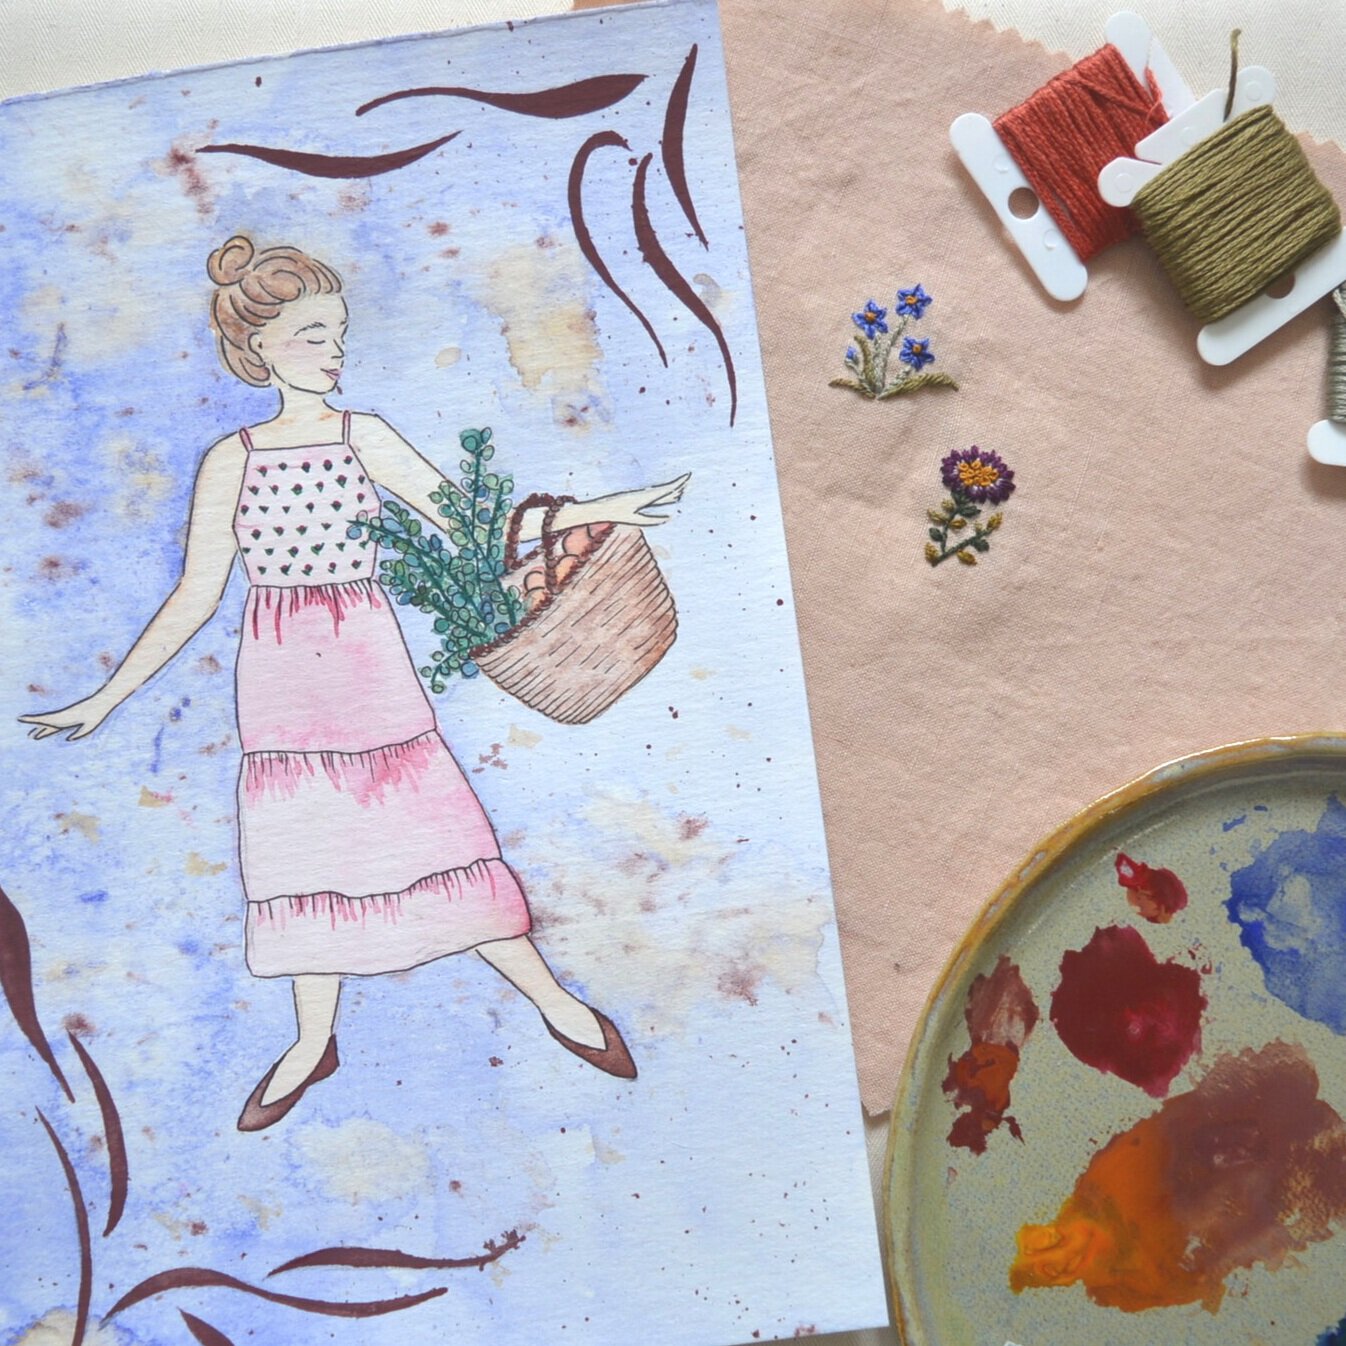
Marigold measured at 45% WOF and Madder at 10% WOF. I scoured fibres, applied tannin at 10% WOF, mordanted with alum at 15% WOF, then again with alum at 10% WOF. This combination of dyes was just perfect, it made for an orangey gold colour and it's just so vibrant. One day I'll have a garden full of marigolds so that I can harvest and dry my own dye stuff, and dye all of my belongings gold.
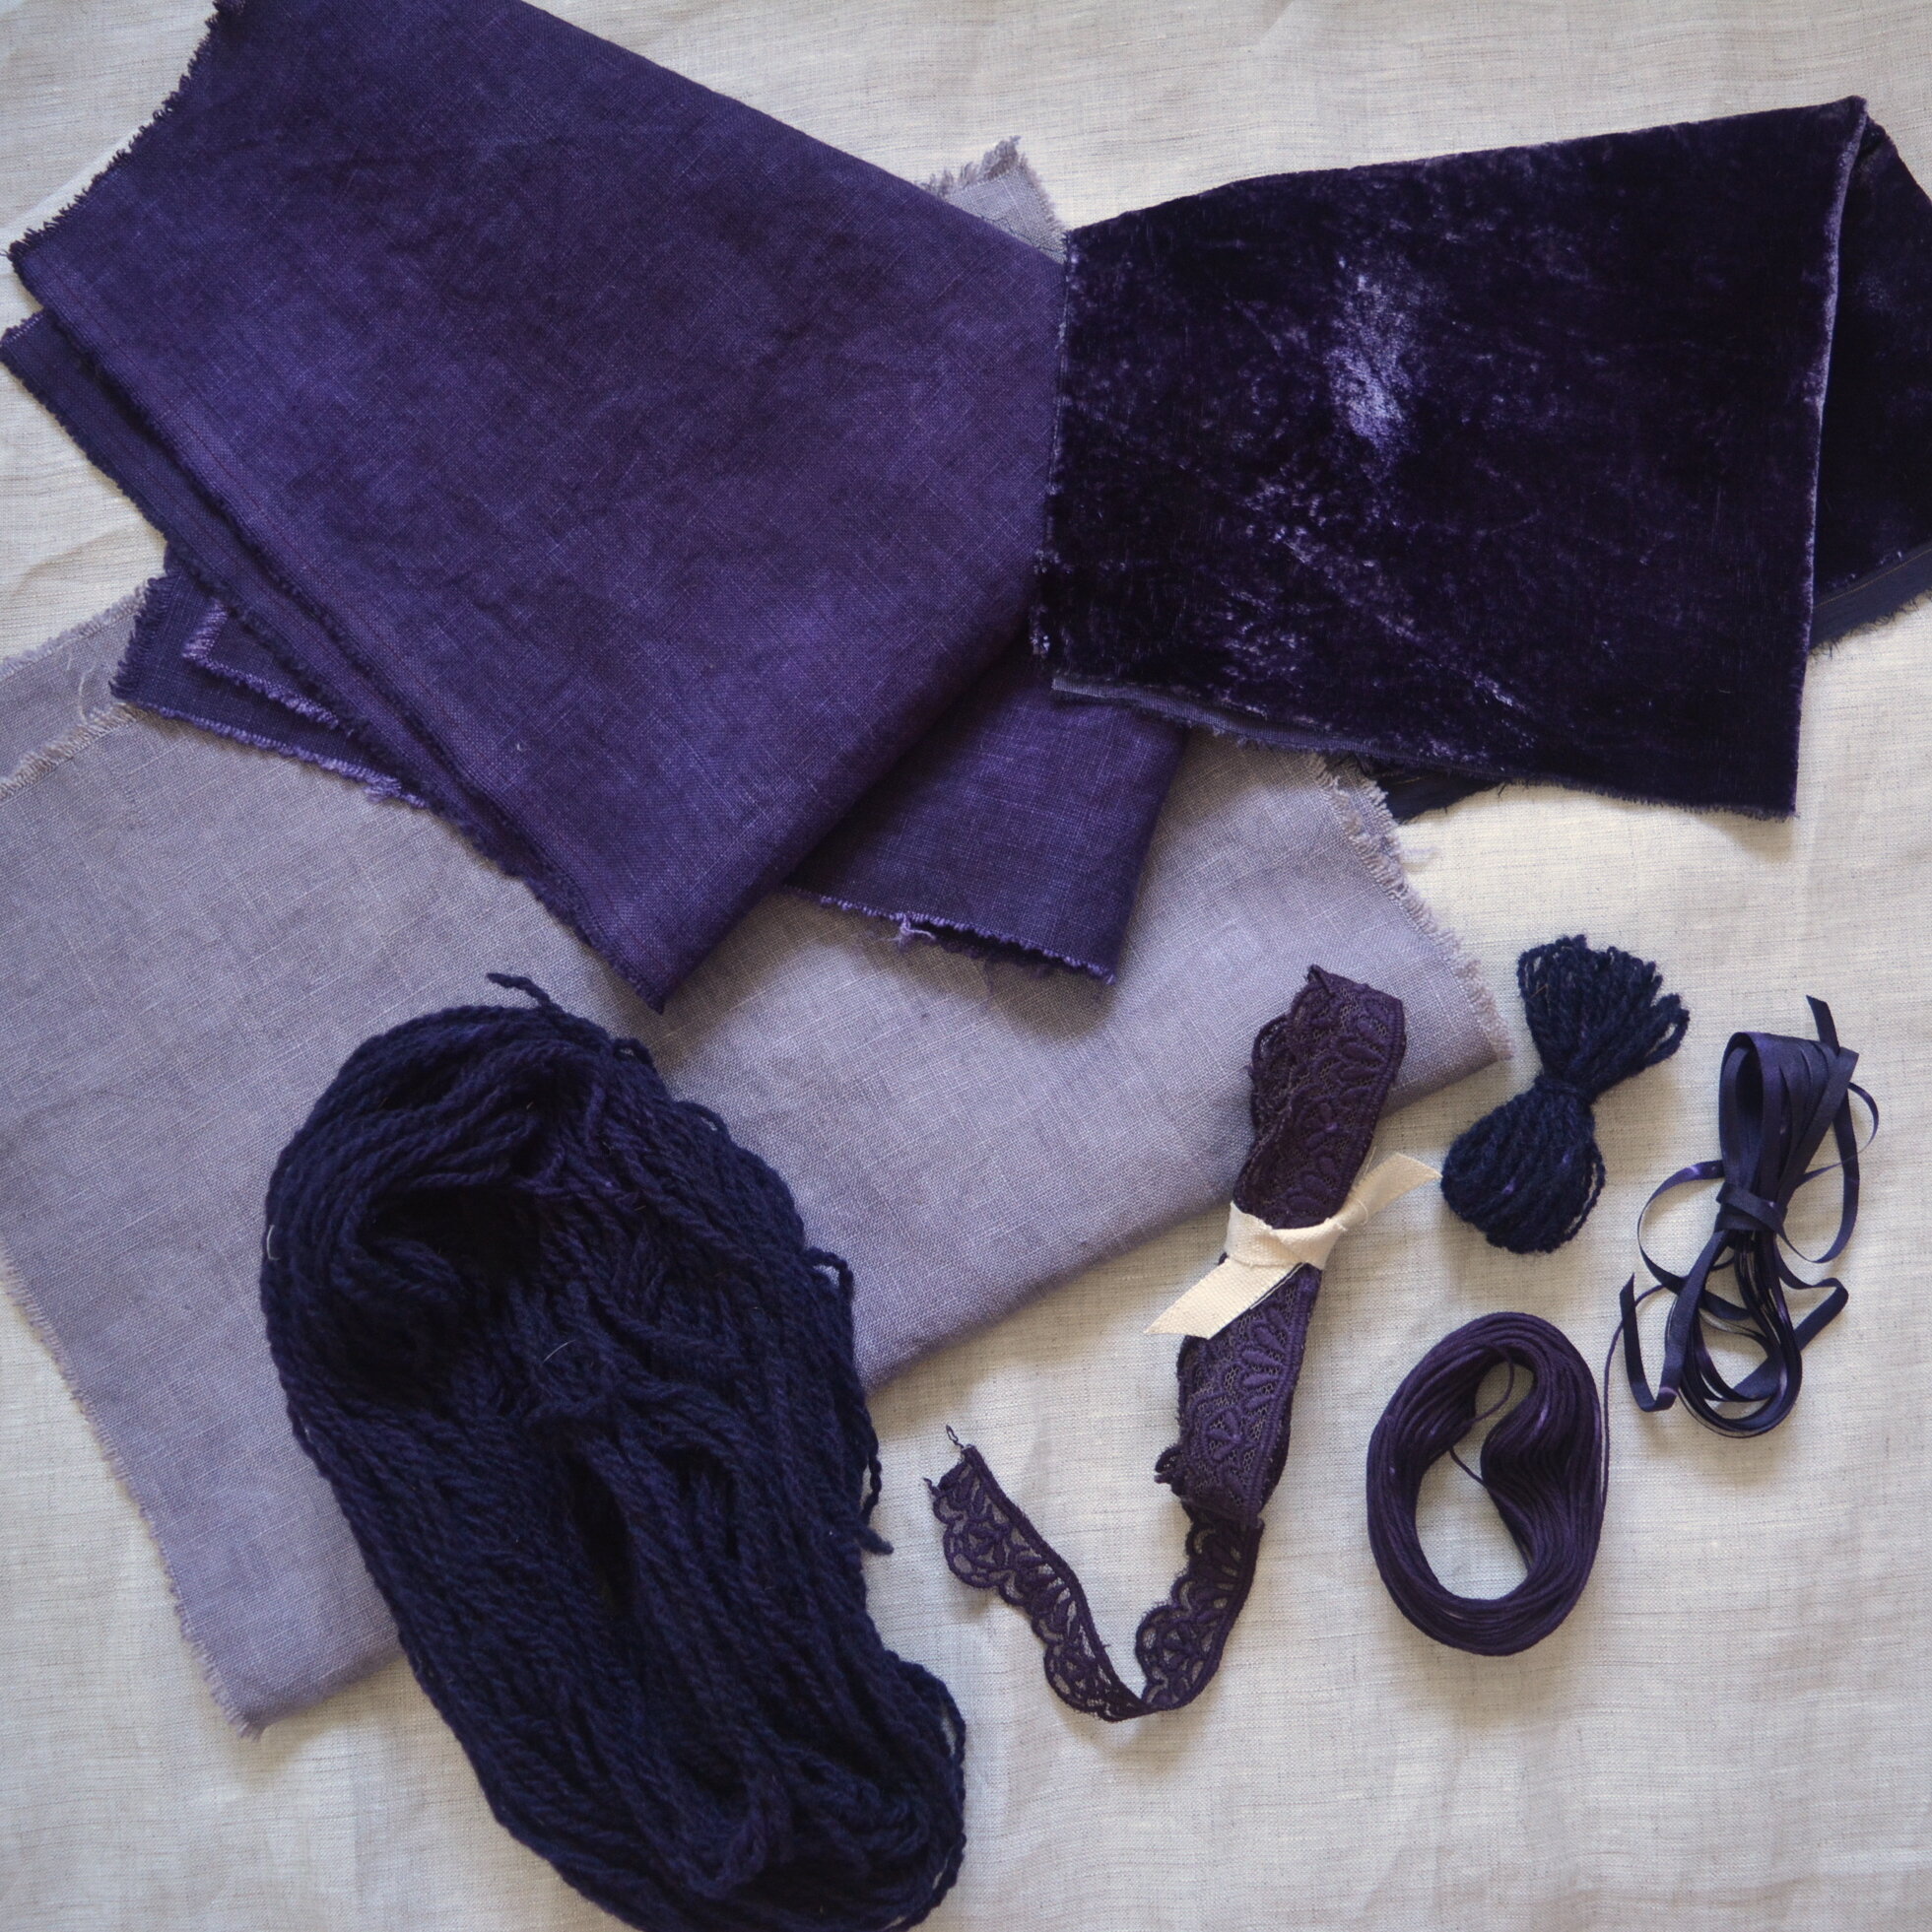
Sequoia:

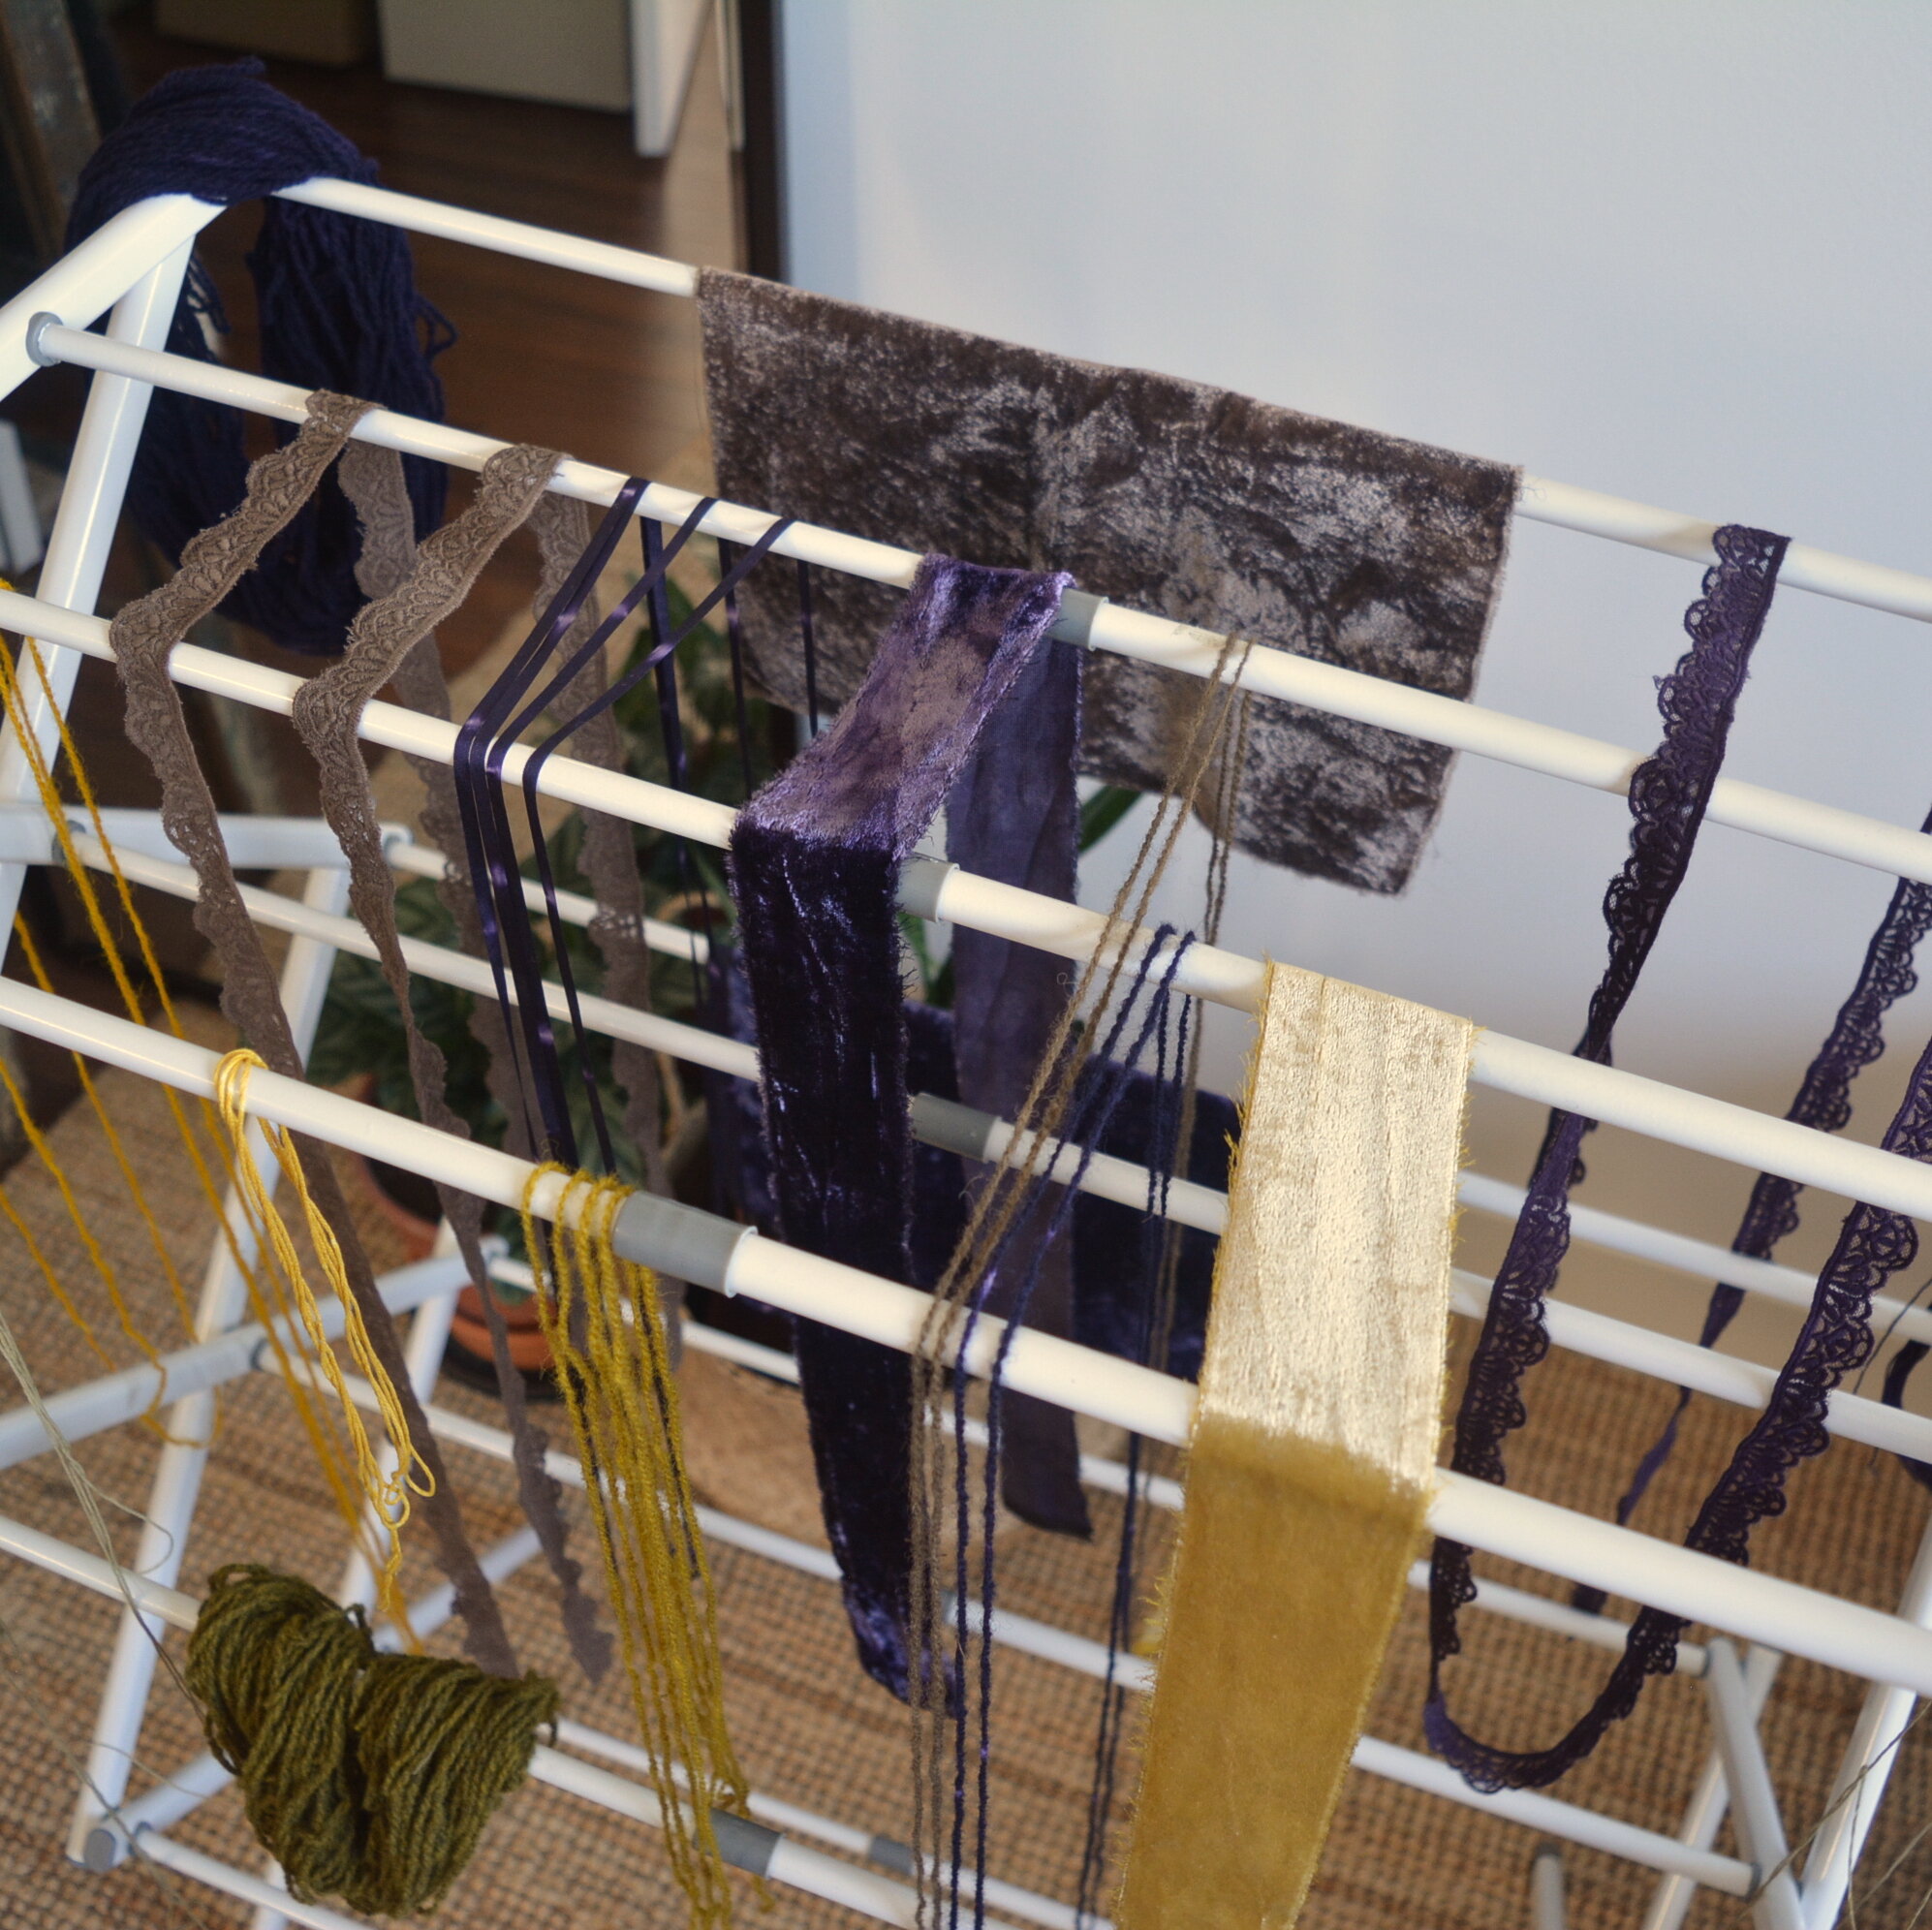
Measured at 10% WOF. I scoured fibres, applied tannin at 10% WOF, mordanted with alum at 15% WOF, then again with alum at 10% WOF. Sequoia is a dye with moderate lightfastness, which means it will fade if left in the sun. I do like the purple grey colour but I think I could achieve a similar colour using other more lightfast dyes with iron. I was expecting more of a wine colour so maybe I'll have to play with this one again, but probably at a higher WOF percent.

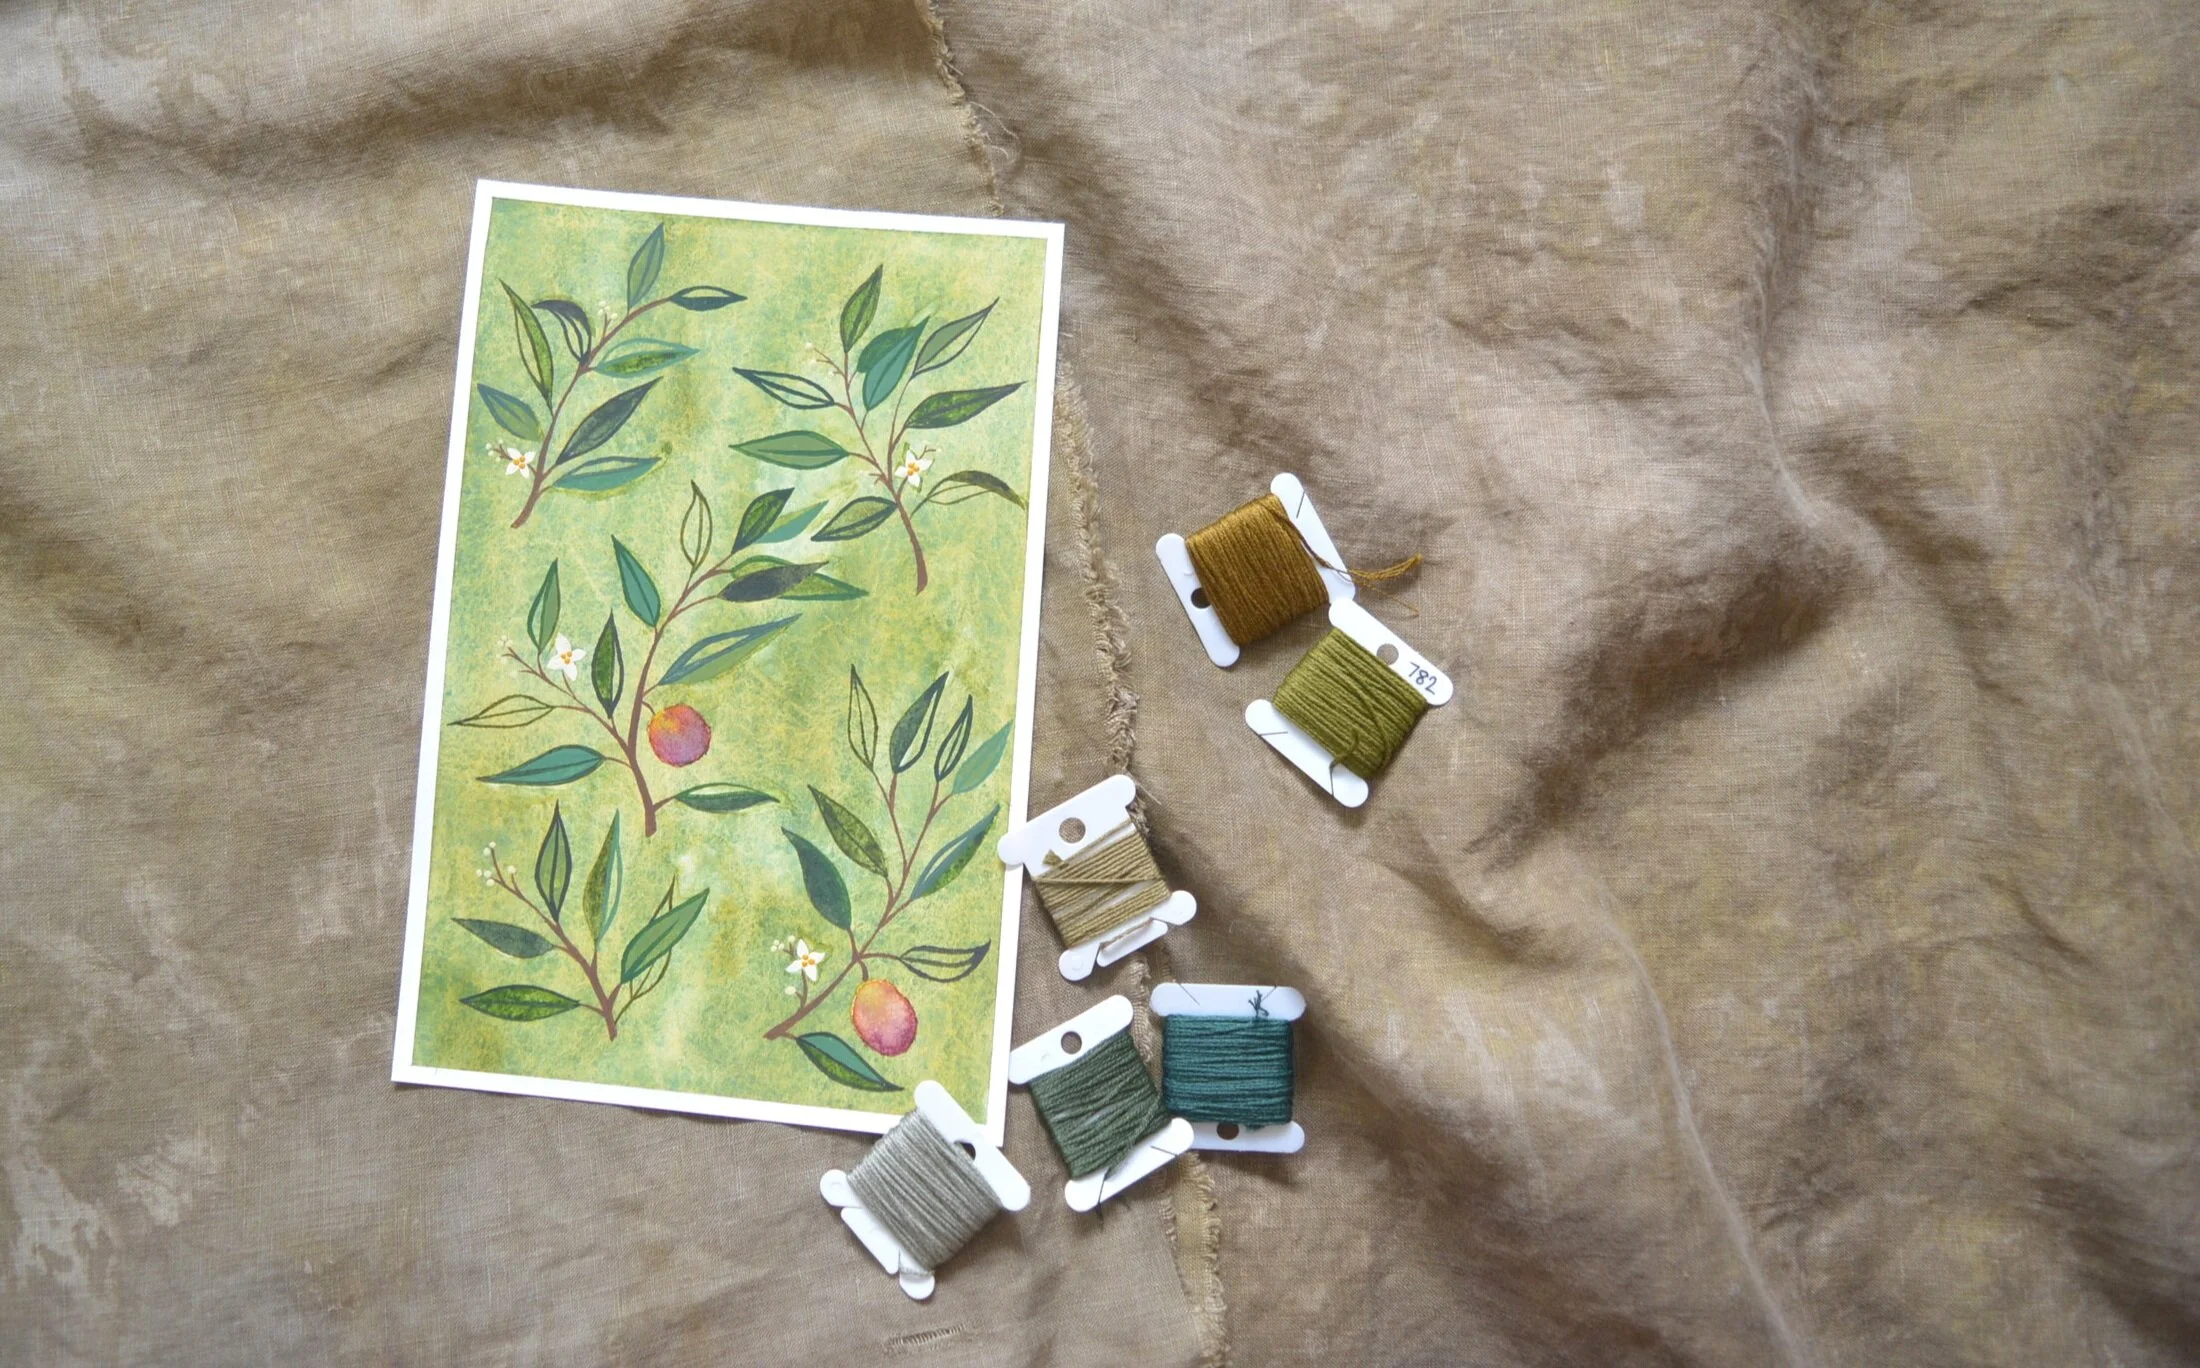
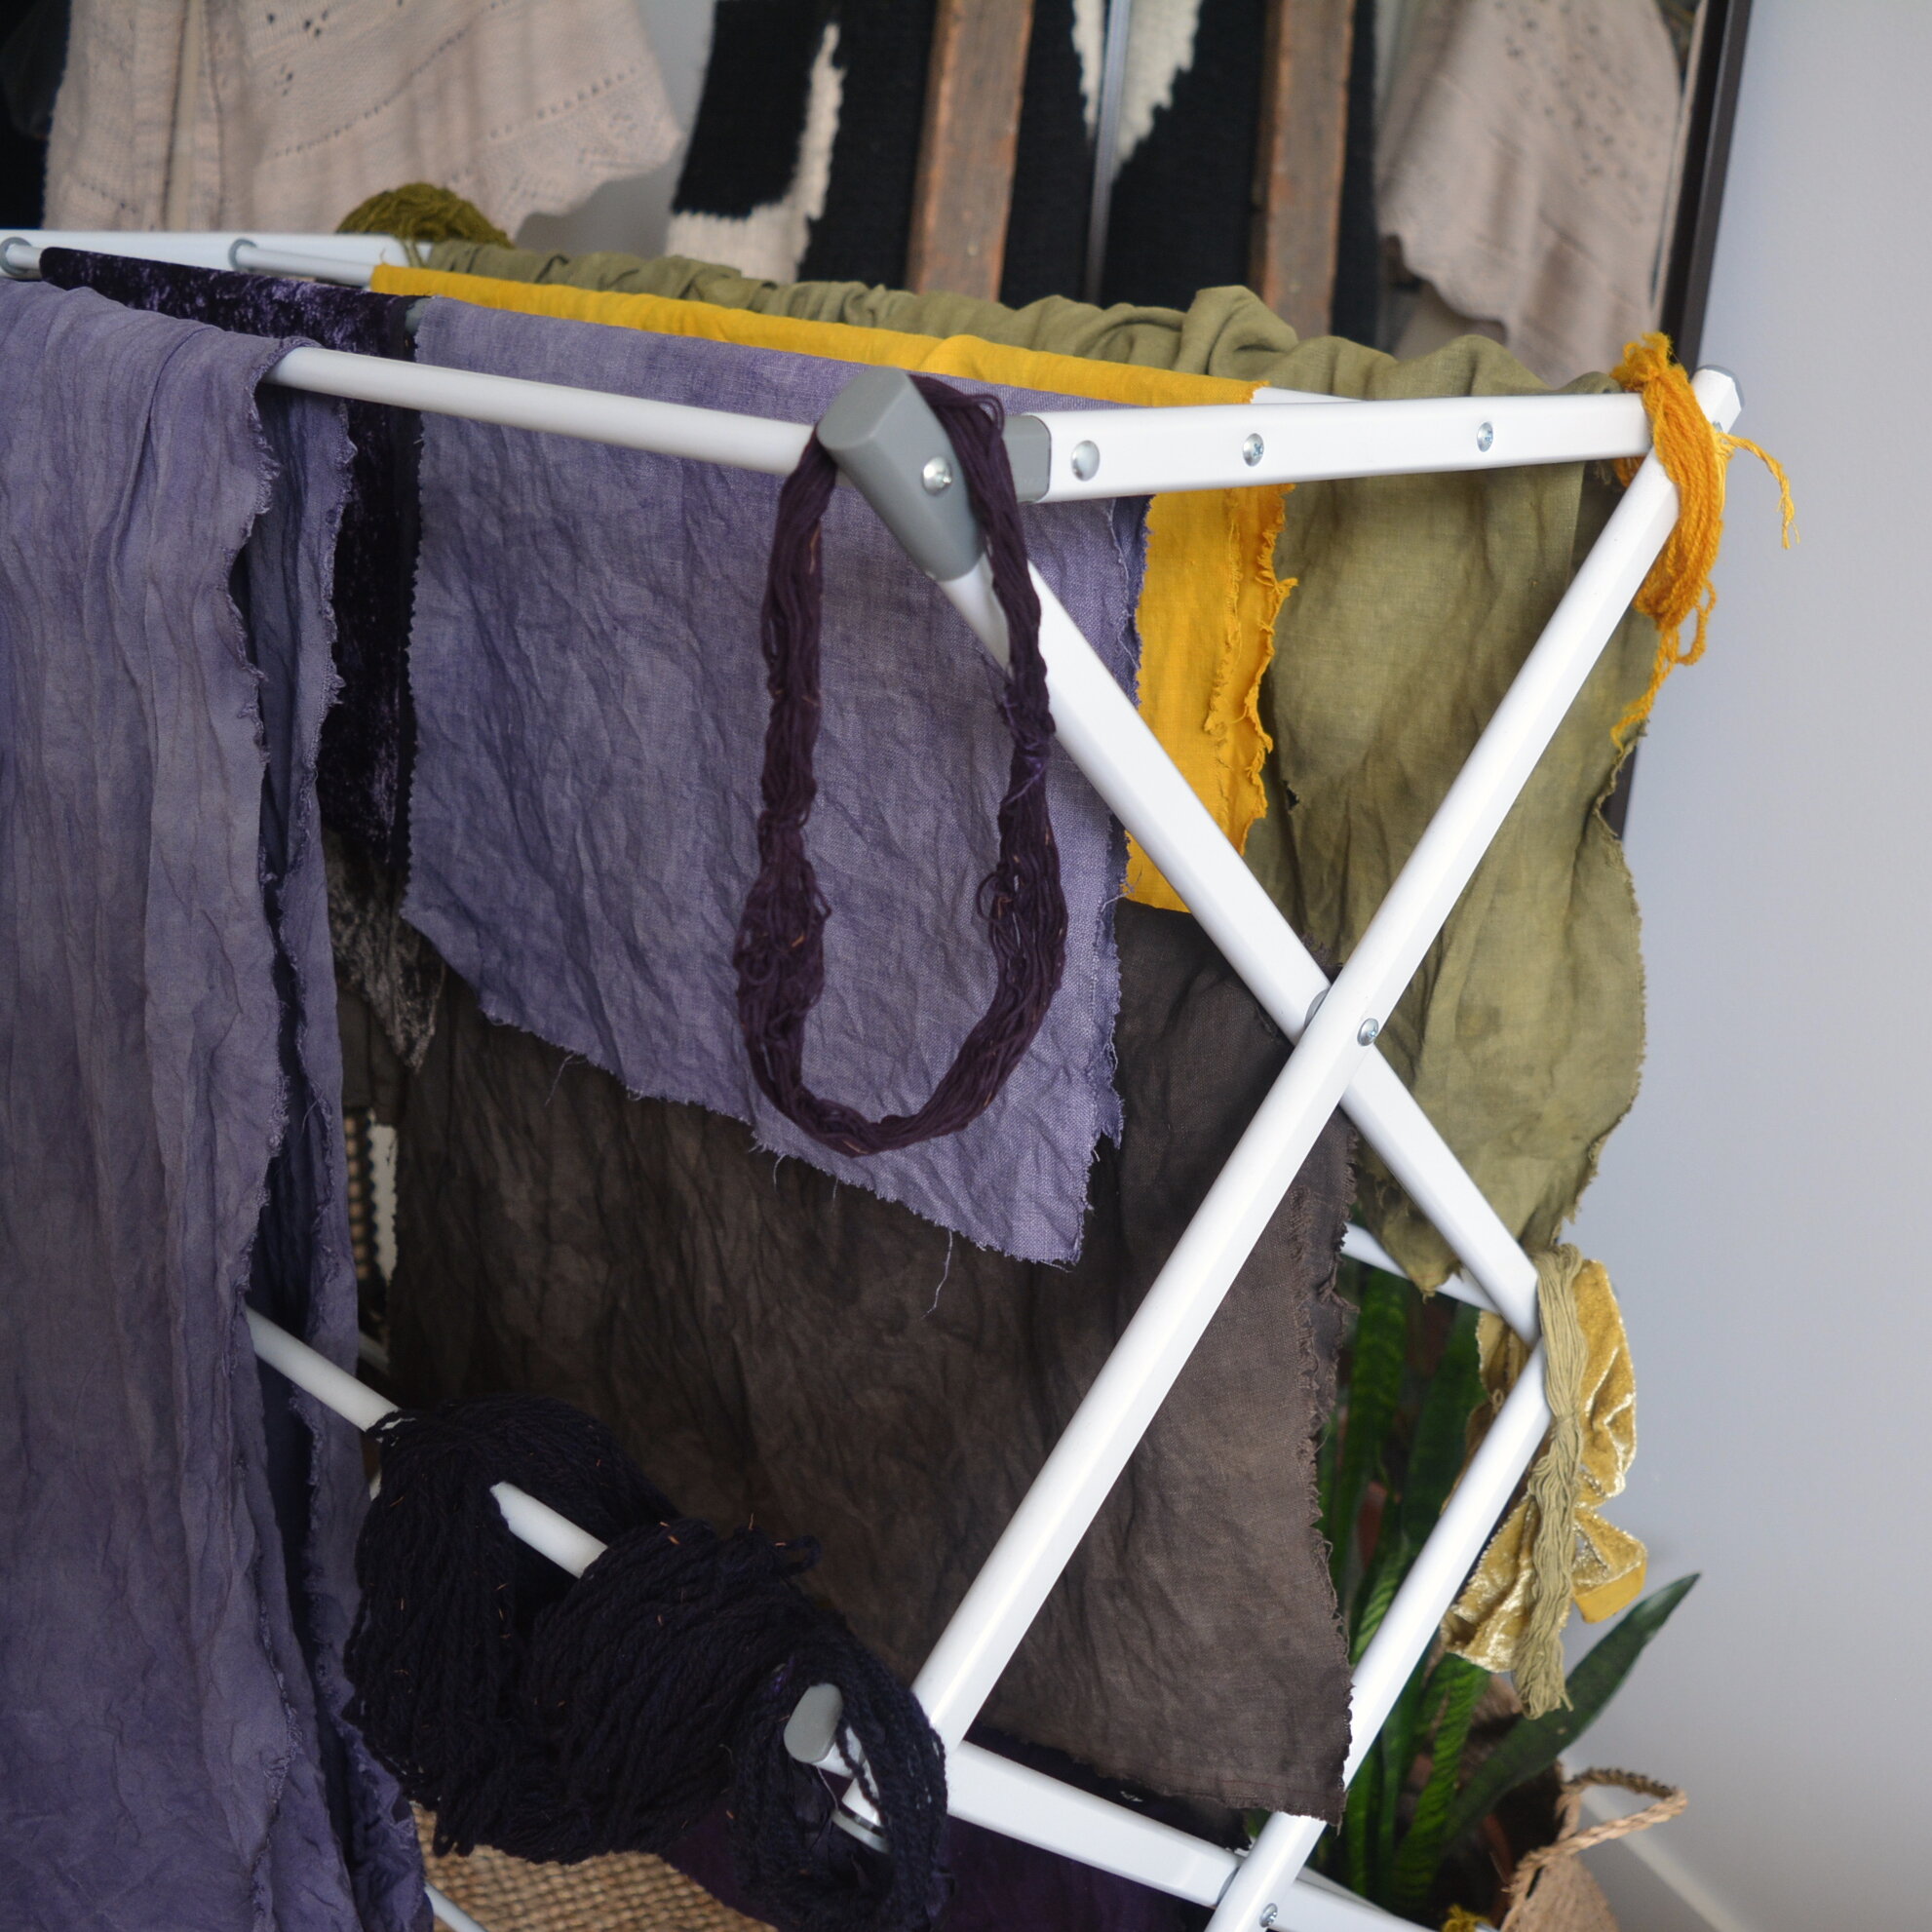
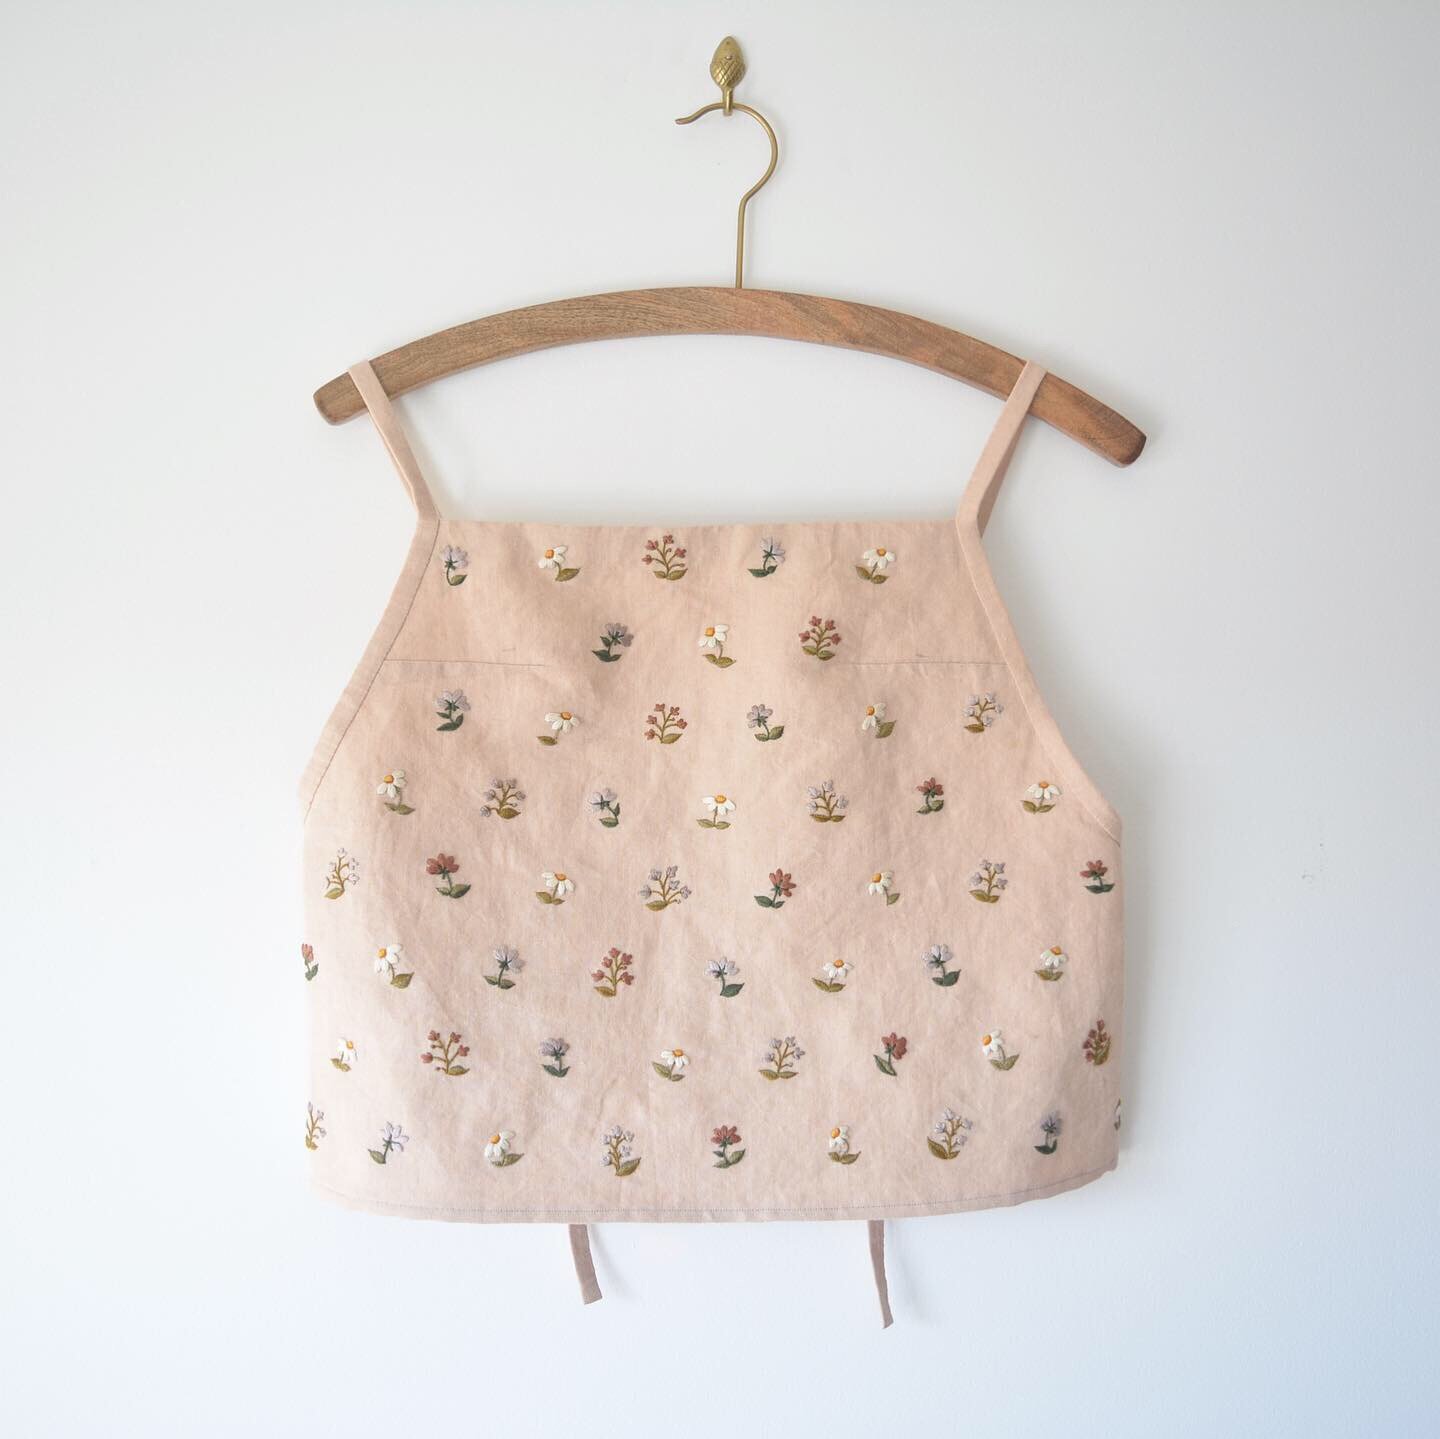
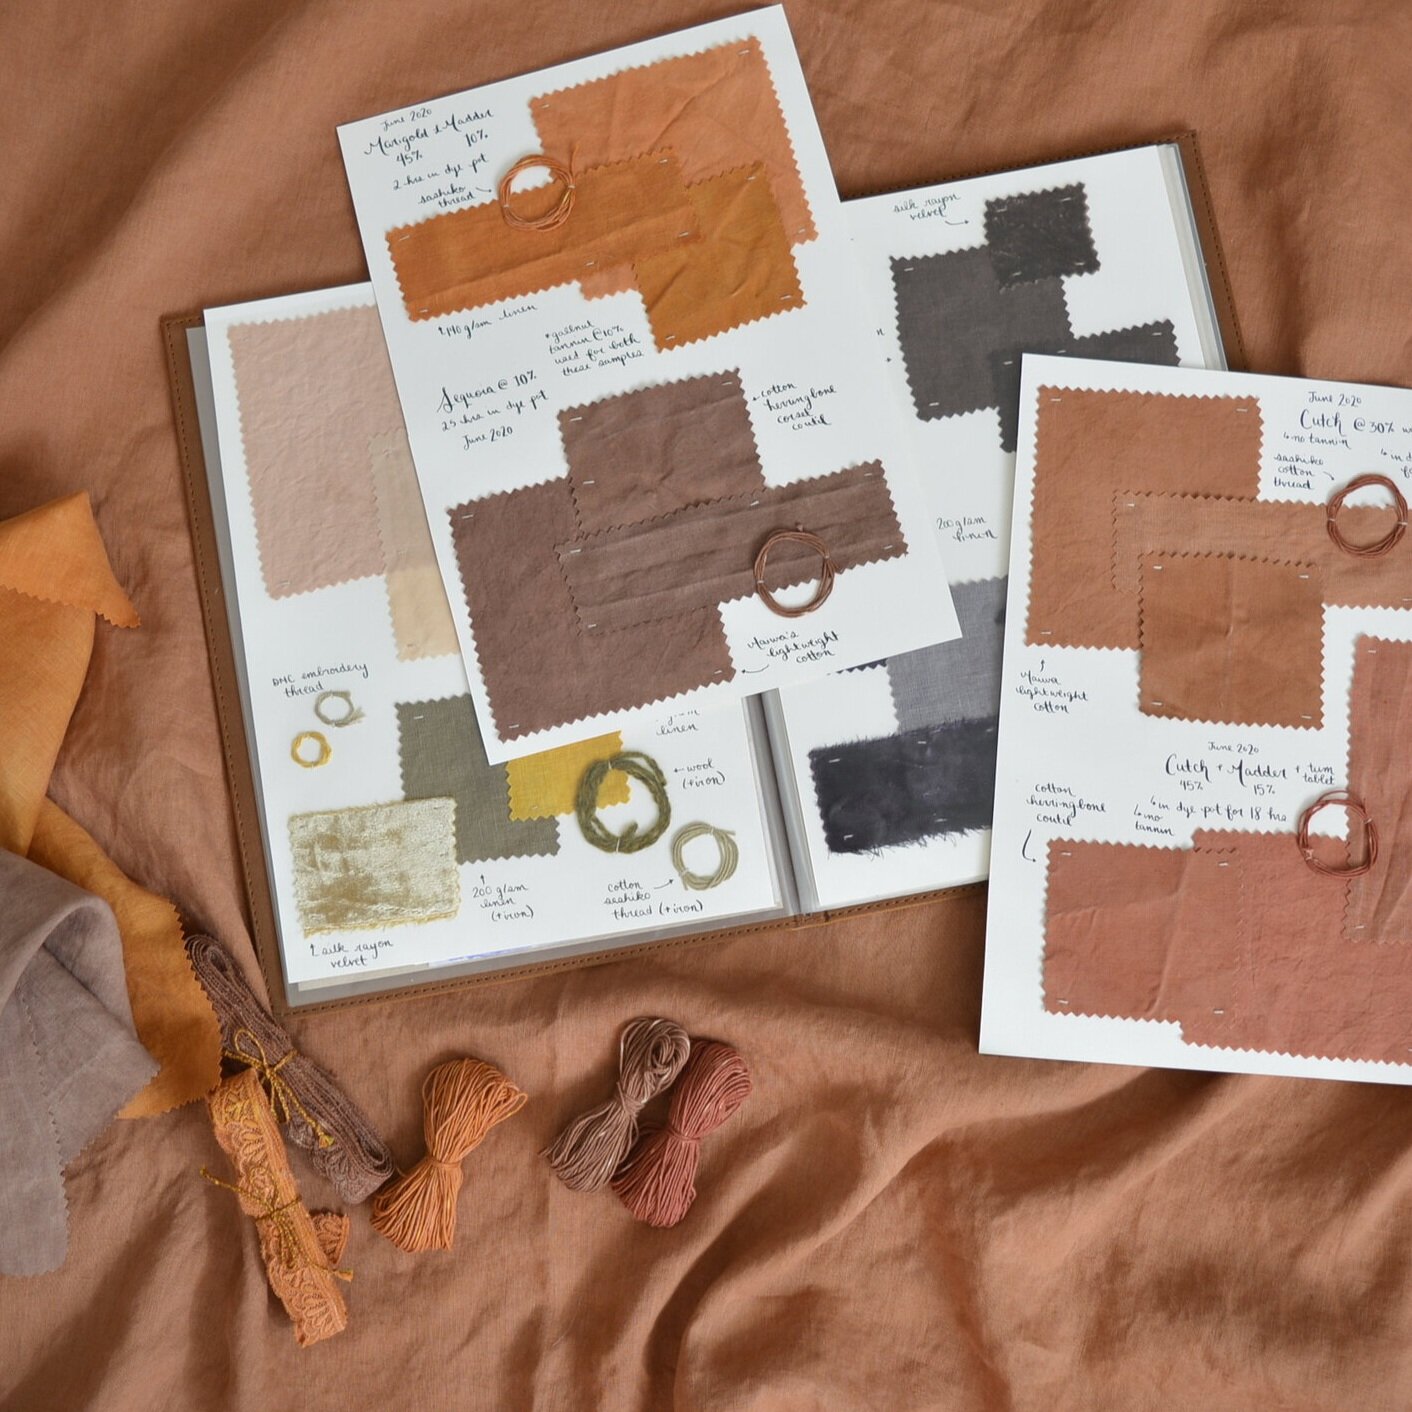
I took a couple pictures of everything put together on our patio, and of course made a couple new pages for my dye swatch book.

Pattern for mitred corner table linens: Purl Soho

Dye Supplies: Maiwa Natural Dyes

Linen I used: 140g/sm white linen

Natural Dye Instructions I use: Maiwa Guide to Natural Dyes

Drafting a Button-up Skirt Pattern

If you read my previous post you'll know how excited I've been about natural dyes this year. I just dyed a meter of lightweight linen a beautiful mottled olive green colour (read about that here), and I'm going to be sewing a skirt out of it. This is going to be a pretty big and consuming project, the dying itself takes lots of time and patience, and I'm also going to be doing an all-over embroidery design on the skirt. I'm thinking embroidered olive branches on an olive coloured skirt. So before I start on weeks, months, maybe years of embroidery, I want to have the perfect pattern.

2020-05-09_16-55-15.jpg

I'll be thread basting these pattern pieces onto my meter of fabric, and then only embroidering within the thread basted lines. There will be no wasted embroidery and nothing will get cut off by seams this way.

I've been really inspired by vintage clothing lately, and I love the look of buttons running up the front of a garment. I decided I want this skirt to be a button-up skirt that hits just below my knees, and something high waisted that I can tuck a light blouse into will work really well with my wardrobe. I considered buying a sewing pattern as I usually do, but since I knew I would be making a mock-up of that pattern anyways (I want the fit of this to be perfect!) I thought that this would be a good time to try drafting my own pattern. Plus I'm currently in isolation so I have plenty of time to make mistakes and do things over and over until I'm happy with the pattern.

skirt-design-final.png

There are many different ways to draft a pattern and because the skirt I'll be making is so simple I decided to use the method of tracing something that fits you well to get the basic shapes. I also have to keep in mind that I only have 1 meter of the olive green fabric. To make this skirt fit on the final fabric I'm going to have to cut the skirt on the cross grain (instead of the straight). Usually patterns are cut on the straight grain because it is the strongest, but I don't mind this skirt having some extra drape (maybe it will give it the slight feel of a bias cut skirt? We will see). I also can't cut the back of this skirt in one large piece. I'm breaking it up into 4 pieces by adding a seam down centre back and adding a triangle yoke to just the back of the skirt. So to start I traced the shape of a skirt that fits me well in the waist. I then traced the bottom half of another skirt that I like the drape and length of and I put those two shapes together, added a 1/2" seam allowance, et voila! A mediocre fitting skirt.

These drawings are just a rough visual of what I was doing, they are not a pattern!

These drawings are just a rough visual of what I was doing, they are not a pattern!

But in all honesty I was pretty happy at this point. I hadn't made a perfect thing but I had made a thing, and I could see where I needed to go to improve. The main things I noticed here is that the skirt does not drape as much as I want (it holds it's a-line shape), but the lightweight linen I'll be using has so much more drape than the cotton that I'm making the mock-up out of so that's a problem that will solve itself.

The second thing is all the extra fabric at my lower back! I've heard that many people have a "swayback", which is basically described as a dip at your lower back, and looking at this fabric I'm thinking that that's what I have. So I pinched the extra fabric horizontally, and pinned it down. Then I traced the fabric that I wanted removed onto the pattern piece, cut that slit out, and taped the piece back together. This was such a simple fix and I'm looking forward to using it in the future to alter patterns and store-bought clothes.

The last thing that needed to be fixed was that the skirt felt tight around my lower hips and upper thighs. Again a simple fix, I used a pencil to mark lines on the side seams where the skirt started feeling tight (I double checked this sitting down in the skirt), and then I transferred that line to the paper pattern piece. I didn't need too much more ease so I only extended the seam out 1/4" from where it was, which gives me a total of 1" extra room (because I made this adjustment to both the front and back pieces on both side seams).

Again, this is picture is not to scale, just an idea of what I did.

Again, this is picture is not to scale, just an idea of what I did.

I made nice new copies of all my pattern pieces and then used these to cut out a second mock-up to check my fit. I feel that this one is perfect! I've never had a skirt fit the shape of my hips so well, and this is going to be the pattern I go with fo my olive skirt project. I finished the mock-up with buttons and buttonholes, and a snap closure at the waistband, which is what I’ll be using on the final skirt. I’ll keep this mock-up around for reference while I embroider and sew the olive skirt, and then the hardware will be harvested for future mock-ups. The fabric will be re-used for more mock-ups until the pieces are so small that they become stuffing (I’m thinking of doing a set of bolster pillows once I have enough fabric scraps).

Read about my last all-over embroidered project here.

Experimenting with Natural Dyes: Osage, Cutch, and Logwood

For this second natural dye session I decided to try making multiple dye baths so that I could do one large batch of scouring and mordanting, and then split the fabrics and fibres up into multiple different dyes. I chose 3 dyes that I was interested in trying out without putting much thought into how those colours would work together. Which of course is completely unnecessary, but I think to make photographing everything more fun I will choose a colour palette or theme for my next batch of colours.

I tend to like more muted tones so I was looking forward to experimenting with adding iron to my dye baths. I wanted to see each of the dye baths before and after adding iron, and make some pages for my swatch book with all my results. These experiments are just for fun and learning, so I'm not too picky about the outcomes of the colours. I did dye a couple larger pieces of linen and hemp that I can make garments from, but mostly I just dyed scraps of linen (for quilts and small zippered pouches), and scraps of yarn, ribbon, and embroidery thread. I try to use a mix of materials like linen, cotton, silk, velvet, and wool so I can see how the dye changes on different bases.

The three dyes I would be working with this time are osage sawdust, cutch powder, and logwood chips, all from Maiwa Supply. This post is not intended to be instructional, I just want to share my experience with the dyes, and I recommend following the instructional PDF that Maiwa offers if you want to follow along. Maiwa also just launched a new natural dye website which is another excellent resource. I try to follow their instructions as best as I can here.

I scoured and mordanted all of my materials first (following the appropriate directions for cellulose and protein fibres). For mordanting, all of my protein fibres were done with alum, and all of my cellulose fibres had a tannin applied (gallnut), then an alum mordant, and then a 2nd alum mordant. Of the 3 dyes I used, cutch does not actually require a tannin (it naturally contains its own tannins), but I applied it anyways because I wanted to keep everything in one big batch. I only have 1 pot dedicated to dying at the moment (and you don't want to mix dye pots with kitchen pots), so the scouring and mordanting process is very time consuming for me, as I do every thing one step at a time. Having 1 pot means I also have nowhere to strain my dye bath into, so most of my dyeing is done with the dyestuff still in the water, which I think is contributing to my splotchy colours. I'm really looking forward to isolation being over so I can start keeping a look out for large pots at thrift shops.

The first dye I played with was osage. I was looking for an olive green for an upcoming skirt project so I decided to go with osage, which produces a warm yellow, and then add iron to change the colour to olive green. I first dyed a small piece of linen in just the osage to learn about the colour that osage gives on it's own (a very warm and vibrant yellow), and then I added the iron directly to the dye pot. I am so in love with the olive green colour that I got from this. I also have read that over-dying the osage yellow fabric with indigo will produce a teal or emerald green, so I will save some of this yellow fabric for an indigo dip. I've taken an indigo dying workshop in the past so I'm excited to start experimenting with blues this summer.

The next dye was cutch. Cutch is supposed to make a toffee brown, and with iron it should be a more chocolate brown. I was looking for a more chocolate colour so I immediately added iron to the bath. I regret not dying a scrap of linen first before the iron, to see what that toffee colour would have been! I also thought I added too much iron, as my fabric turned a dark charcoal colour almost immediately. Although this was one of the dyes that I found changed over the next couple weeks as the colour "set in".

My last dye was logwood chips. This dye seems to have so much potential, especially when over-dying or under-dying with other colours. My goal was a lavender purple, so I started with 10% dye stuff to WOF (weight of fabric) thinking it would get me a light shade. I let the logwood chips soak in water for 12 hours, and then boiled them to make my bath, and it was so much stronger than I expected. The first couple pieces I put in turned a very deep purple right away, so before putting the rest of the fibre in I discarded about 80% of the bath, watered down the remainder and tried again. I added a very small amount of iron (learning from the cutch experiment the day before), and got a pretty muted purple, still not quite as light as I was hoping but much closer to my goal. You can save the logwood chips and re-use them for a lighter dye bath, so I dried mine out and will use them again for what I'm hoping will be a very light lavender.

After dying you give all of your fibres a good rinse and then let them hang to dry. Here it is suggested that you let the fibres rest for two weeks to let the colours set into the fibre before you wash with soap. Natural dying is such a lesson in patience, and waiting the two weeks before I can use the fibres makes it feel a little like Christmas in a way. After the final wash I found that a lot of the vibrancy from the osage washed out. Which meant the olive green was a little more grey toned than it looked before washing. I also felt like the colour of the cloth dyed with cutch changed a lot after it was washed, from charcoal to more of a brown tone. Before washing the cutch cloth was my least favourite of the bunch but after washing it is the colour I am most excited about!

One interesting thing was seeing how different the colour showed up on different fibres. Below is an example of the osage + iron dye on some wool yarn vs. on cotton sashiko thread.

2020-05-09_21-21-55.jpg

I learned so much from these dye experiments and I'm excited to add some swatches to my swatch book. You can read about my first experiment dying with avocados here. I used the fabric from that dye bath to make this outfit here.

Wattlebird Cami and Fawn Skirt Pattern Review

wattlebird-cami.jpg

If I've ever poured all my love and energy into making something it was this project right here. My avocado dyed, hand-embroidered, hand-finished Wattlebird Cami & Fawn Skirt set. I started this project with the intention to make the Wattle-Fawn Dress hack, but it evolved into separates that can be worn together to look like a dress. This is the most involved I've ever been in the process of making a garment, and that makes me so proud of the finished pieces.

The Wattle-Fawn dress is a mash-up of two patterns by Common Stitch: the Wattlebird Cami and the Fawn Skirt. I bought the PDF version and had the pattern printed at my local copy shop so I wouldn't have to do any paper piecing. It was an investment to buy this pattern (which Common Stitch sells as a package including both individual patterns), but I really think I'll get a lot of use out of it. I love both the cami and skirt on their own, and I think I'll be doing plenty of future sewing from these patterns.

The fabric I used for this project is a handwoven 100% linen from Maiwa Supply. I dyed the fabric naturally using avocado skins and pits to get the peachy pink colour (you can read more about that here). I cut all my pieces like usual, except for the front cami piece. Because I knew that I would be embroidering that one I thread basted where I would be cutting later, and then left myself plenty of fabric all around that thread basted line so that the piece would comfortably fit into my embroidery hoop. I decided not to sew a mock-up for this dress, mainly because I'm not usually too picky about how garments like this fit. The Wattle-Fawn dress is designed to be a loose fitting flow-y dress without too much structure (and also no sleeves to fit!) so I figured I wouldn't have a problem just jumping straight into it, and making small adjustments later if necessary. Of course this bit me in the butt later when I realized that the dress was a little too shapeless for my preference, but turning it into a set of separates was a quick fix for that.

I wanted an all over embroidered floral print for the cami piece, so I tested a couple flower ideas on some scrap avocado dyed fabric, and once I had my plan I sketched it all out on my thread basted piece with pencil, measuring to make sure the flowers were equally spaced. Pencil doesn't wash out as nicely as a marker made for this purpose, but it's what I had on hand and I would be covering it all up with embroidery anyways. I went about embroidering, and 38 hours of stitching later (spread out over a couple weeks of course) I was ready to start assembling.

I wanted to cover the back side of the embroidery because I thought it might irritate my skin, so I lined just the front cami piece with another piece of the same pink linen. I used the flat-lining method, essentially cutting a double of the piece I wanted to line, laying them on top of one another, and from that point treating it as one single piece. Flat-lining gives you a chance to finish things really beautifully by hand, hiding stitches and seams in the lining. One of Bernadette Banner's videos explains the flat-lining process really well: linked here. I also hand finished all of the binding and straps because every time I try top-stitching fiddly bits like this on my machine it never turns out as straight or neat as I prefer.

I pieced together the skirt, getting mildly frustrated by all the gathering, but it came together fairly quickly. I basted the cami to the assembled skirt because I though I might want to shorten it, and it was here when I tried it on to fit that I realized it was not quite the look I wanted. The lack of a defined waist coupled with all the volume in the skirt was just making me feel shapeless. I decided to take them apart and just hem the cami and keep it as a classic Wattlebird cami, and finish the skirt as a separate at well. The Fawn Skirt is finished with an elastic waist, which gave me the waist definition I wanted. I'm pretty happy with this solution because I feel like I will get a lot of wear out of the cami on it's own, making the garments a lot more versatile than if I just had the dress.

If I do decide to try the dress hack again it would be with a much more drape-y and flow-y fabric, and I would probably insert ties in at the waist seams so that I could cinch the waist in and tie a bow at the back. But for now I'm smitten with my outcome from this first try and looking forward to a summer in avocado pink!

How I Wrap My Embroidery Hoops (and Why I Do It!)

2020-04-09_16-43-17.jpg

While I don't consider myself experienced with embroidery, even this one little tip has made everything I finish look so much better. I started wrapping my embroidery hoops and it has helped both with making my process easier, and with improving the look of the finished piece:

  • Wrapping helps to create a tighter working surface with the fabric, and I find the fabric doesn't loosen as I'm working.

  • When I'm working on a larger piece and have to move the hoop around the fabric, the softer surface of the wrapped hoop doesn't "squish" my worked embroidery as aggressively as the exposed wood does.

  • When I take my work out of the hoop I find the crease from where the hoop was sitting is less prominent and a little easier to iron out (although I still recommend taking your fabric out of the hoop whenever you are not actively working on it, to give the fabric time to rest).

A lot of resources suggest wrapping your hoop with some scrap fabric and glueing down the tails to the hoop. While this works just as wonderfully, I wanted my hoops to look a little more polished, and I wanted to avoid glueing anything to my hoops. So I've been wrapping all of my hoops with some linen tape, which I love the look of, and when I wrap tight and sew the ends down to the tape itself I find there's no movement while I'm working and the tape stays snug.

It also seems a lot of people prefer to wrap the inner hoop instead of the outer. This would still help with maintaining a tight hold on your fabric, but it wouldn’t do as much to protect your embroidery from getting squished by the hoop, so I prefer to wrap the outer hoop for that reason.

2020-04-09_16-05-55.jpg

To wrap your hoop you'll need:

  • linen tape (I use 1/2" Dutch Linen Tape from Burnley & Trowbridge)

  • thread (I use linen thread, waxed with beeswax, both from Burnley & Trowbridge, but any sewing thread will do)

  • sewing needle

  • embroidery hoop

  • thimble

  • craft clamps (I use similar clamps to these)

  • scissors

To start, I set aside the inner hoop, and I wrap the tape around the outer hoop a couple times. I wrap nice and tight, and use a couple clamps to hold this in place while I work on securing the starting tail. I leave myself a tail a couple of inches long to work with. This next part is a little fiddly. I basically play with positioning the tail of the linen tape (folding and trimming until it looks nice), and then whip stitch the end down to the tape already wrapped around the hoop. If the tape is wrapped really tight, you'll find that it doesn't shift around, even without glue.

Once I have that attached, I very carefully wrap the tape around the hoop, being mindful to keep the edges lined up (and not overlapping) and to keep the wrapping tight.

2020-04-09_16-28-28.jpg

When I get back to the metal clamp I need to secure this end as well. Again I use clamps to secure the work I've done, and cut myself a tail a couple inches long. I finish the end the same way I started the tape: fiddling until it looks nice, and then whip stitching the end edge down to the tape already wrapped around the hoop. To finish the loose strings I do a couple extra stitches in place, and then weave the thread into the linen tape before cutting the end.

I hope you found this useful. You could also use cotton twill tape or strips of fabric with this same technique. Happy embroidering!