
Drafting a Button-up Skirt Pattern
/If you read my previous post you'll know how excited I've been about natural dyes this year. I just dyed a meter of lightweight linen a beautiful mottled olive green colour (read about that here), and I'm going to be sewing a skirt out of it. This is going to be a pretty big and consuming project, the dying itself takes lots of time and patience, and I'm also going to be doing an all-over embroidery design on the skirt. I'm thinking embroidered olive branches on an olive coloured skirt. So before I start on weeks, months, maybe years of embroidery, I want to have the perfect pattern.
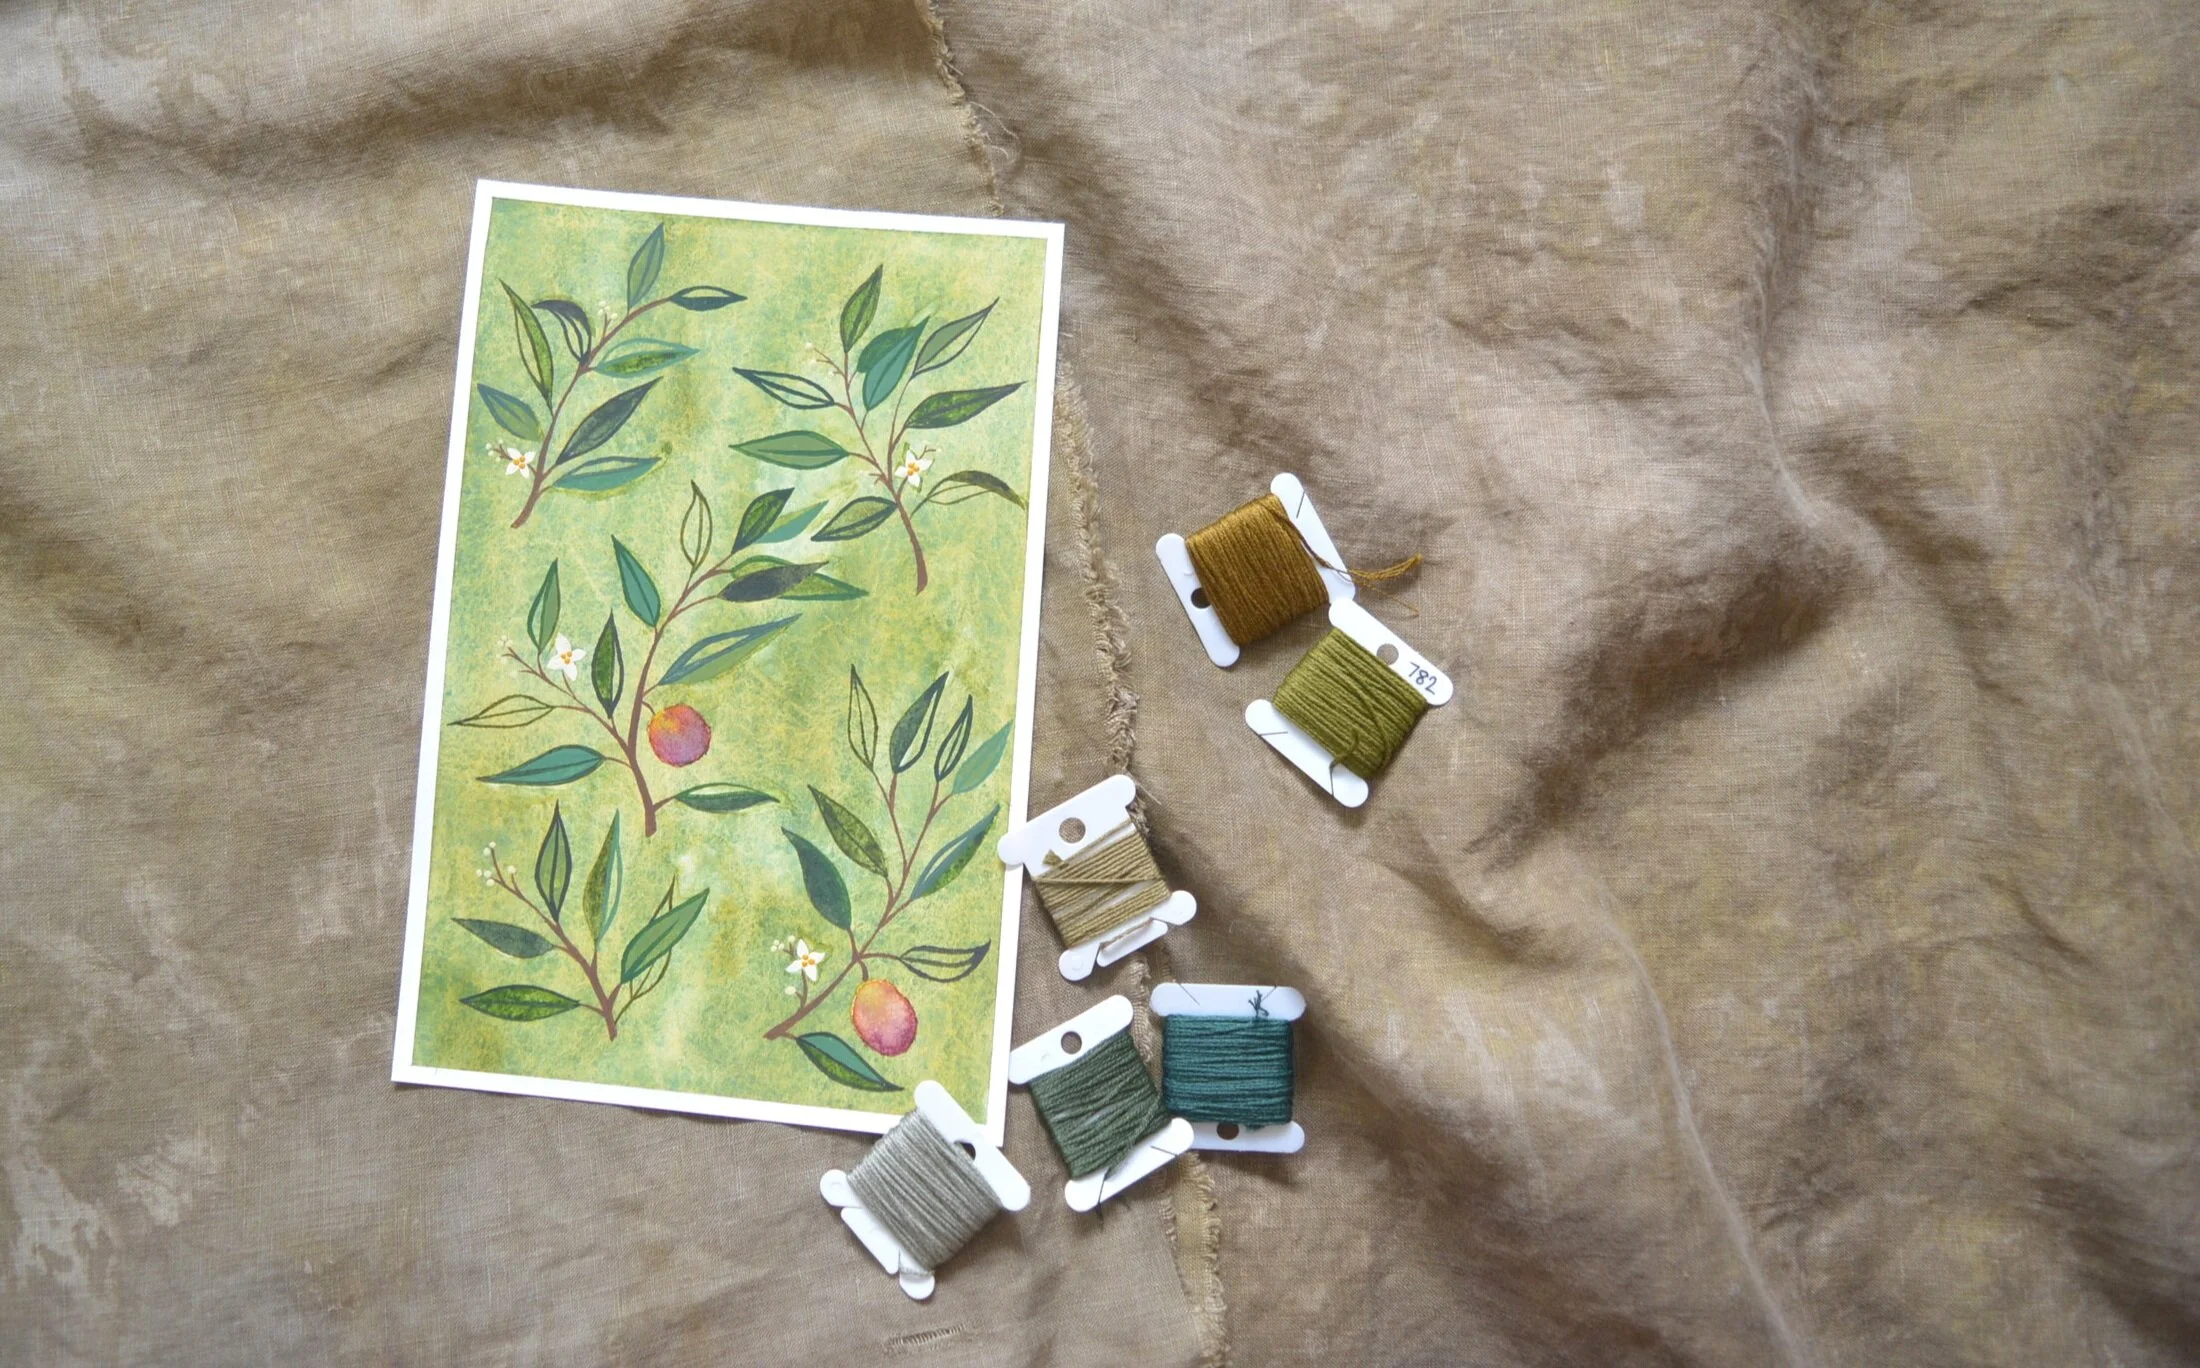
I'll be thread basting these pattern pieces onto my meter of fabric, and then only embroidering within the thread basted lines. There will be no wasted embroidery and nothing will get cut off by seams this way.
I've been really inspired by vintage clothing lately, and I love the look of buttons running up the front of a garment. I decided I want this skirt to be a button-up skirt that hits just below my knees, and something high waisted that I can tuck a light blouse into will work really well with my wardrobe. I considered buying a sewing pattern as I usually do, but since I knew I would be making a mock-up of that pattern anyways (I want the fit of this to be perfect!) I thought that this would be a good time to try drafting my own pattern. Plus I'm currently in isolation so I have plenty of time to make mistakes and do things over and over until I'm happy with the pattern.

There are many different ways to draft a pattern and because the skirt I'll be making is so simple I decided to use the method of tracing something that fits you well to get the basic shapes. I also have to keep in mind that I only have 1 meter of the olive green fabric. To make this skirt fit on the final fabric I'm going to have to cut the skirt on the cross grain (instead of the straight). Usually patterns are cut on the straight grain because it is the strongest, but I don't mind this skirt having some extra drape (maybe it will give it the slight feel of a bias cut skirt? We will see). I also can't cut the back of this skirt in one large piece. I'm breaking it up into 4 pieces by adding a seam down centre back and adding a triangle yoke to just the back of the skirt. So to start I traced the shape of a skirt that fits me well in the waist. I then traced the bottom half of another skirt that I like the drape and length of and I put those two shapes together, added a 1/2" seam allowance, et voila! A mediocre fitting skirt.

These drawings are just a rough visual of what I was doing, they are not a pattern!
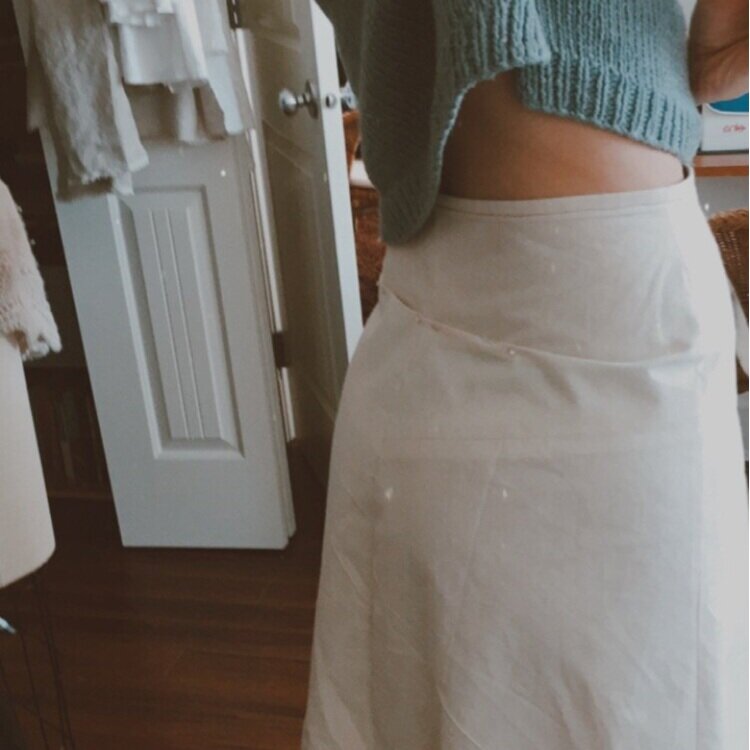
But in all honesty I was pretty happy at this point. I hadn't made a perfect thing but I had made a thing, and I could see where I needed to go to improve. The main things I noticed here is that the skirt does not drape as much as I want (it holds it's a-line shape), but the lightweight linen I'll be using has so much more drape than the cotton that I'm making the mock-up out of so that's a problem that will solve itself.
The second thing is all the extra fabric at my lower back! I've heard that many people have a "swayback", which is basically described as a dip at your lower back, and looking at this fabric I'm thinking that that's what I have. So I pinched the extra fabric horizontally, and pinned it down. Then I traced the fabric that I wanted removed onto the pattern piece, cut that slit out, and taped the piece back together. This was such a simple fix and I'm looking forward to using it in the future to alter patterns and store-bought clothes.

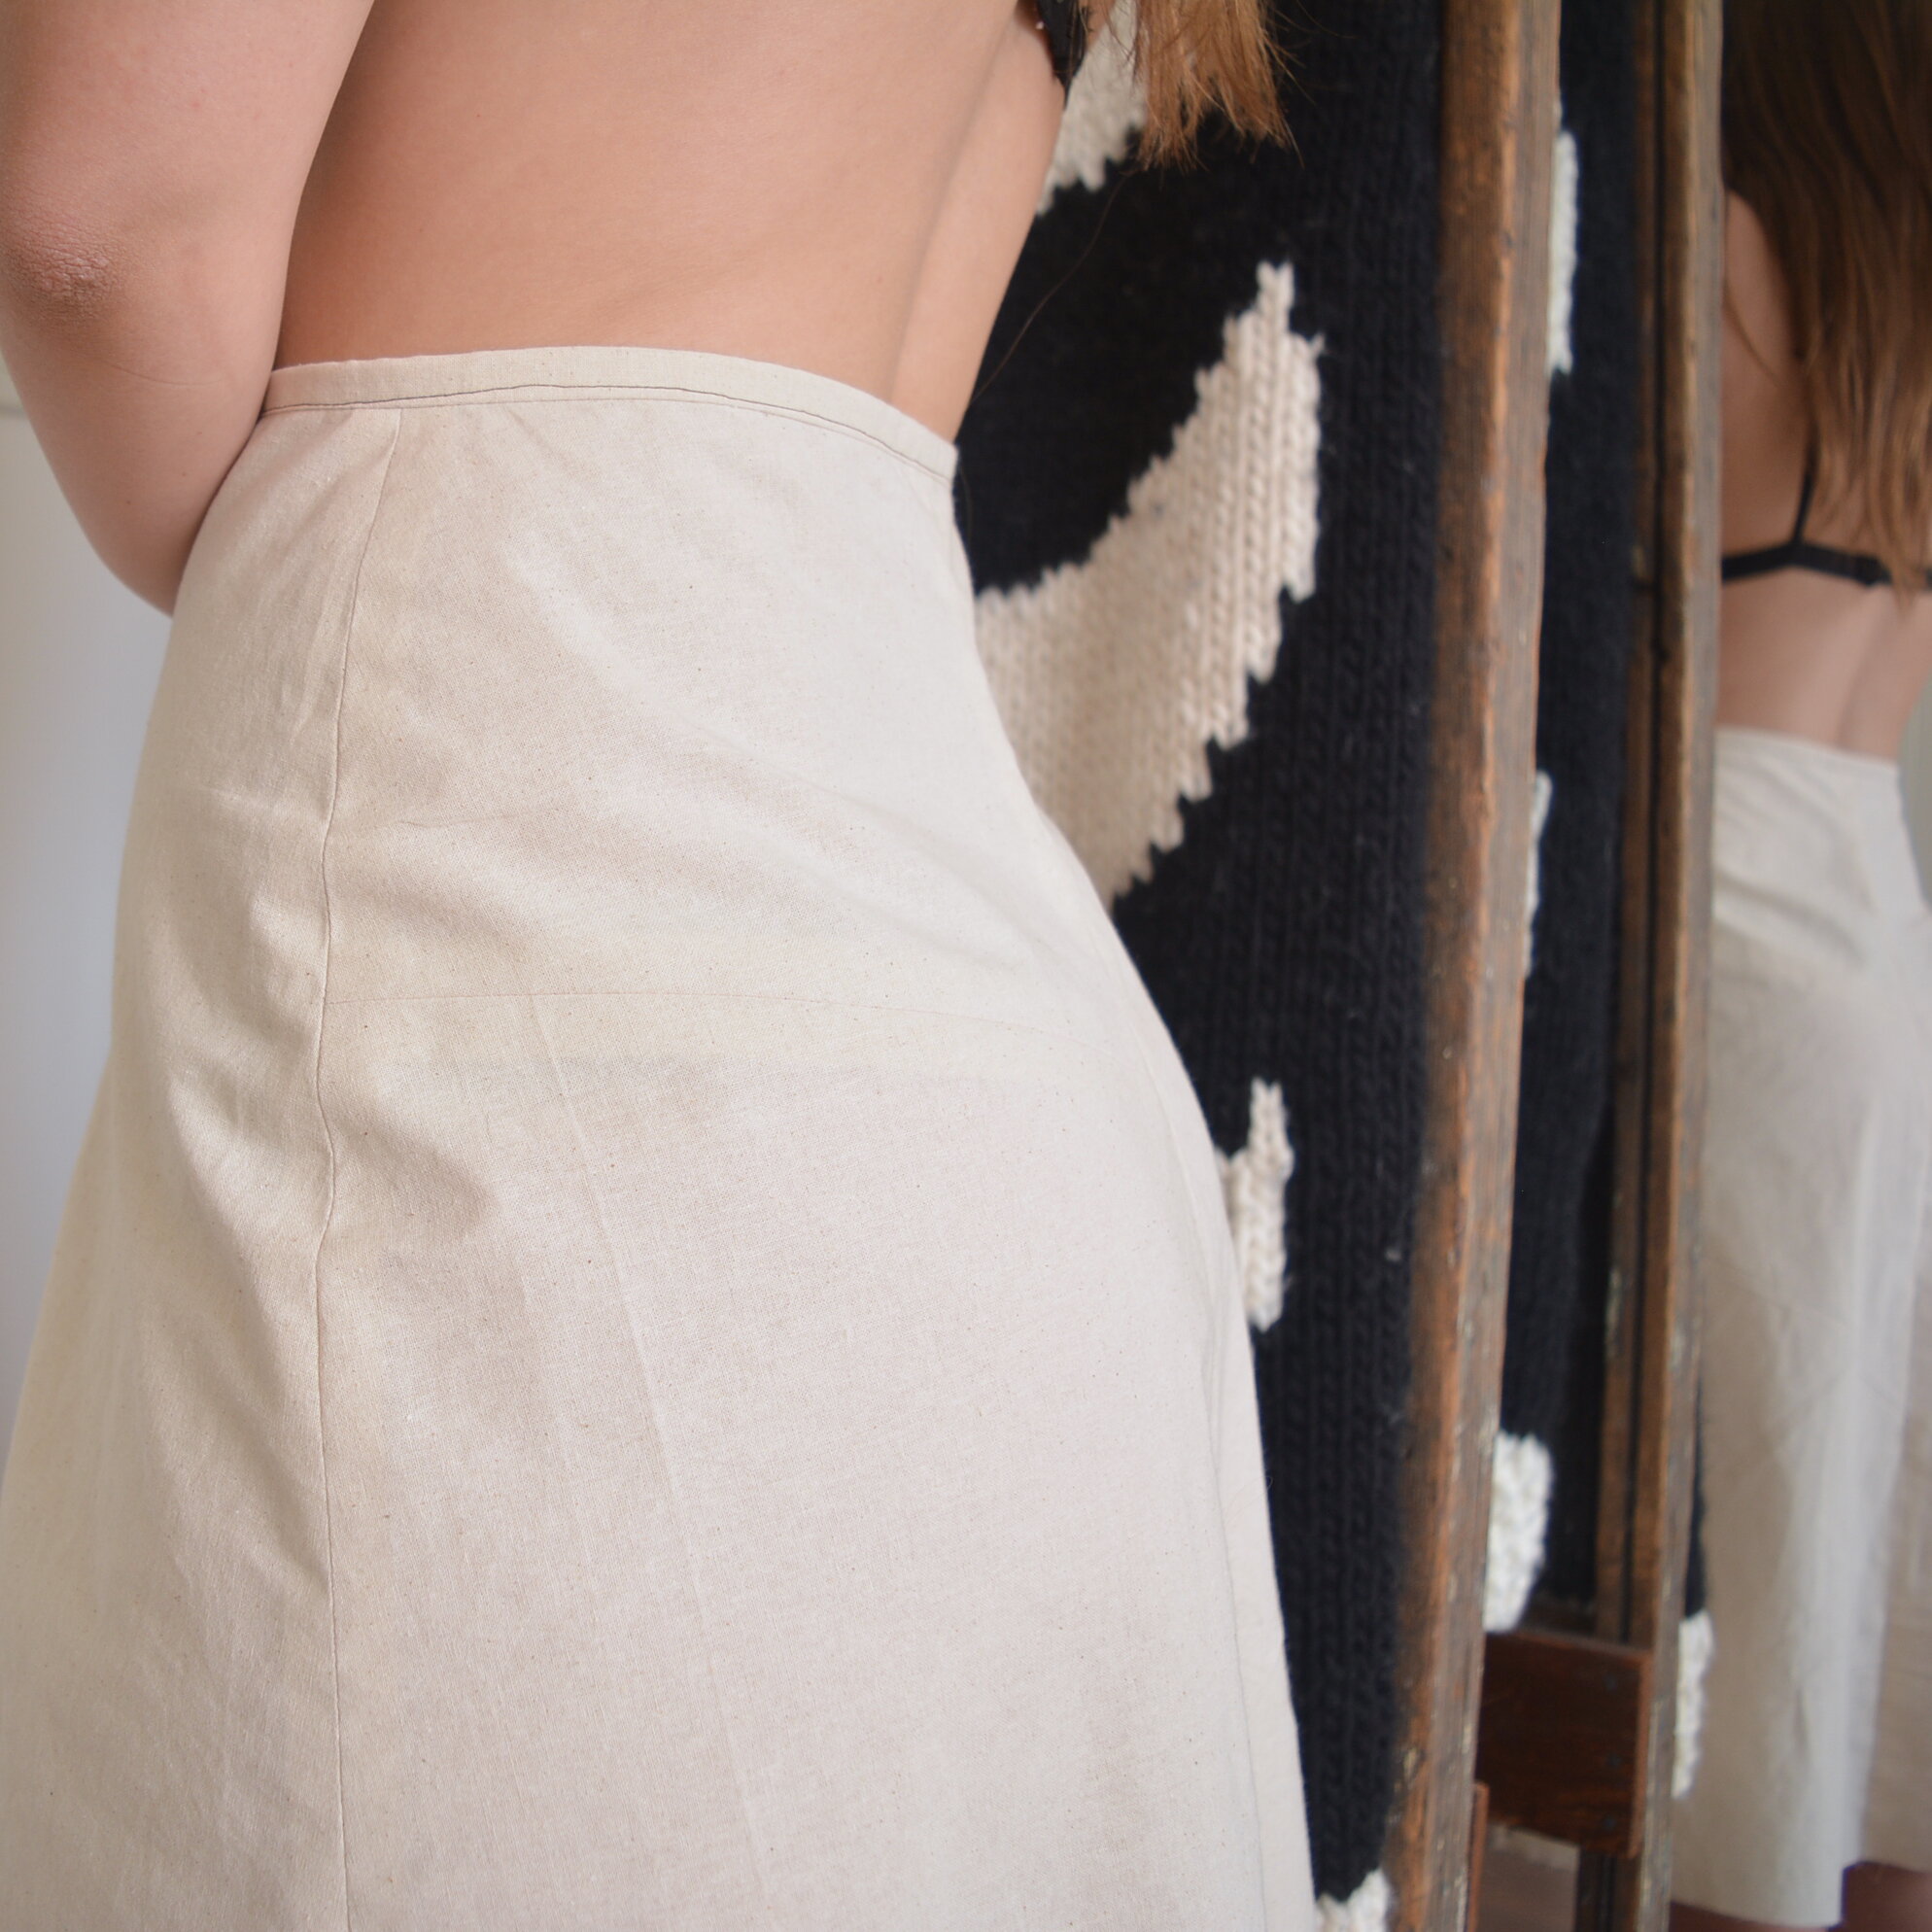
The last thing that needed to be fixed was that the skirt felt tight around my lower hips and upper thighs. Again a simple fix, I used a pencil to mark lines on the side seams where the skirt started feeling tight (I double checked this sitting down in the skirt), and then I transferred that line to the paper pattern piece. I didn't need too much more ease so I only extended the seam out 1/4" from where it was, which gives me a total of 1" extra room (because I made this adjustment to both the front and back pieces on both side seams).

Again, this is picture is not to scale, just an idea of what I did.
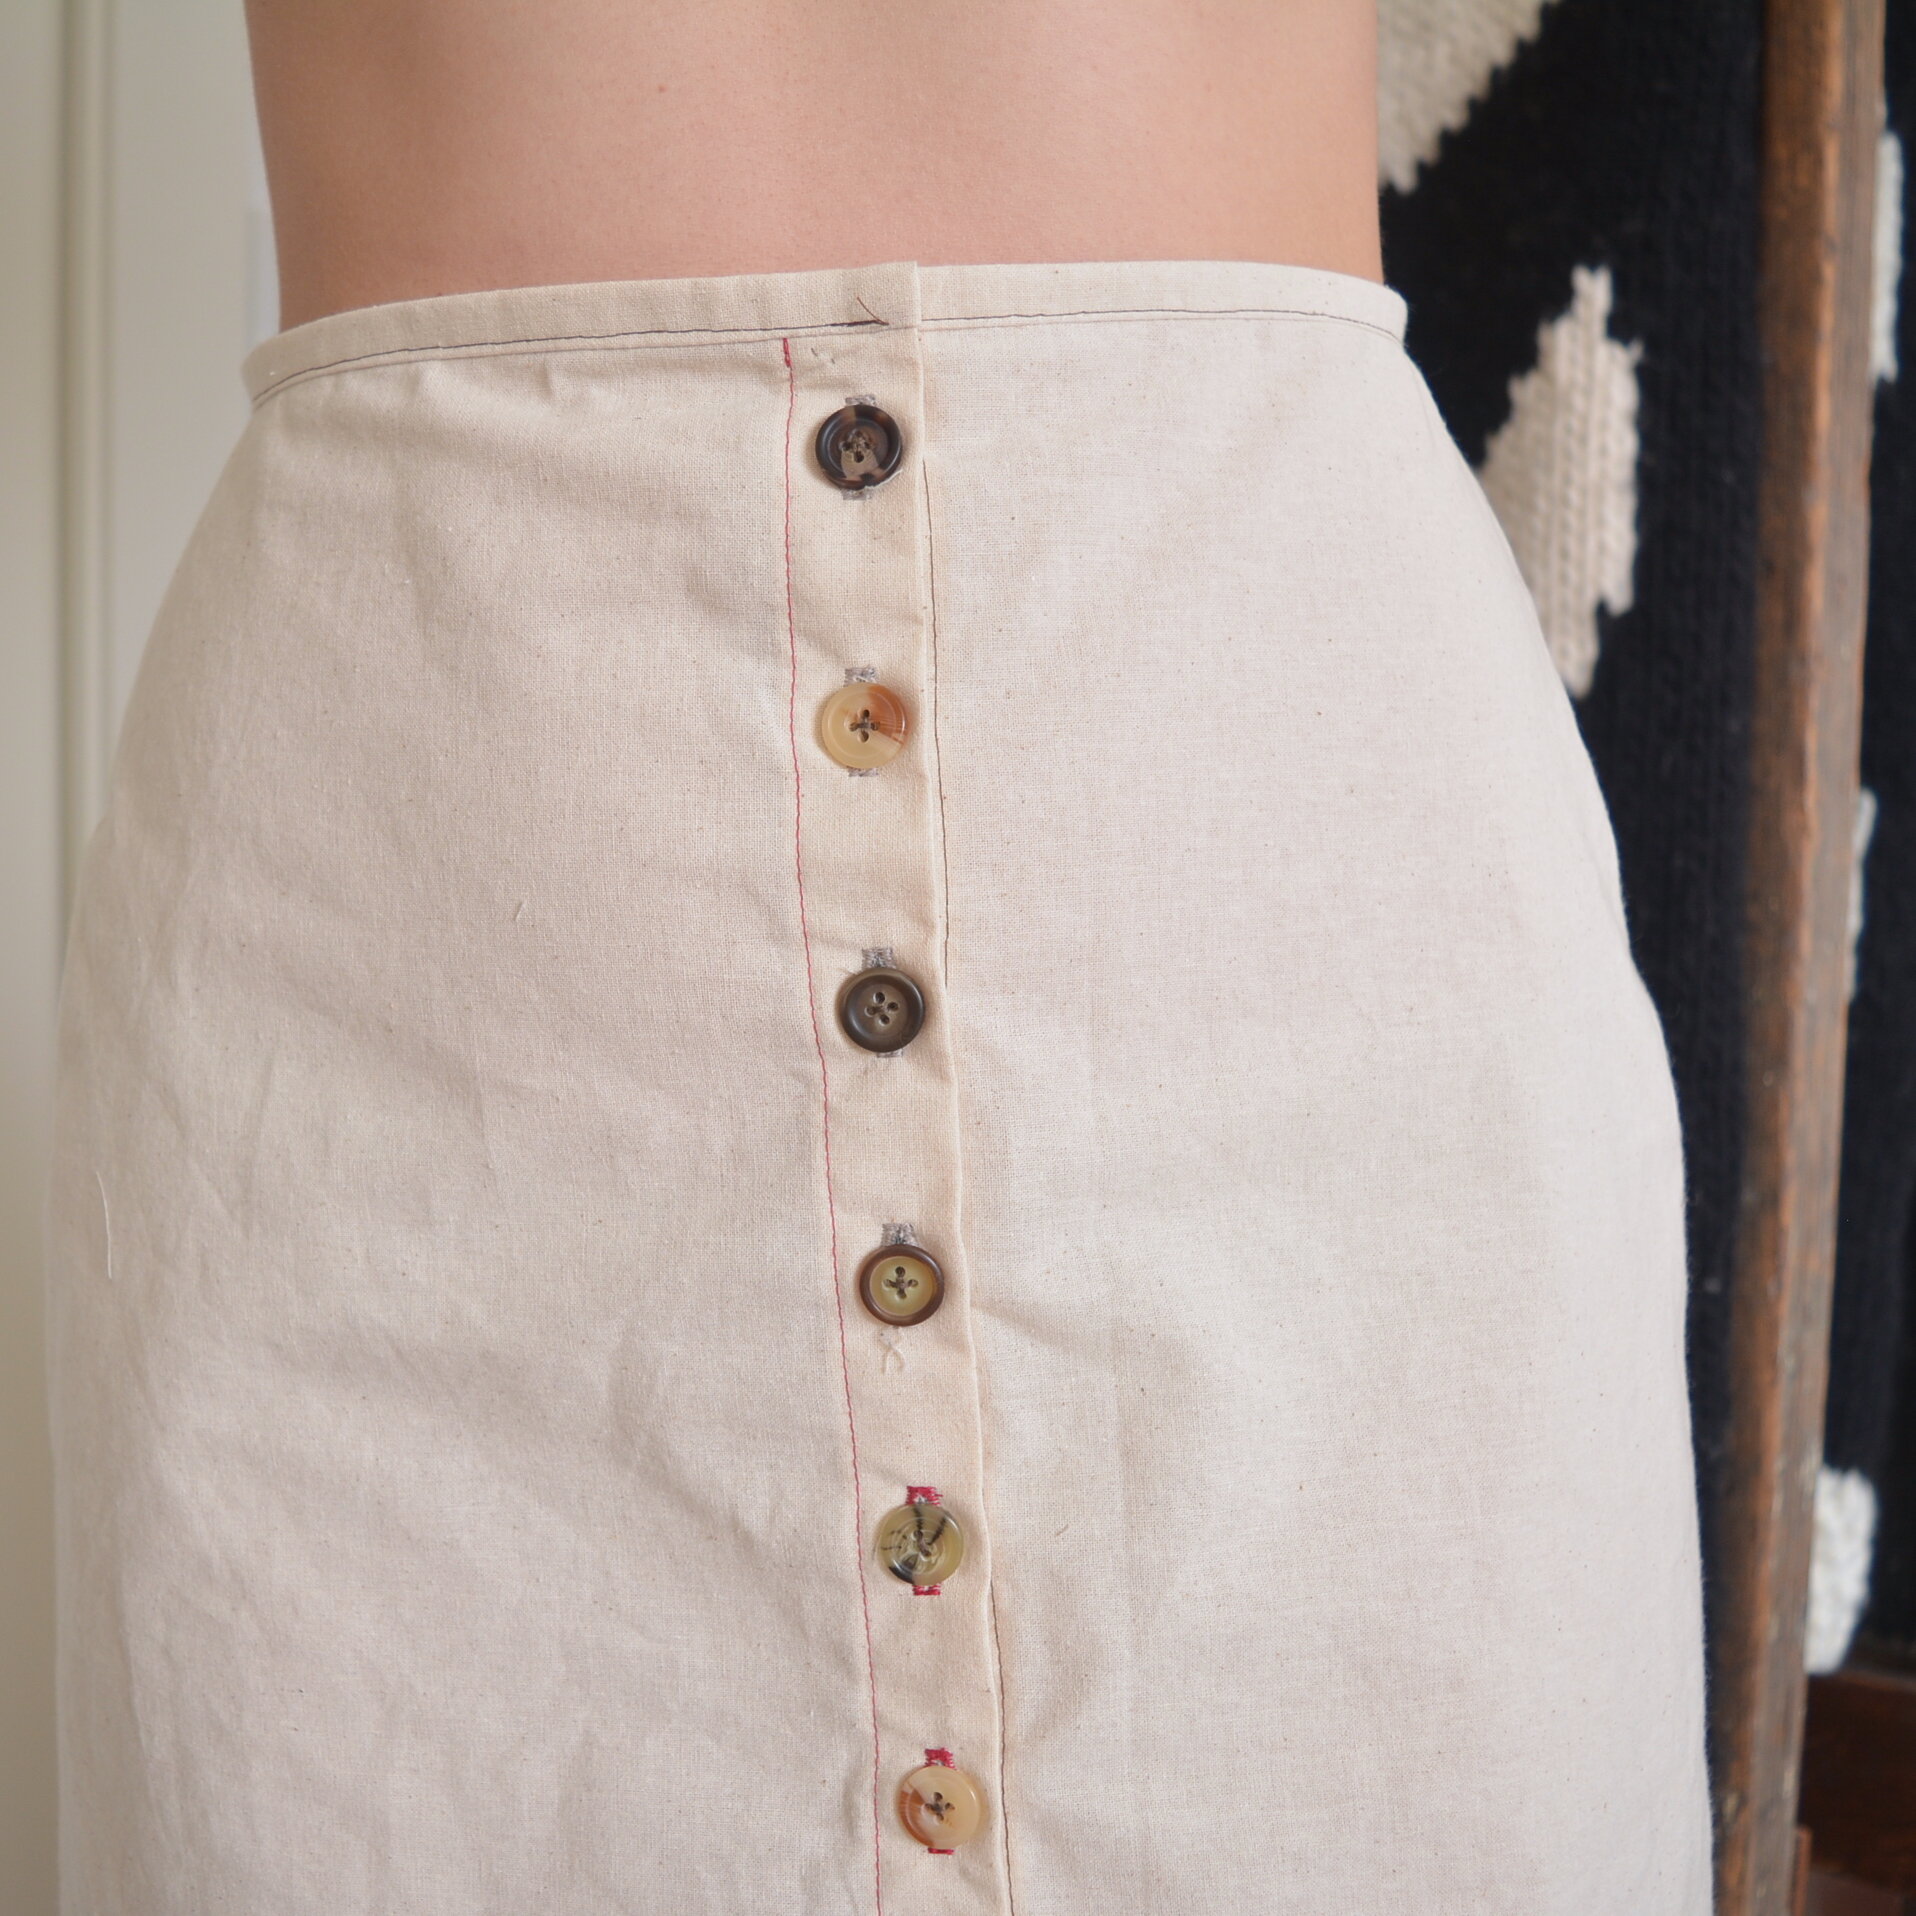
I made nice new copies of all my pattern pieces and then used these to cut out a second mock-up to check my fit. I feel that this one is perfect! I've never had a skirt fit the shape of my hips so well, and this is going to be the pattern I go with fo my olive skirt project. I finished the mock-up with buttons and buttonholes, and a snap closure at the waistband, which is what I’ll be using on the final skirt. I’ll keep this mock-up around for reference while I embroider and sew the olive skirt, and then the hardware will be harvested for future mock-ups. The fabric will be re-used for more mock-ups until the pieces are so small that they become stuffing (I’m thinking of doing a set of bolster pillows once I have enough fabric scraps).

Read about my last all-over embroidered project here.
