
Experimenting with Natural Dyes: Osage, Cutch, and Logwood
/
For this second natural dye session I decided to try making multiple dye baths so that I could do one large batch of scouring and mordanting, and then split the fabrics and fibres up into multiple different dyes. I chose 3 dyes that I was interested in trying out without putting much thought into how those colours would work together. Which of course is completely unnecessary, but I think to make photographing everything more fun I will choose a colour palette or theme for my next batch of colours.
I tend to like more muted tones so I was looking forward to experimenting with adding iron to my dye baths. I wanted to see each of the dye baths before and after adding iron, and make some pages for my swatch book with all my results. These experiments are just for fun and learning, so I'm not too picky about the outcomes of the colours. I did dye a couple larger pieces of linen and hemp that I can make garments from, but mostly I just dyed scraps of linen (for quilts and small zippered pouches), and scraps of yarn, ribbon, and embroidery thread. I try to use a mix of materials like linen, cotton, silk, velvet, and wool so I can see how the dye changes on different bases.
The three dyes I would be working with this time are osage sawdust, cutch powder, and logwood chips, all from Maiwa Supply. This post is not intended to be instructional, I just want to share my experience with the dyes, and I recommend following the instructional PDF that Maiwa offers if you want to follow along. Maiwa also just launched a new natural dye website which is another excellent resource. I try to follow their instructions as best as I can here.
I scoured and mordanted all of my materials first (following the appropriate directions for cellulose and protein fibres). For mordanting, all of my protein fibres were done with alum, and all of my cellulose fibres had a tannin applied (gallnut), then an alum mordant, and then a 2nd alum mordant. Of the 3 dyes I used, cutch does not actually require a tannin (it naturally contains its own tannins), but I applied it anyways because I wanted to keep everything in one big batch. I only have 1 pot dedicated to dying at the moment (and you don't want to mix dye pots with kitchen pots), so the scouring and mordanting process is very time consuming for me, as I do every thing one step at a time. Having 1 pot means I also have nowhere to strain my dye bath into, so most of my dyeing is done with the dyestuff still in the water, which I think is contributing to my splotchy colours. I'm really looking forward to isolation being over so I can start keeping a look out for large pots at thrift shops.
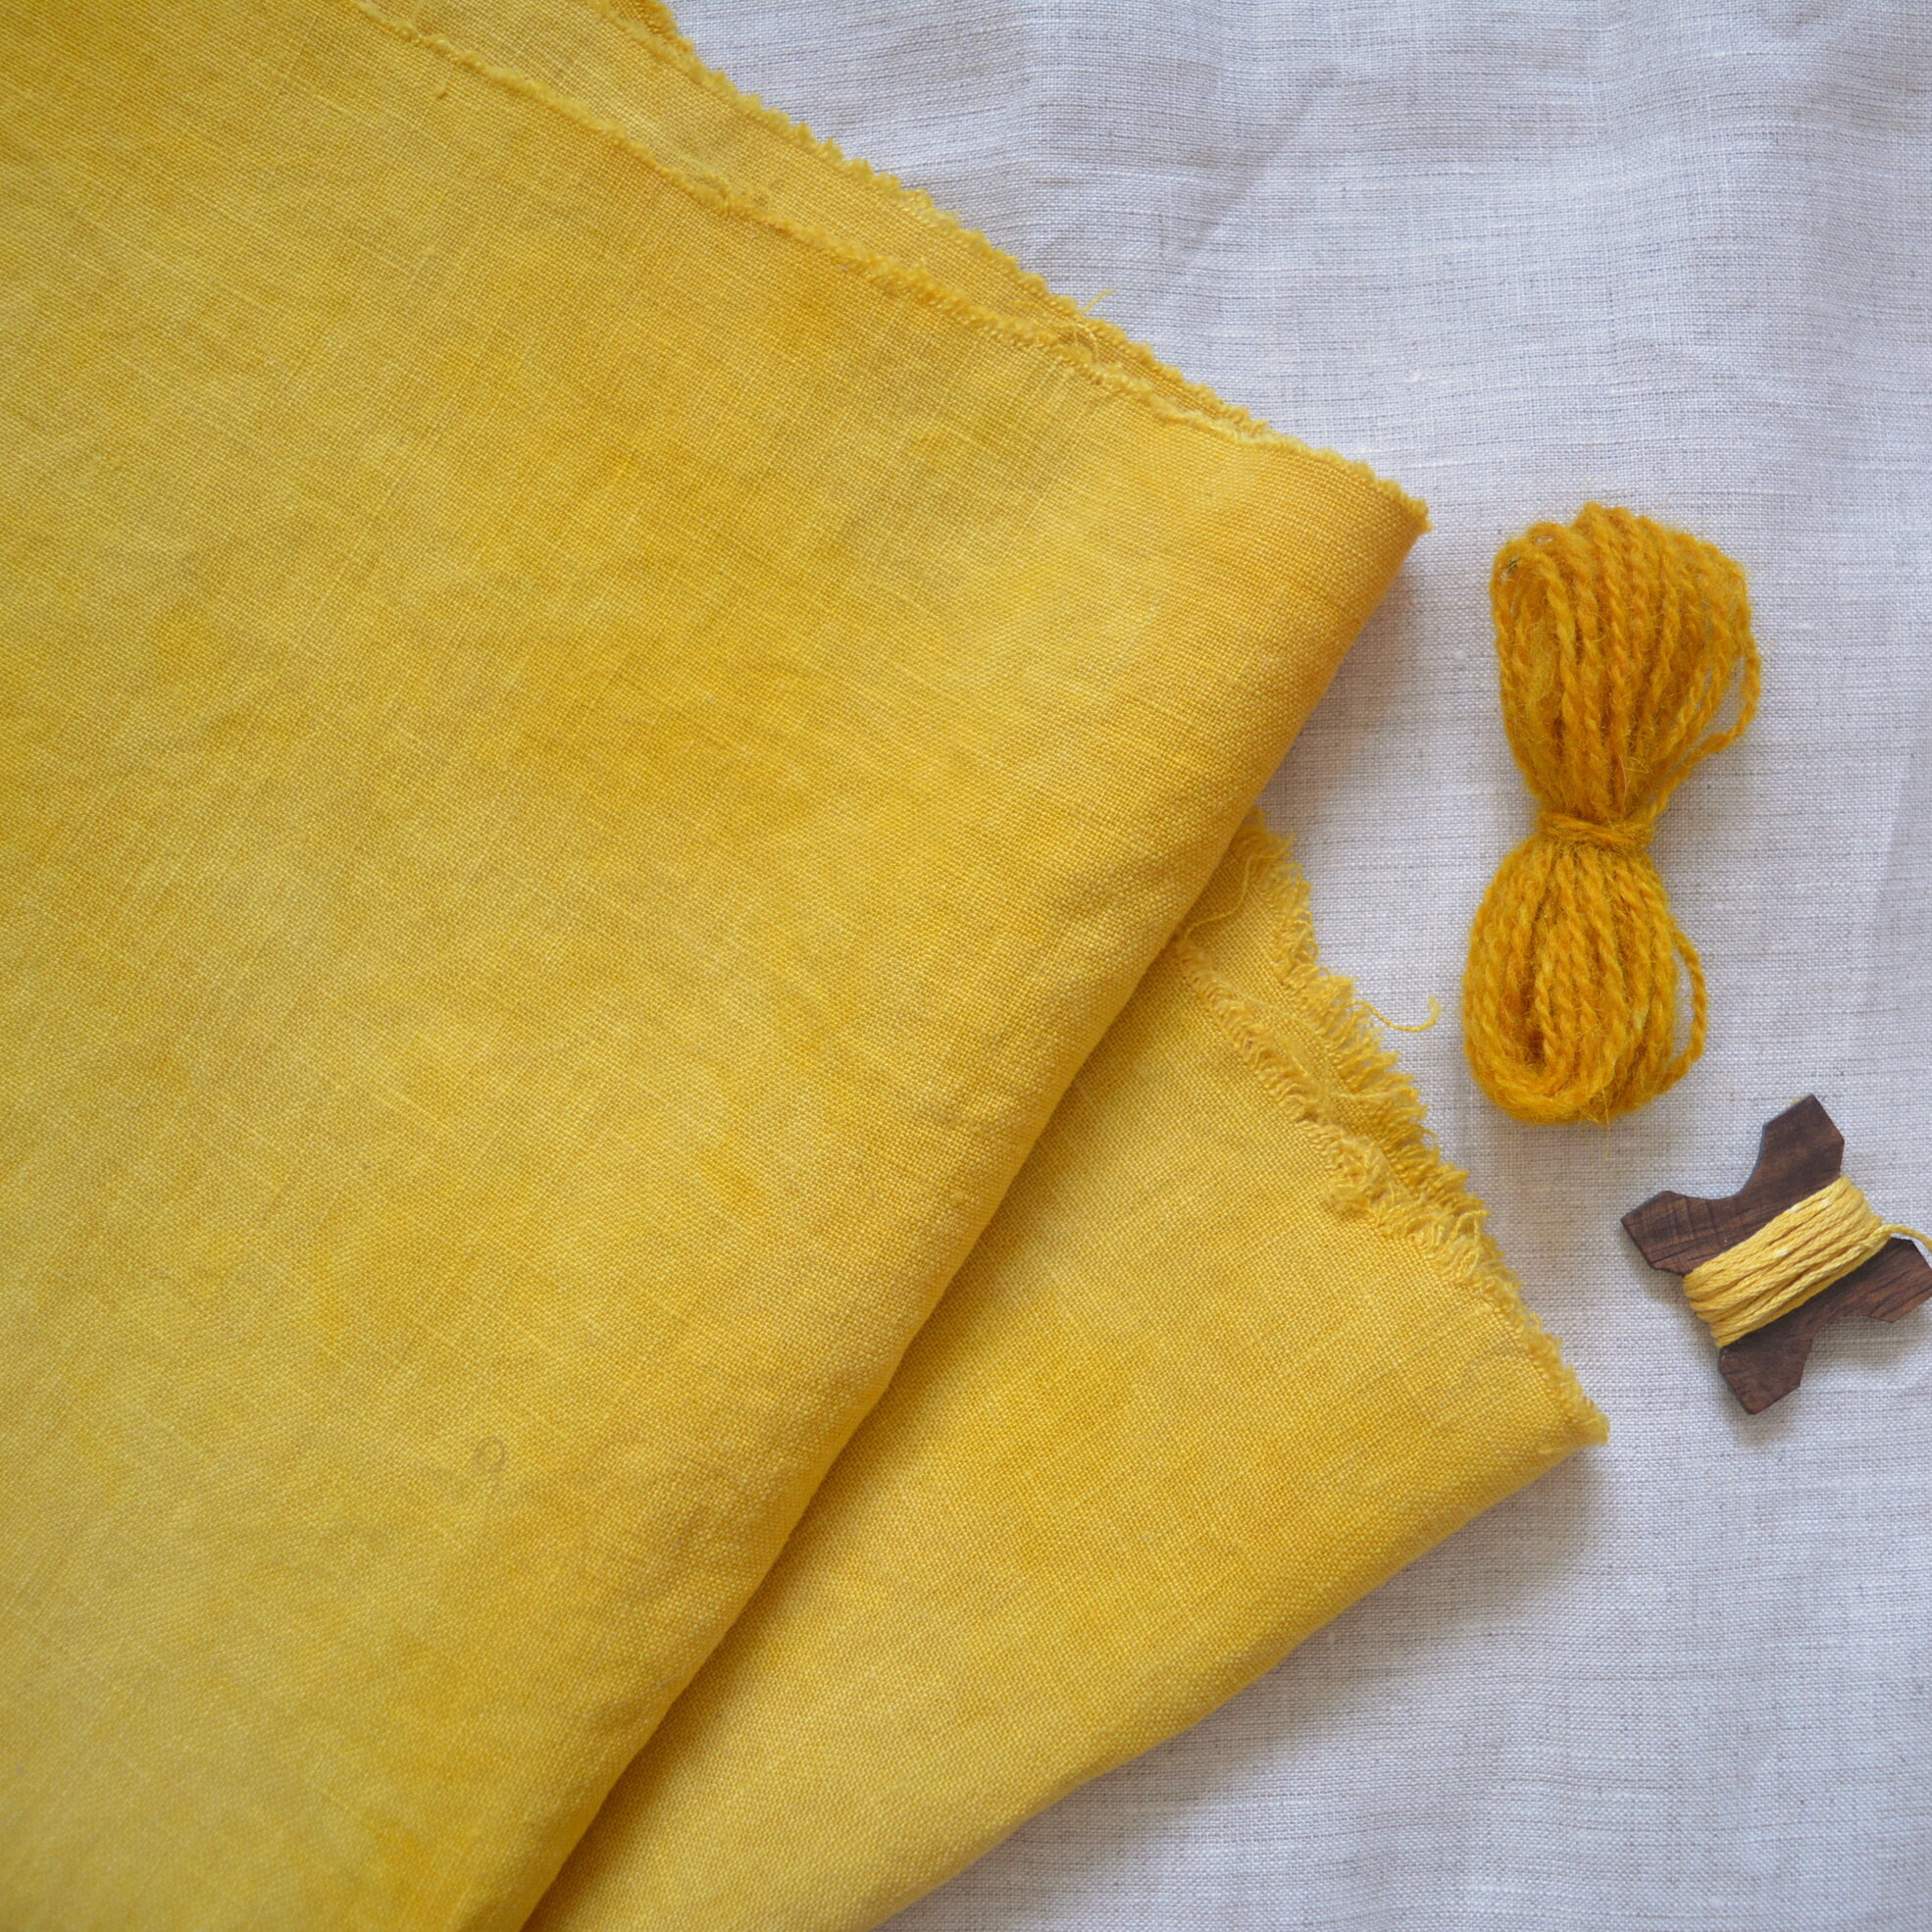
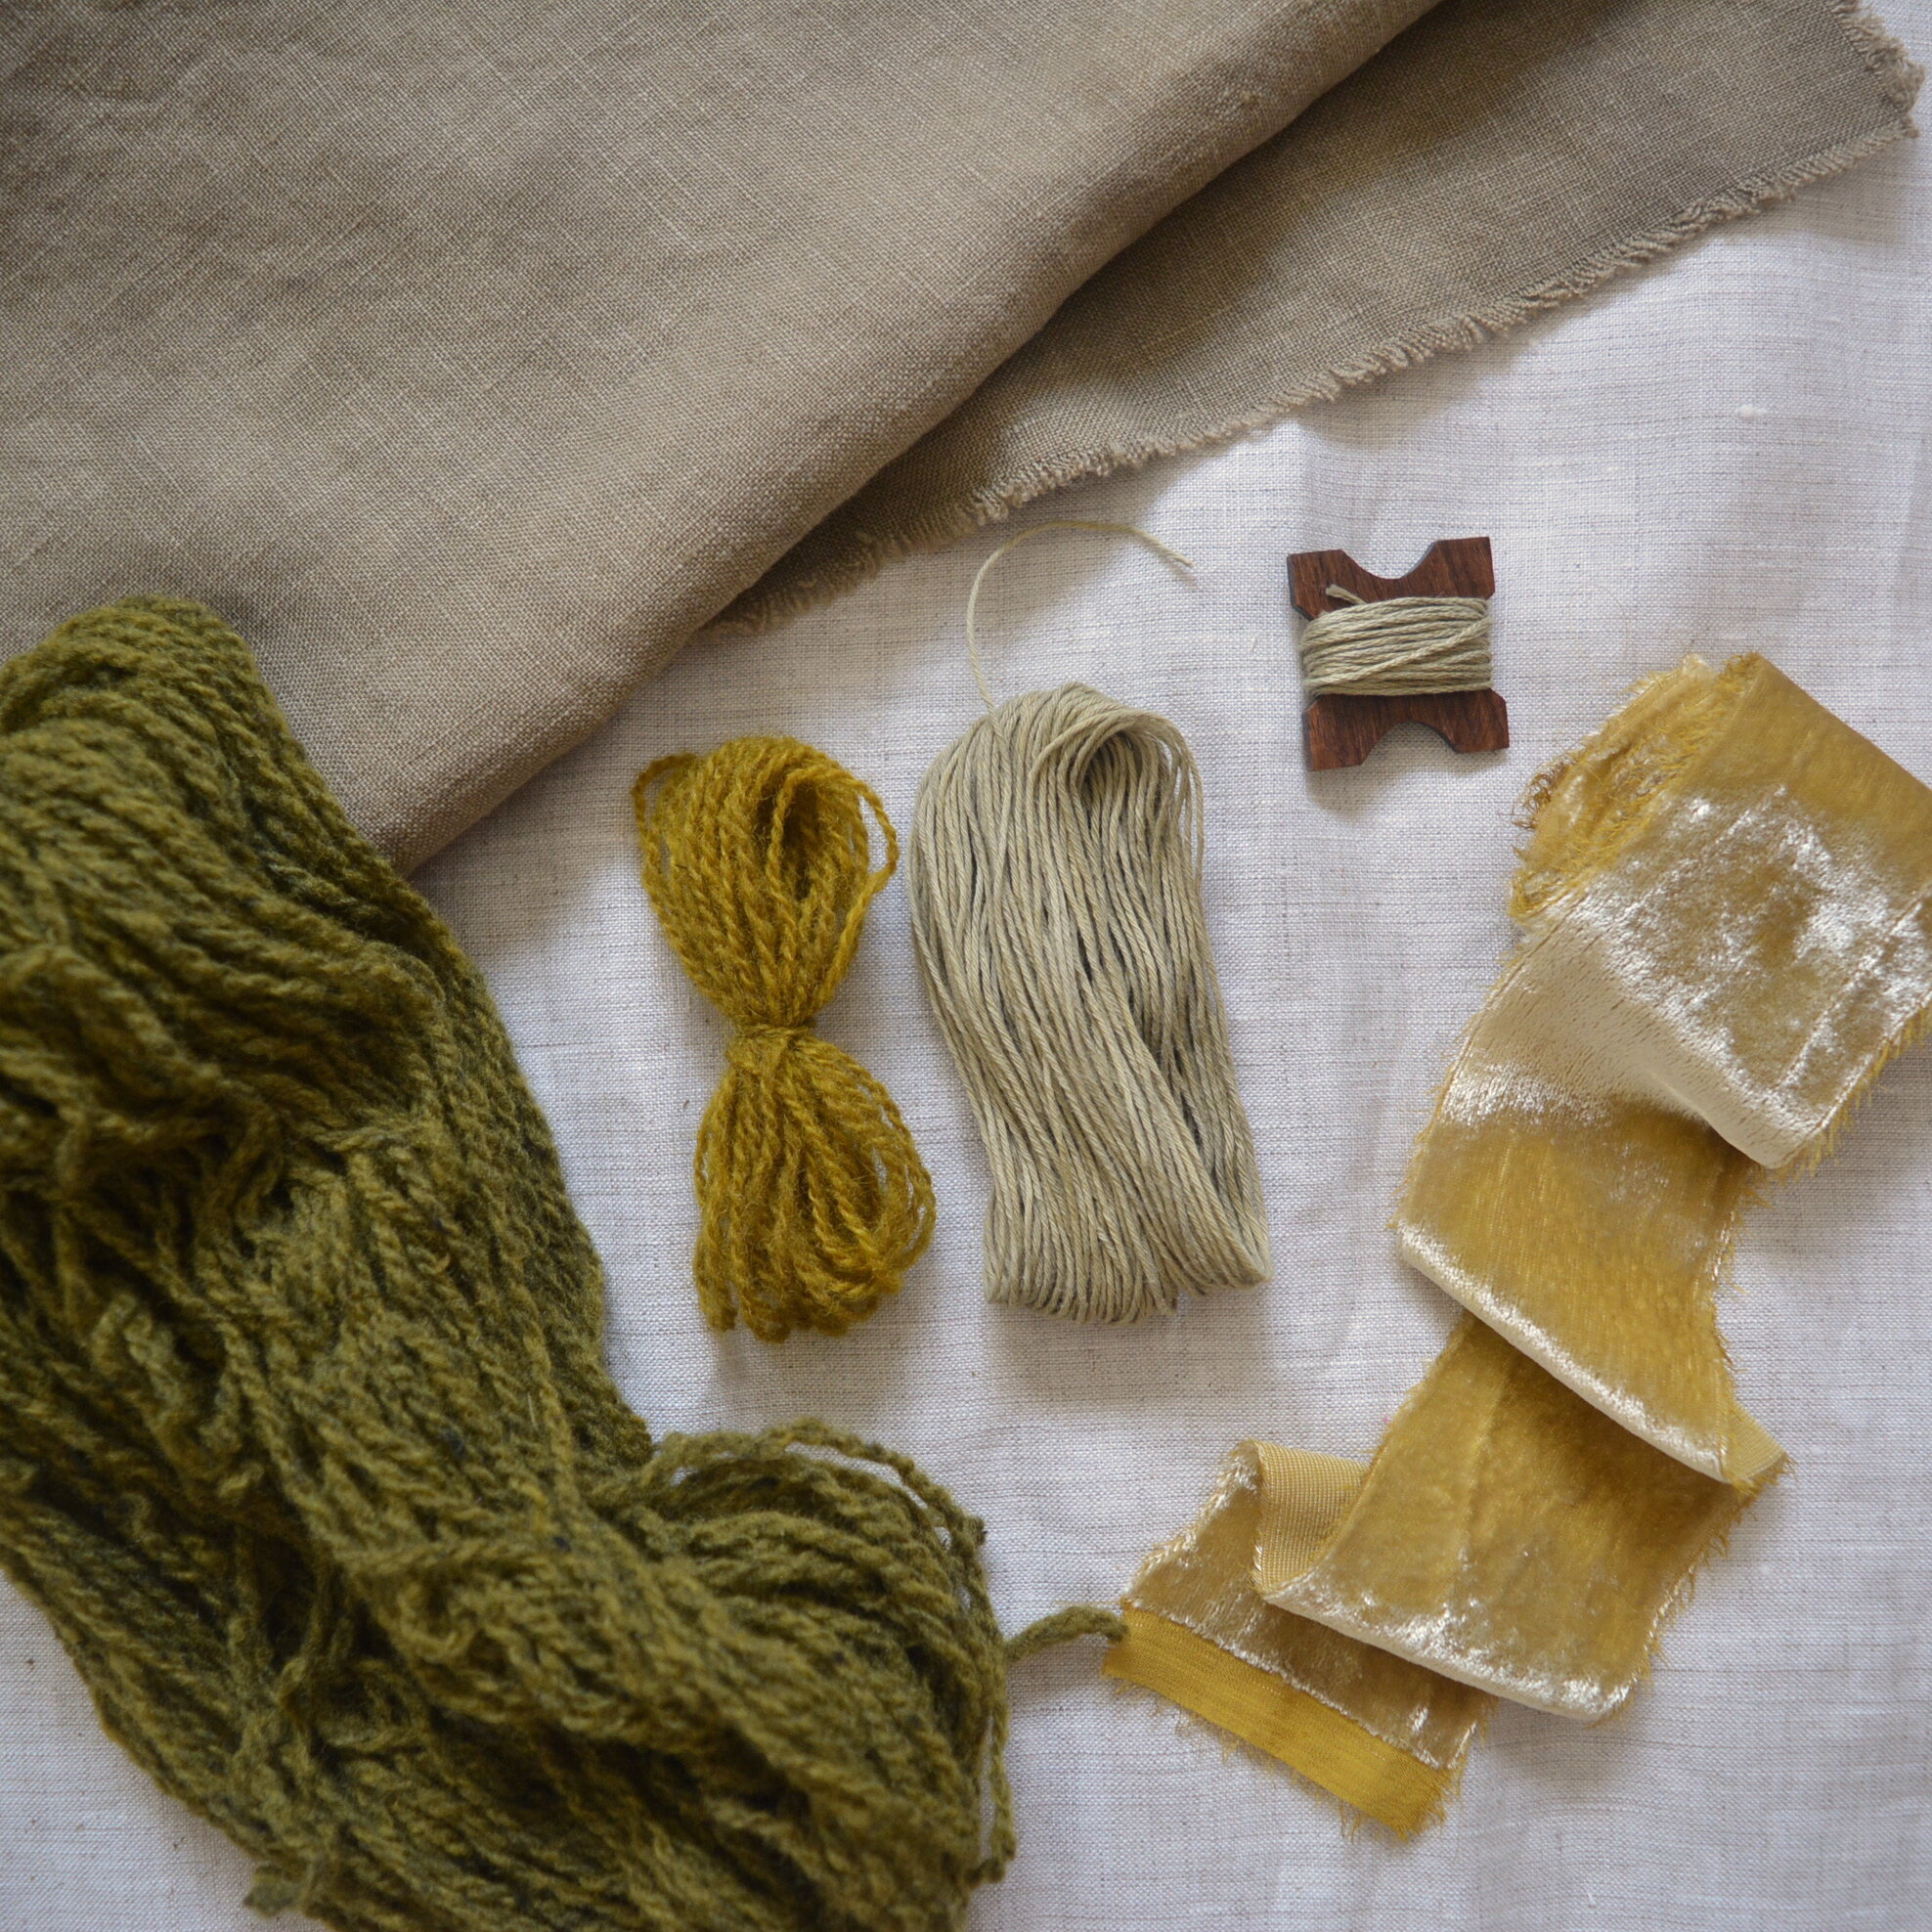
The first dye I played with was osage. I was looking for an olive green for an upcoming skirt project so I decided to go with osage, which produces a warm yellow, and then add iron to change the colour to olive green. I first dyed a small piece of linen in just the osage to learn about the colour that osage gives on it's own (a very warm and vibrant yellow), and then I added the iron directly to the dye pot. I am so in love with the olive green colour that I got from this. I also have read that over-dying the osage yellow fabric with indigo will produce a teal or emerald green, so I will save some of this yellow fabric for an indigo dip. I've taken an indigo dying workshop in the past so I'm excited to start experimenting with blues this summer.
The next dye was cutch. Cutch is supposed to make a toffee brown, and with iron it should be a more chocolate brown. I was looking for a more chocolate colour so I immediately added iron to the bath. I regret not dying a scrap of linen first before the iron, to see what that toffee colour would have been! I also thought I added too much iron, as my fabric turned a dark charcoal colour almost immediately. Although this was one of the dyes that I found changed over the next couple weeks as the colour "set in".
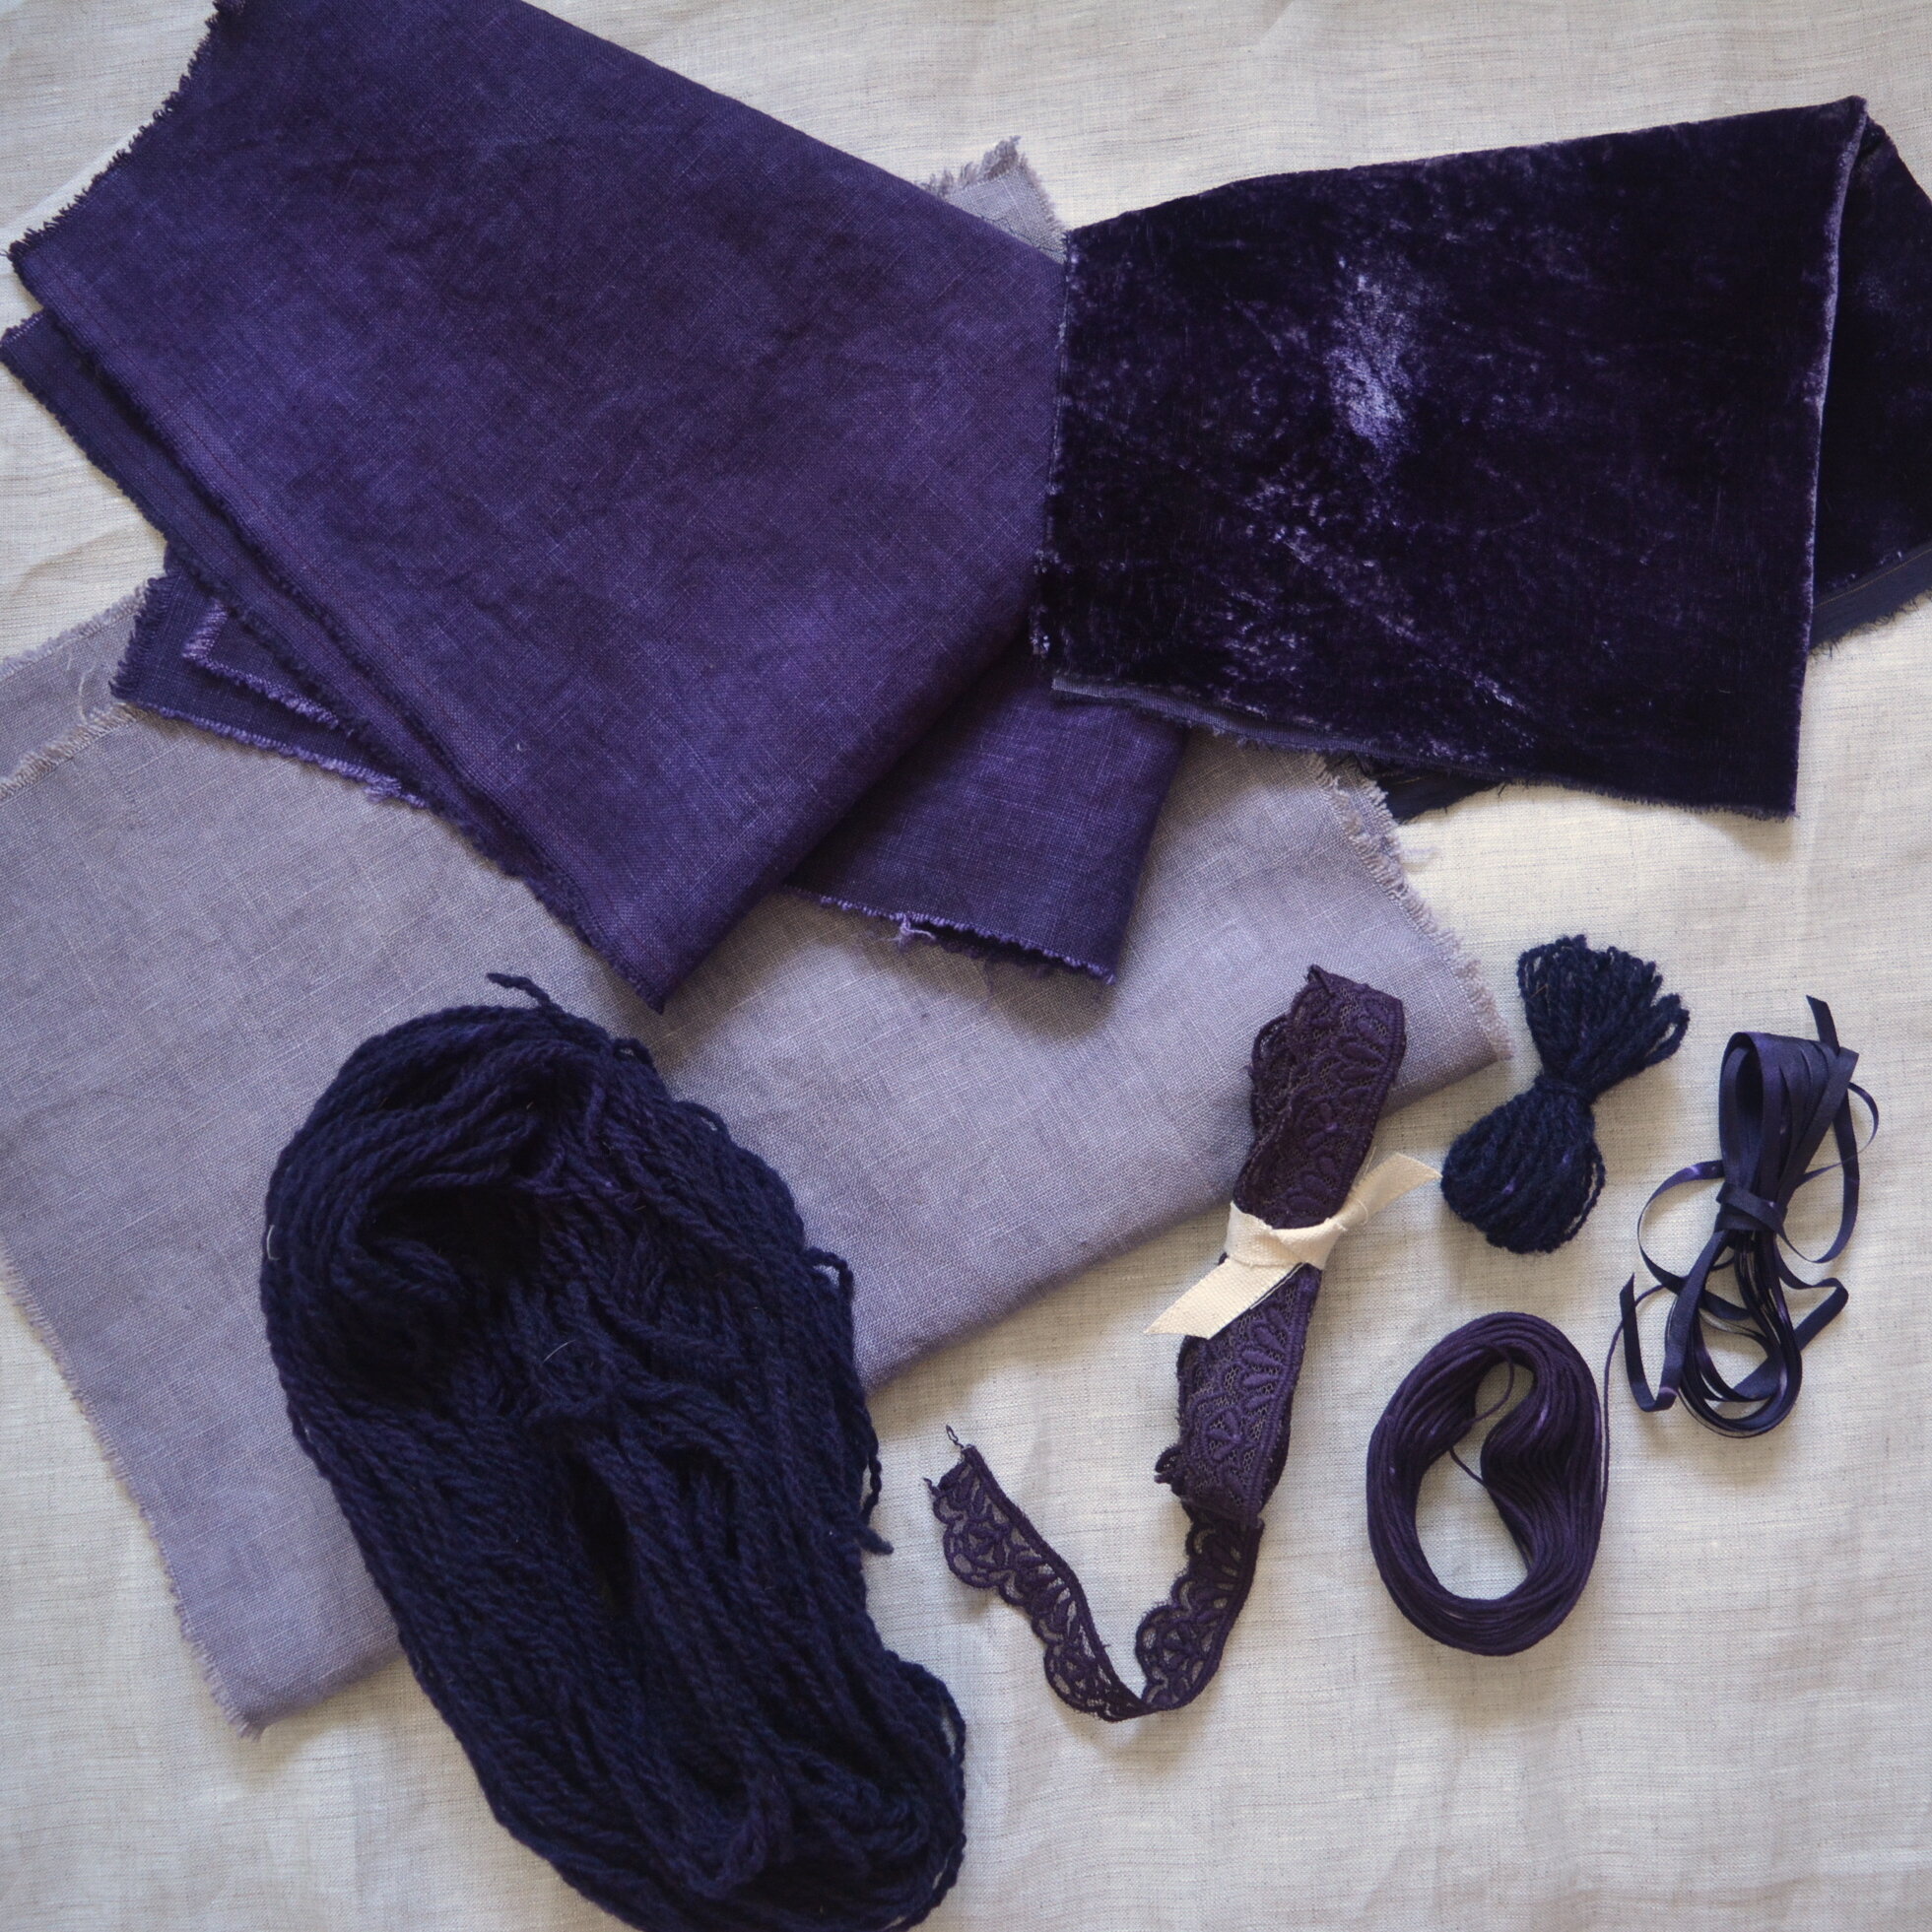
My last dye was logwood chips. This dye seems to have so much potential, especially when over-dying or under-dying with other colours. My goal was a lavender purple, so I started with 10% dye stuff to WOF (weight of fabric) thinking it would get me a light shade. I let the logwood chips soak in water for 12 hours, and then boiled them to make my bath, and it was so much stronger than I expected. The first couple pieces I put in turned a very deep purple right away, so before putting the rest of the fibre in I discarded about 80% of the bath, watered down the remainder and tried again. I added a very small amount of iron (learning from the cutch experiment the day before), and got a pretty muted purple, still not quite as light as I was hoping but much closer to my goal. You can save the logwood chips and re-use them for a lighter dye bath, so I dried mine out and will use them again for what I'm hoping will be a very light lavender.

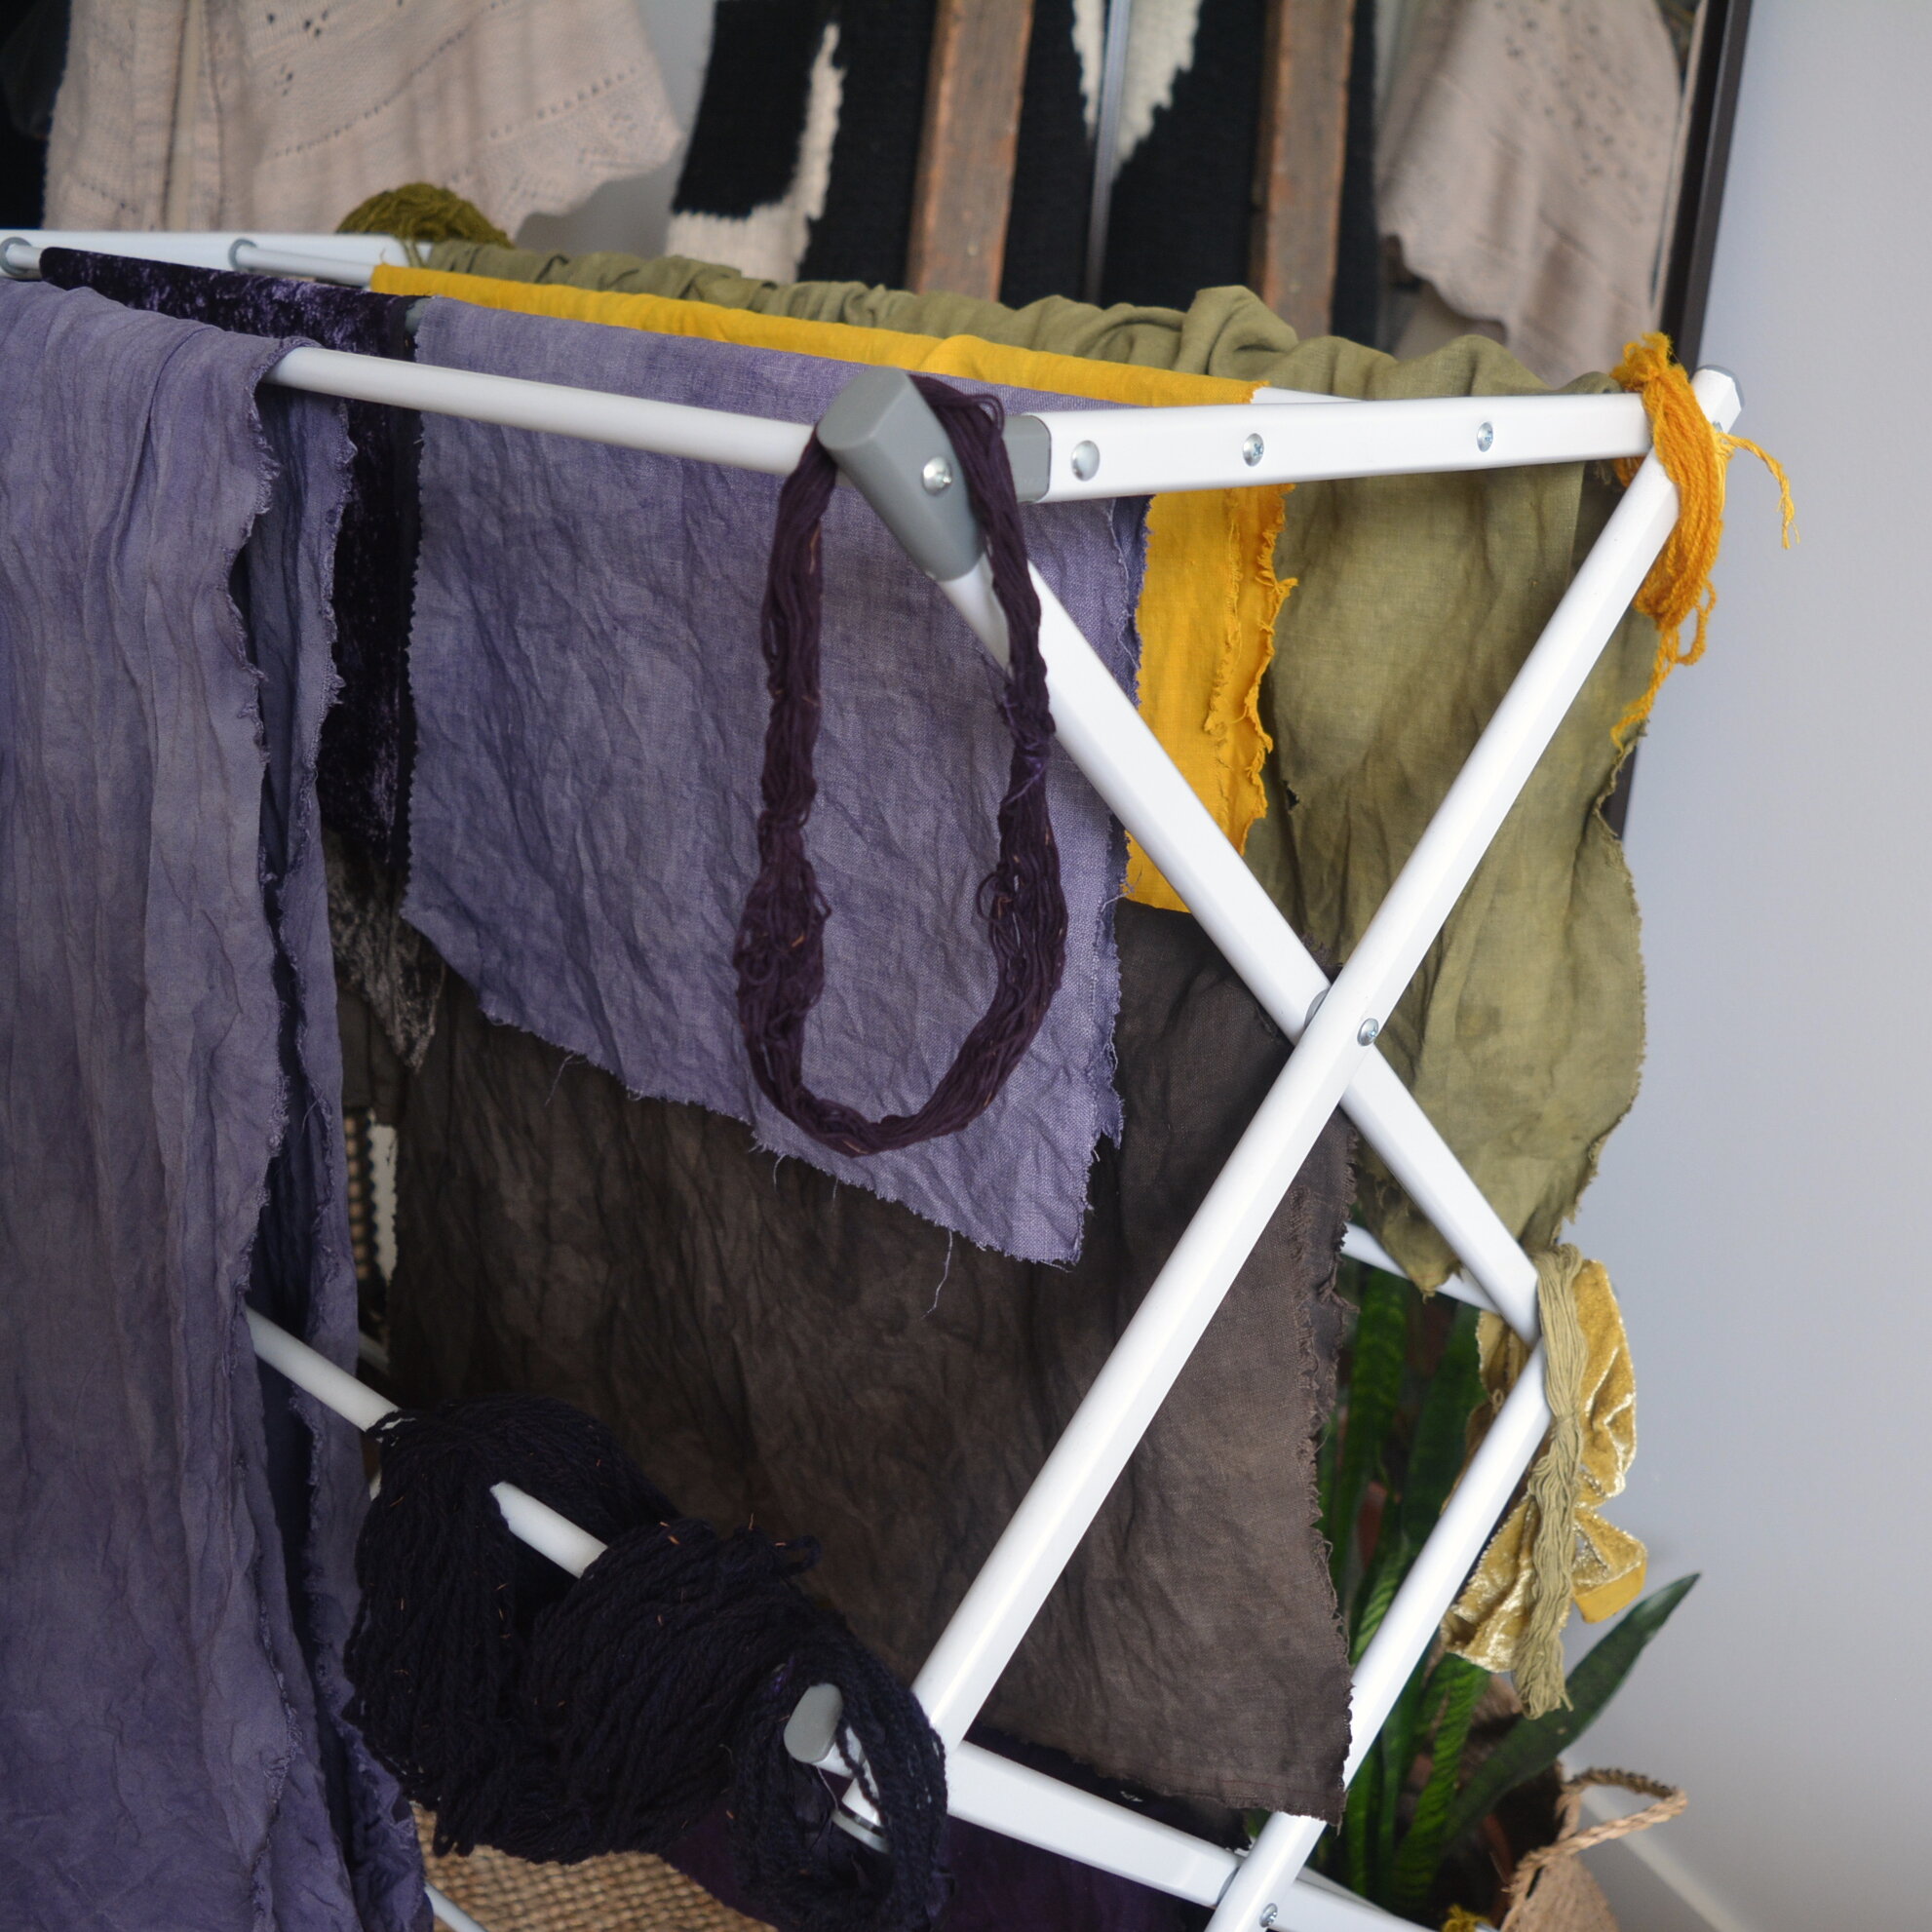
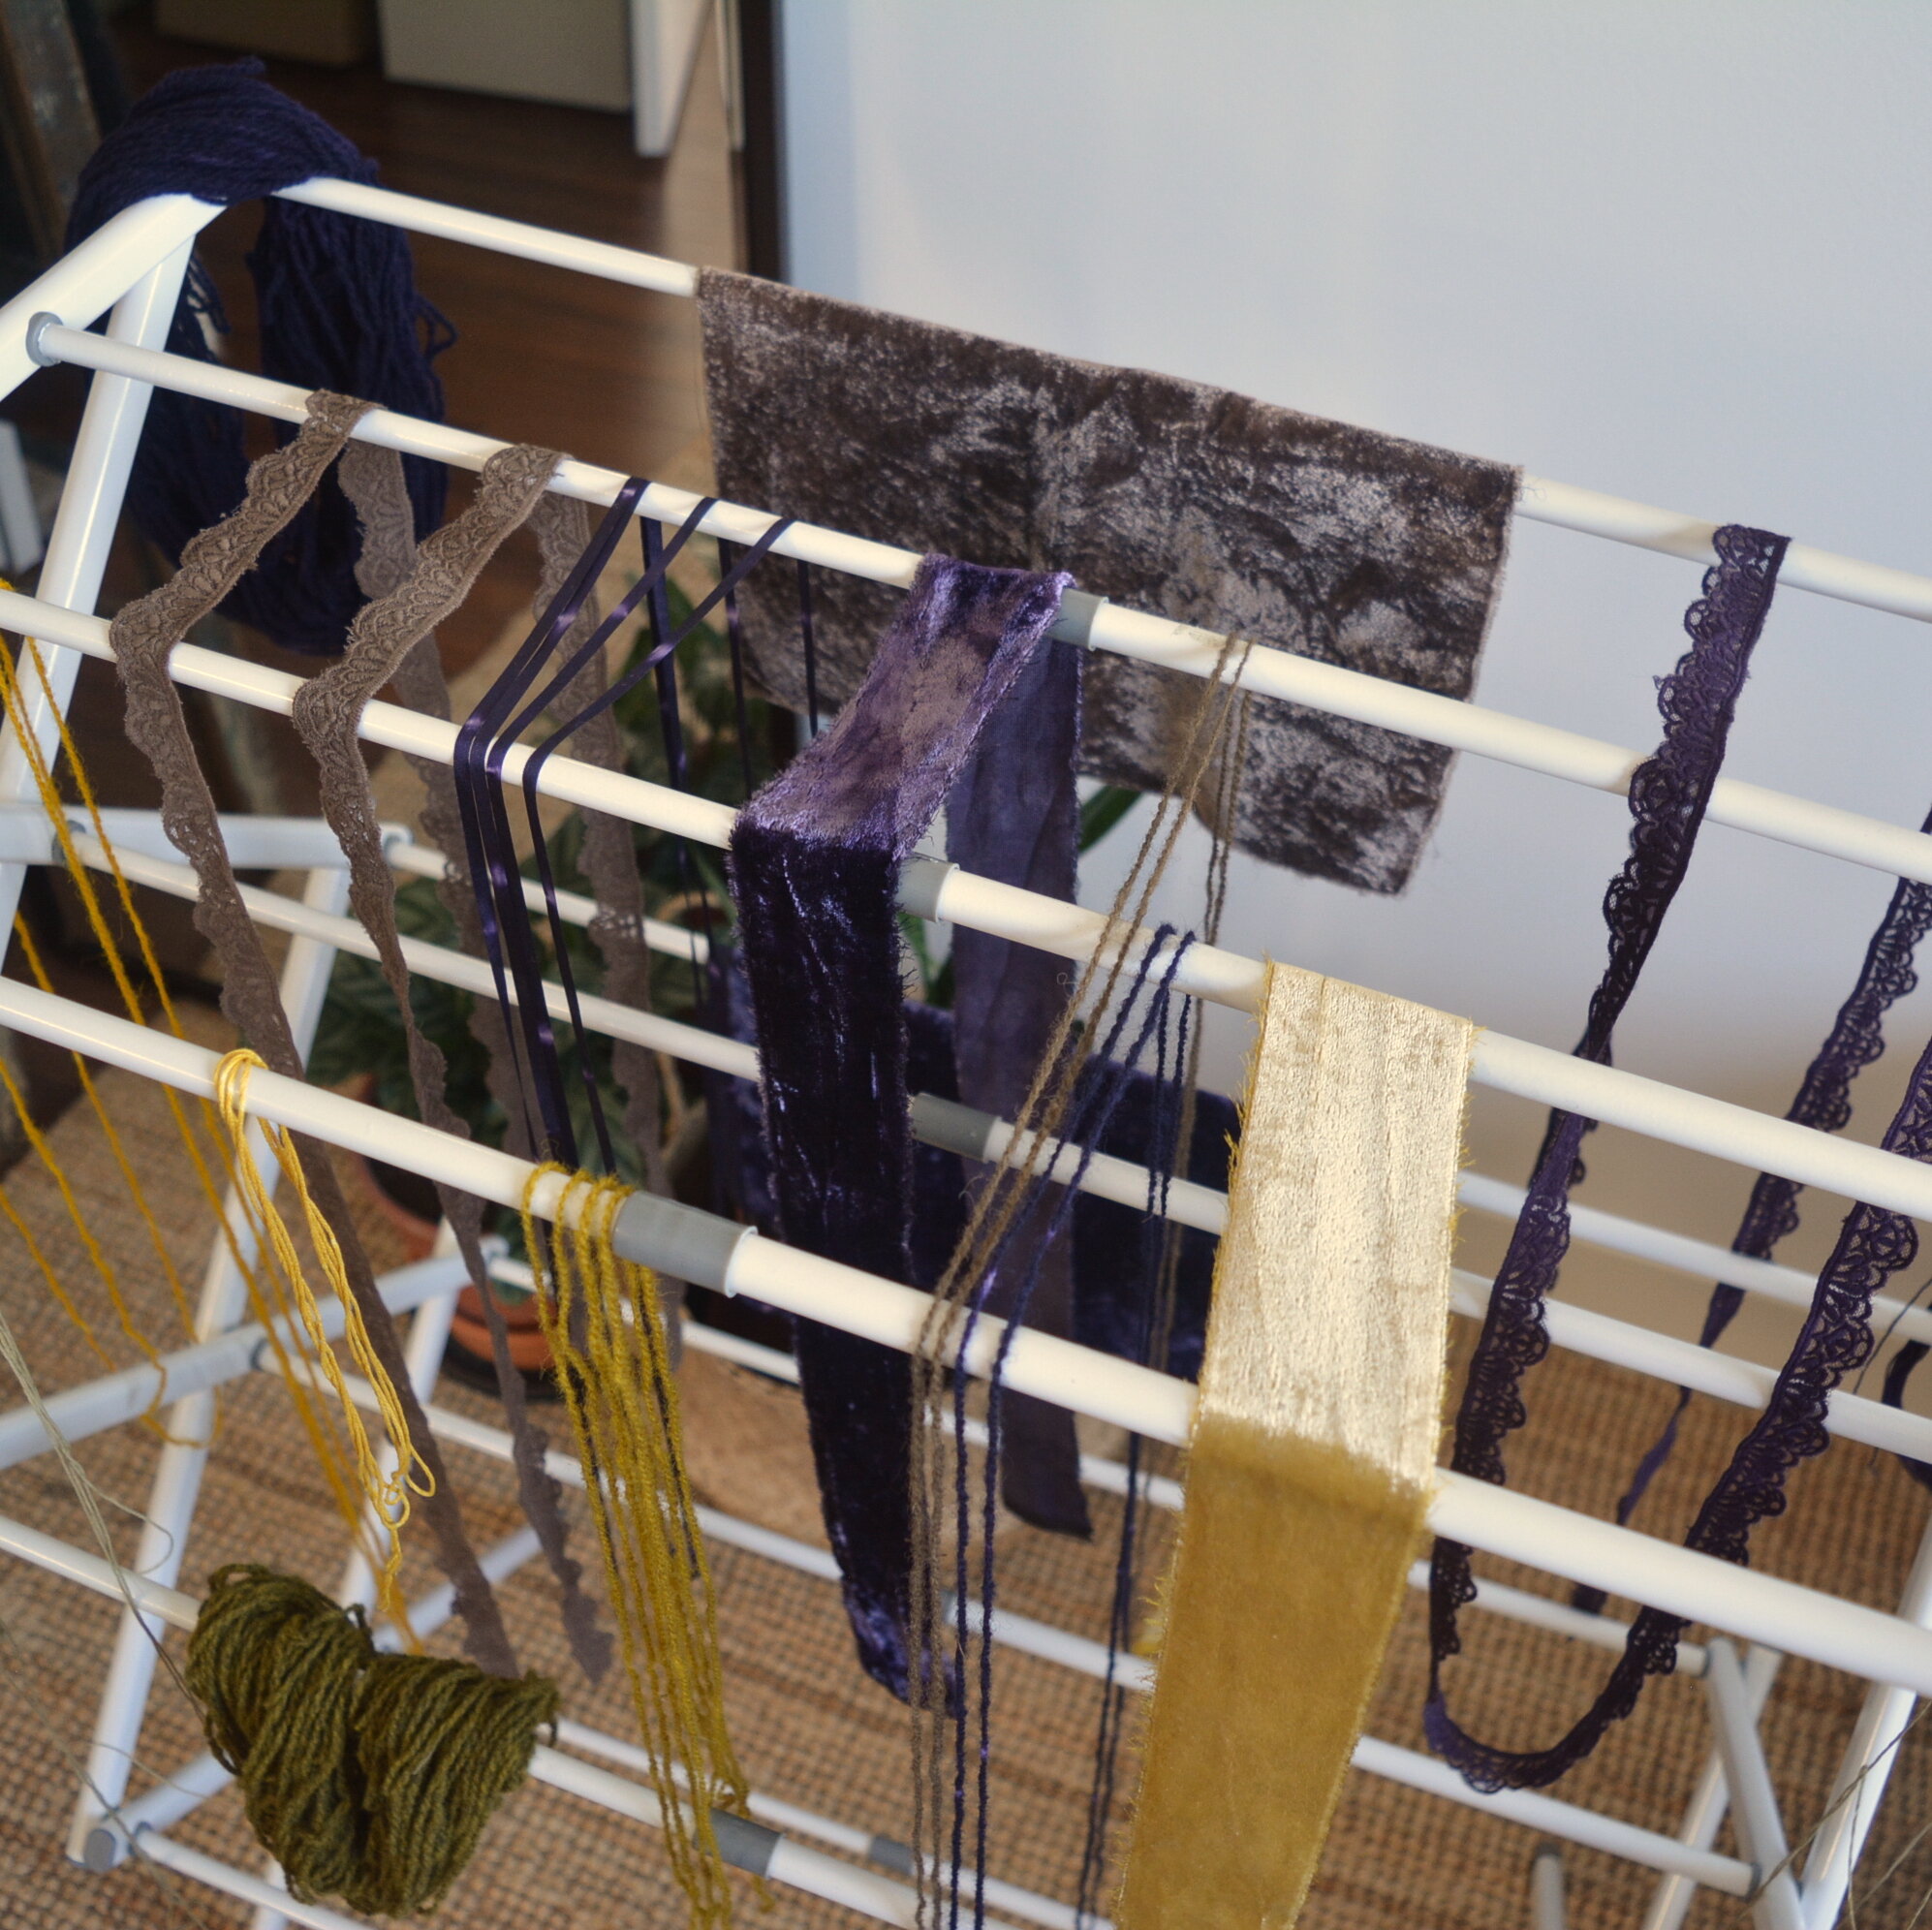
After dying you give all of your fibres a good rinse and then let them hang to dry. Here it is suggested that you let the fibres rest for two weeks to let the colours set into the fibre before you wash with soap. Natural dying is such a lesson in patience, and waiting the two weeks before I can use the fibres makes it feel a little like Christmas in a way. After the final wash I found that a lot of the vibrancy from the osage washed out. Which meant the olive green was a little more grey toned than it looked before washing. I also felt like the colour of the cloth dyed with cutch changed a lot after it was washed, from charcoal to more of a brown tone. Before washing the cutch cloth was my least favourite of the bunch but after washing it is the colour I am most excited about!
One interesting thing was seeing how different the colour showed up on different fibres. Below is an example of the osage + iron dye on some wool yarn vs. on cotton sashiko thread.

