
A First Attempt at Avocado Dye
/
My first time using a natural dye was at an Indigo workshop I took a couple years ago through Maiwa (a textile school and shop here in Vancouver). I loved the process but it all just seemed so daunting to me. The workshop was a one evening event, so we didn't go into detail about all the chemicals and steps that were used, and I went home feeling like it was something I couldn’t replicate at home without taking more classes.
Queue Instagram, where there's always someone making these types of things look effortless. I follow a lot of people in the craft community and started to see swatches of pale pinks, golden yellows, and olives greens in my feed, all dyed naturally with kitchen scraps. I went back to Maiwa and read through their free PDF about natural dying (you can find that here). I also bought the e-book from Rebecca Desnos, a natural dyer I follow on Instagram who has found ways around using harsh chemicals (you can find her book here). Both resources were incredibly helpful. I decided to start with the process Maiwa suggests, and later I might experiment with the chemical-free natural approach and do some side-by-side comparisons.
Maiwa sells dyestuff and concentrated powder dyestuff, and so their instructions focus on those that they sell, not necessarily kitchen scraps. So I referred to both books, Maiwa for their scouring and mordanting instructions, and Rebecca Desnos for specifics on avocados. I chose avocados as my first experiment because it seems like so many people have had success with them, they're easy for me to get a hold of (I work in a restaurant), and I love the peachy hues that they produce. From what I've read they also have tannins in them so the dye tends to be more colour-fast. I spent a couple weeks collecting avocados, which I kept in the freezer until I would be using them. While I was collecting I wrote up a plan. I would be dying a large piece of linen fabric to make a dress out of, along with some smaller scraps of fabrics and lace I had in my stash which I wanted to experiment with. Some were cellulose fibres (made from plants), and some were protein fibres (made from animals).
Materials to dye:
3m handwoven linen (cellulose)
small cotton hankie (cellulose)
2m cotton lace trim (cellulose)
small scrap of linen tape (cellulose)
fat quarter silk rayon velvet (protein)
1m silk rayon velvet ribbon (protein)
fat quarter silk habotai (protein)

I won't be going into detail about the scouring and mordanting process that I used as this blog post isn't intended to be an instructional post. I tried to follow Maiwa's natural dye PDF as closely as possible, using different agents and processes for the different types of fibres (cellulose vs. protein), and measuring everything based on the weight of the fibre. I wore protective gear when measuring or touching any chemicals and every vessel and tool used will never be used for food again. I now have a set of dishes exclusively to be used for natural dying.
Cellulose fibres:
scouring: soda ash and synthranpol
mordanting: alum (mordanted twice)
Protein fibres:
scouring: Orvus paste
mordanting: alum
The whole process of scouring and mordanting took an entire day, morning until night. I only had one large pot dedicated to dying so I was doing everything one step at a time in my small apartment kitchen. I'll be looking in thrift stores to build my collection of large stainless steel pots so that this process can go a little quicker, and hopefully I'll try my next experiment in the summer so that I can do some of this outside on my patio.
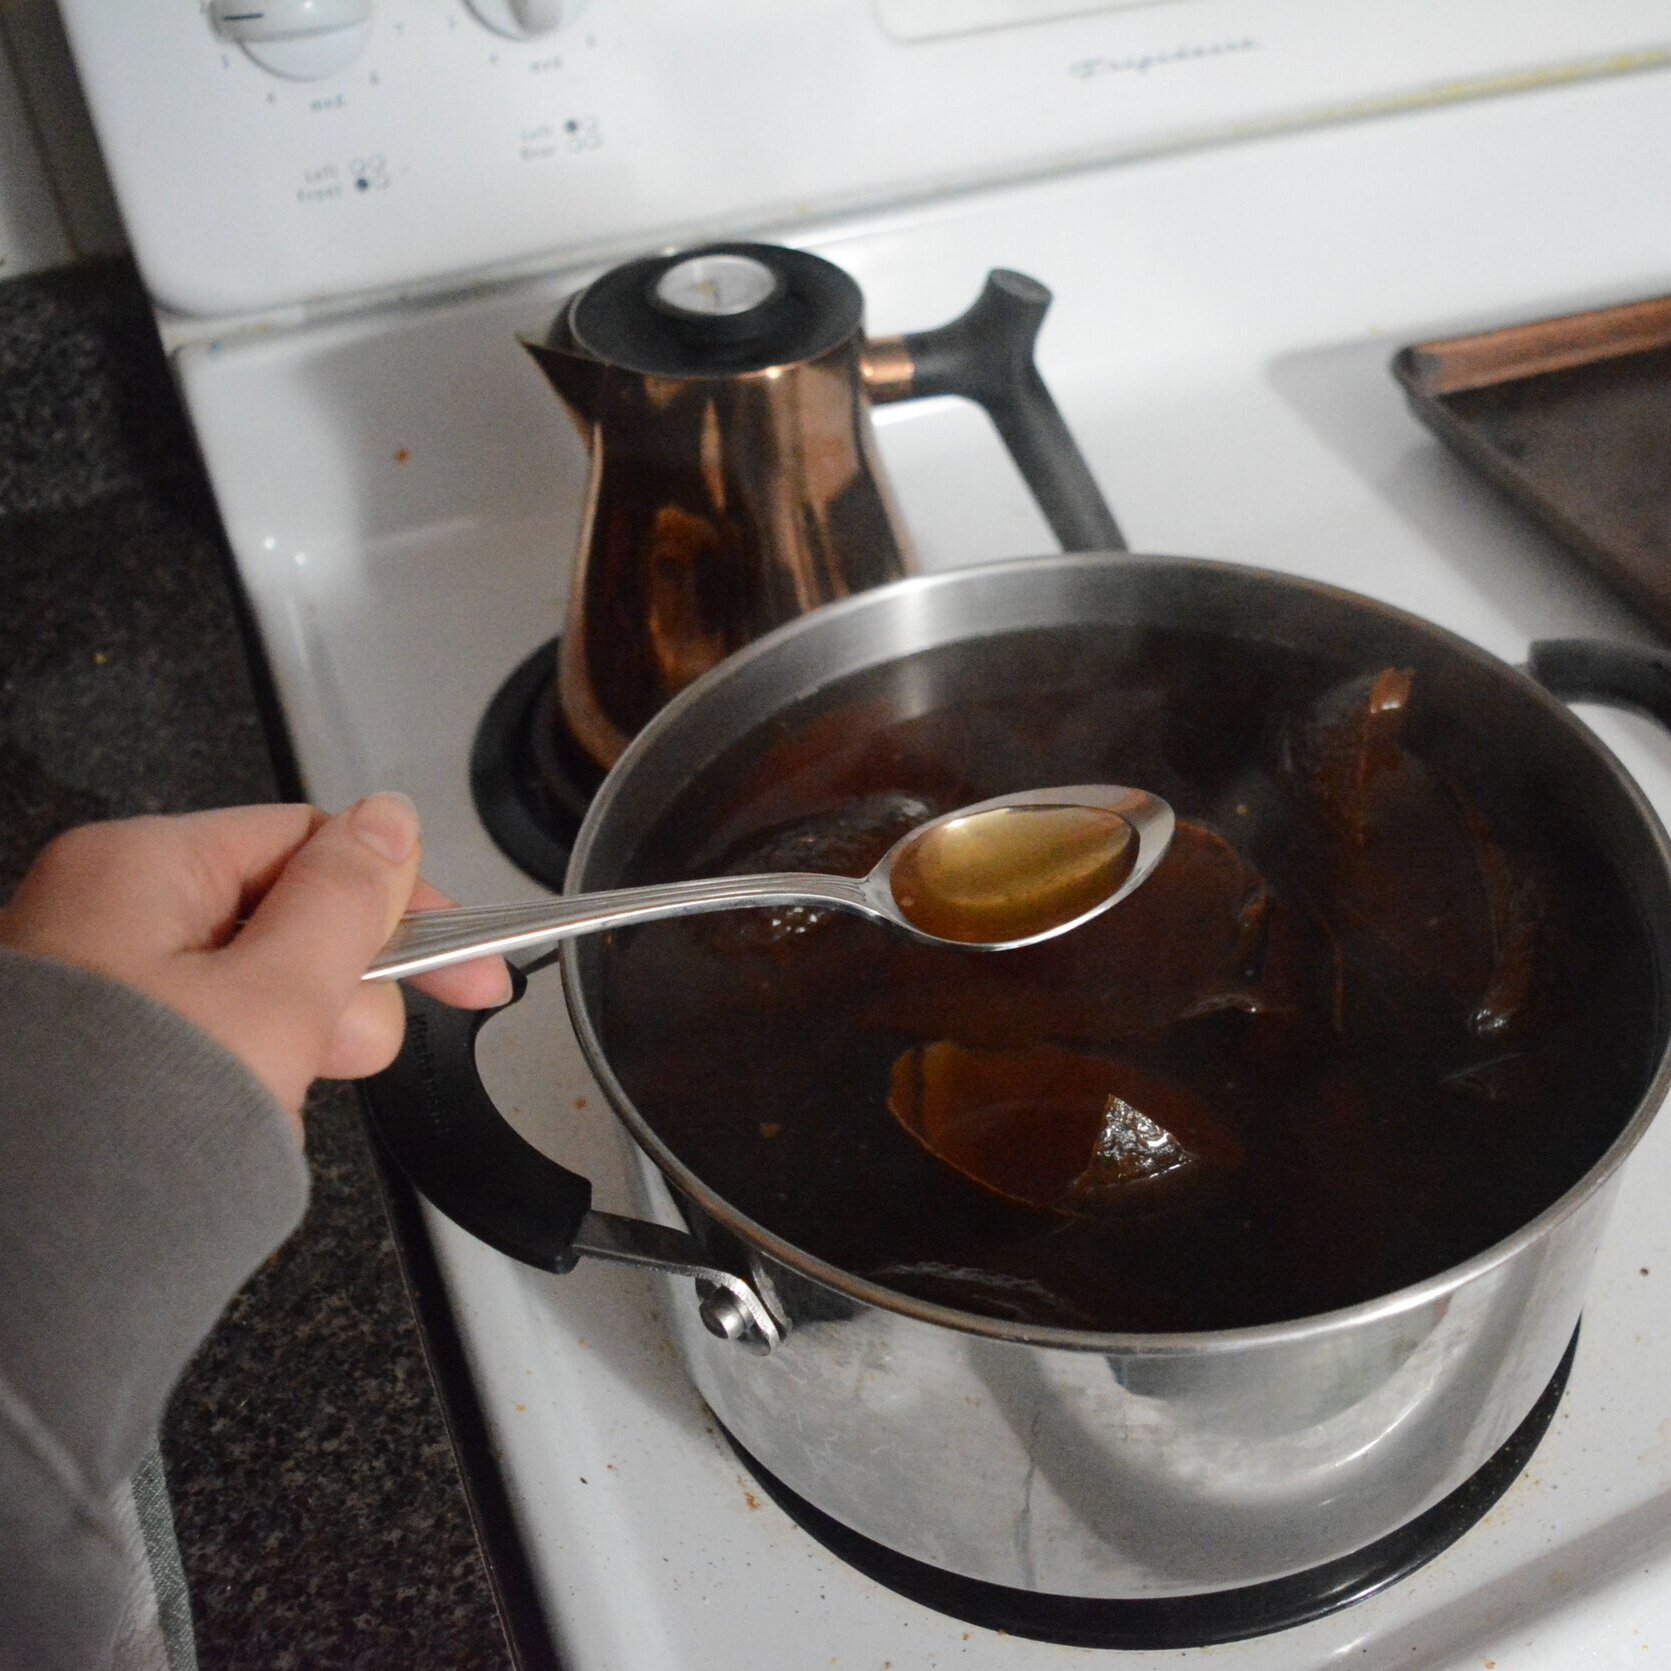
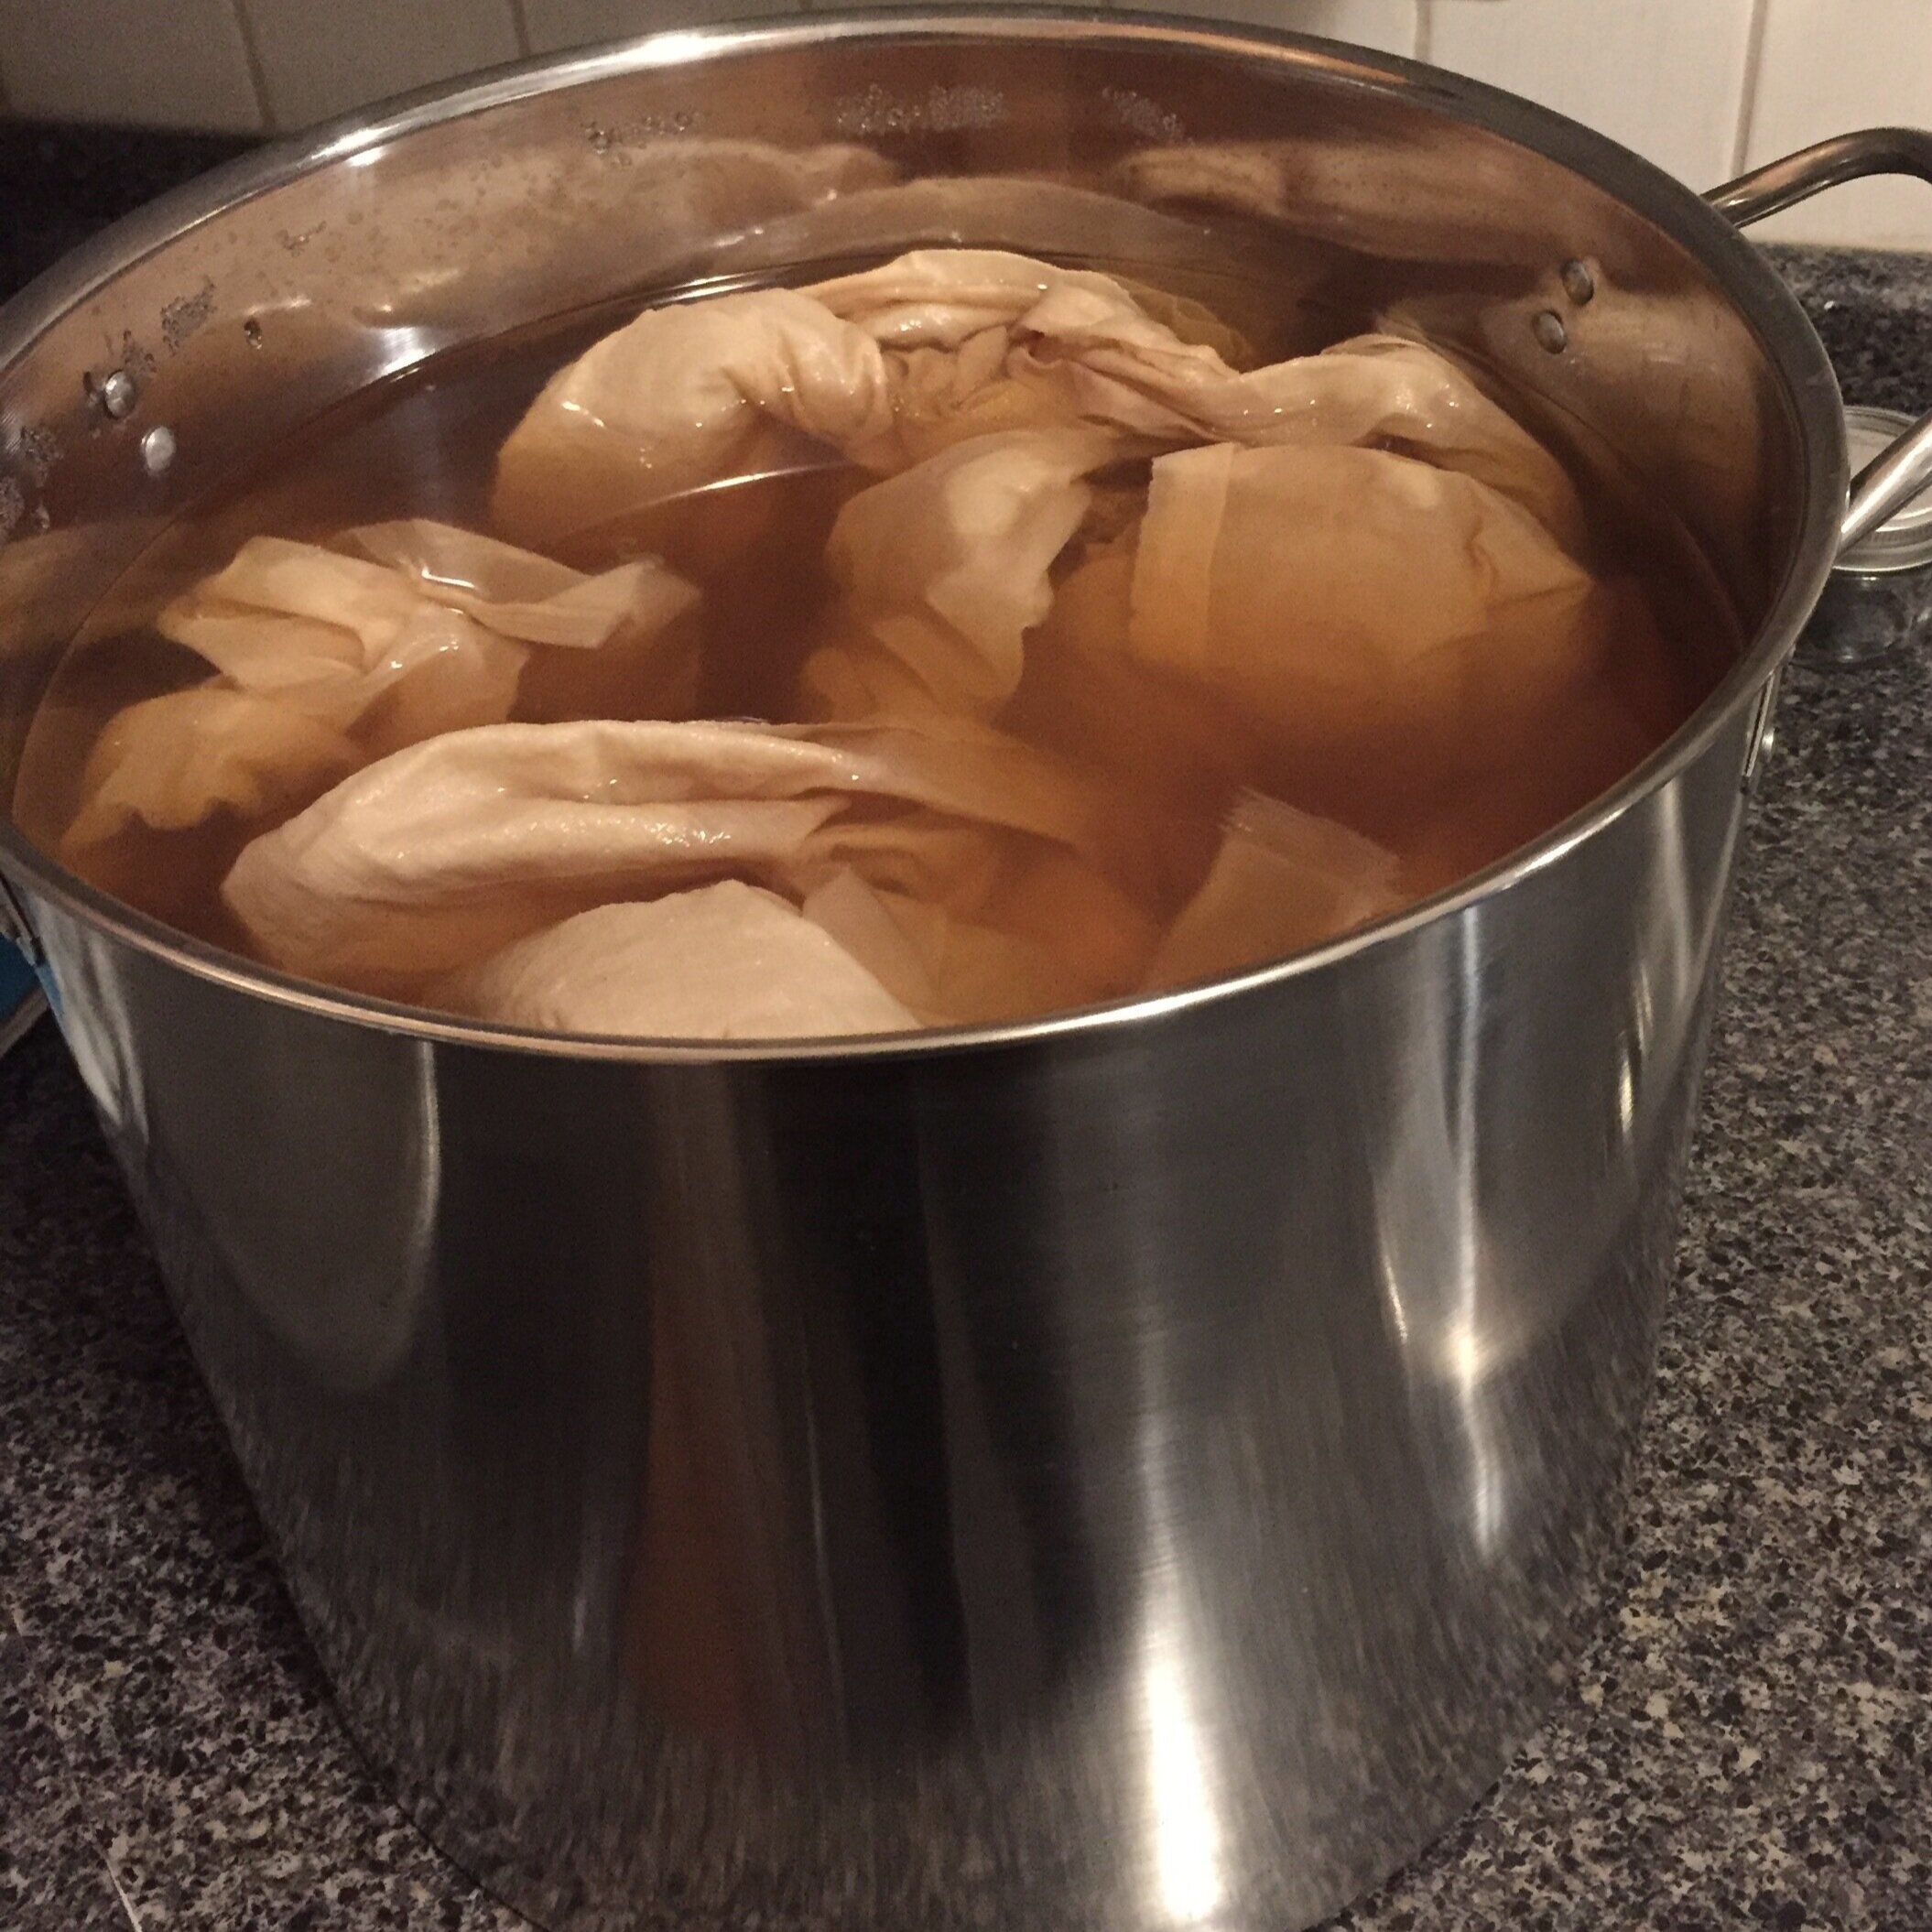
Next I started to make my avocado dye. The total weight of my fibre was 550g, and I was using 850g of avocado stones and 200g of avocado skins (total weight of dyestuff = 1050g). The weight of my dyestuff was about twice that of my fibre, which is more than most people recommend but I didn't think I would mind a darker colour so I just went with it. I fully submerged my dyestuff in a pot of water and let that simmer for 2 hours. I then let the temperature come down and used gloves to mash everything up, and then brought it back up to a simmer for 2 more hours. At this point my "dye" looks very brown and I was starting to feel like I did something very wrong. Anyways I carried on and put my fibres into the dye bath, topping up with hot water so everything was submerged and could move easily in the bath. After 9 hours the fibres are a light brown colour, not at all what I was hoping for. I ended up leaving everything to soak for 4 full days because I got sick and just didn't have the energy to pour the water out and rinse everything. When I did finally empty the bath and rinse the fibres the colour was still a little more brown toned and pale then I was hoping for. Before I could wash and use the fabric it needed to rest for 2 weeks. During these 2 weeks I felt like the colour set and started to look more pink.
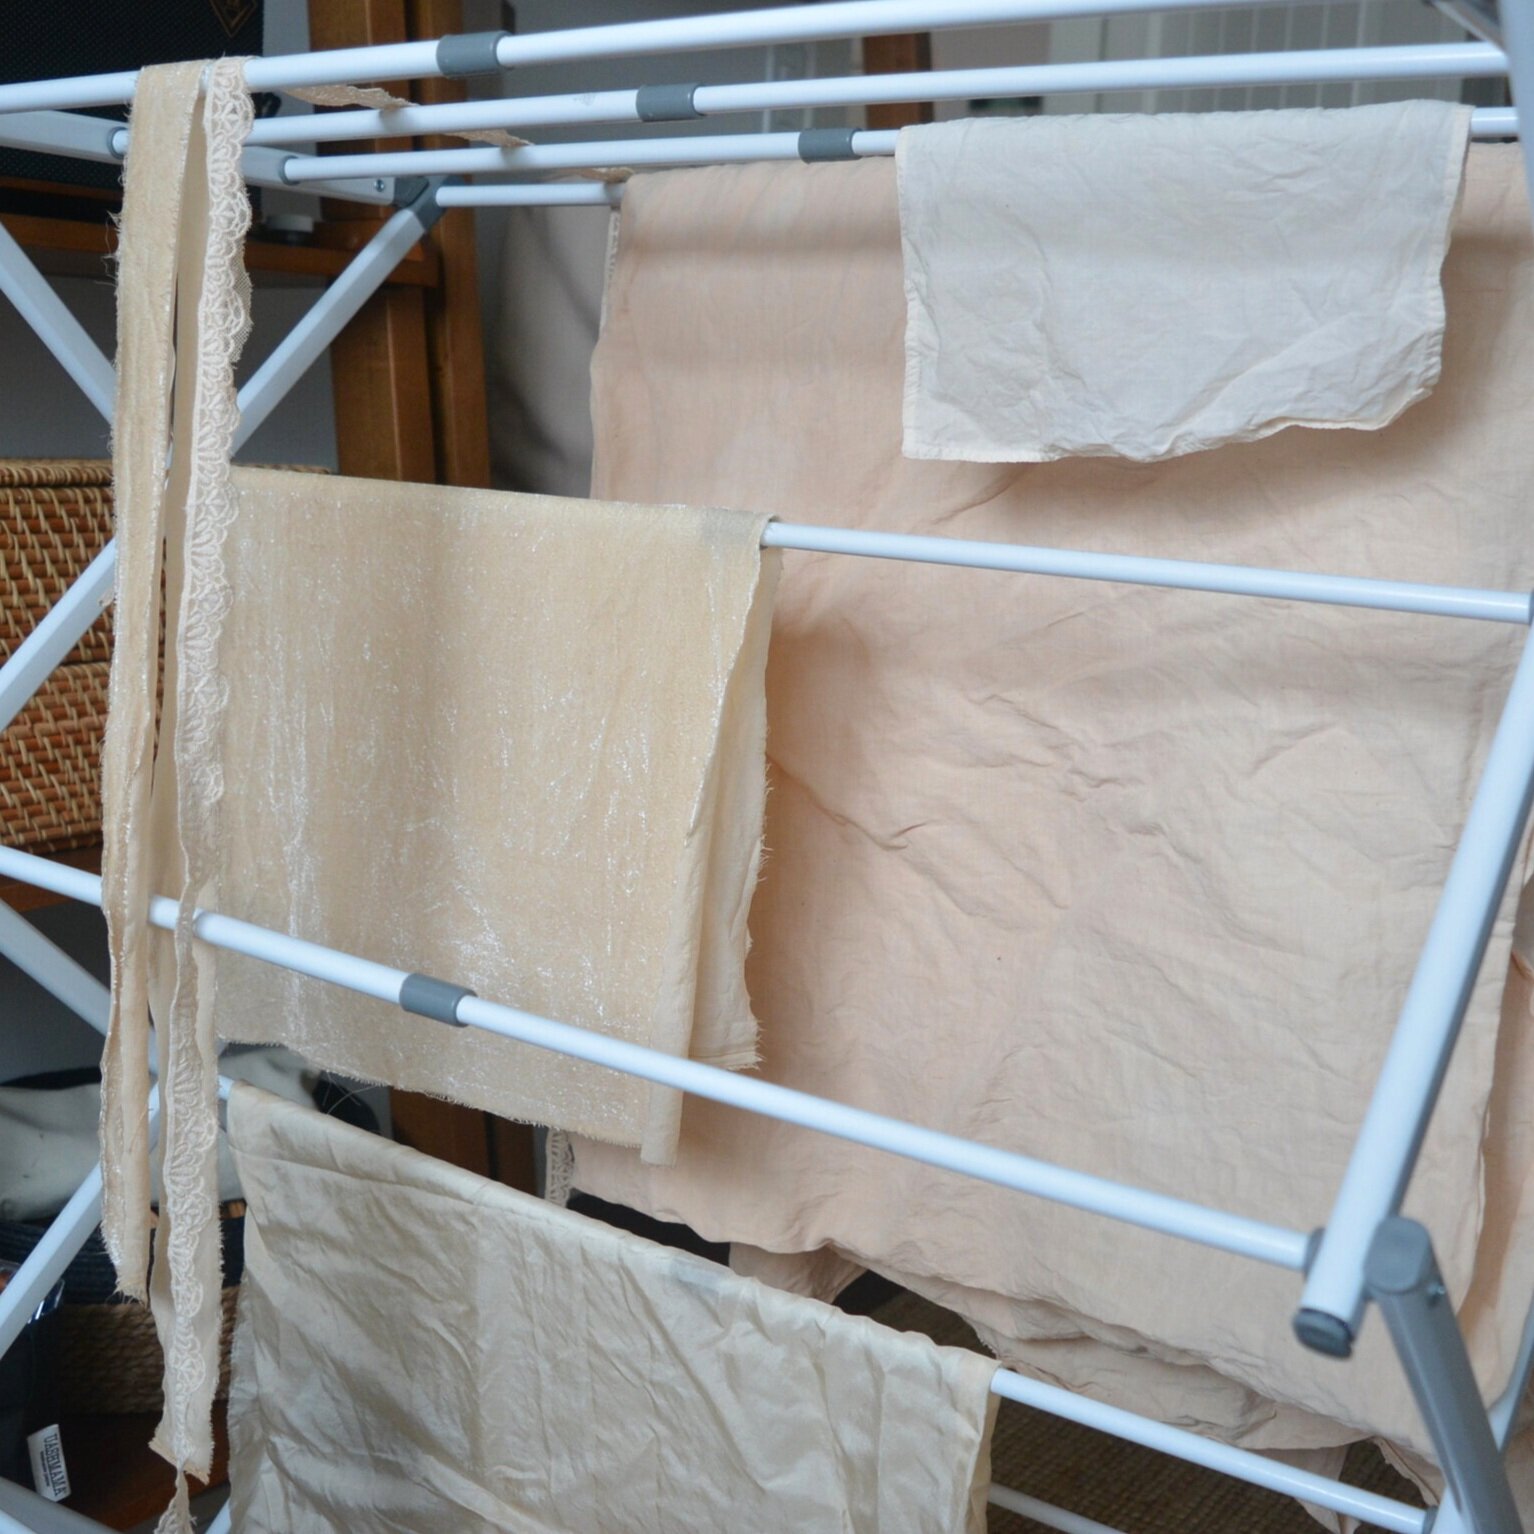
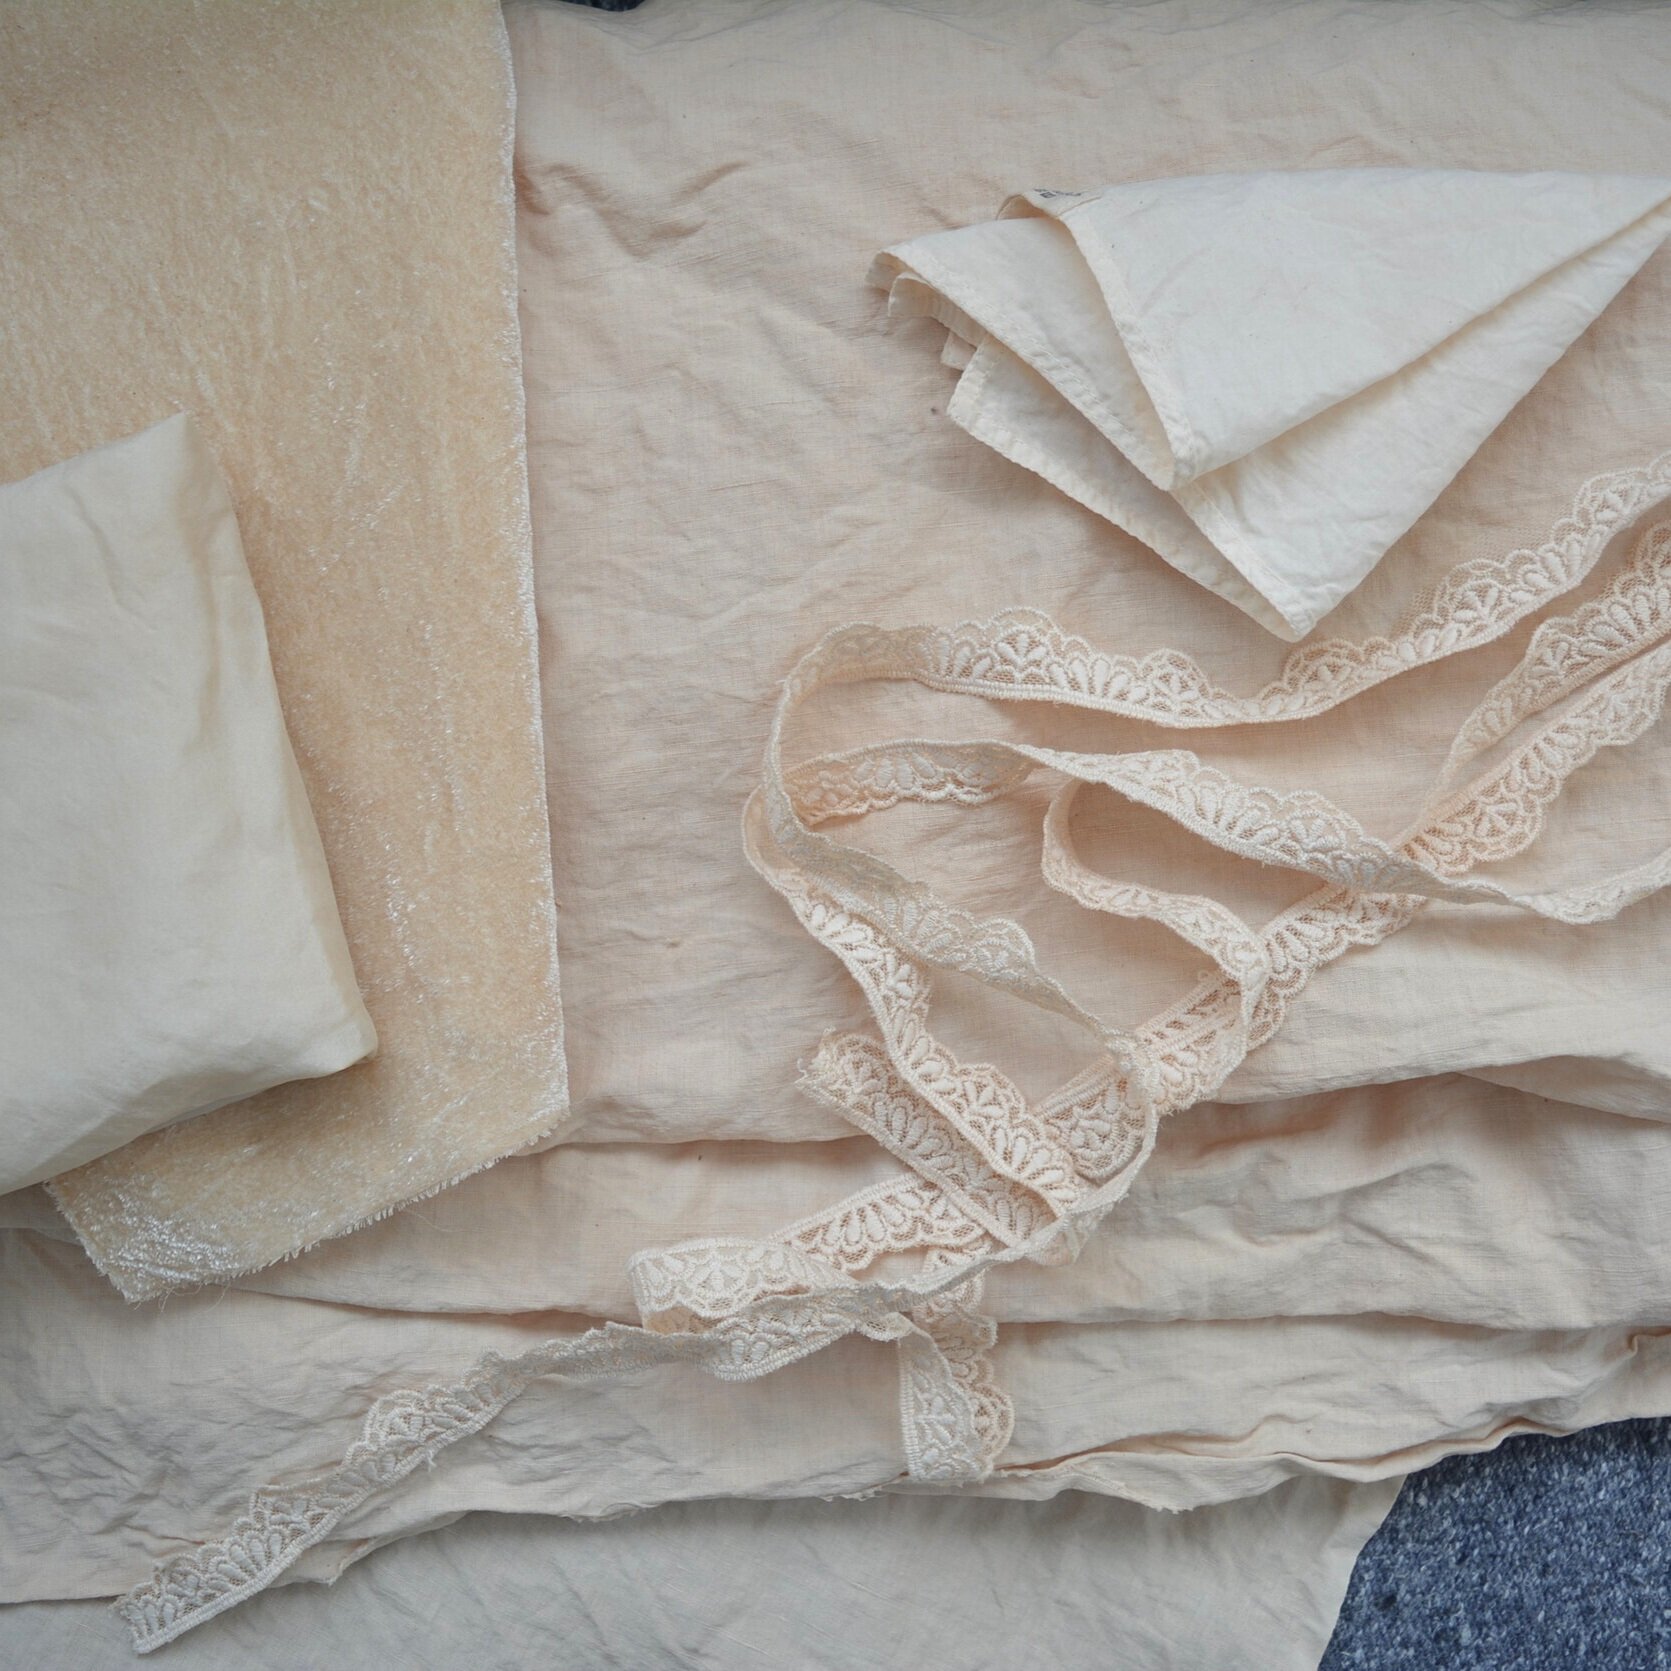
After washing all the fibre I was really happy with the colours I got and I'm not sure if the colour did get more pink over time, if the brown tones washed out, or if I just grew to like it more over time. Anyways I'm very excited to turn the linen into a Wattle Fawn dress by Common Stitch (check out the pattern here), more on that to come soon.

