DIY Maker's Tags

Every so often I will come across something at the thrift store with a “handmade with love” tag sewn into a seam. Seeing this instantly gives the item life as I start thinking about the makers creative process, their choice of fabric and thinking about who they made it for. In all honesty I haven’t labelled many of my makes. I don’t really like the look of most store bought labels, and while I love embroidered labels, they are very time consuming. I’ve been finding that by the time I get to the final steps of sewing and adding embroidery to a dress I just don’t have the energy to embroider a label as well. So I’ve been thinking about how I can make something I love that’s a little faster then embroidering my entire name in tiny letters. Here are a couple of the fully embroidered tags I’ve made in the past:

For the new DIY tags I decided to use stamps and fabric paint. A couple years ago I was a member at a local pottery studio and so I had a stamp made so I could label all of my pottery pieces. The stamp is made of metal and intended to leave an indentation in clay, so I wasn’t sure how well it would work with paint on fabric, but it worked great! To get this stamp made I sent an image of my name in cursive writing to this Etsy shop. The brass stamp is a more expensive option but I’ve also had acrylic stamps made from this shop that work as well. And of course you could use a simple set of alphabet stamps to spell your name out too. That was my plan for stamping the year, but my basic set of stamps didn’t have numbers included so I just used a paintbrush to paint the year on these tags. The fabric paint I used is the Pebeo Setacolor Opaque.

The stamping technique that worked best for me was using a paintbrush to spread paint on the bottom of an empty yogurt container, pressing the stamp into this thin layer of paint, and then pressing the stamp down (quite hard!) onto the surface of the fabric and holding for a couple seconds. I tried this on cotton, linen, and some scraps of Nani Iro double gauze (that’s the blue fabric). The more tightly woven and fine the fabric is, the more crisp your lines will be. After letting the paint dry it needs to be heat set, which means you need to hold an iron on it for a few minutes. I ended up adding a couple simple embroidered flowers to mine and now they are ready to go!

To sew a label onto your garment, turn each edge under 1/4” and stitch down by hand using whip stitch. Basically you are attaching them the way you would an applique patch. With thread that matches the garment and a delicate whip stitches you will barely be able to see the stitches from the right side of the clothing. Give this a try and let me know what you think! I will be labelling everything I make with these tags from here on out!

DIY Quilted Baby Playmat

Some links in this blog post may be affiliate links. This means if you click through and purchase the product, I earn a small commission at no additional cost to you. Thank-you.

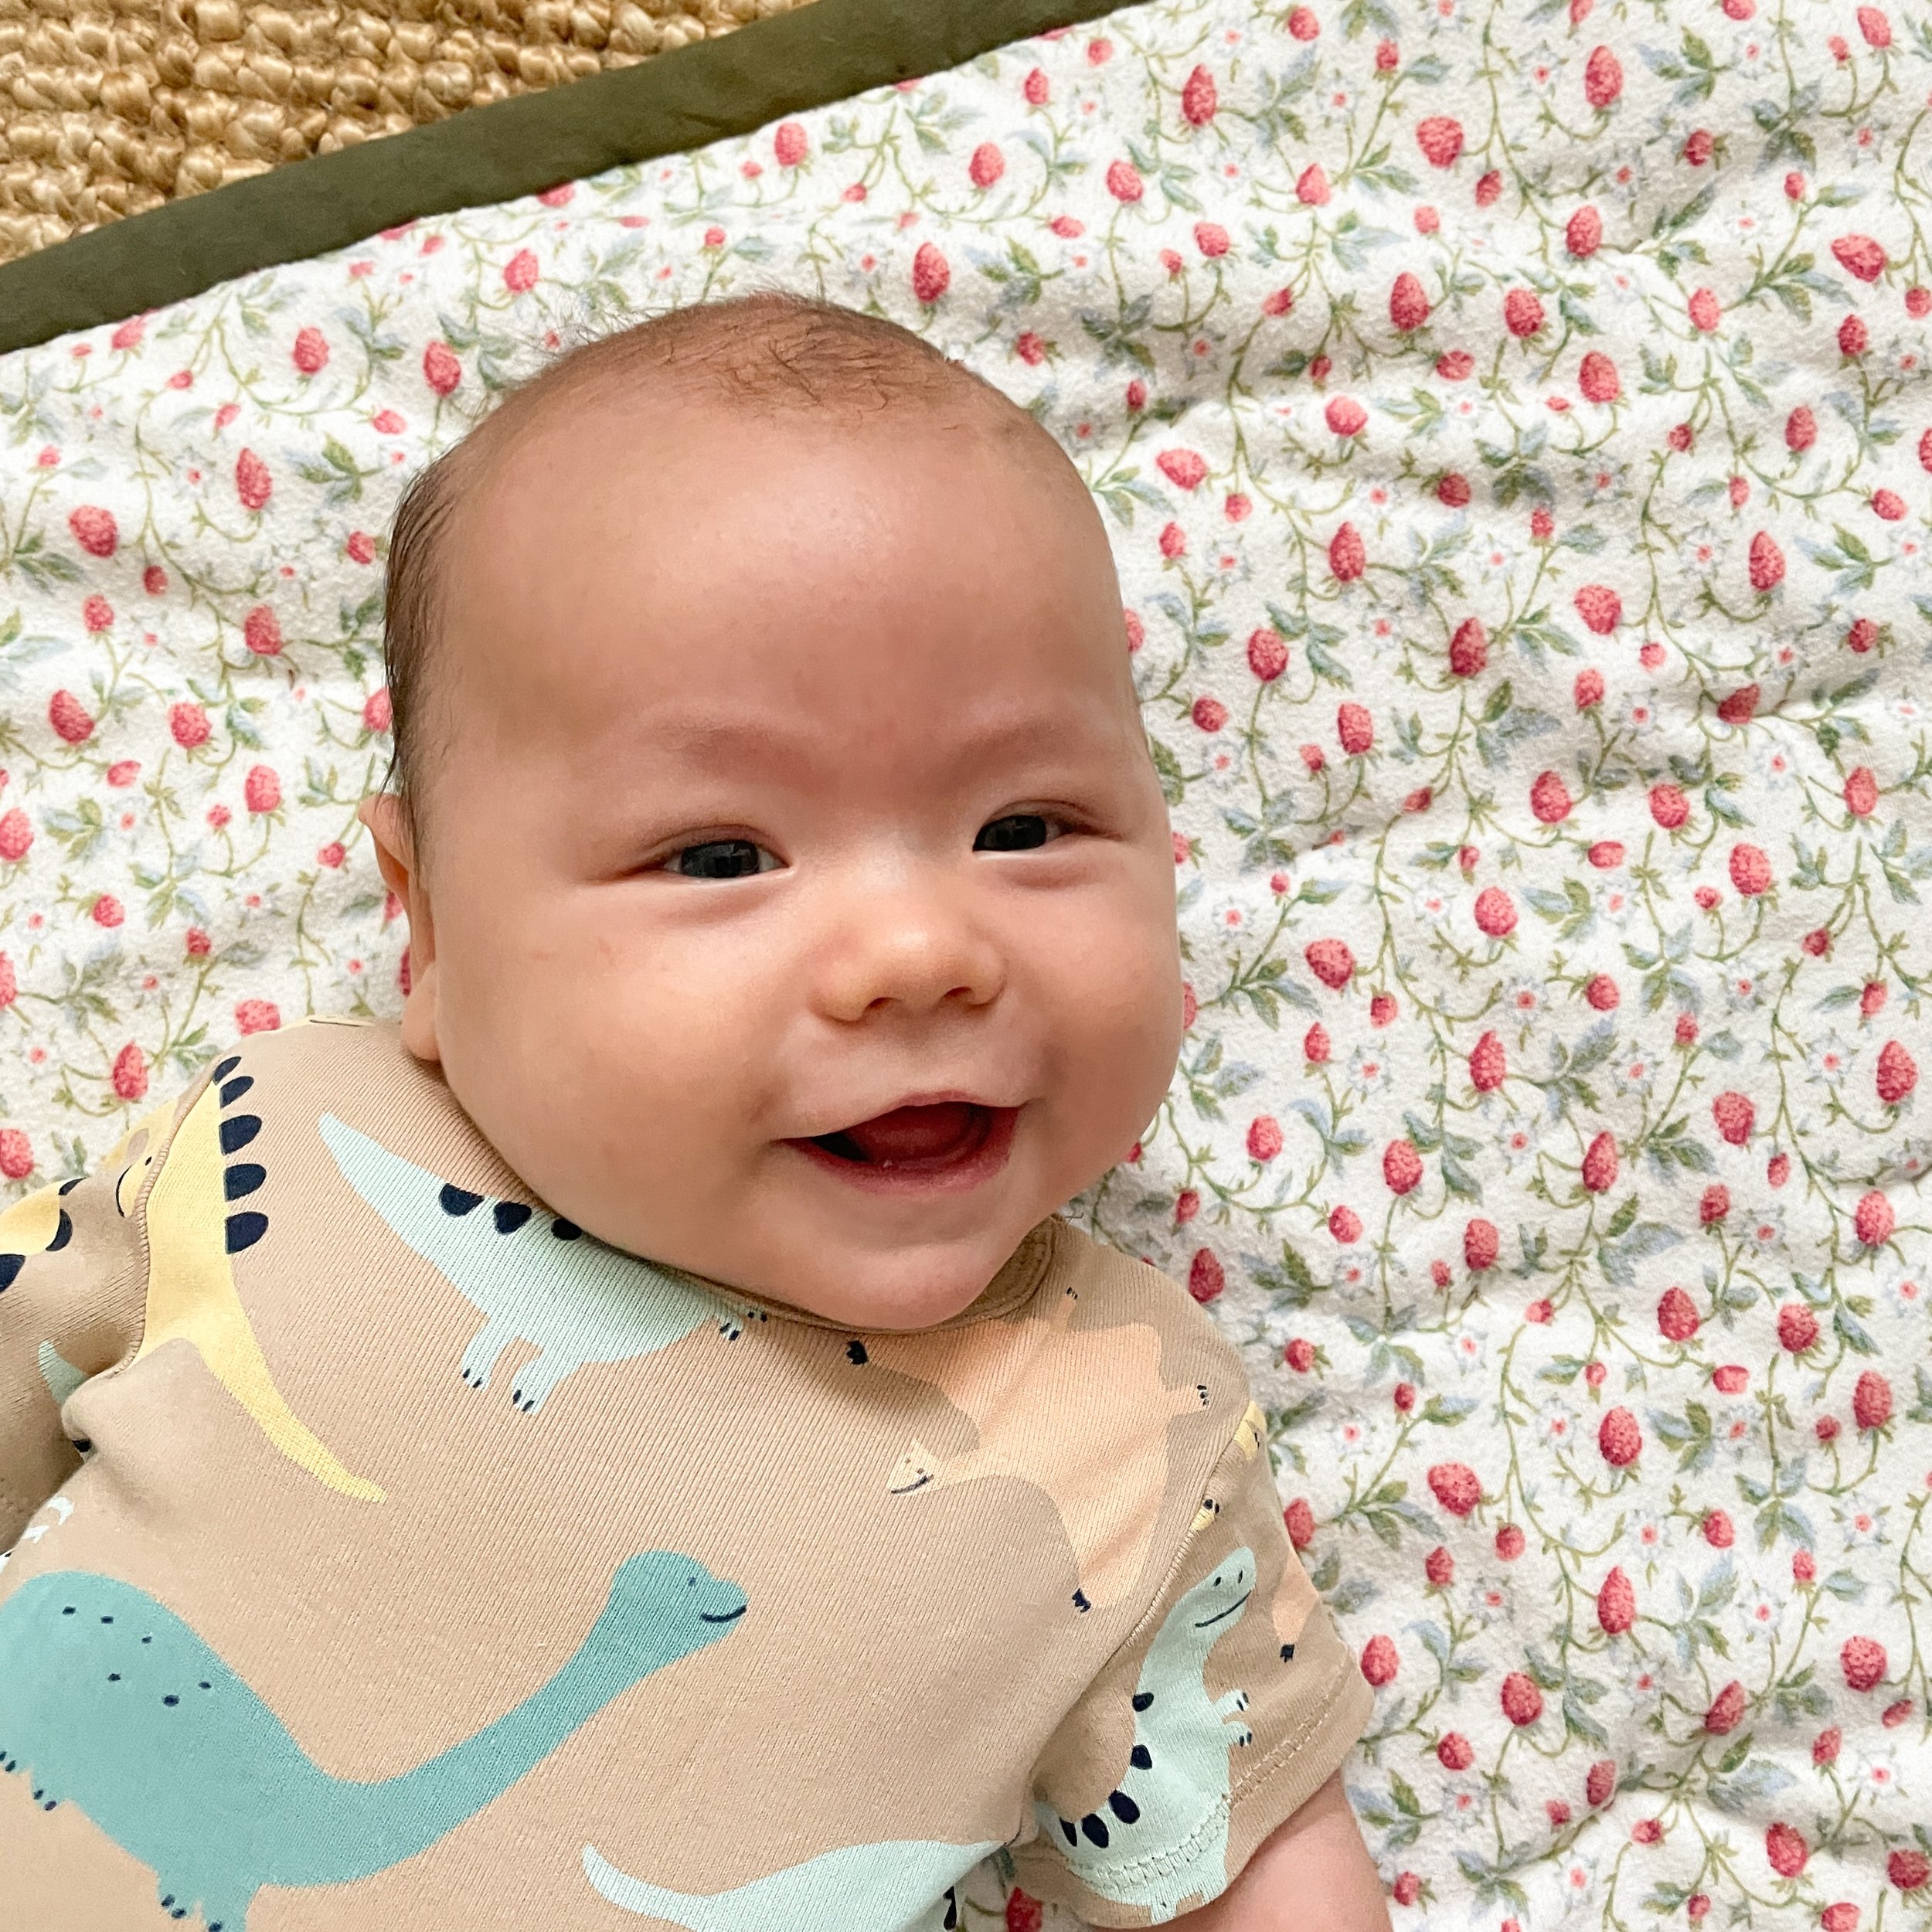
I sewed up this easy baby playmat over the last couple days and I want to tell you about how I made it. Such a practical project, I throw this mat down in whatever room I’m in and let baby kick around on in. You can make it as thick or thin as you like, and I even made one side of mine using a water resistant material so I can use it outside in the grass as well.

I wanted to make this project using things I already had around the house, and besides the thread it is completely made out of recycled materials! The raspberry printed flannel is actually cut from an old sheet, and the ‘batting’ is two layers of a throw blanket that I’ve owned for over a decade and I was about to get rid of. The green checkerboard side is pieced together using a rain coat I cut up. I bought the rain coat last year from the thrift store and when I wore it in the rain last week I quickly learned it was not very waterproof! I felt bad even donating it back to the thrift store because I didn’t want anyone else spending their money on it and getting tricked. So I cut it up into as many 3.5” squares as I could and pieced those squares into a big rectangle. This way I could use as much of the coat as possible, cutting squares from the sleeves, pockets, and hood. I even harvested the zipper to use in another project in the future. The way I was able to make the checkerboard design was by flipping half of the squares upside down. The backside of the fabric was slightly darker then the front side and I wanted to make use of that in the design.

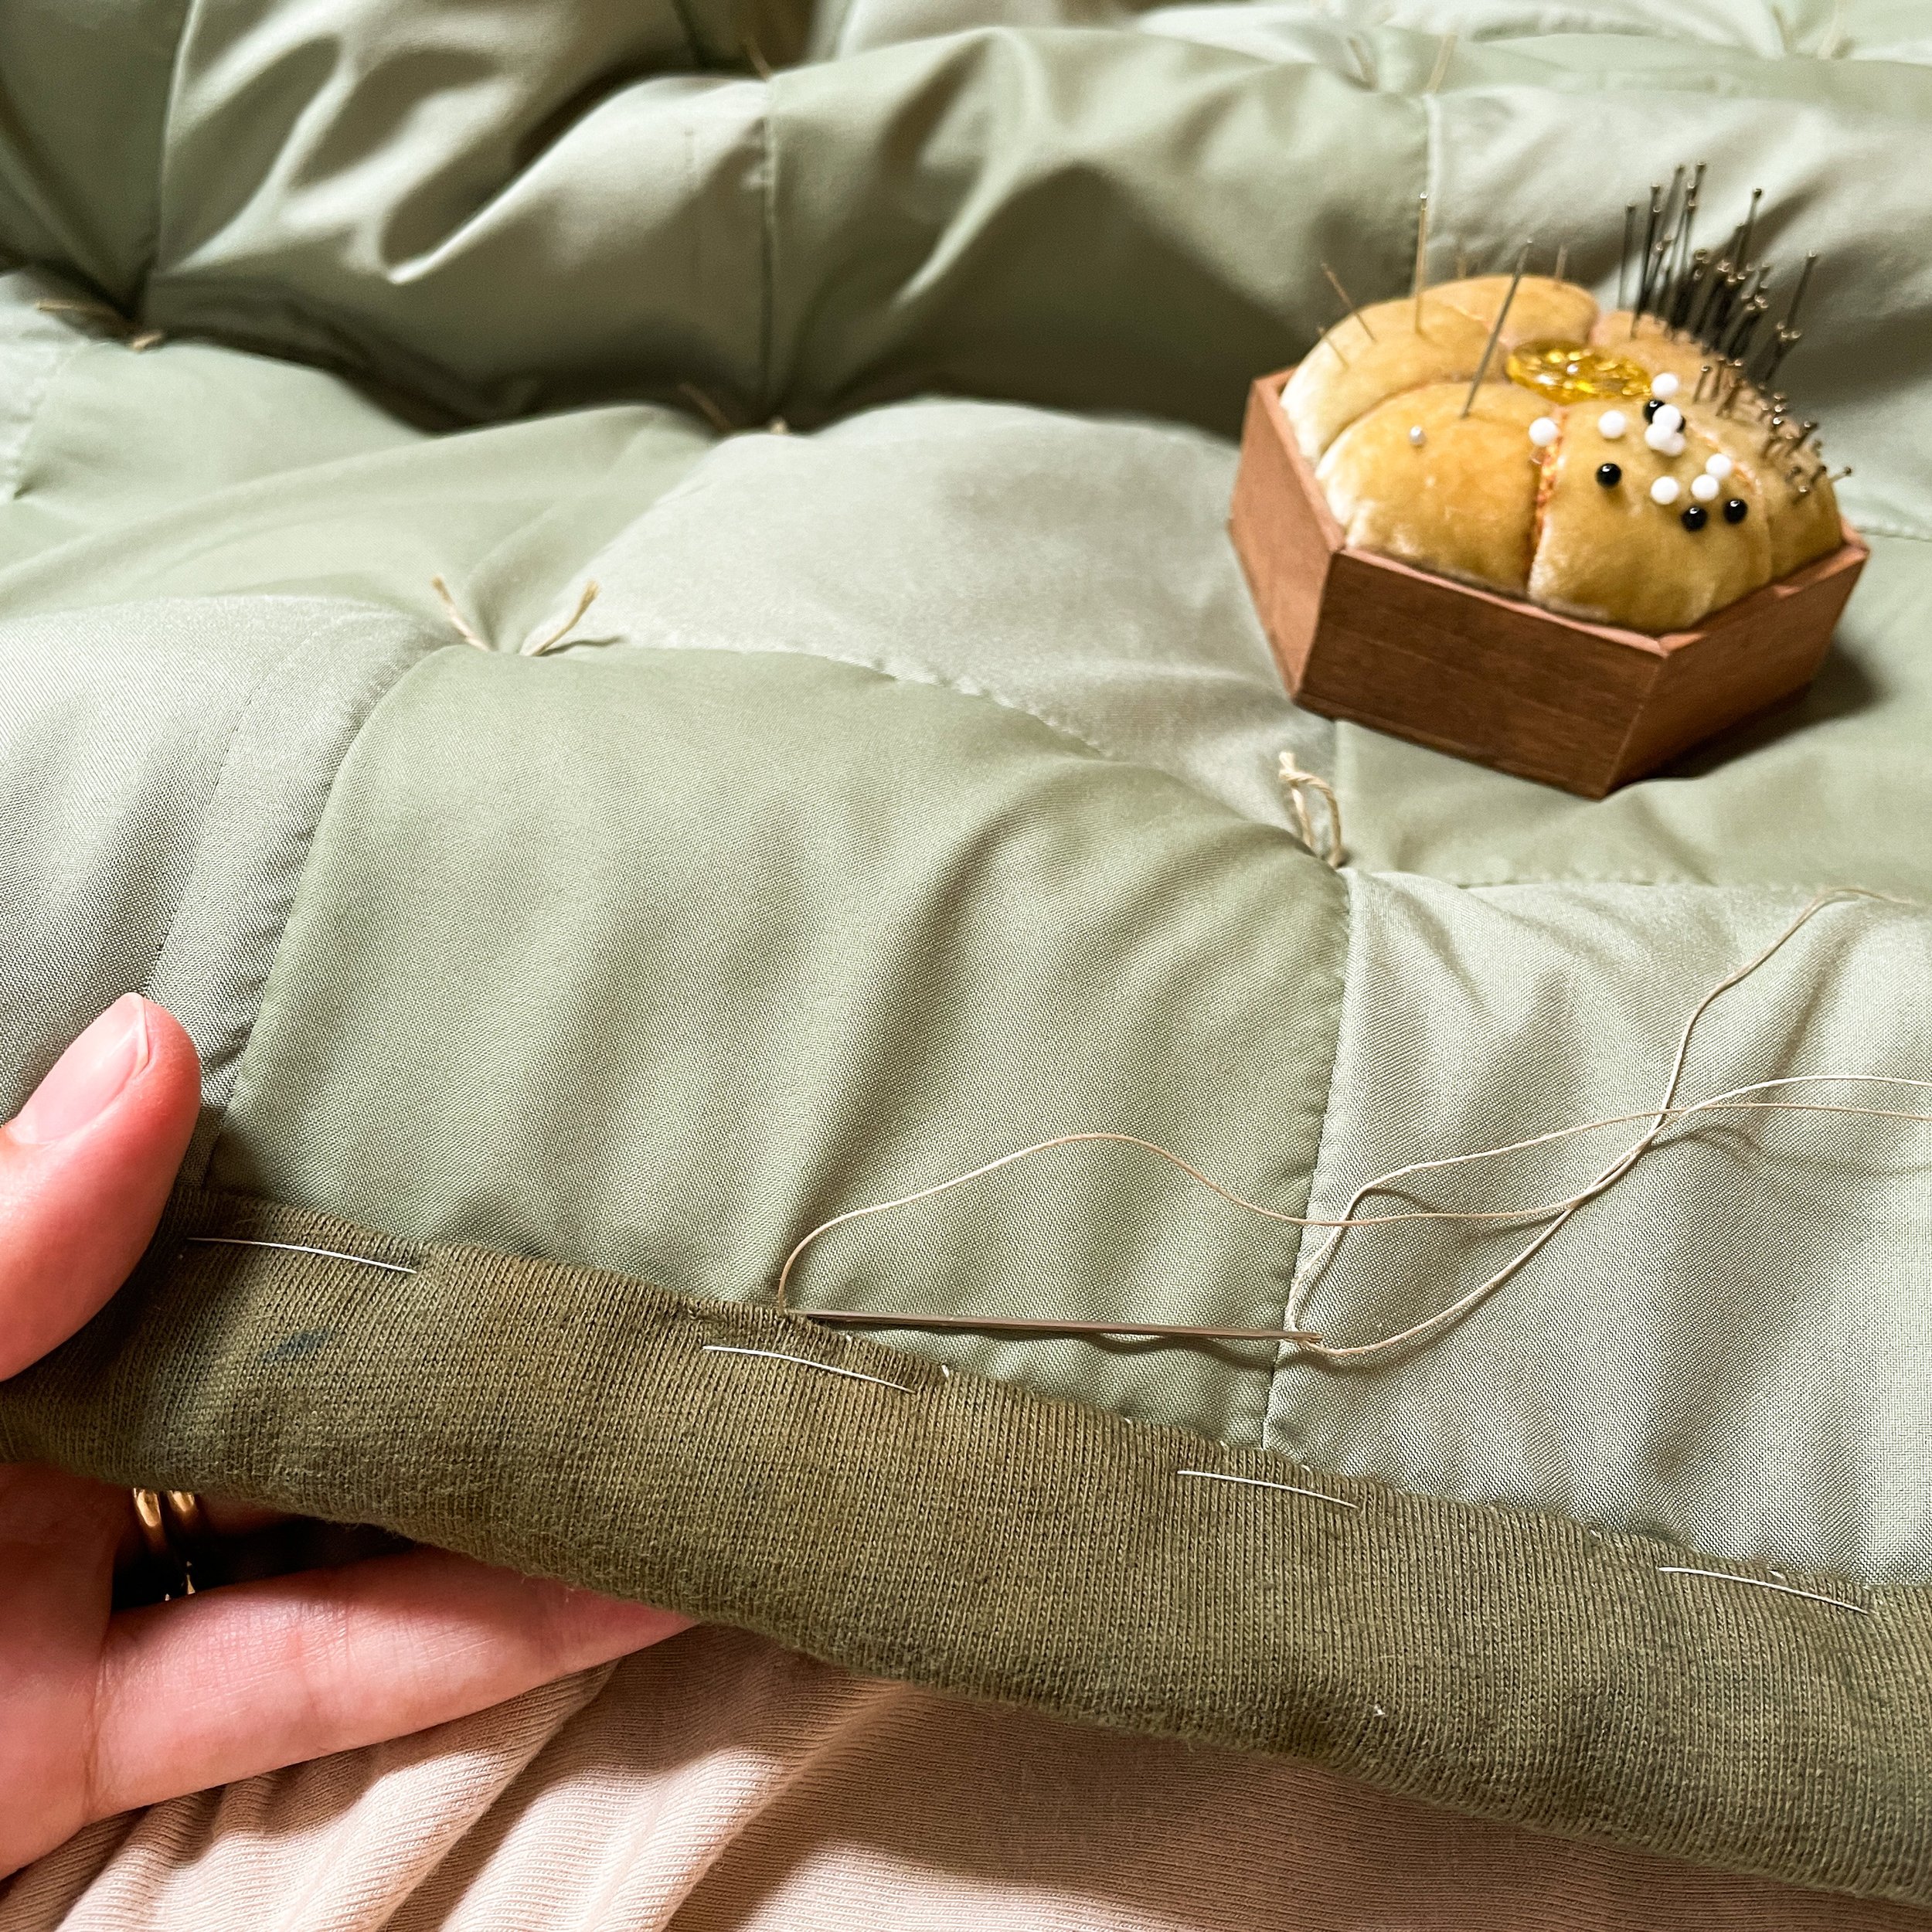
The binding of this play mat is made from cotton jersey. I am working on an Alabama Chanin style dress and had some leftover jersey fabric after cutting out the pattern pieces. I cut 3.5” strips on the cross grain and pieced them together to make one long strip, which I attached the same way you would attach regular binding to a quilt. I love that it is a little softer than using quilting cotton. I cut such a wide strip because I wanted a nice thick border around the play mat, I think the green compliments both sides nicely.

As for quilting: I did attempt to quilt this in my sewing machine and it was such a failure! I wanted this mat to be nice and thick so there is no way I could get it through my machine, even using a walking foot. So instead I used the knotted method of quilting, which is to use thread to tie a knot through all of the layers of the quilt at regular intervals. You can see the tails of the knots on one side of the quilt so I chose to have them on the water resistant piecework side, in between each square of the checkerboard. I used a cotton Sashiko thread (affiliate link) to tie my knots. I think this method works so well for a play mat! The knots are a cute design feature, it works well on extra thick quilts, and it is so quick to do.

You can of course make this playmat any size you like! The size of mine was completely based on the blanket and fabric I had available to use. For reference mine measures 27” x 32”. I recommend cutting your top piece to the size you want your mat, and then if you can, cut your batting/blanket and your backing fabric a little bigger. Things will shift around a little bit as you tie the layers together, so it’s nice to have some extra room for that. Then, before binding, you can trim the batting and backing fabric down so that the edges all line up perfectly. Then add your desired binding! The knotting method of quilting makes this project so easy, and it’s such a great way to use up fabric you already have!

How to Cross Stitch on Jersey Knits

Some links in this blog post may be affiliate links. This means if you click through and purchase the product, I earn a small commission at no additional cost to you. Thank-you.

So, I titled this post as if it was more of a tutorial, but really it should read more along the lines of “I did something one time and it worked so well, so I want to share what I did!” I’ve only done cross-stitch a handful of times, and usually on linen fabric, but I really loved the idea of stitching little scenes onto pre-bought baby clothes, which are usually stretchy. I’ve gotten so many simple little onesies as hand-me-downs and gifts, so this is a fun and quick way to add some personality to them.

I used a cross stitch pattern from Fifi Grace Designs on Etsy and the little scenes she comes up with are so sweet and whimsical. As for actually stitching the design on the fabric I used a wash-away 14-count cross-stitch fabric (affiliate link). It’s genius! I use a similar wash-away interfacing for regular embroidery designs, but this one has a little stiffer feel to it and of course tiny holes so you know exactly where to stitch your little x’s.

Using the interfacing is very easy. You first need to figure out how big of a piece you need for your design, and then cut that out giving yourself a little extra space on each side. Baste the interfacing onto the knit fabric around the edges using a long running stitch. If you are sewing a big design you could also add a couple basting stitches in the middle to hold the interfacing to the fabric better, these basting stitches will all get removed later anyways. Then once your interfacing is in place, stitch your design, remove the basting stitches, and wash away the interfacing in water!

If you decide to try this out let me know how it goes! I hope it works as well for you as it did for me!

Links:

Fifi Grace Designs: Duck and Ducklings Cross Stitch Pattern

14-count water soluble canvas (affiliate link)

Thread: DMC 6-strand embroidery floss (affiliate link)

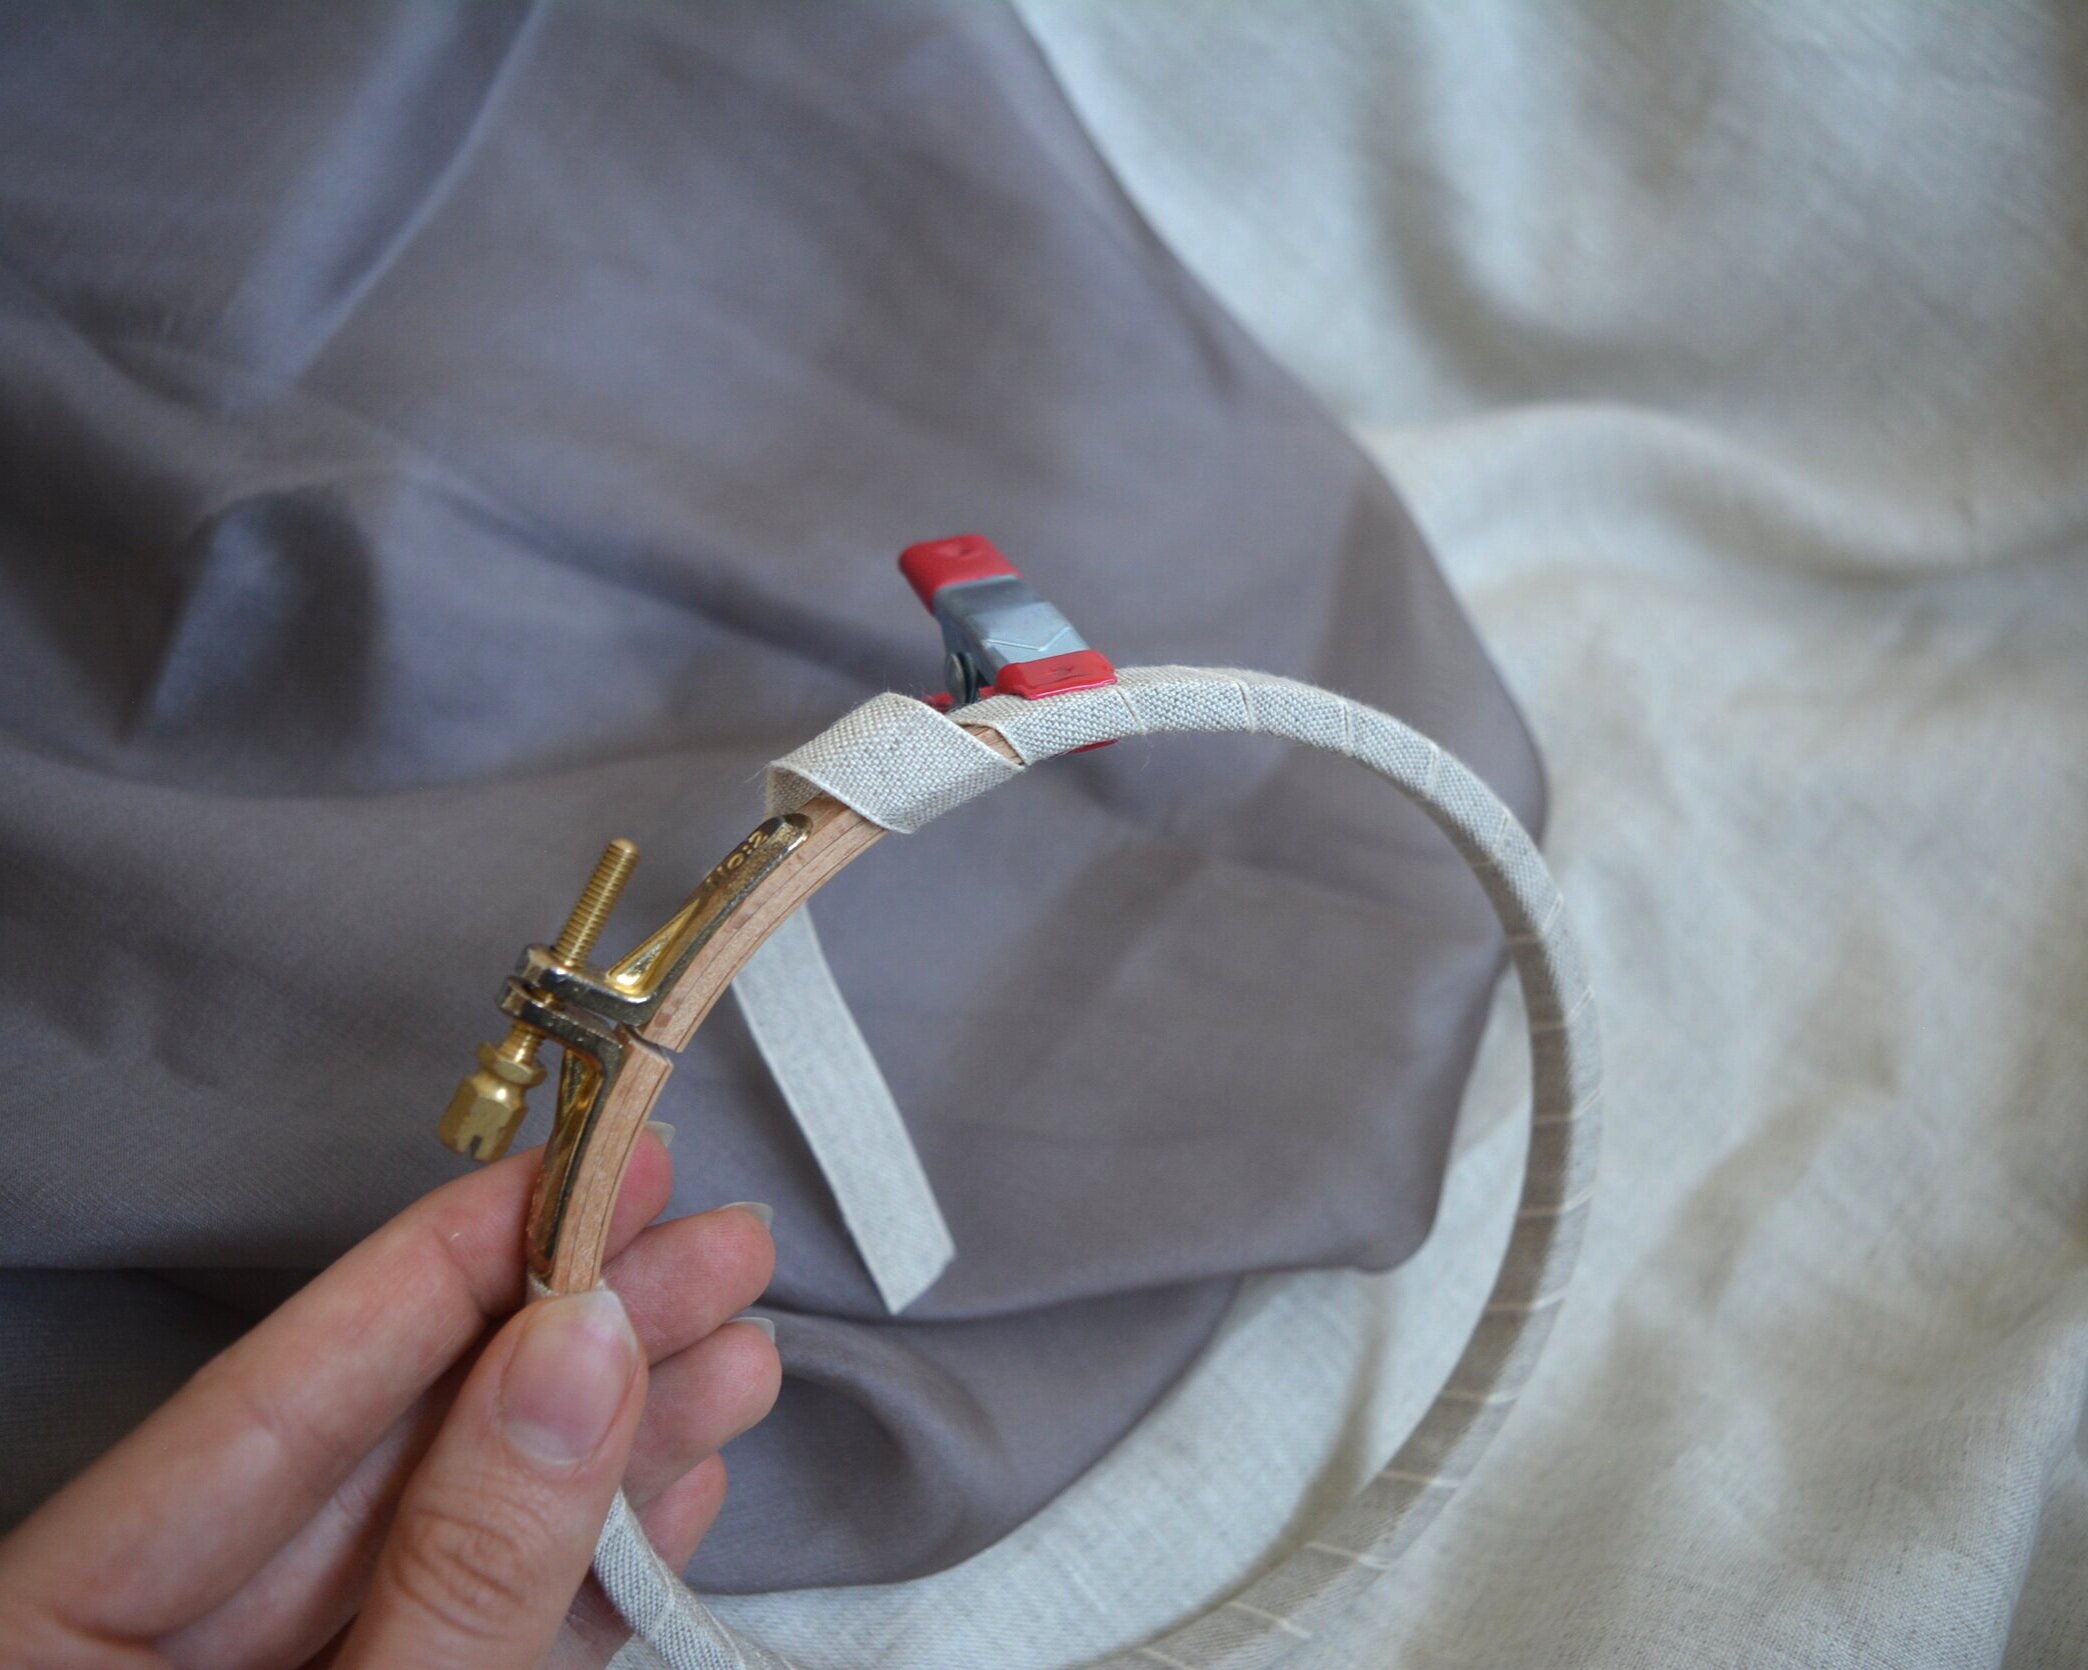
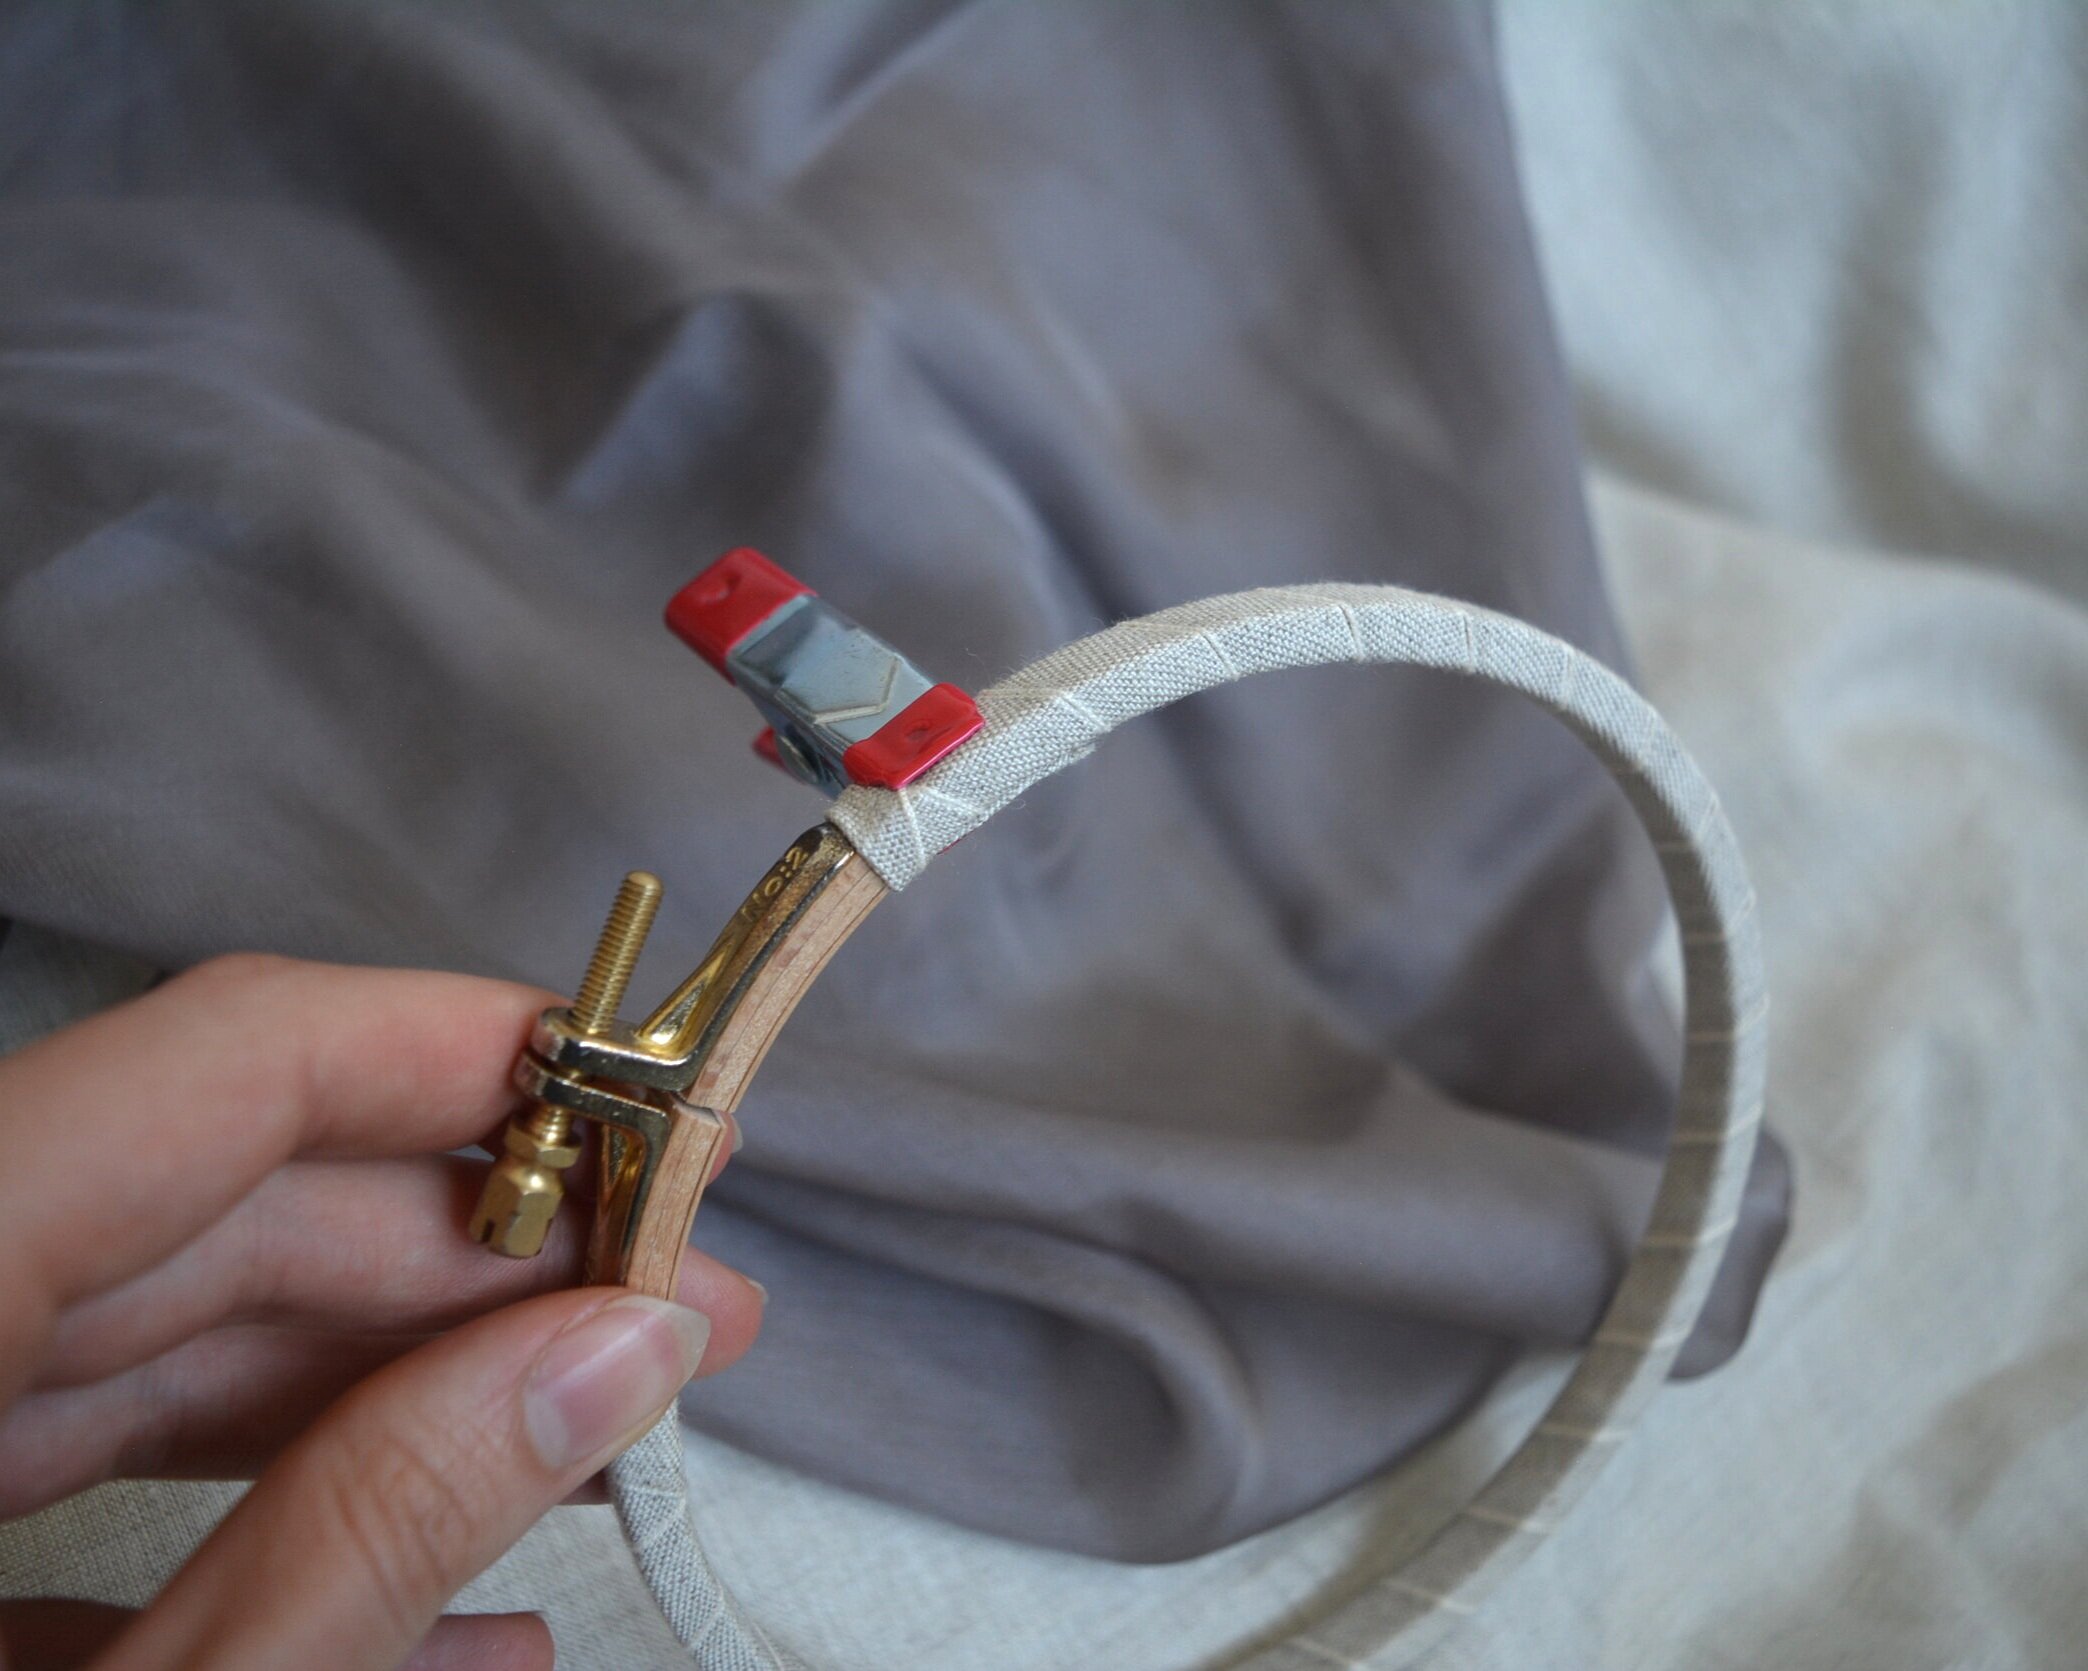
How I Wrap My Embroidery Hoops (and Why I Do It!)

2020-04-09_16-43-17.jpg

While I don't consider myself experienced with embroidery, even this one little tip has made everything I finish look so much better. I started wrapping my embroidery hoops and it has helped both with making my process easier, and with improving the look of the finished piece:

  • Wrapping helps to create a tighter working surface with the fabric, and I find the fabric doesn't loosen as I'm working.

  • When I'm working on a larger piece and have to move the hoop around the fabric, the softer surface of the wrapped hoop doesn't "squish" my worked embroidery as aggressively as the exposed wood does.

  • When I take my work out of the hoop I find the crease from where the hoop was sitting is less prominent and a little easier to iron out (although I still recommend taking your fabric out of the hoop whenever you are not actively working on it, to give the fabric time to rest).

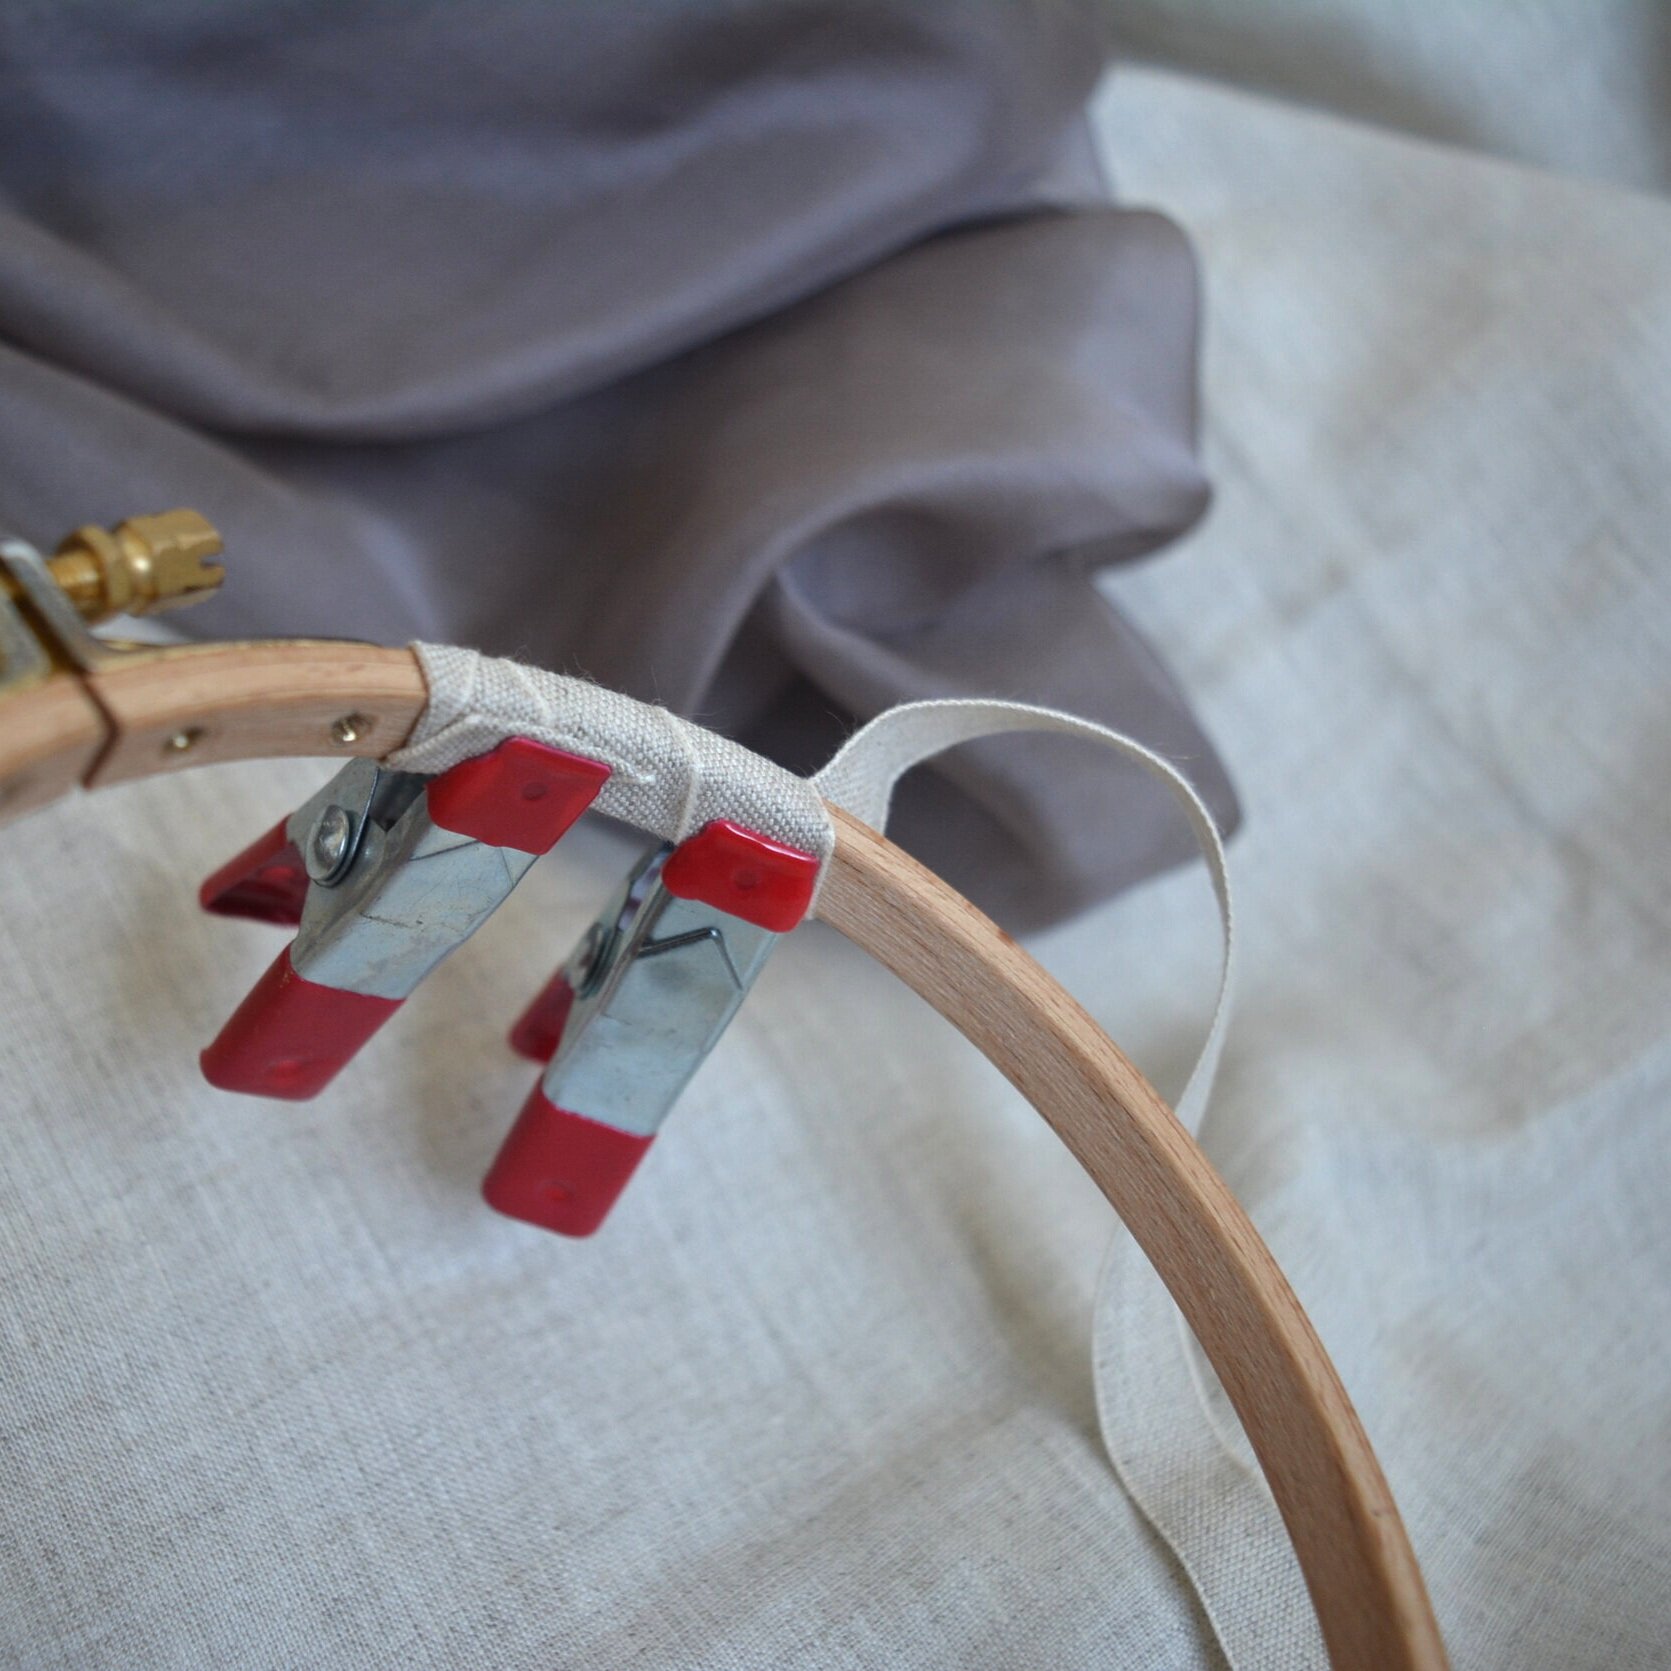
A lot of resources suggest wrapping your hoop with some scrap fabric and glueing down the tails to the hoop. While this works just as wonderfully, I wanted my hoops to look a little more polished, and I wanted to avoid glueing anything to my hoops. So I've been wrapping all of my hoops with some linen tape, which I love the look of, and when I wrap tight and sew the ends down to the tape itself I find there's no movement while I'm working and the tape stays snug.

It also seems a lot of people prefer to wrap the inner hoop instead of the outer. This would still help with maintaining a tight hold on your fabric, but it wouldn’t do as much to protect your embroidery from getting squished by the hoop, so I prefer to wrap the outer hoop for that reason.

2020-04-09_16-05-55.jpg

To wrap your hoop you'll need:

  • linen tape (I use 1/2" Dutch Linen Tape from Burnley & Trowbridge)

  • thread (I use linen thread, waxed with beeswax, both from Burnley & Trowbridge, but any sewing thread will do)

  • sewing needle

  • embroidery hoop

  • thimble

  • craft clamps (I use similar clamps to these)

  • scissors

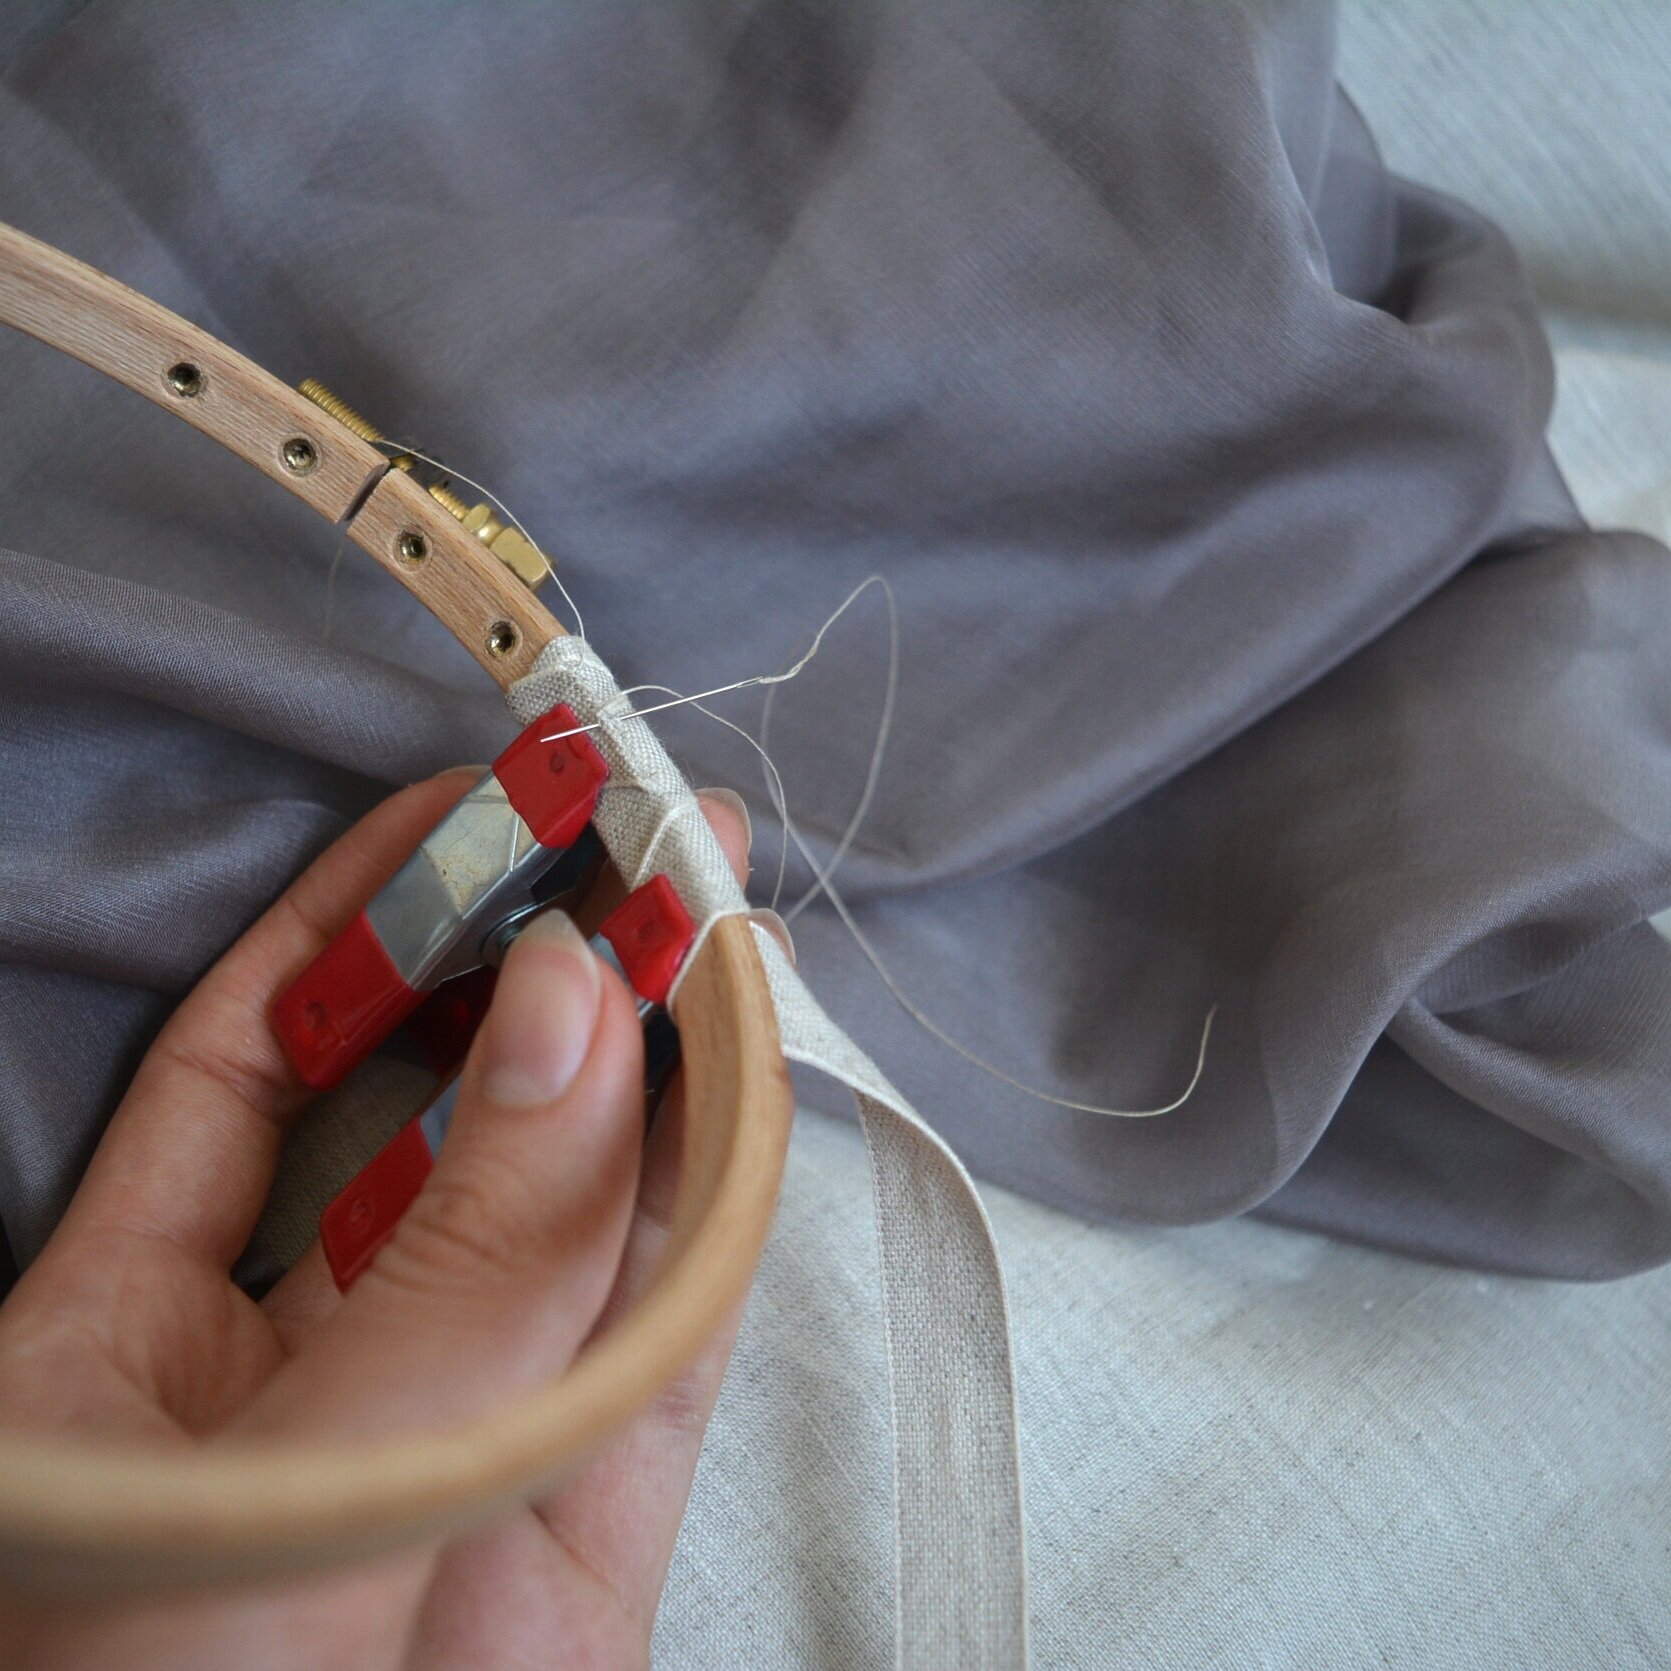
To start, I set aside the inner hoop, and I wrap the tape around the outer hoop a couple times. I wrap nice and tight, and use a couple clamps to hold this in place while I work on securing the starting tail. I leave myself a tail a couple of inches long to work with. This next part is a little fiddly. I basically play with positioning the tail of the linen tape (folding and trimming until it looks nice), and then whip stitch the end down to the tape already wrapped around the hoop. If the tape is wrapped really tight, you'll find that it doesn't shift around, even without glue.

Once I have that attached, I very carefully wrap the tape around the hoop, being mindful to keep the edges lined up (and not overlapping) and to keep the wrapping tight.

2020-04-09_16-28-28.jpg

When I get back to the metal clamp I need to secure this end as well. Again I use clamps to secure the work I've done, and cut myself a tail a couple inches long. I finish the end the same way I started the tape: fiddling until it looks nice, and then whip stitching the end edge down to the tape already wrapped around the hoop. To finish the loose strings I do a couple extra stitches in place, and then weave the thread into the linen tape before cutting the end.

I hope you found this useful. You could also use cotton twill tape or strips of fabric with this same technique. Happy embroidering!

Backing a Knit Scarf with Wool Fabric

When I designed the Clayr Scarf, my intention was to create a wonderfully light and long airy scarf. It was a beautiful scarf, knit up in Shibui Knits Pebble, which is a blend of silk, merino wool, and cashmere. Although I loved the scarf, it has ended up sitting folded in a drawer for years, it just doesn't suit cold Canadian winters. I always find myself reaching for something warmer, so I thought I would put some time into making Clayr a scarf I reached for more often.

I decided to back (or 'line') Clayr with a woven wool fabric, which would give the scarf both structure and warmth. I chose a fairly heavy and dark wool, so that the lace triangles would be emphasized. To start I cut a piece of wool the size of the scarf (I ending up having to do a little bit of piecing to get a piece of fabric long enough).

The wool was a little too heavy to hem around the edges, so instead I used a linen tape to bind the edges. I hand stitched the linen tape along all 4 sides using a running stitch, which kept the bulk down compared to hemming. I chose to hand stitch this project because it gave me more control, and I was able to perfectly hide the stitches in the linen tape. I've also been wanting to get quicker at hand stitching with a thimble, and this project gave me lots of practice with that.

After binding the piece of wool, I whip stitched the knit scarf onto the wool backing, going around all 4 edges. Again I hand stitched this, which gave me a really clean finish. I blocked the scarf at this stage (essential!), and then tacked the two pieces together every couple of inches with some thread that blended in really well with the wool fabric. This gave an effect similar to double gauze fabric, which gives the scarf lots of body and structure, and keeps the layers lined up nicely.

2020-03-29_14-56-23.jpg

This was a very tedious project, but relaxing to do in the evening with a cup of tea while watching movies. Of course I finished the scarf right in time for the first few days of spring, but alas, that's the way these handmade projects seem to go. Next winter this will be pulled out plenty!

Some recent blog posts for you to check out: