Free Cross Stitch Pattern: The Life of a Showgirl Album Cover
/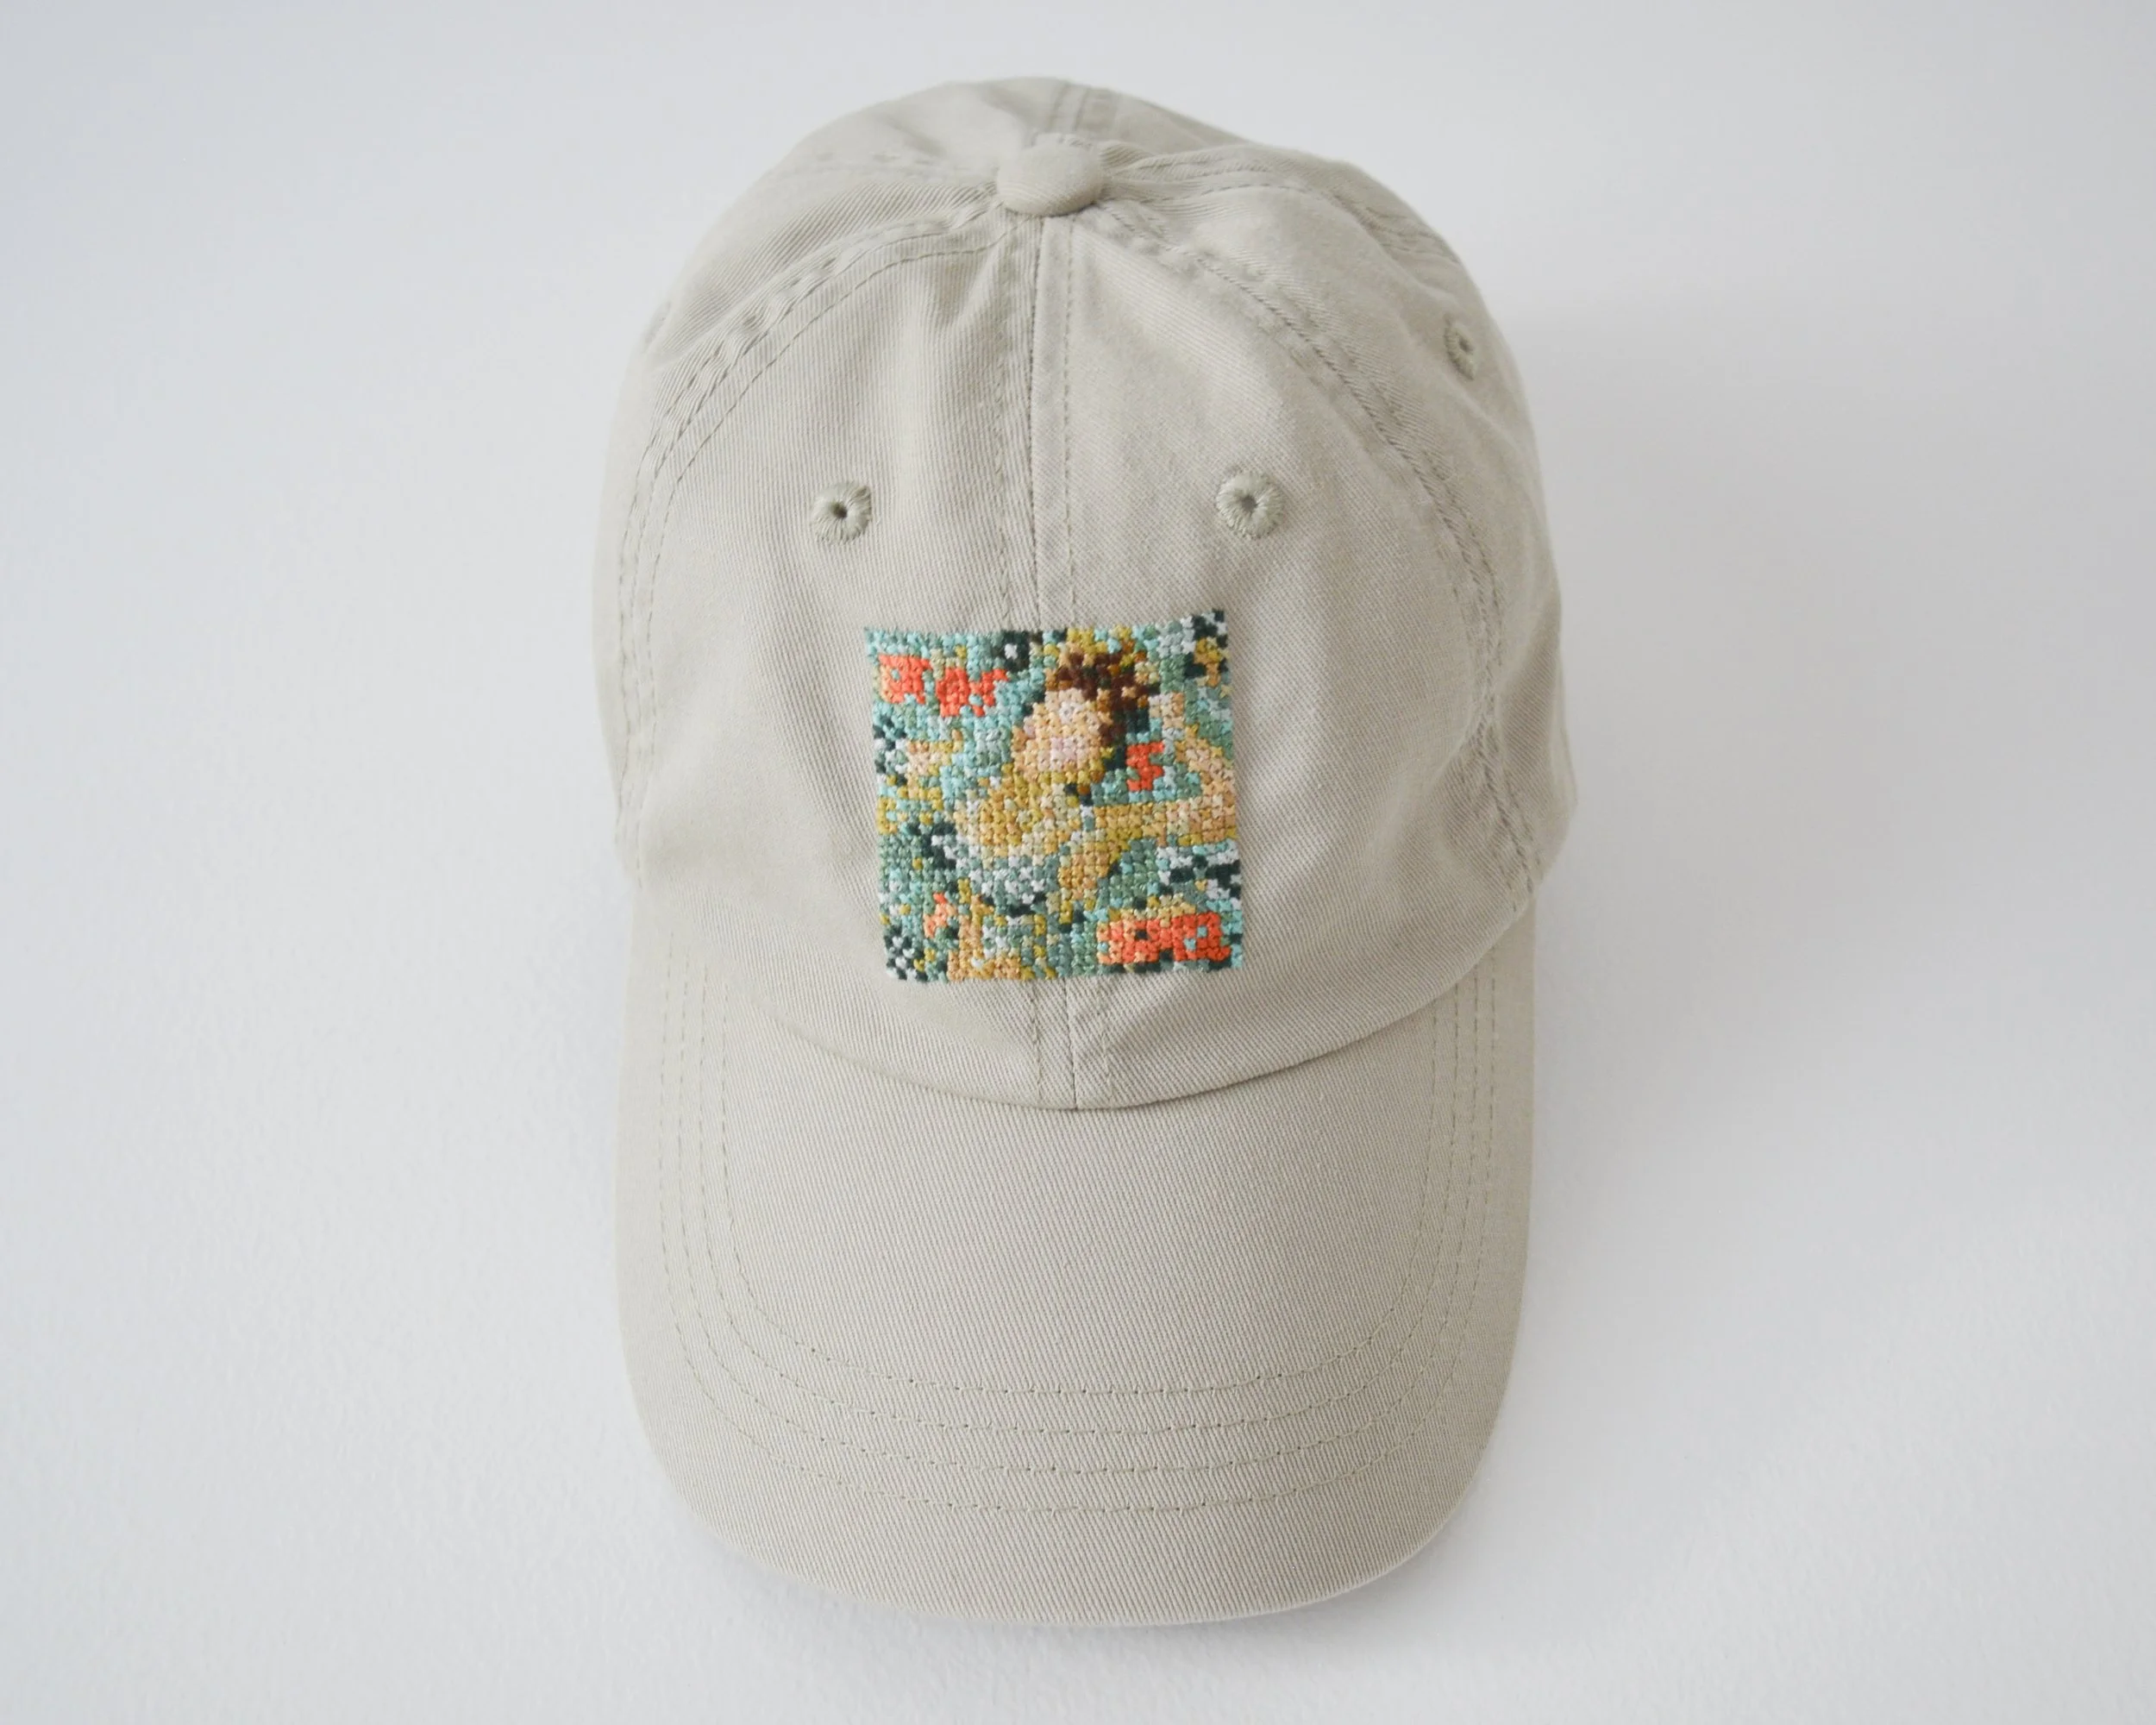
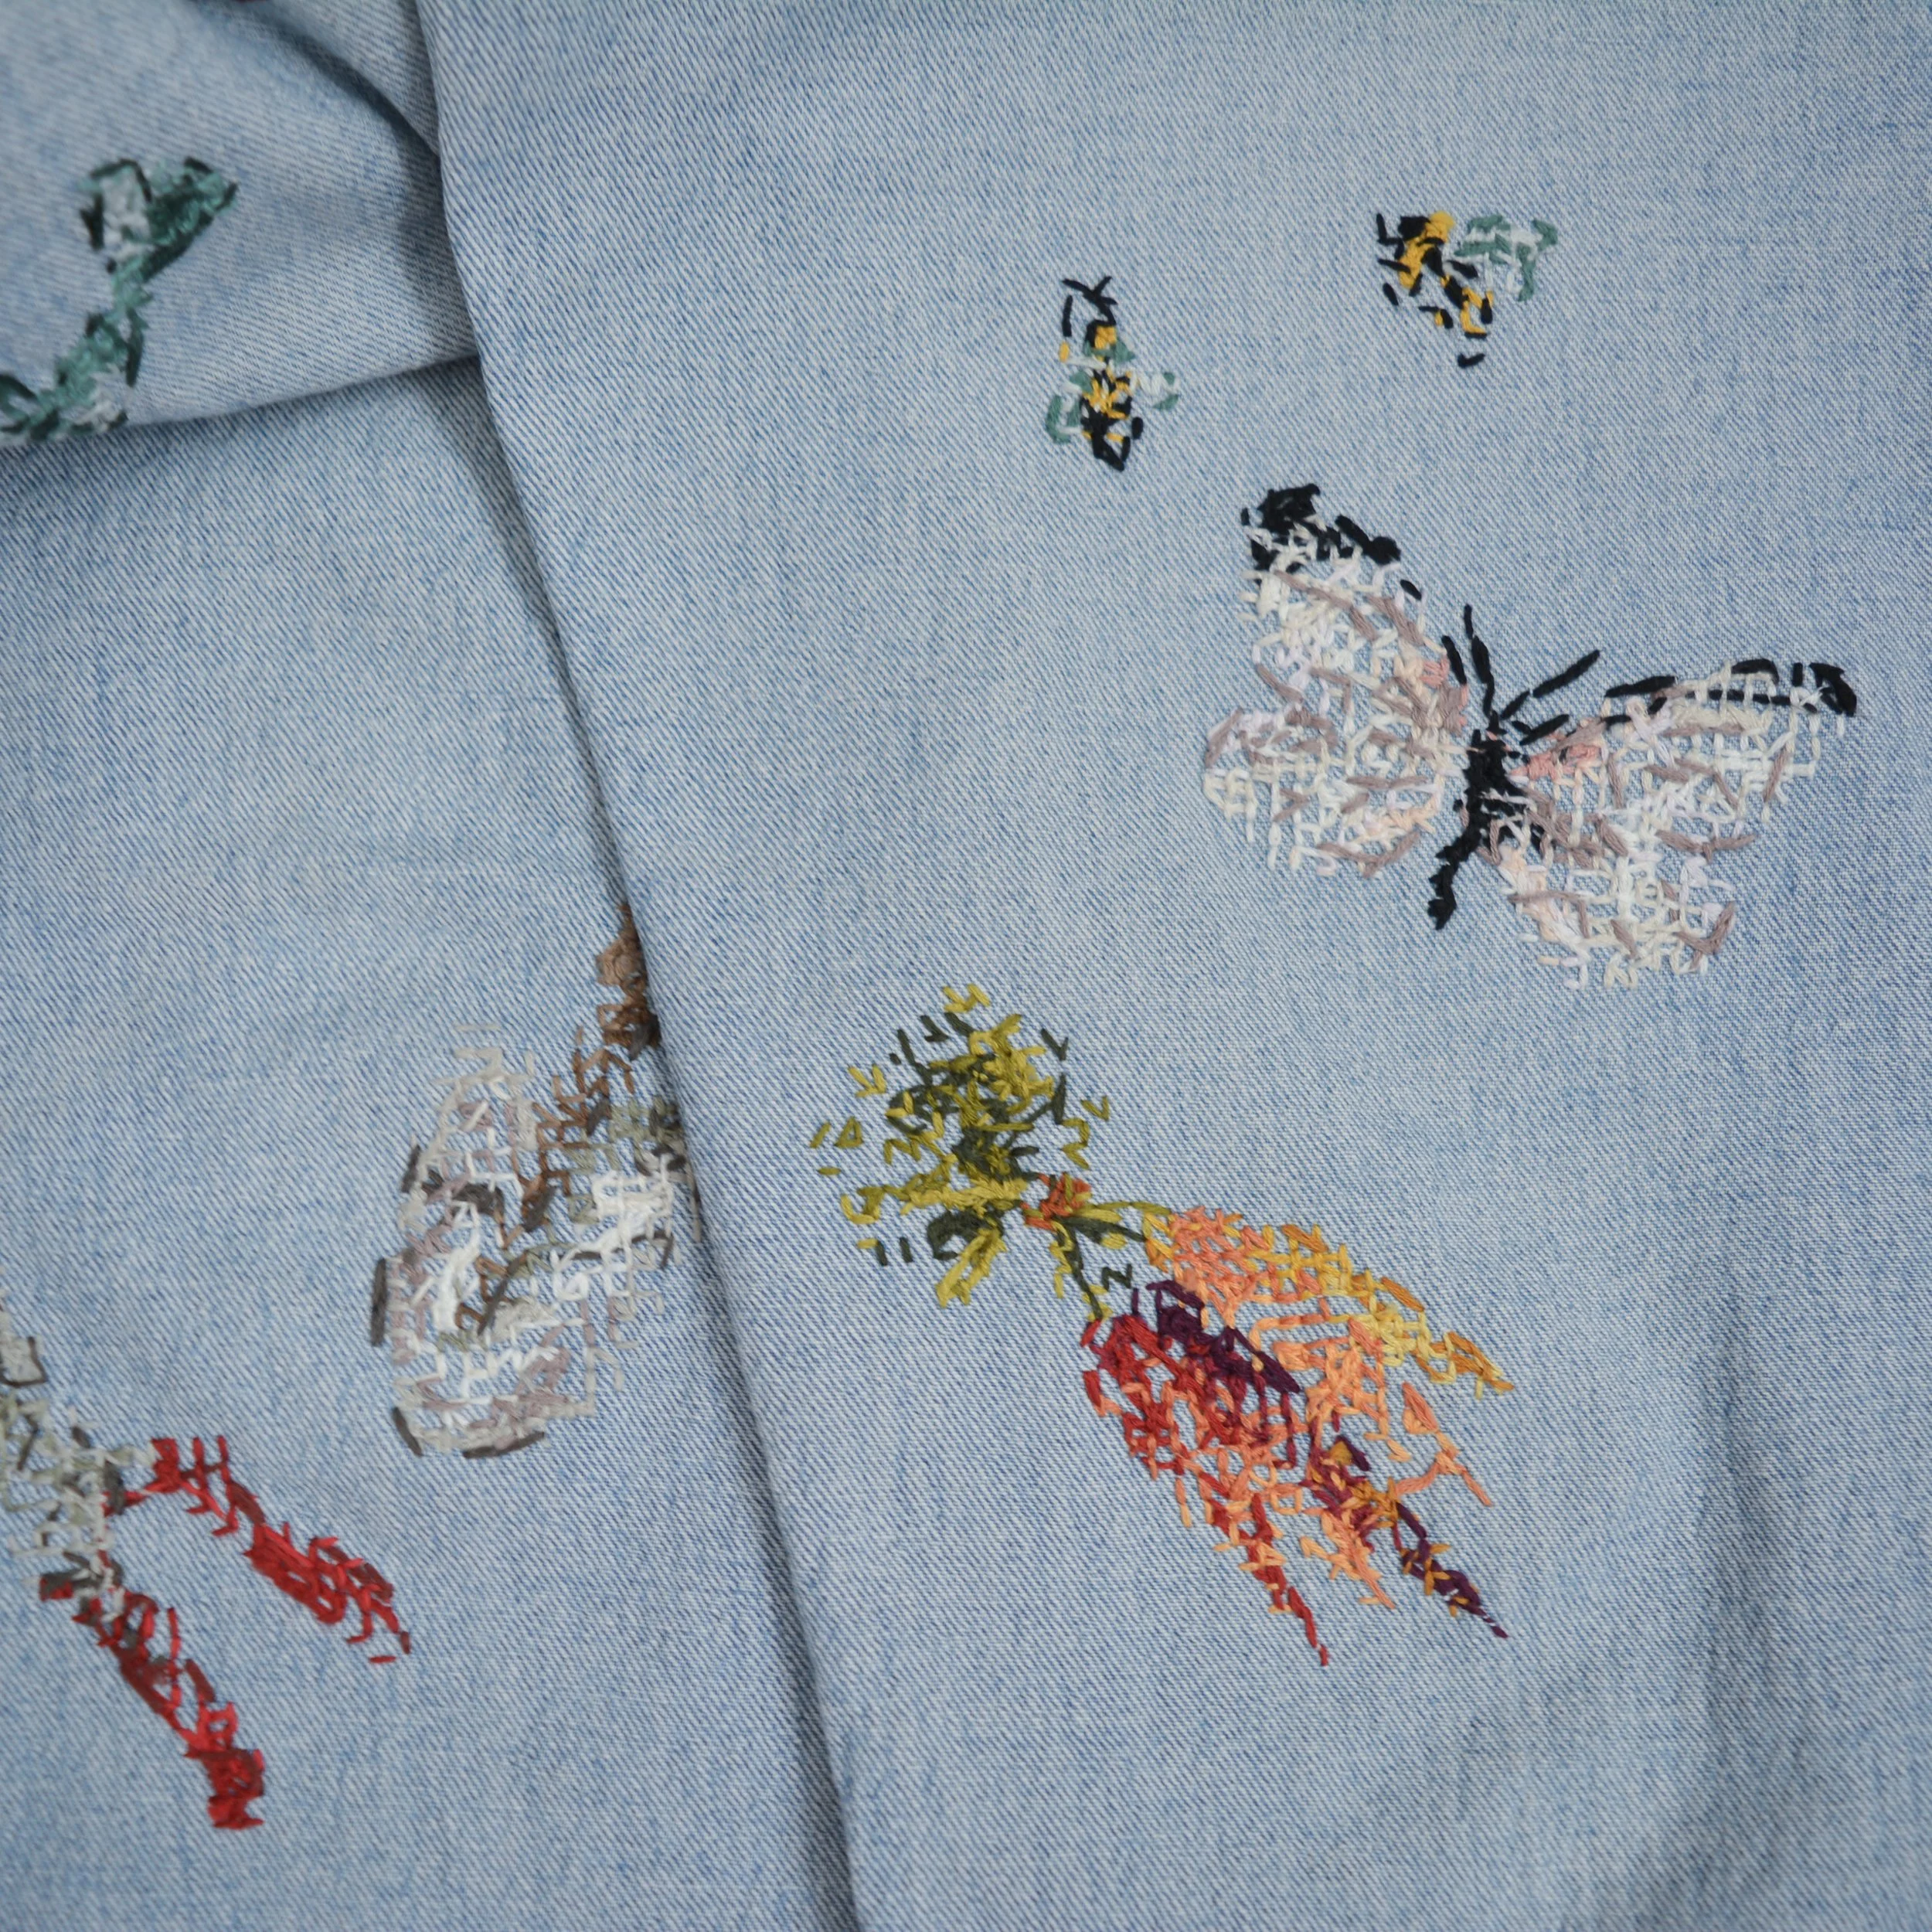
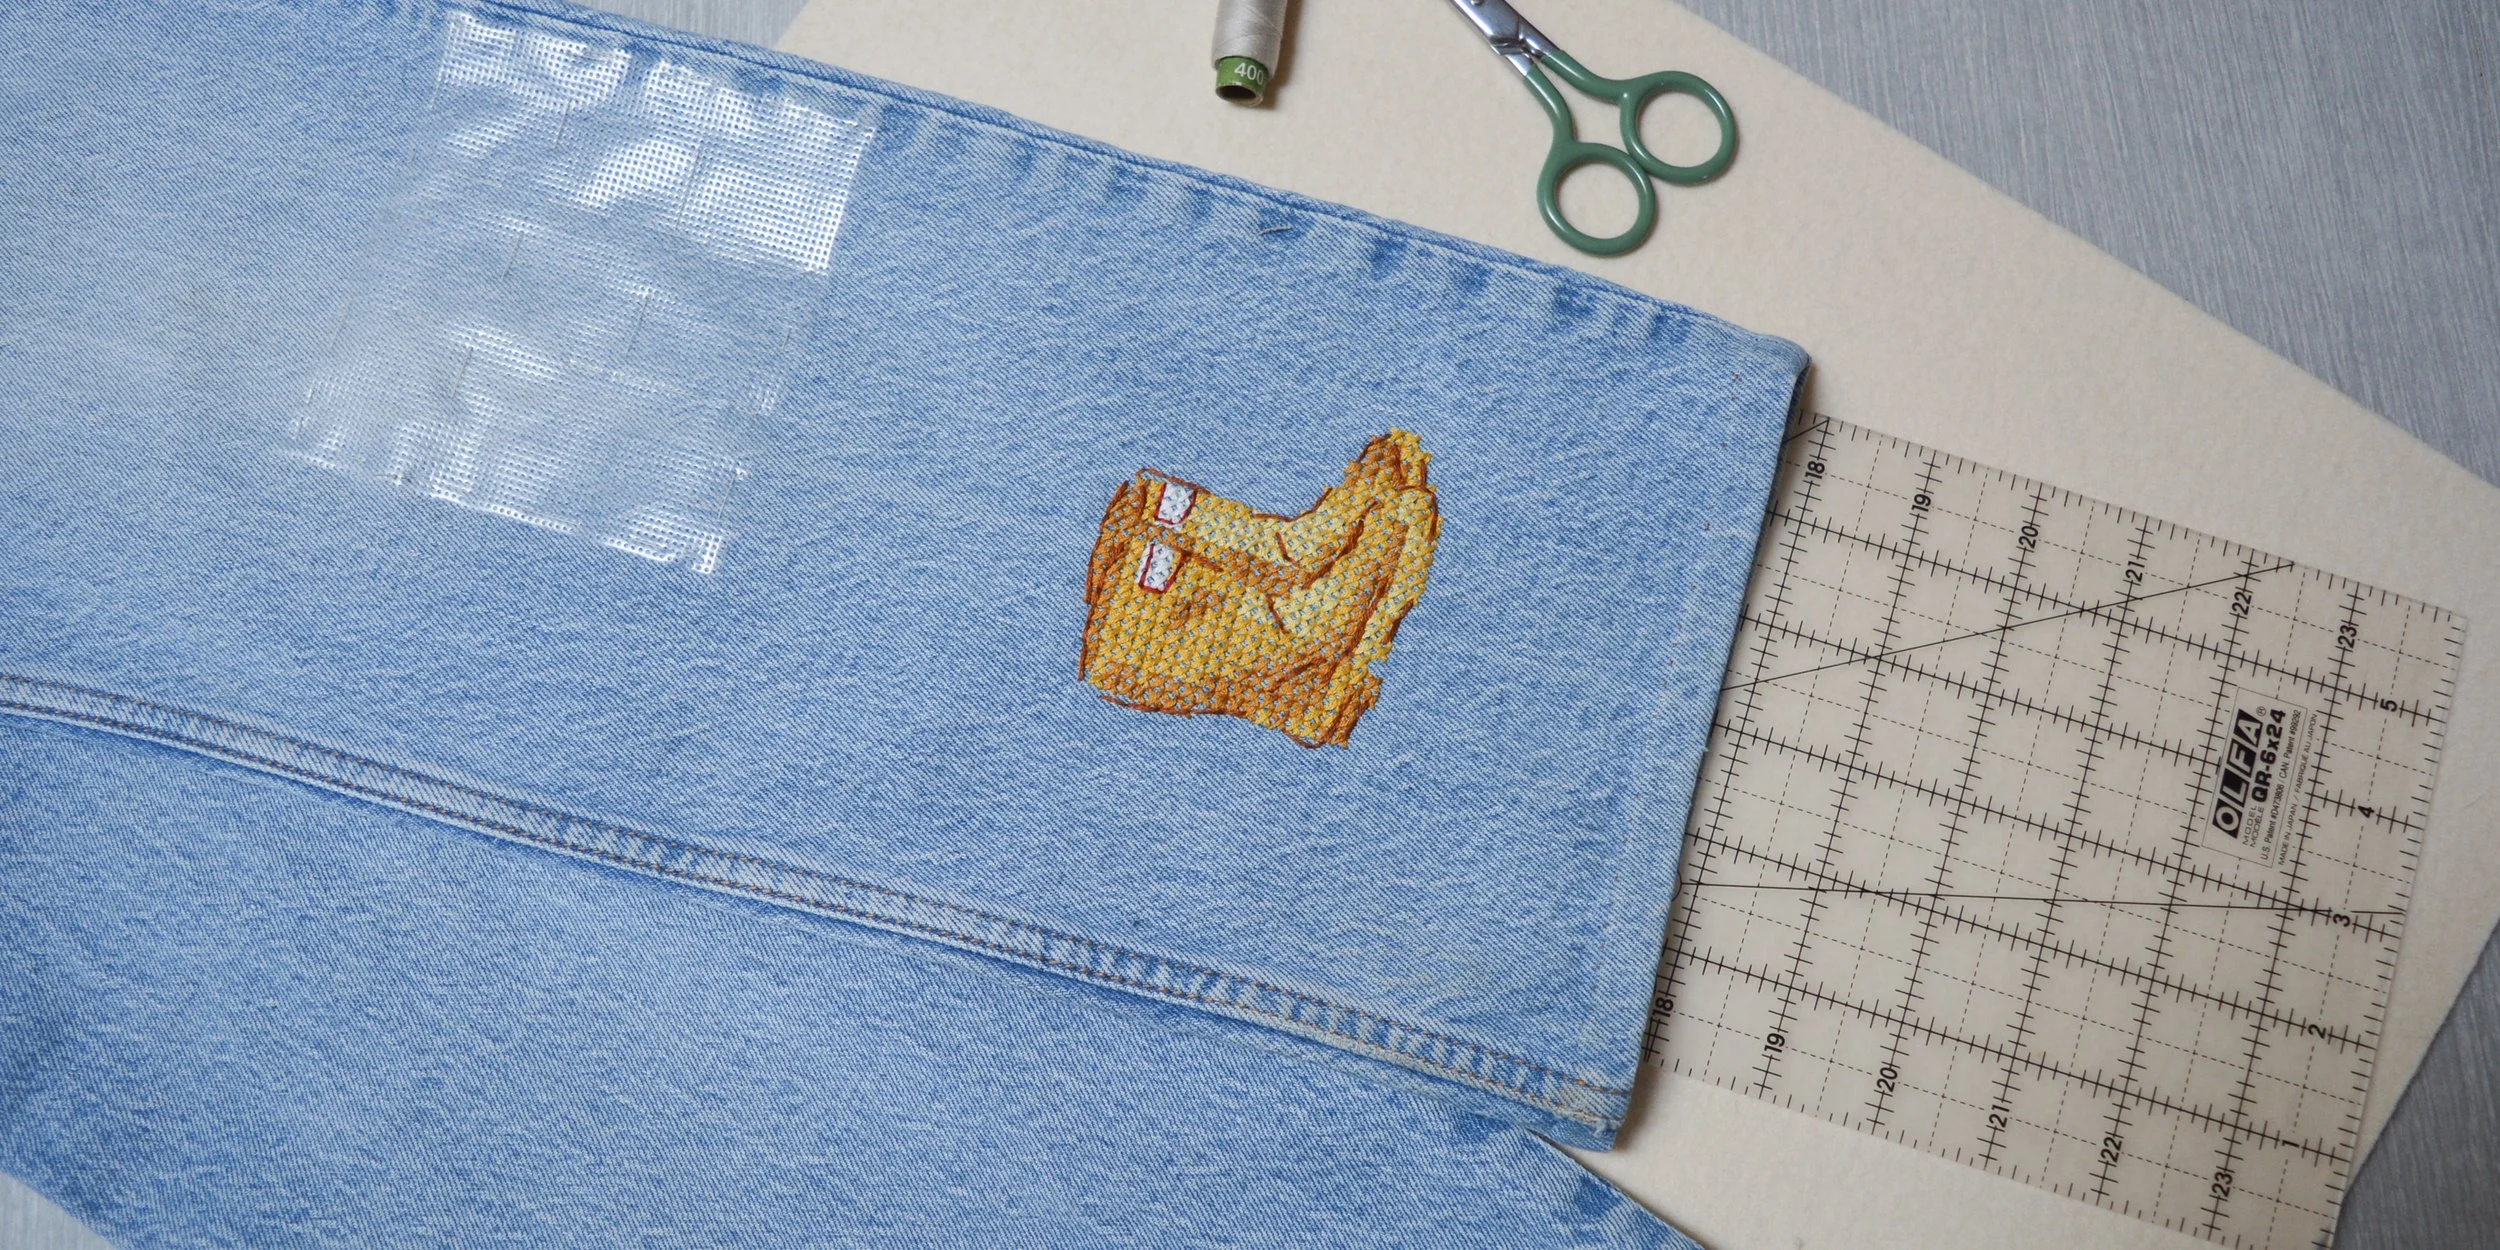
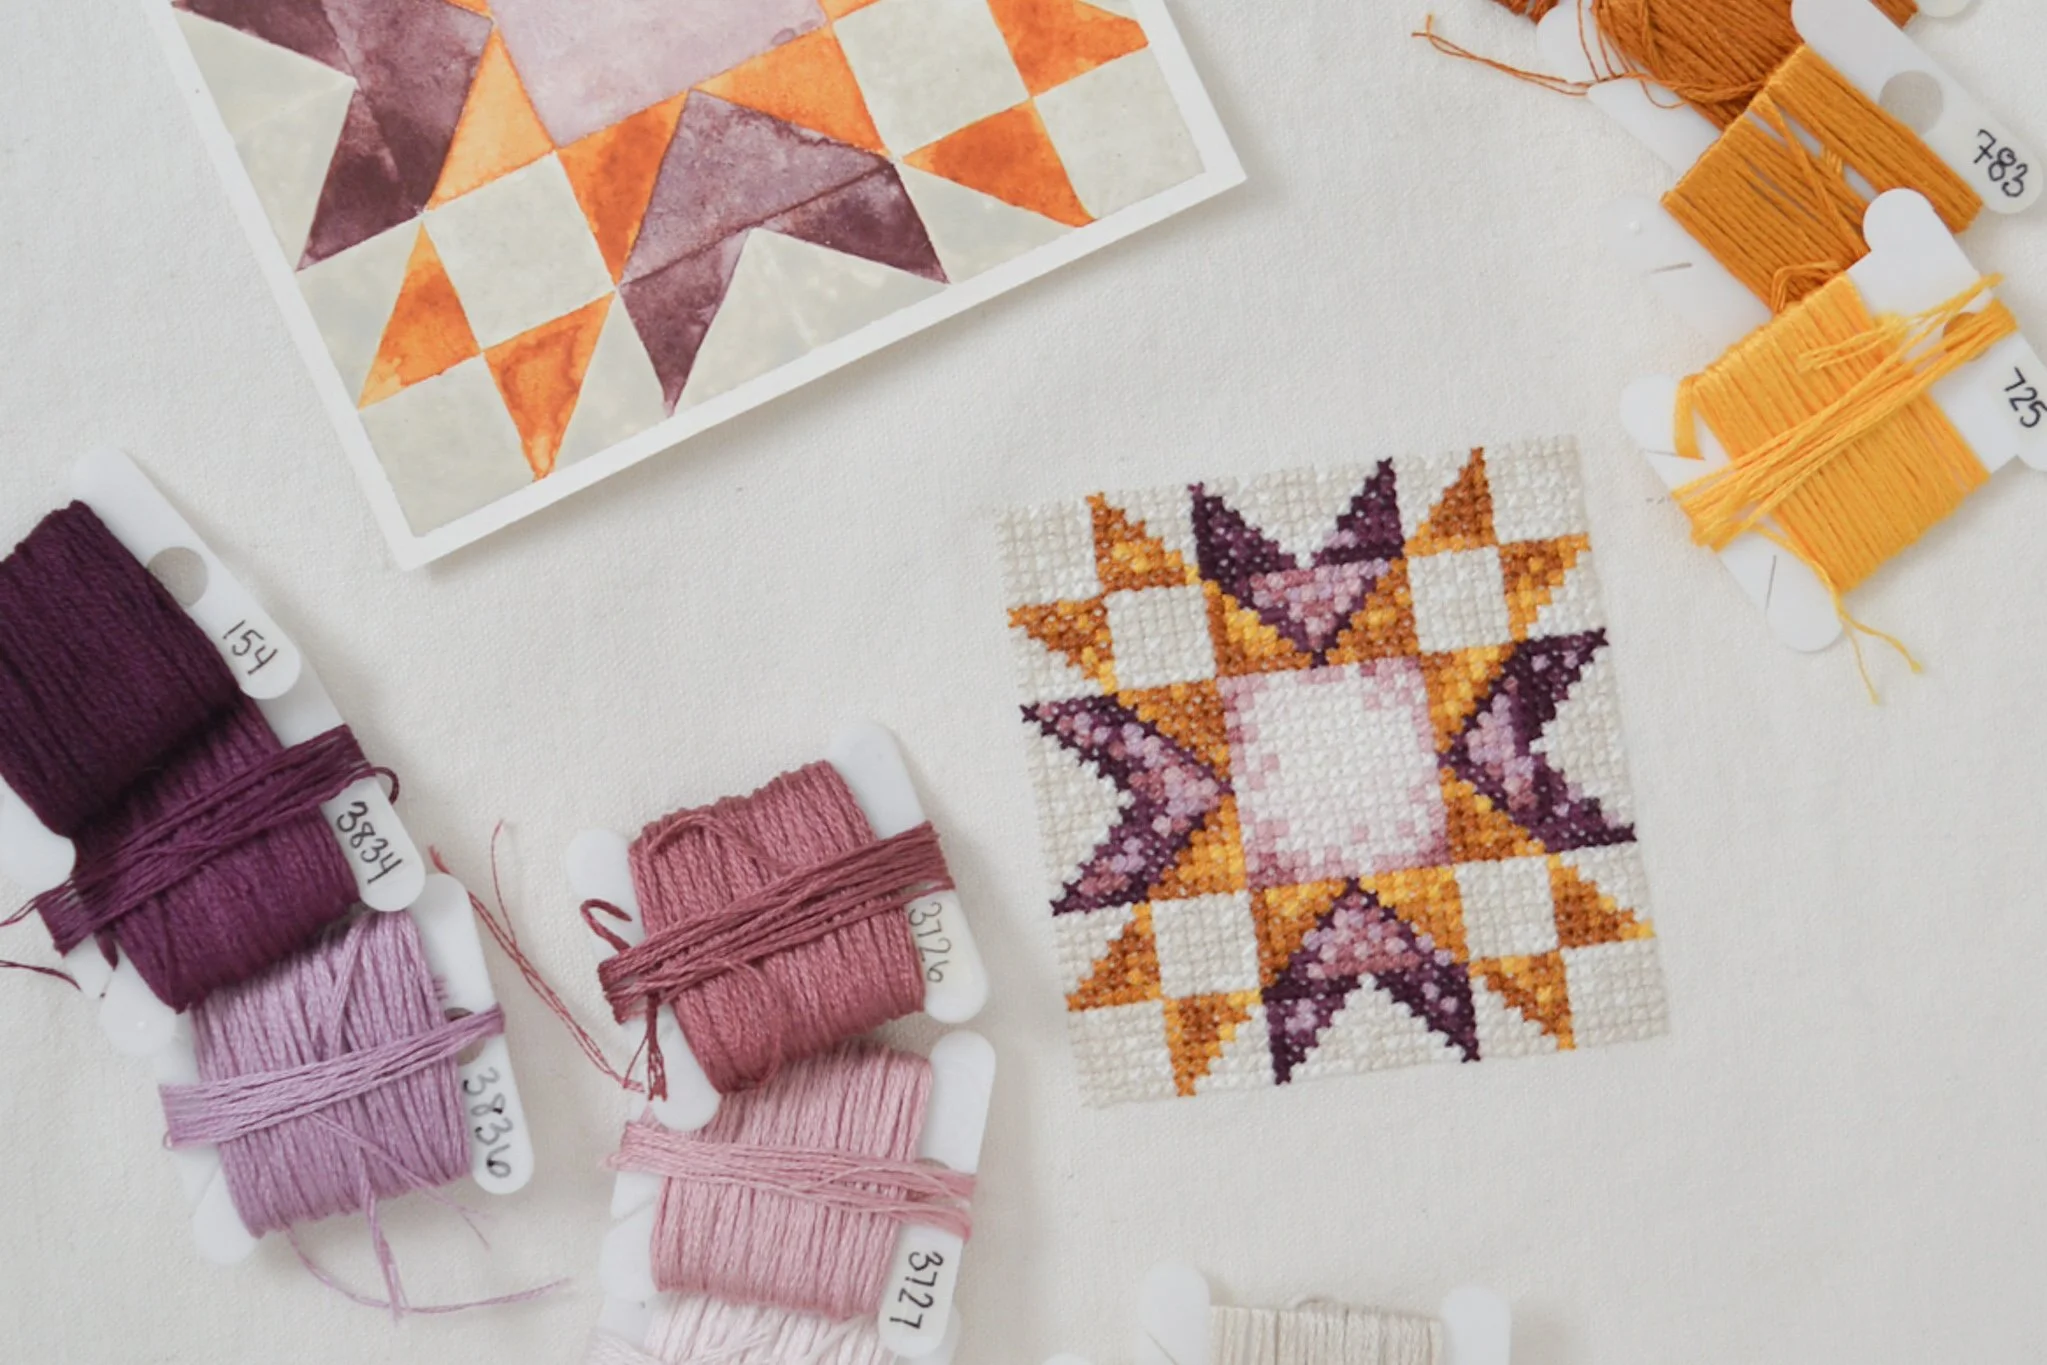
To channel some of my excited energy for The Life of a Showgirl, I decided to make some DIY merch before the album comes out next month! I drafted up a cross stitch pattern that represents the album artwork in a pretty abstract way, but I think every Swiftie would immediately think The Life of a Showgirl if they saw it. I’m sharing the pattern here for free if you would like to stitch it yourself.
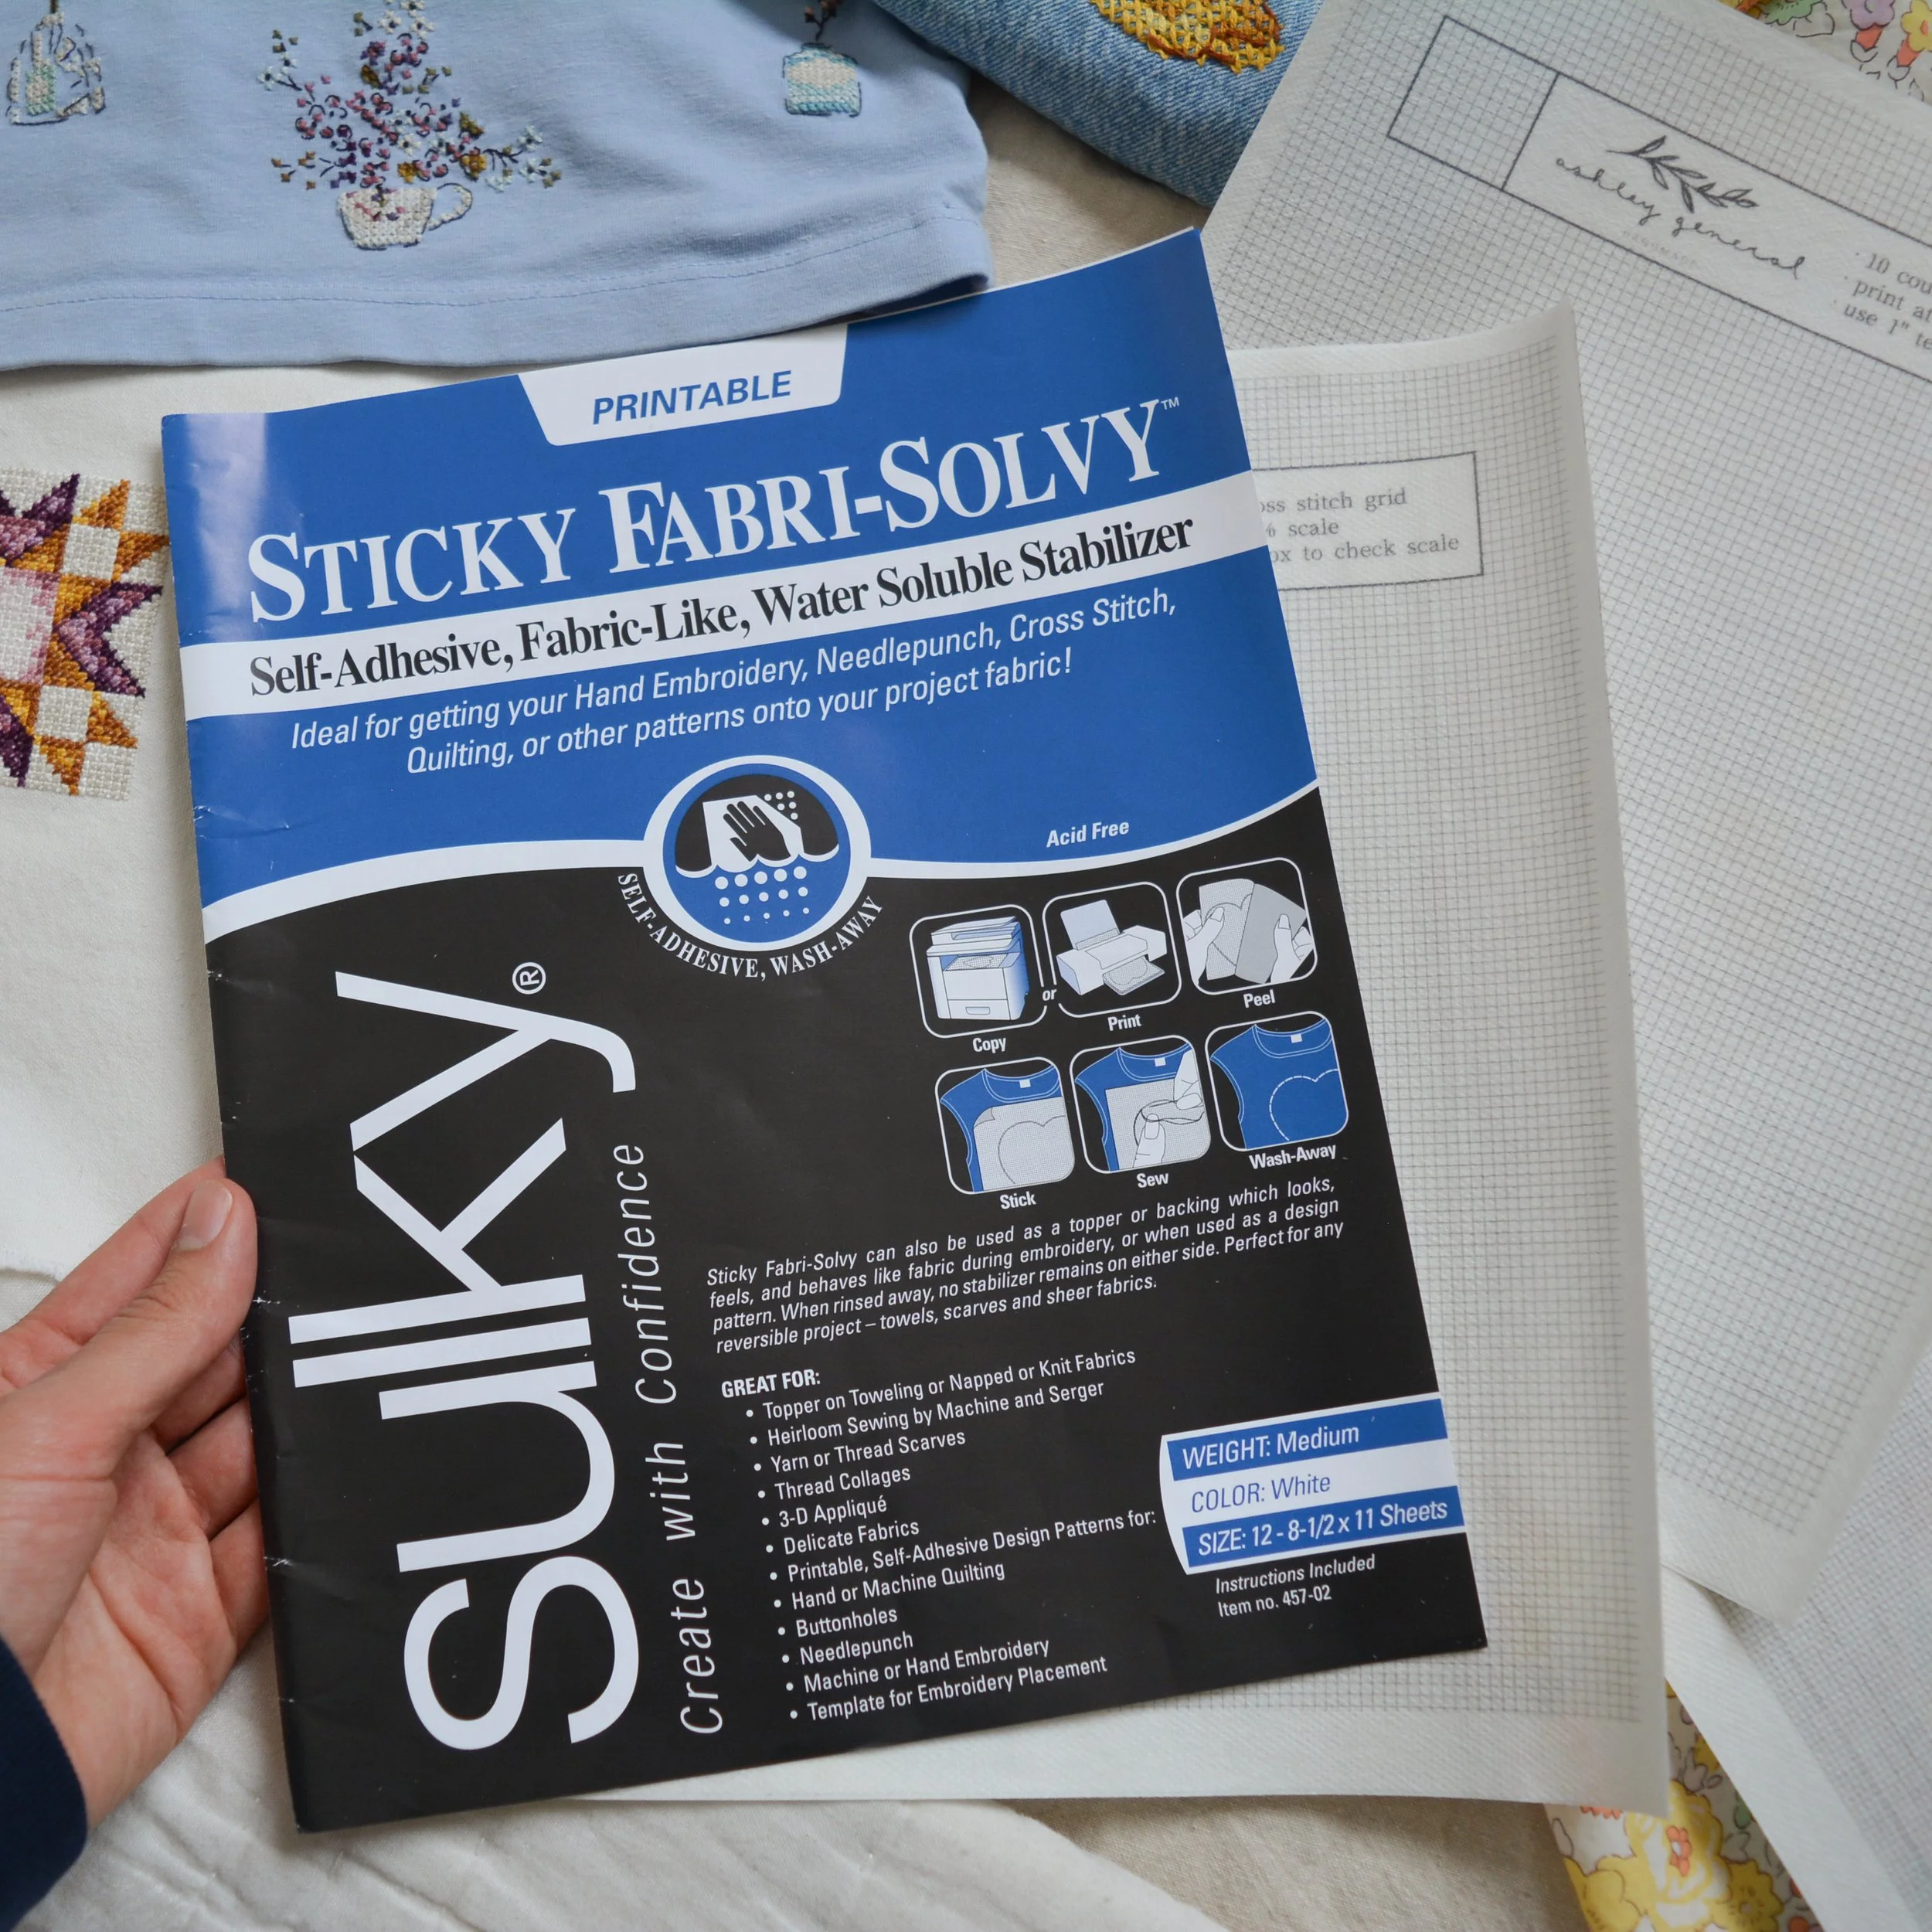
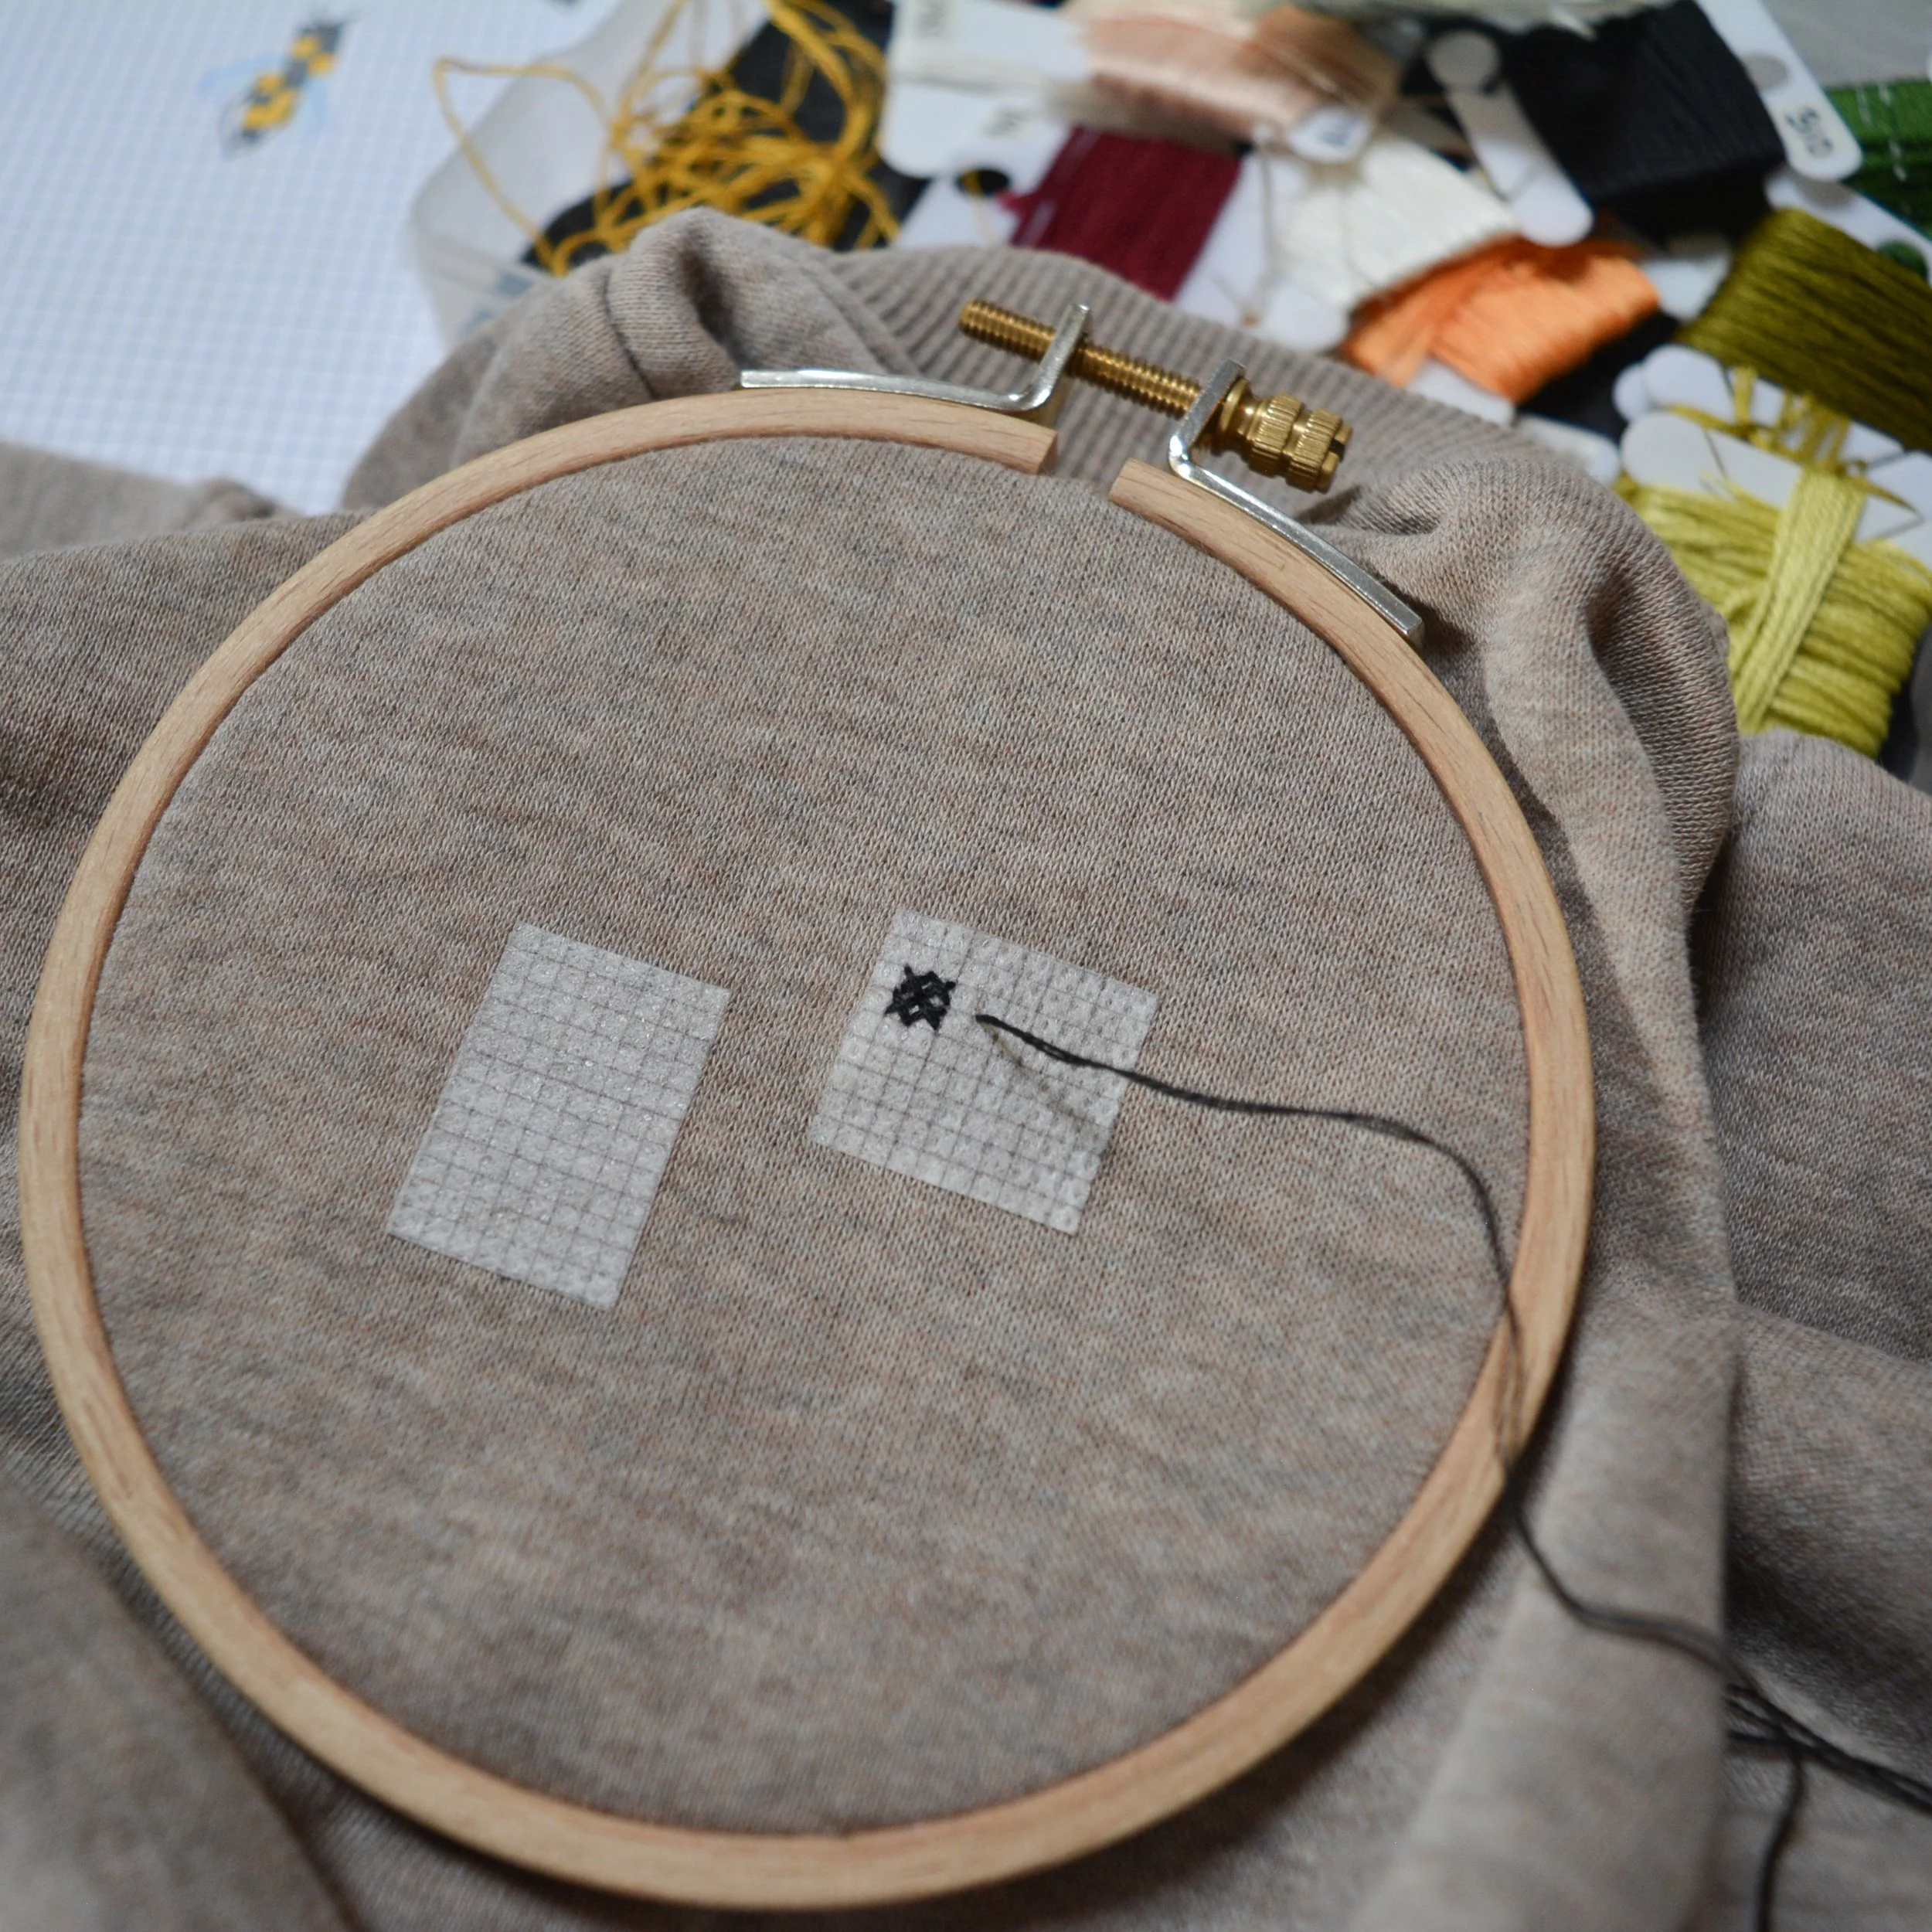
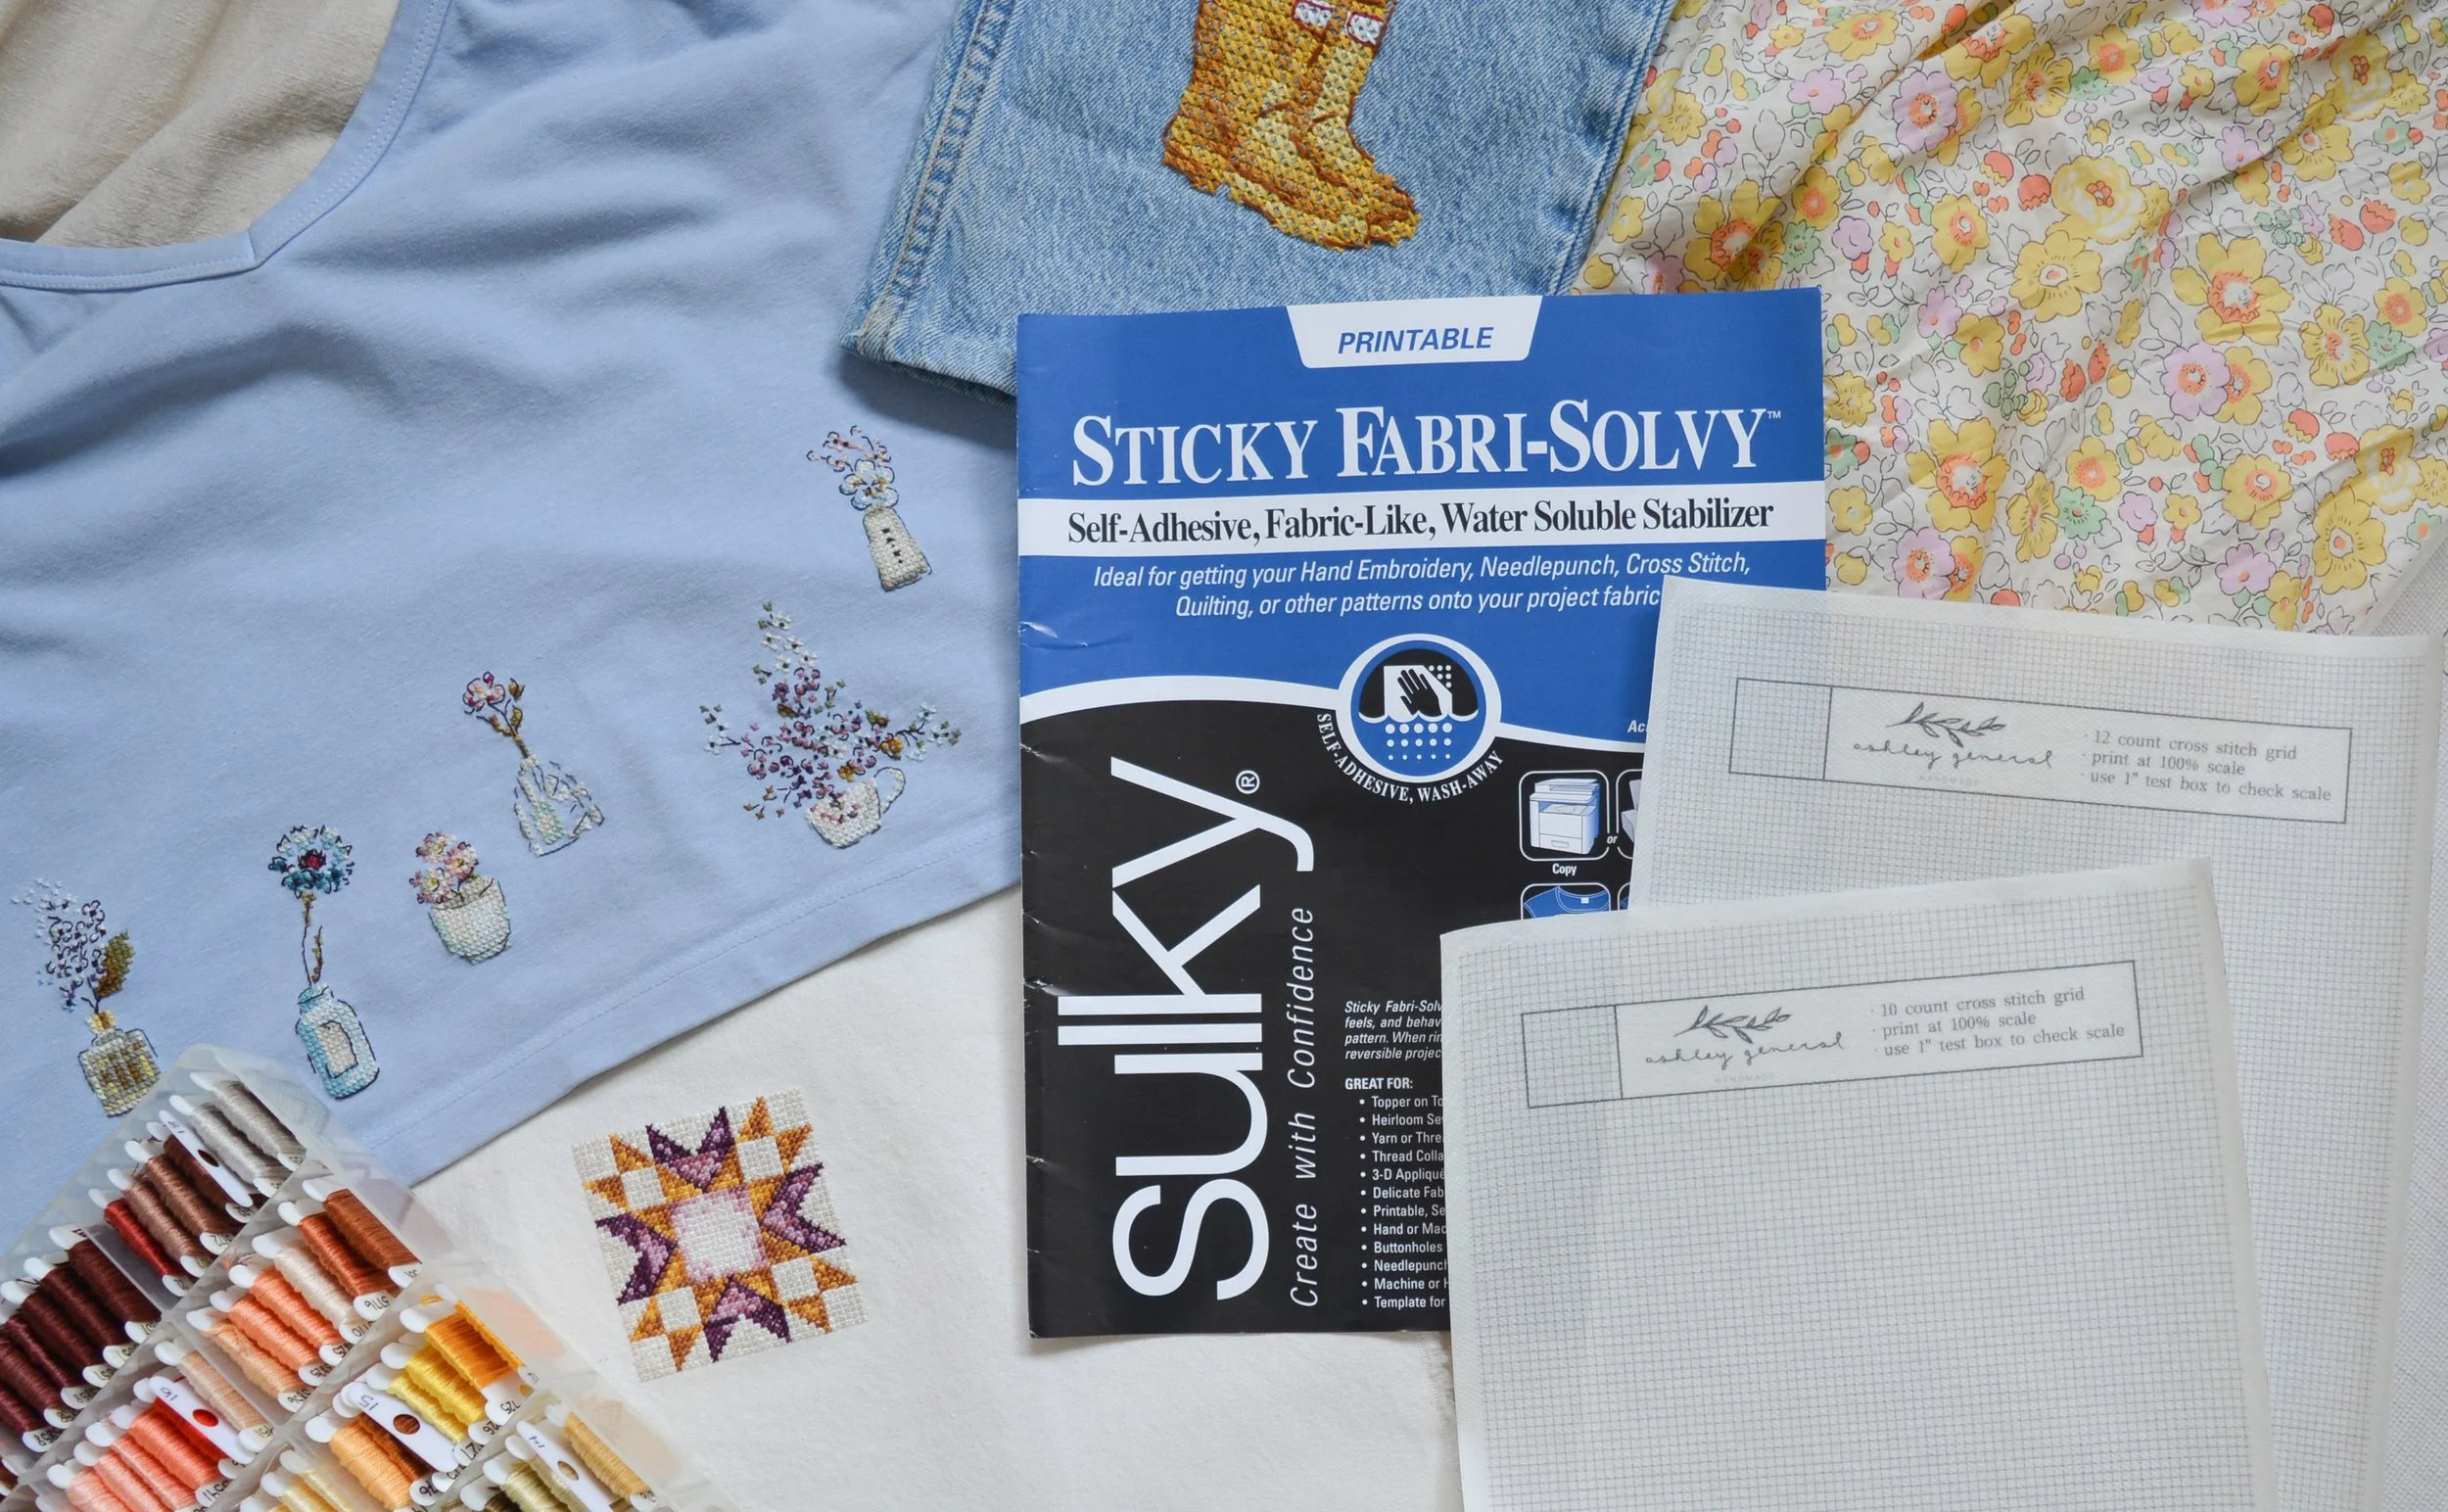
For my particular project I used a water soluble interfacing to stitch the pattern onto a baseball cap I had. You can read more about how I cross stitch on clothing here: Cross Stitch your Clothes! For this project I used method #2 from that blog post.
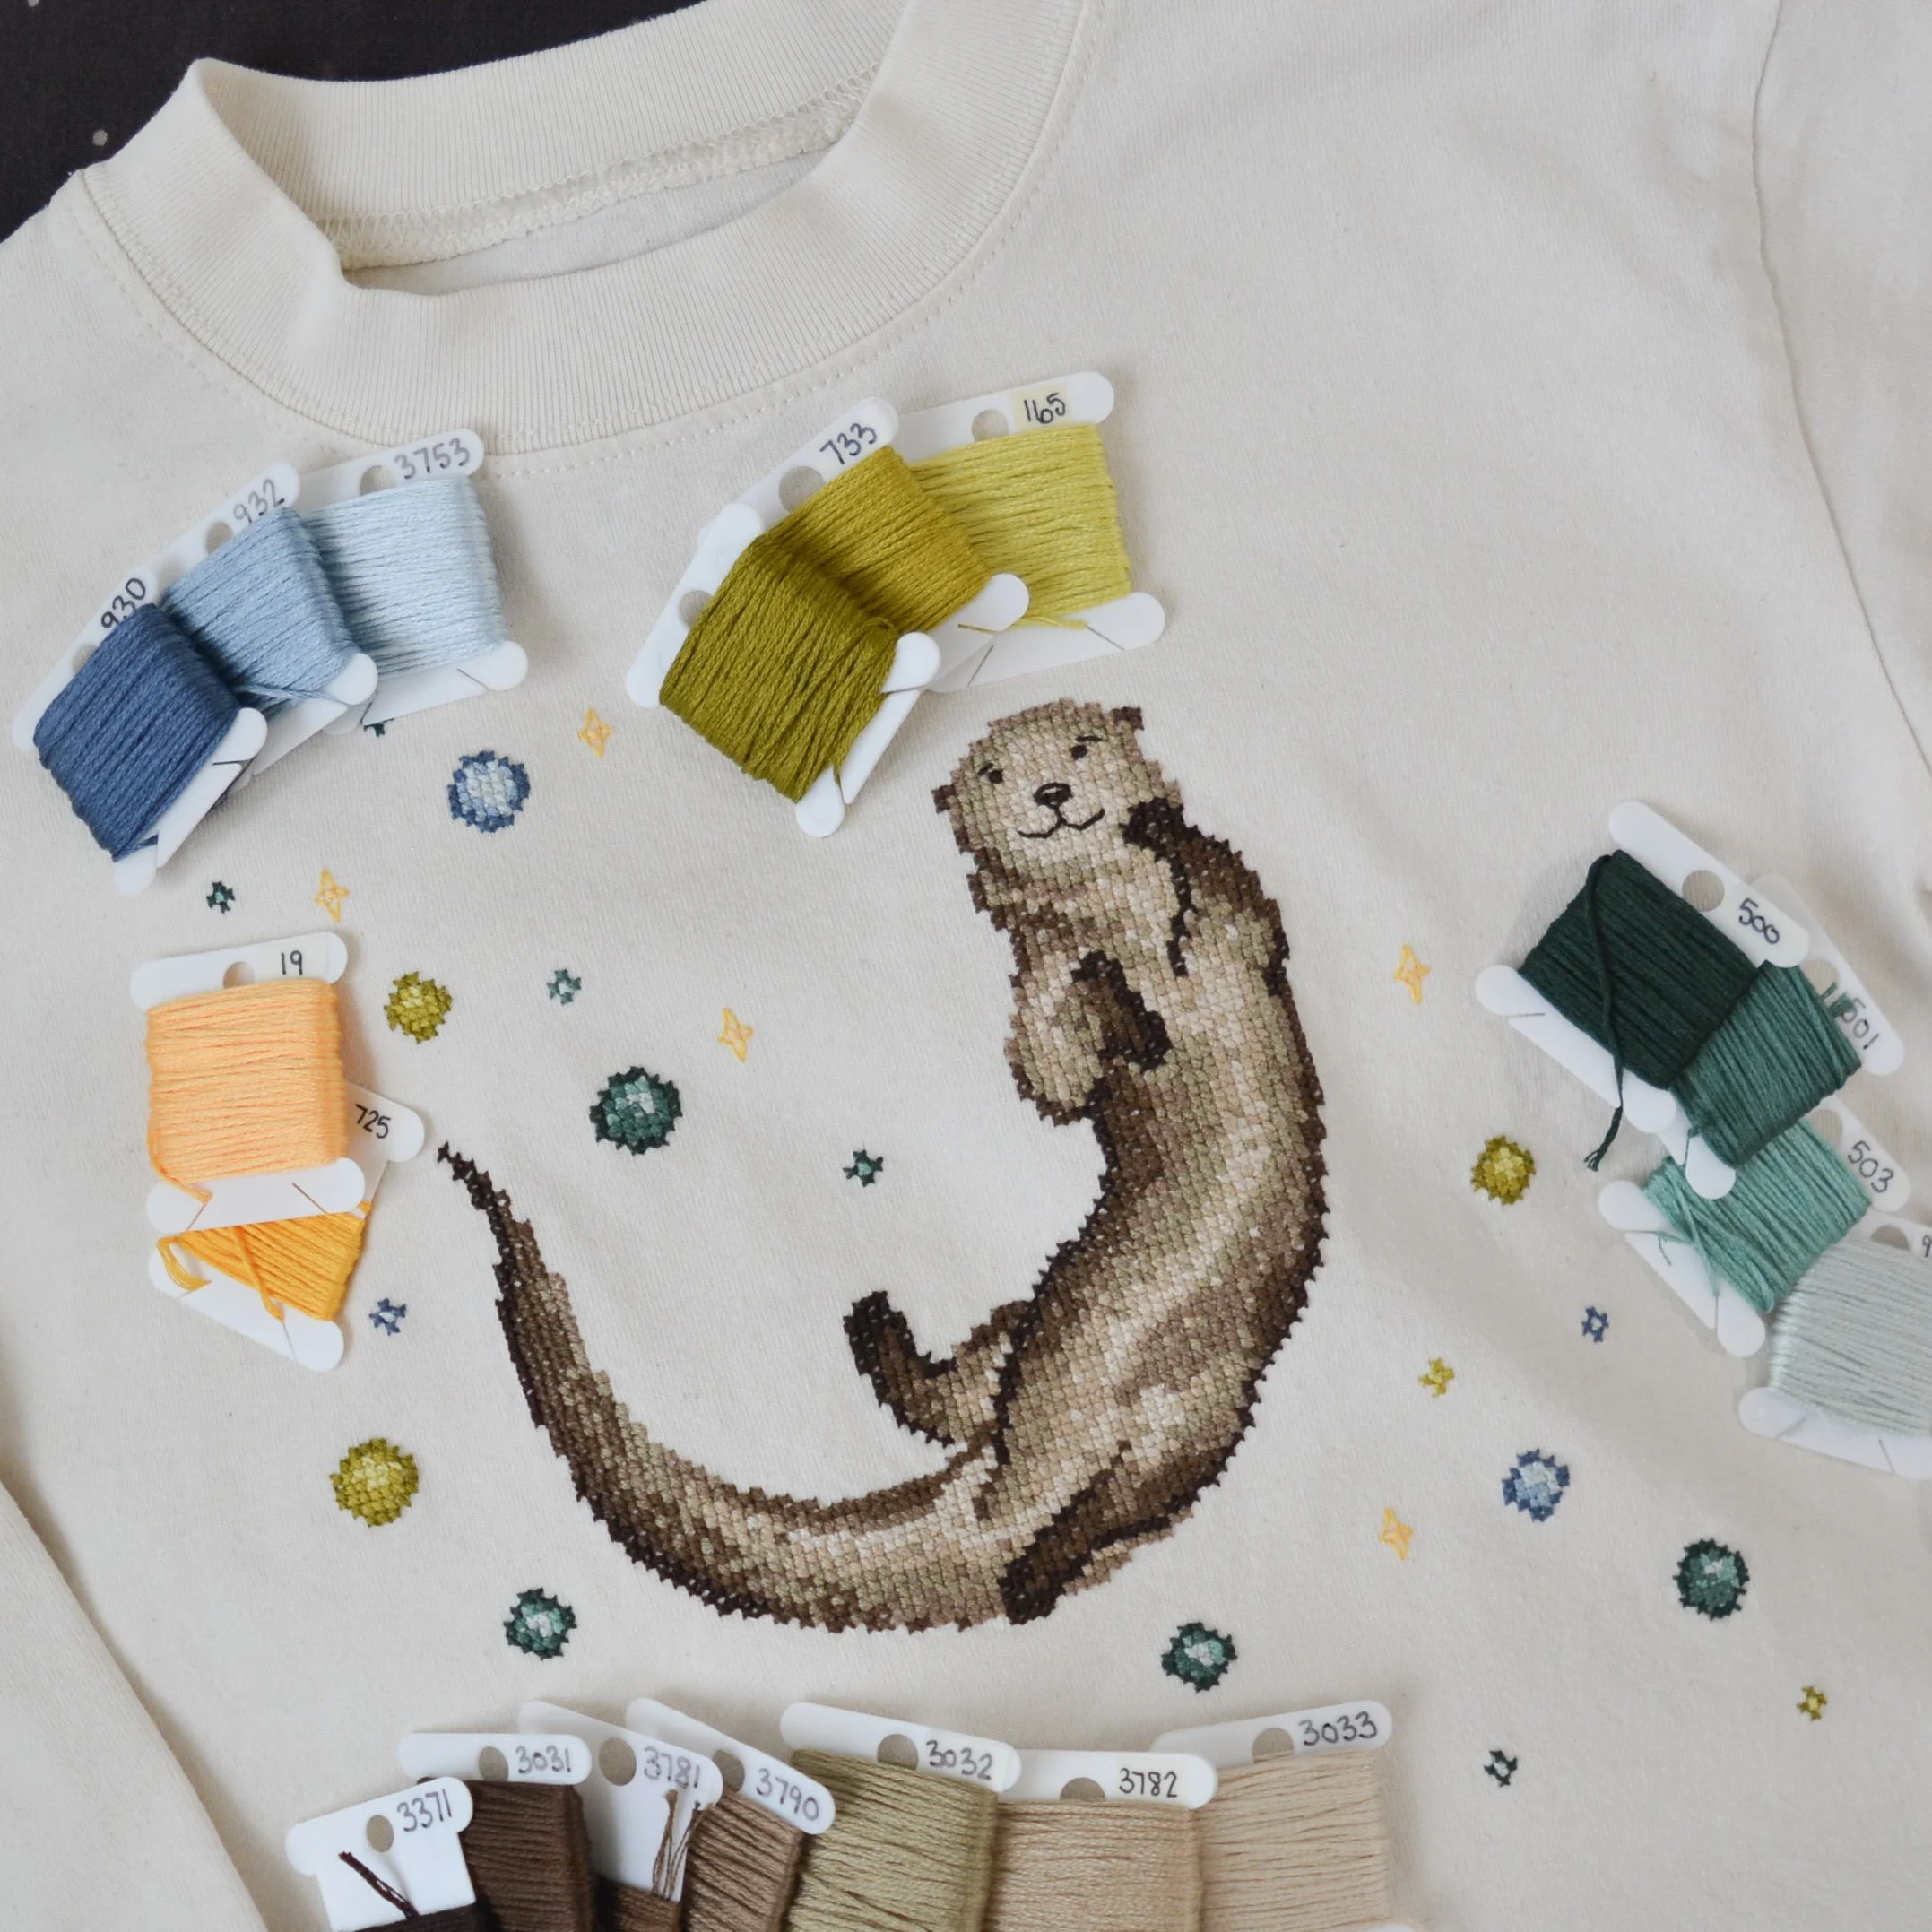
Keep in mind I tried to match colours as best as I could with floss I already had in my collection. I don’t think they’re perfect colour matches, so don’t feel like you need to buy all the thread in the pattern. Use what you have! There are some handy tools online to help with DMC thread substitution, I like this tool from Thread Bare.

The Life of a Showgirl abstract album art cross stitch pattern: download here
Pattern Keeper compatible file: download here
Please visit my Etsy shop Ashley General Studio for more patterns! Thank you!