Sewing a Nightshirt from a Thrifted Texmade Ibex Bedsheet

2021-03-29_15-13-42.jpg

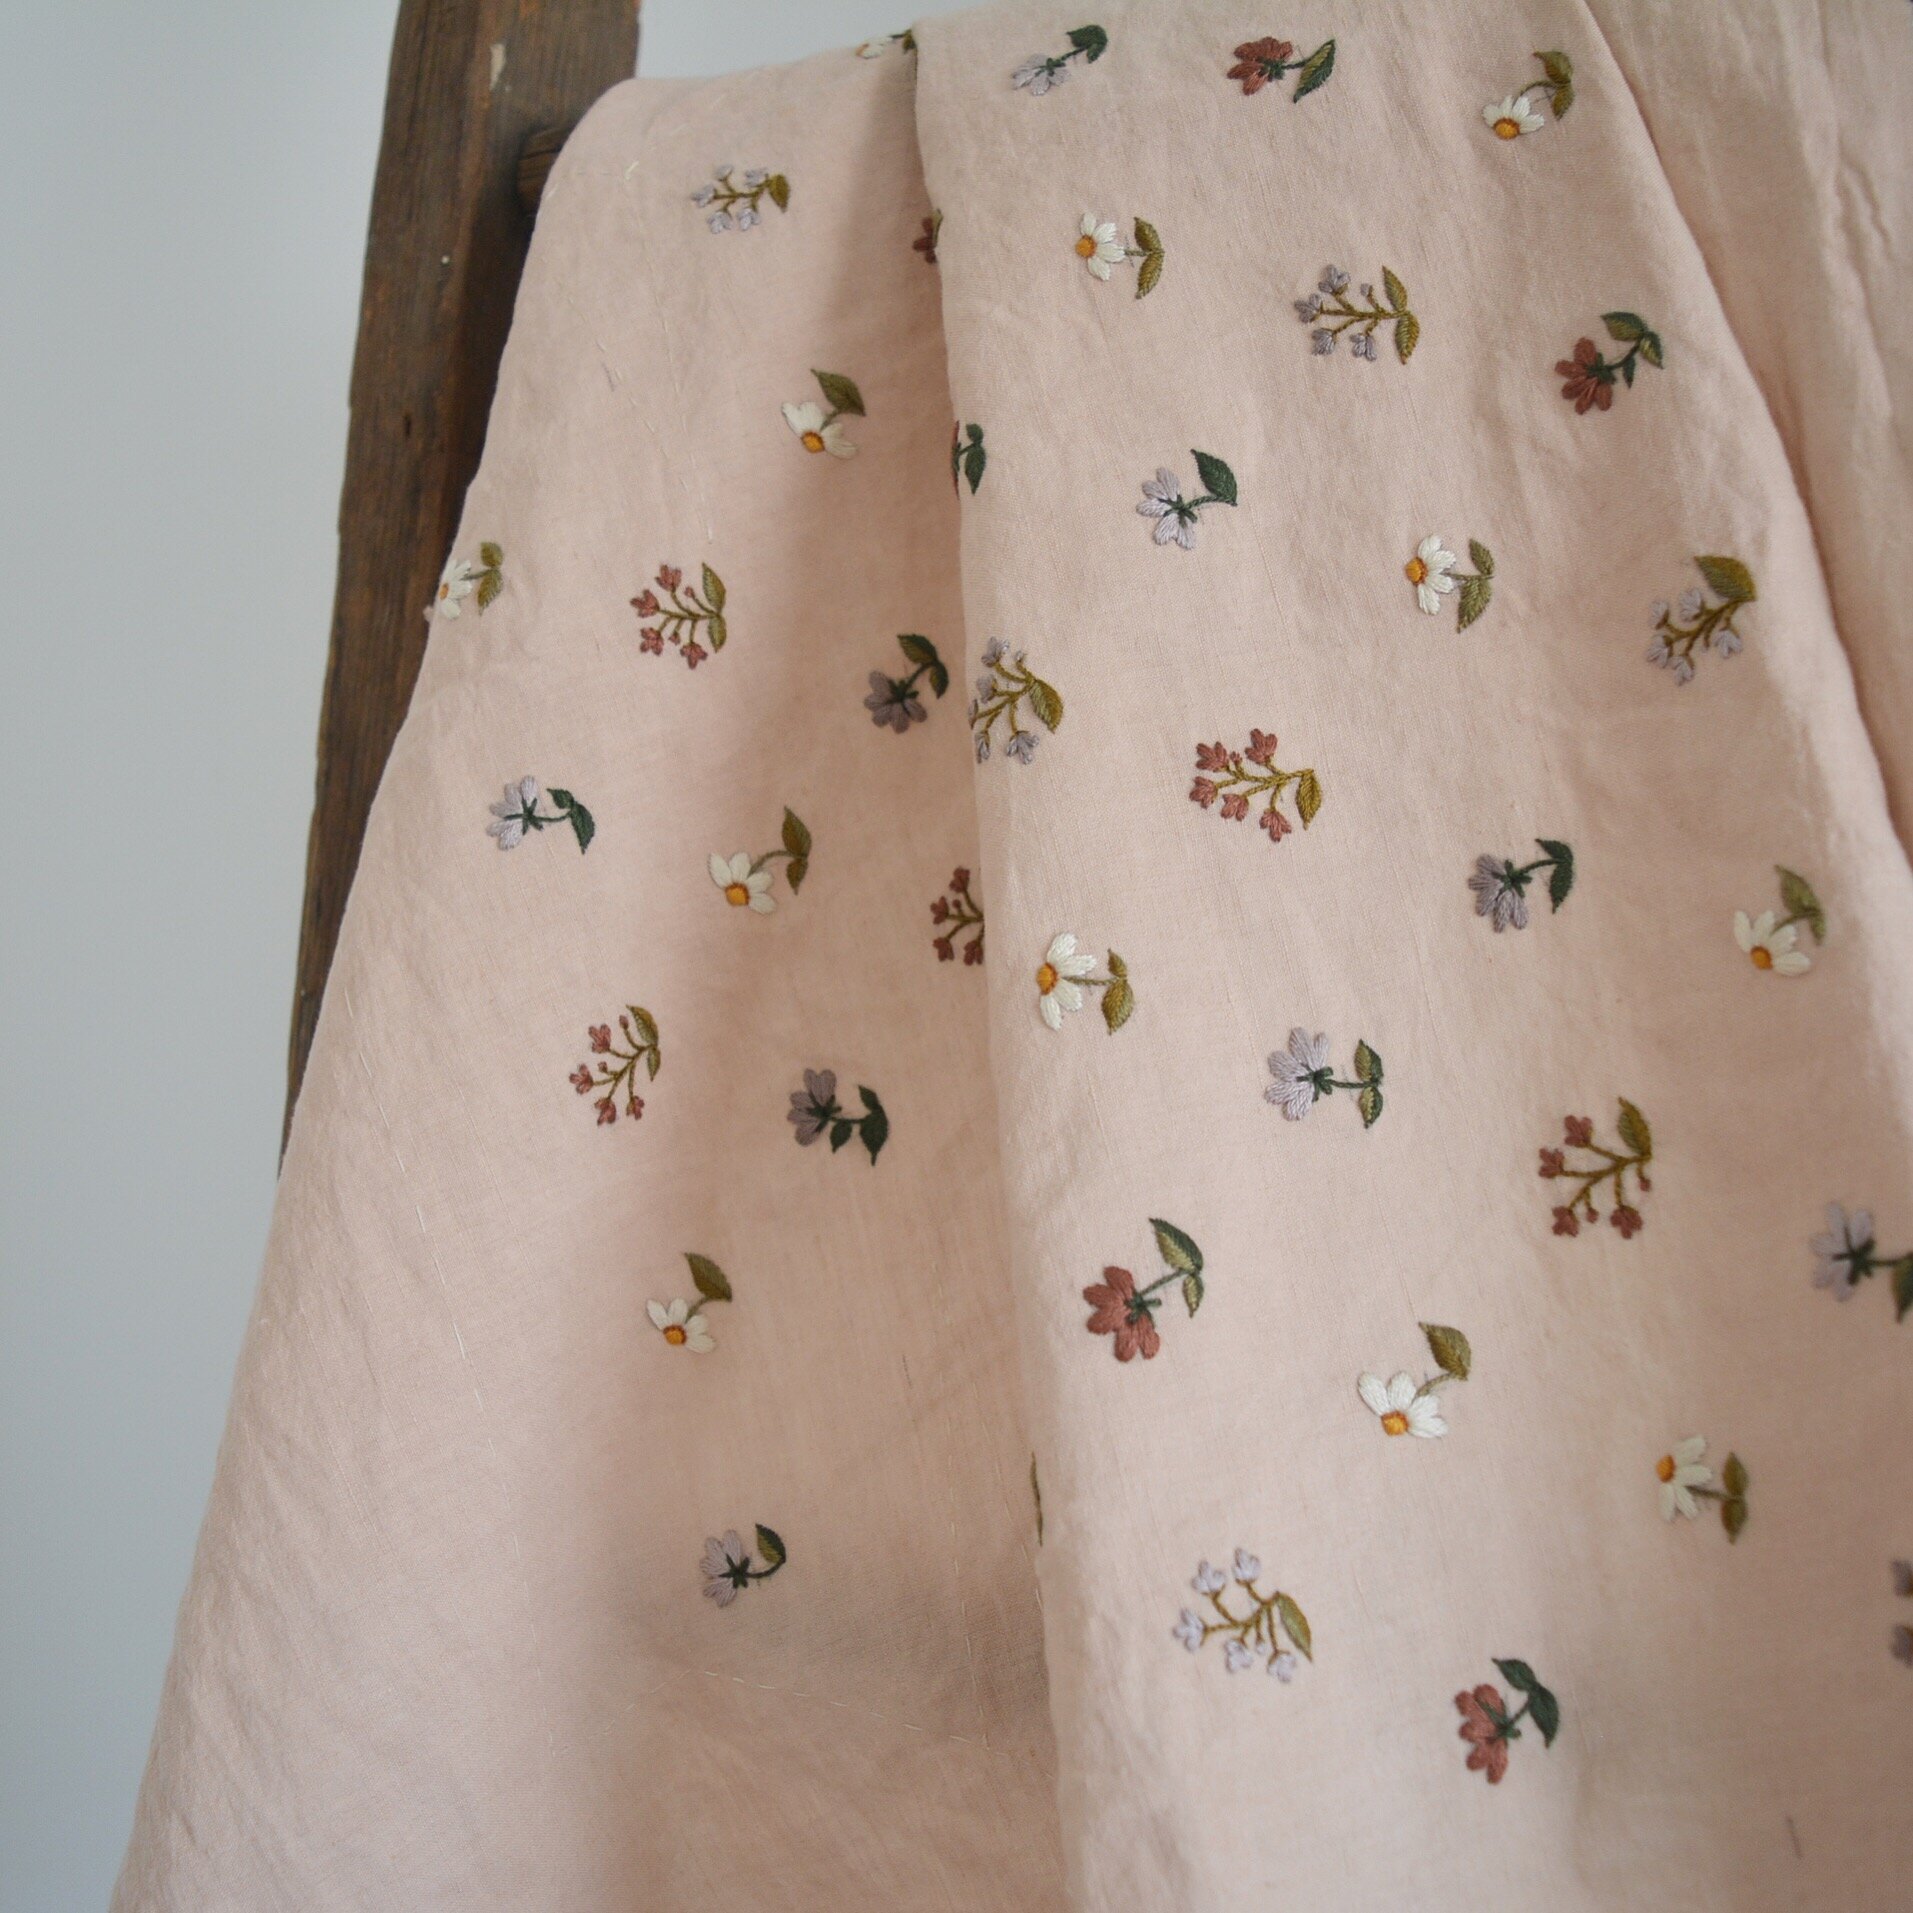
Since I've started obsessively thrifting I have a new joy for sewing and embroidery. This was my first full circle project that started with me getting giddy in a thrift store about a Texmade Ibex bed sheet that brought me right back to my childhood. I love that feeling of nostalgia I get in thrift stores, but the sheet had so many holes and stains that I just enjoyed the memories that seeing it brought me, and then carried on my way. As I worked my way through the rest of the thrift store I just could not stop thinking about it. When I was younger my siblings and I had these same flannel bedsheets (in a different colour way) and we also had matching pyjamas made out of the same striped flannel. On top of that my teddy bear even had matching pyjamas! So when I got the idea to turn this damaged sheet into an adult version of those pyjamas I basically ran back to the linen department of the thrift store to scoop it up.

2021-04-10_21-59-38.jpg

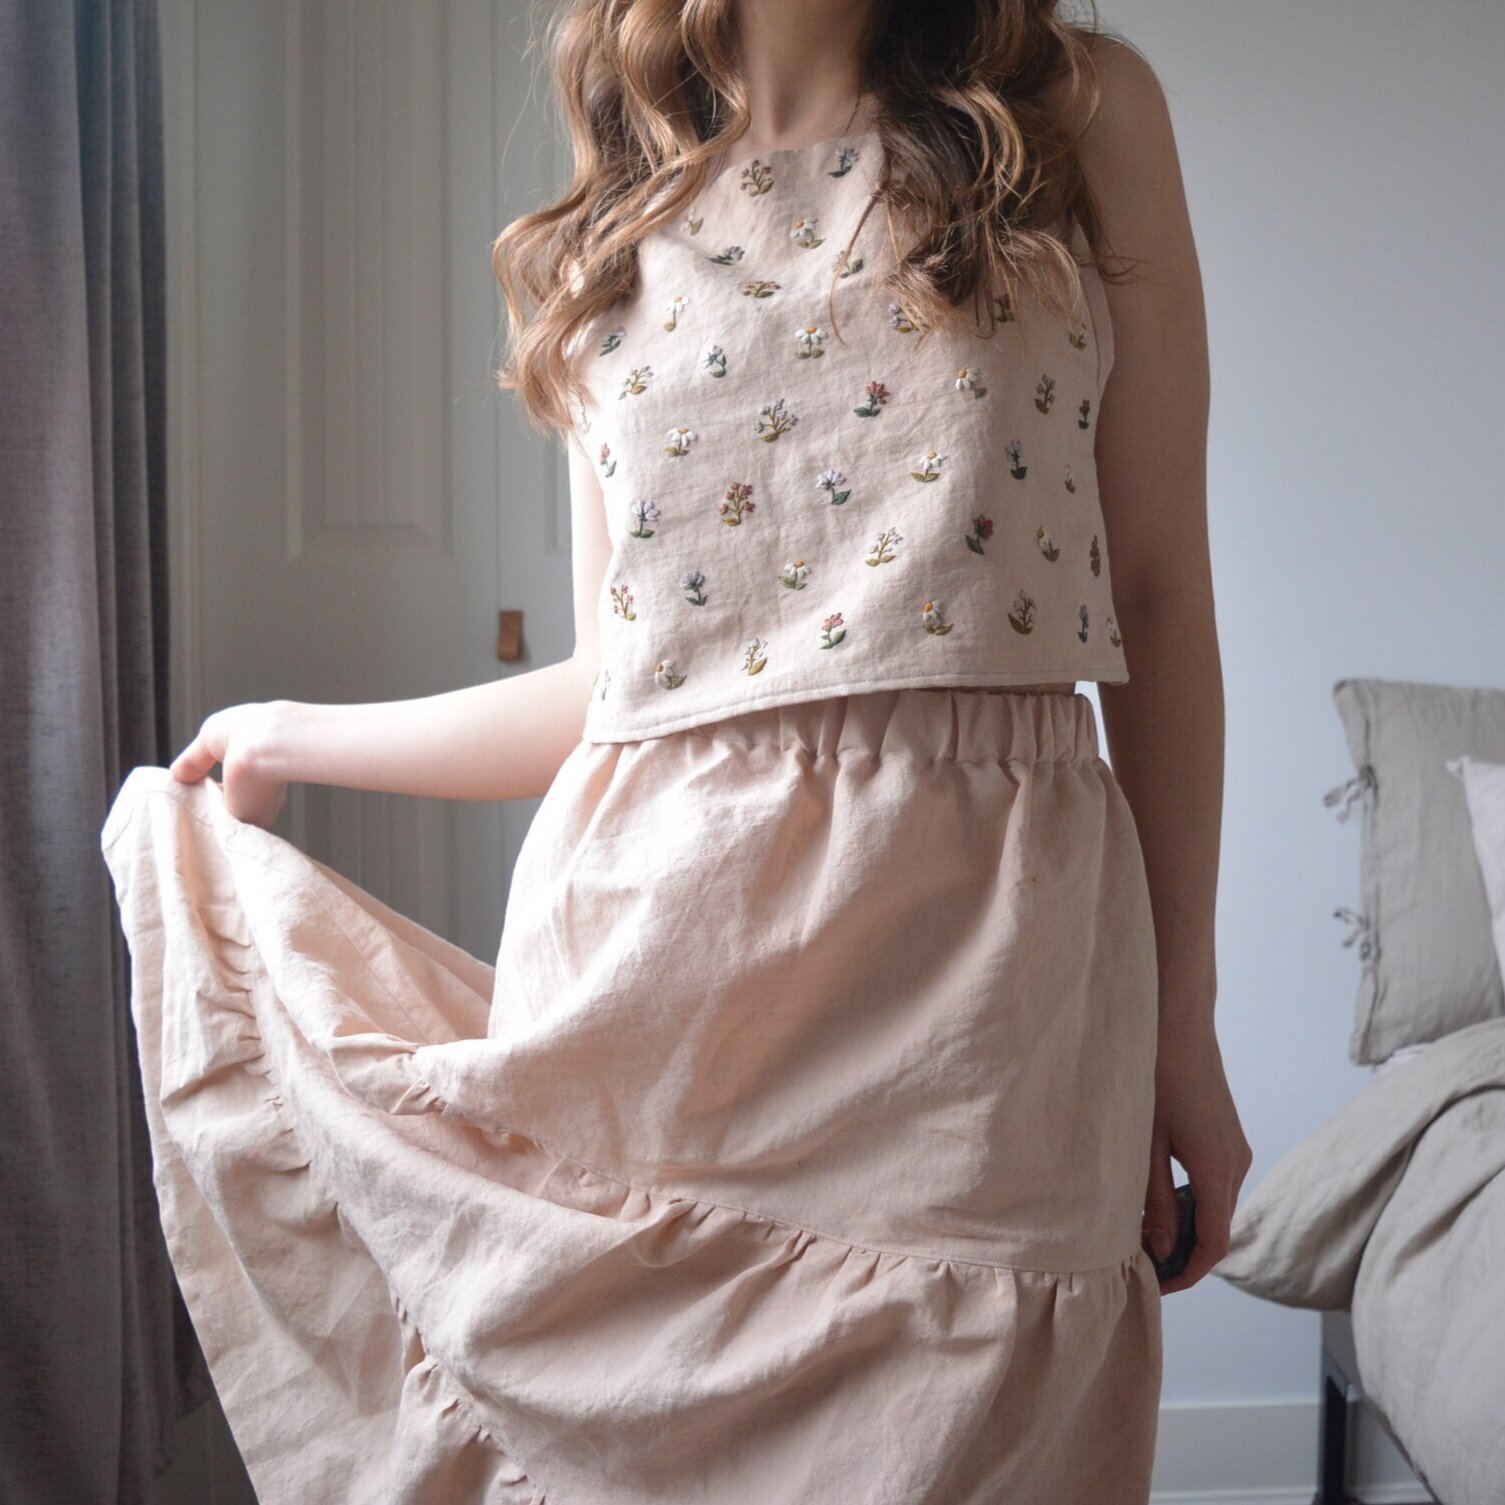
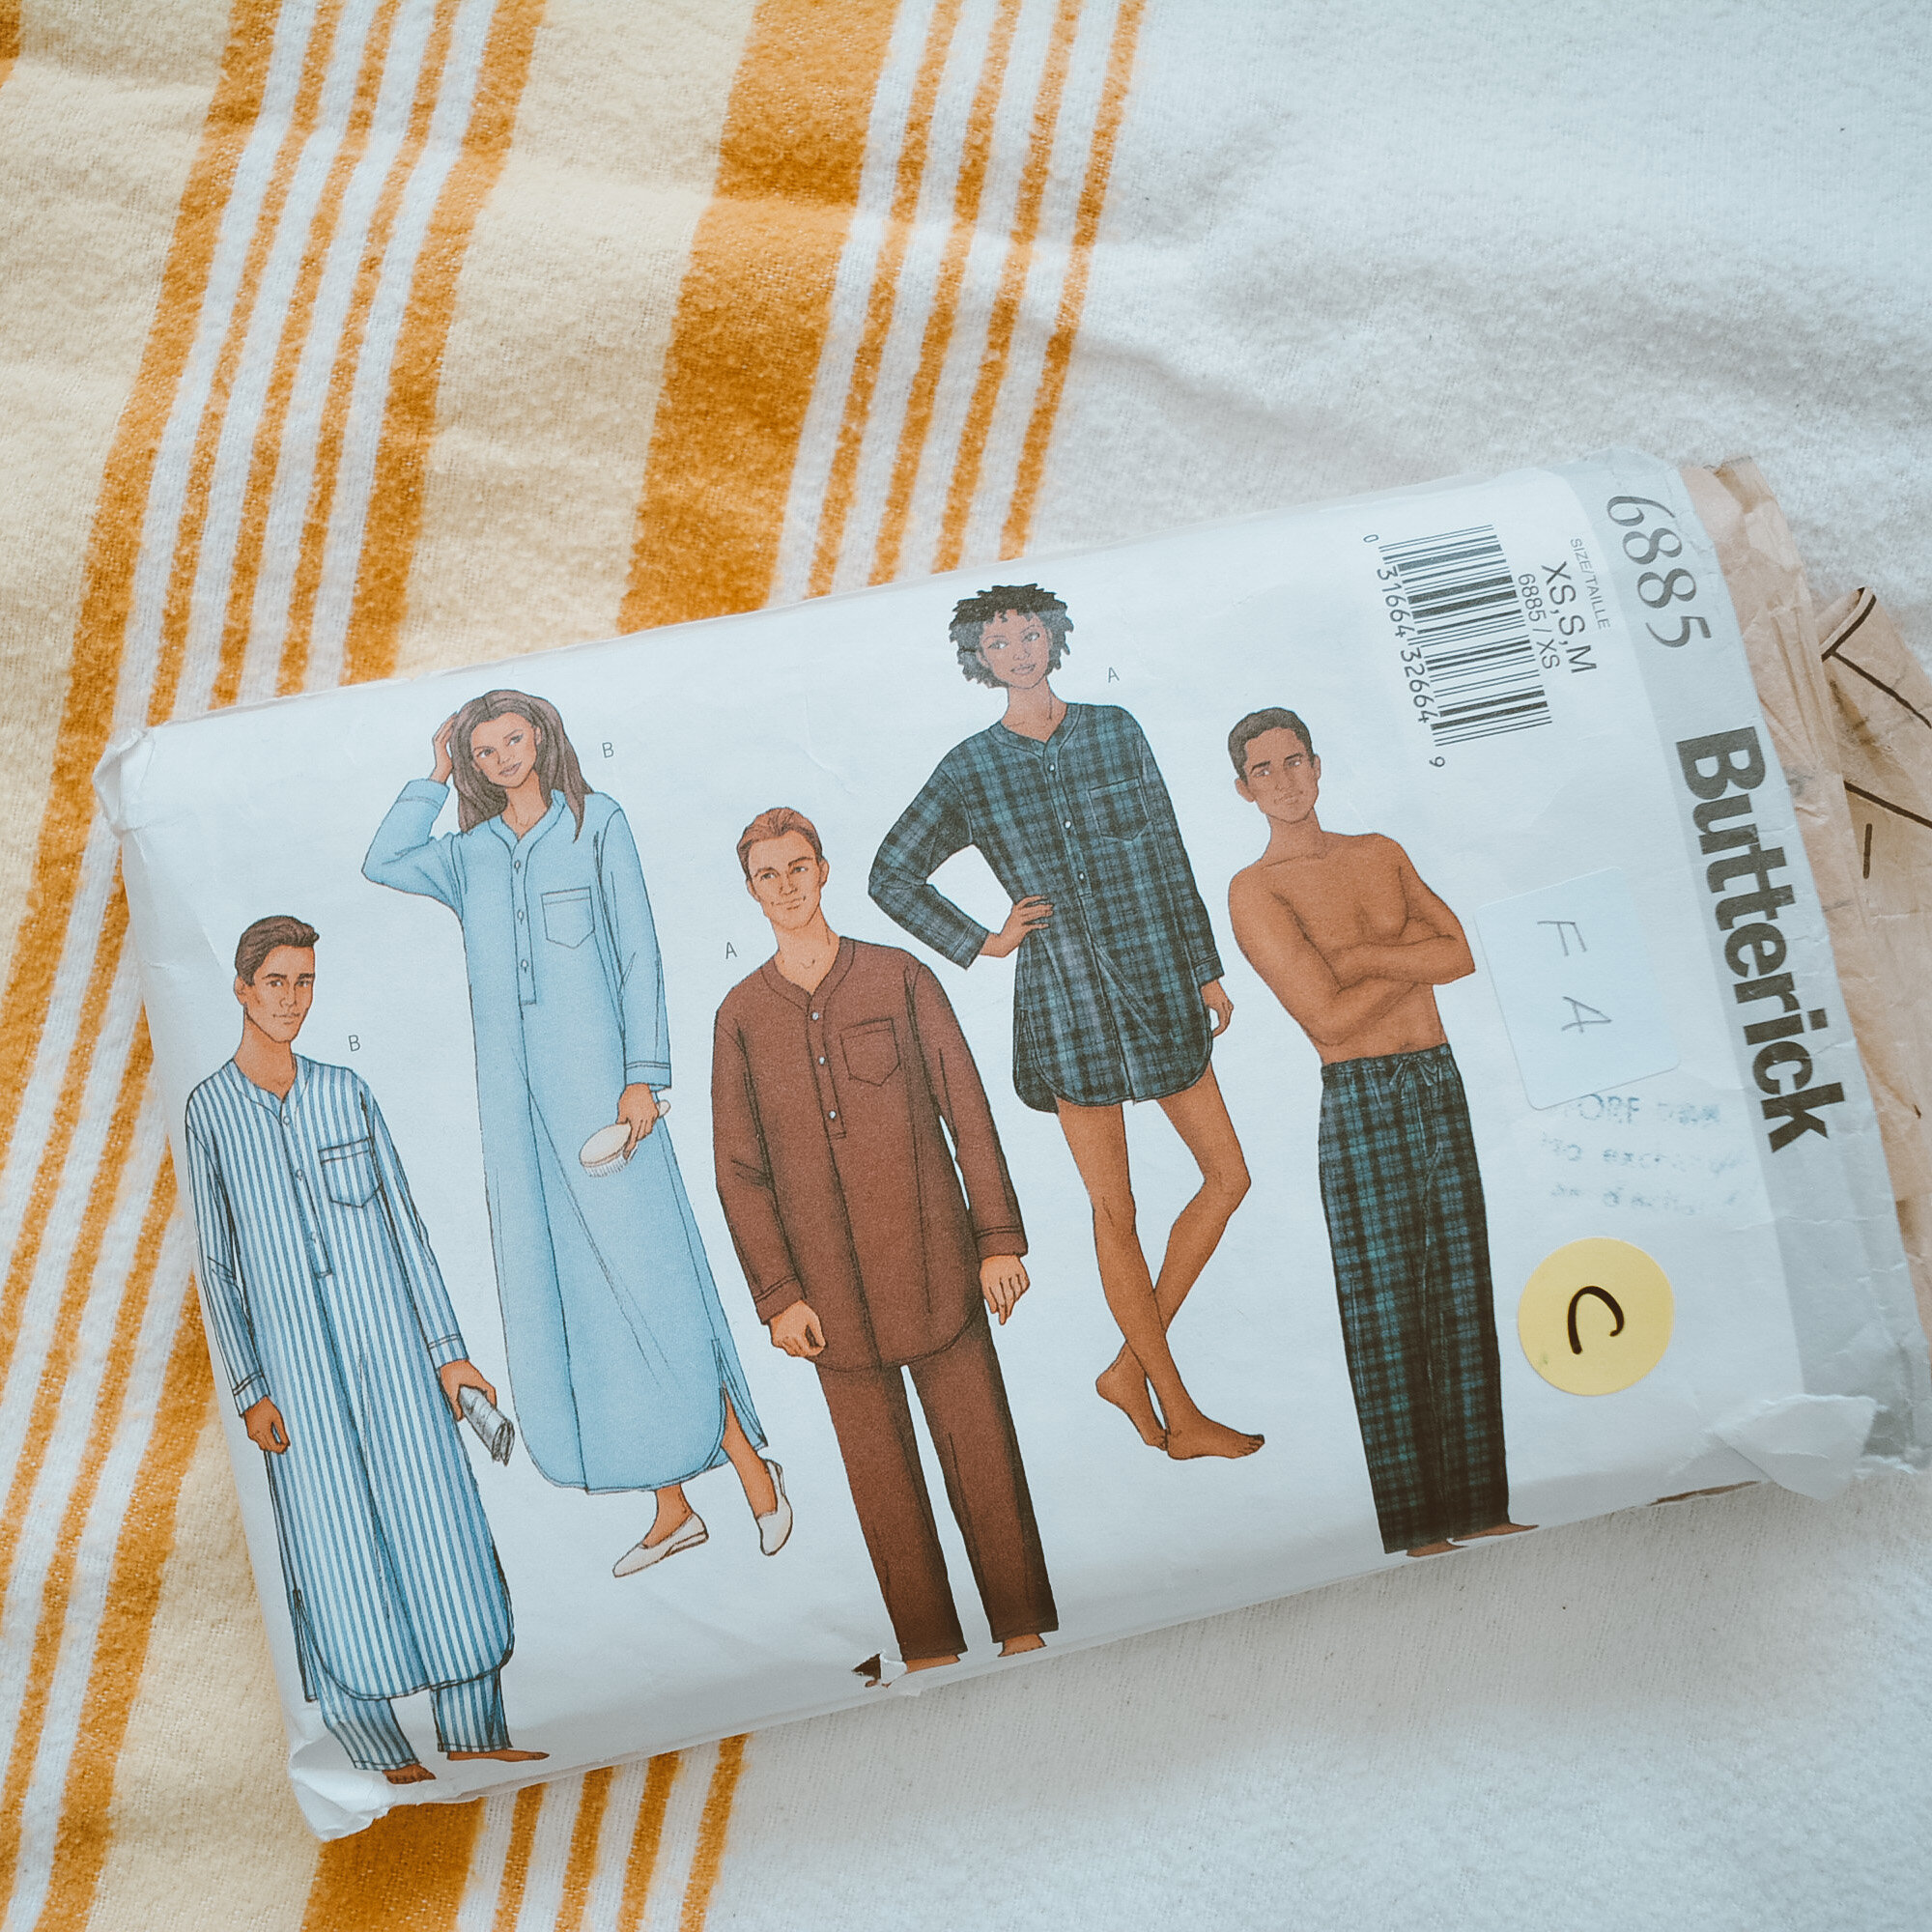
This nightshirt wasn't exactly on my list of things to make for the upcoming season, or for my home, but it was just such a fun idea in my head that it got bumped to the front of my project queue and I've been working on it almost non-stop for the last month. I wanted to make it really special with some embroidery on the front pocket and the edges finished with the same blanket stitch that the sheet edges are finished with. I'm using a vintage sewing pattern here that I found on Etsy: Butterick 6885. It's a unisex pattern for a nightshirt and pants. After cutting out the pieces for the nightshirt it looks like I might have enough leftover to make some shorts, but anyways that will be a later project, I usually just sleep in a nightshirt anyways.

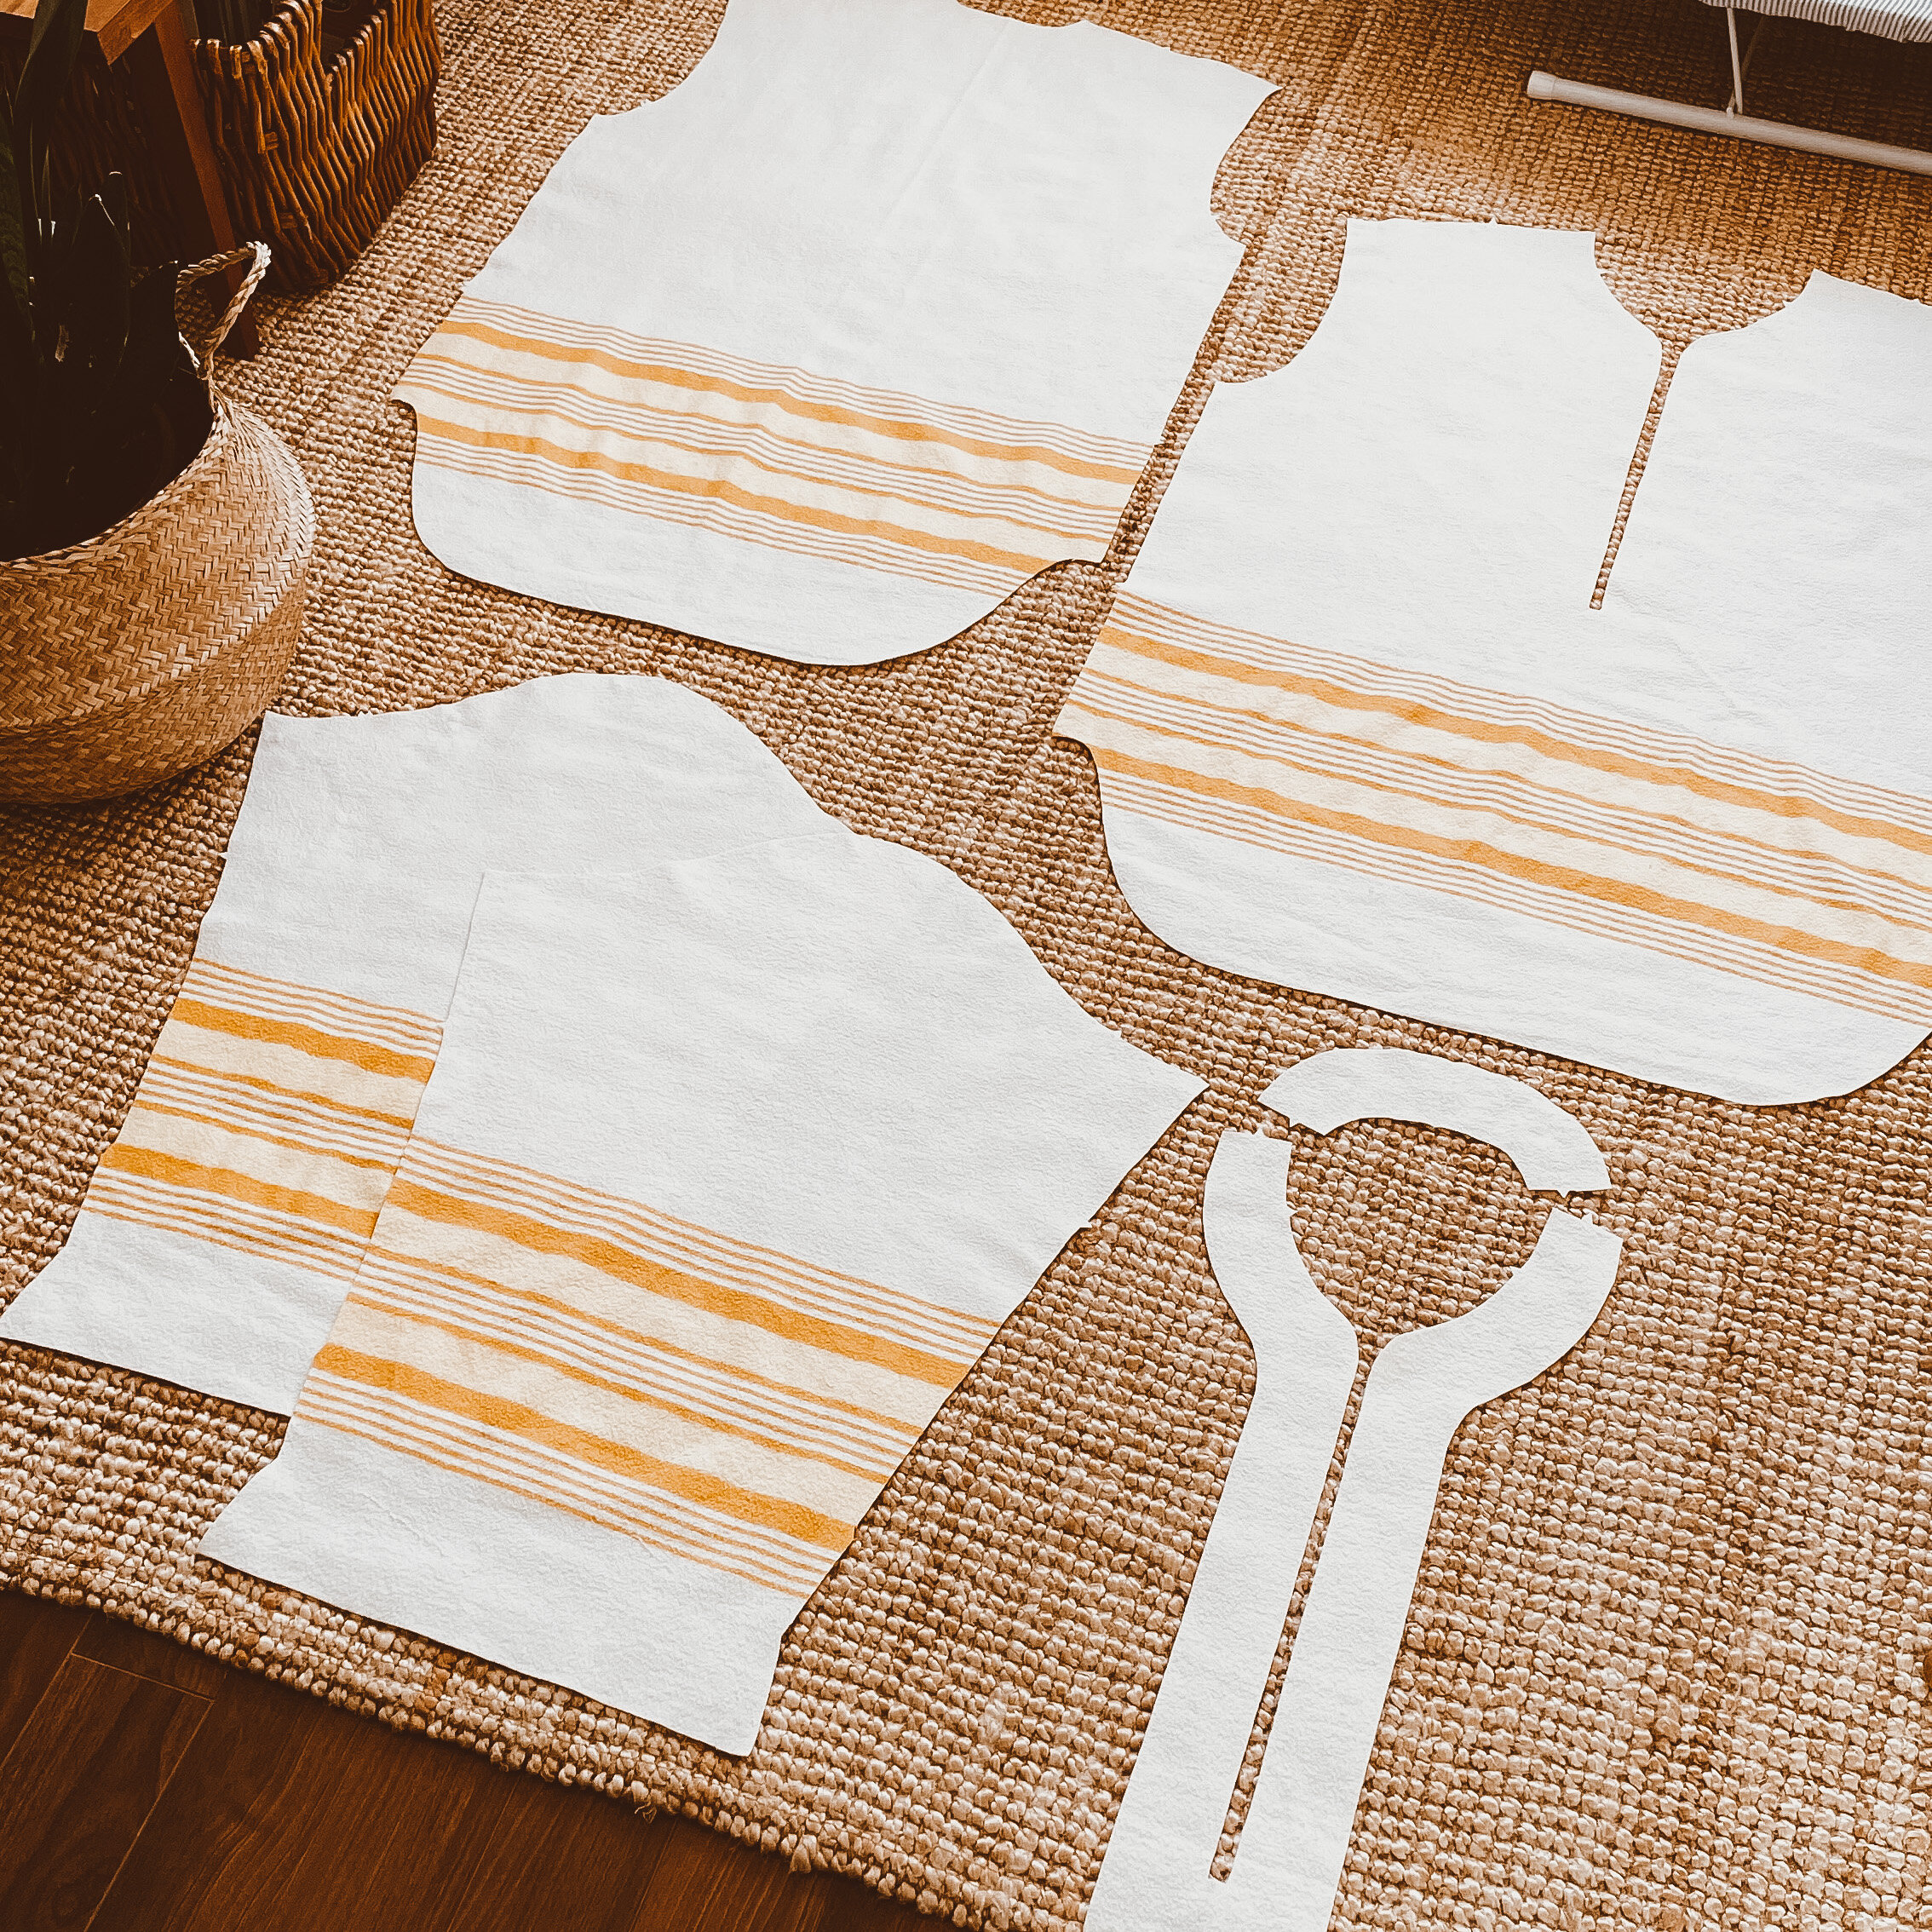
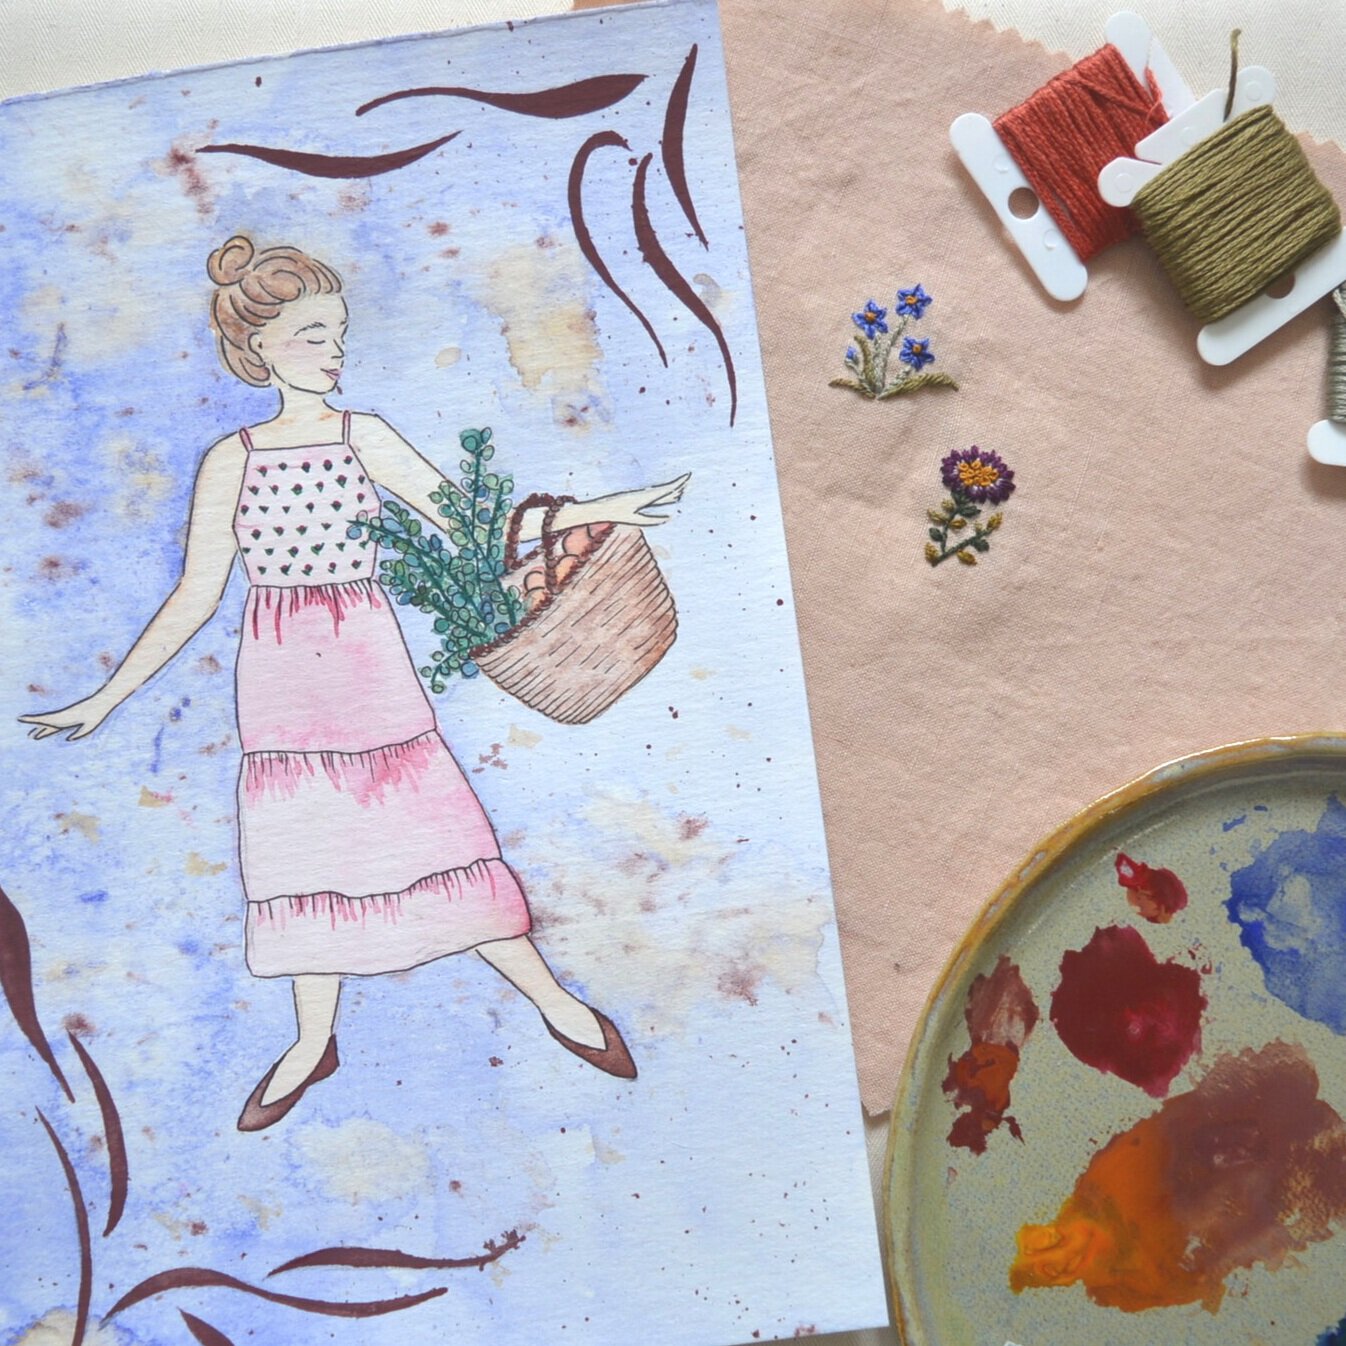
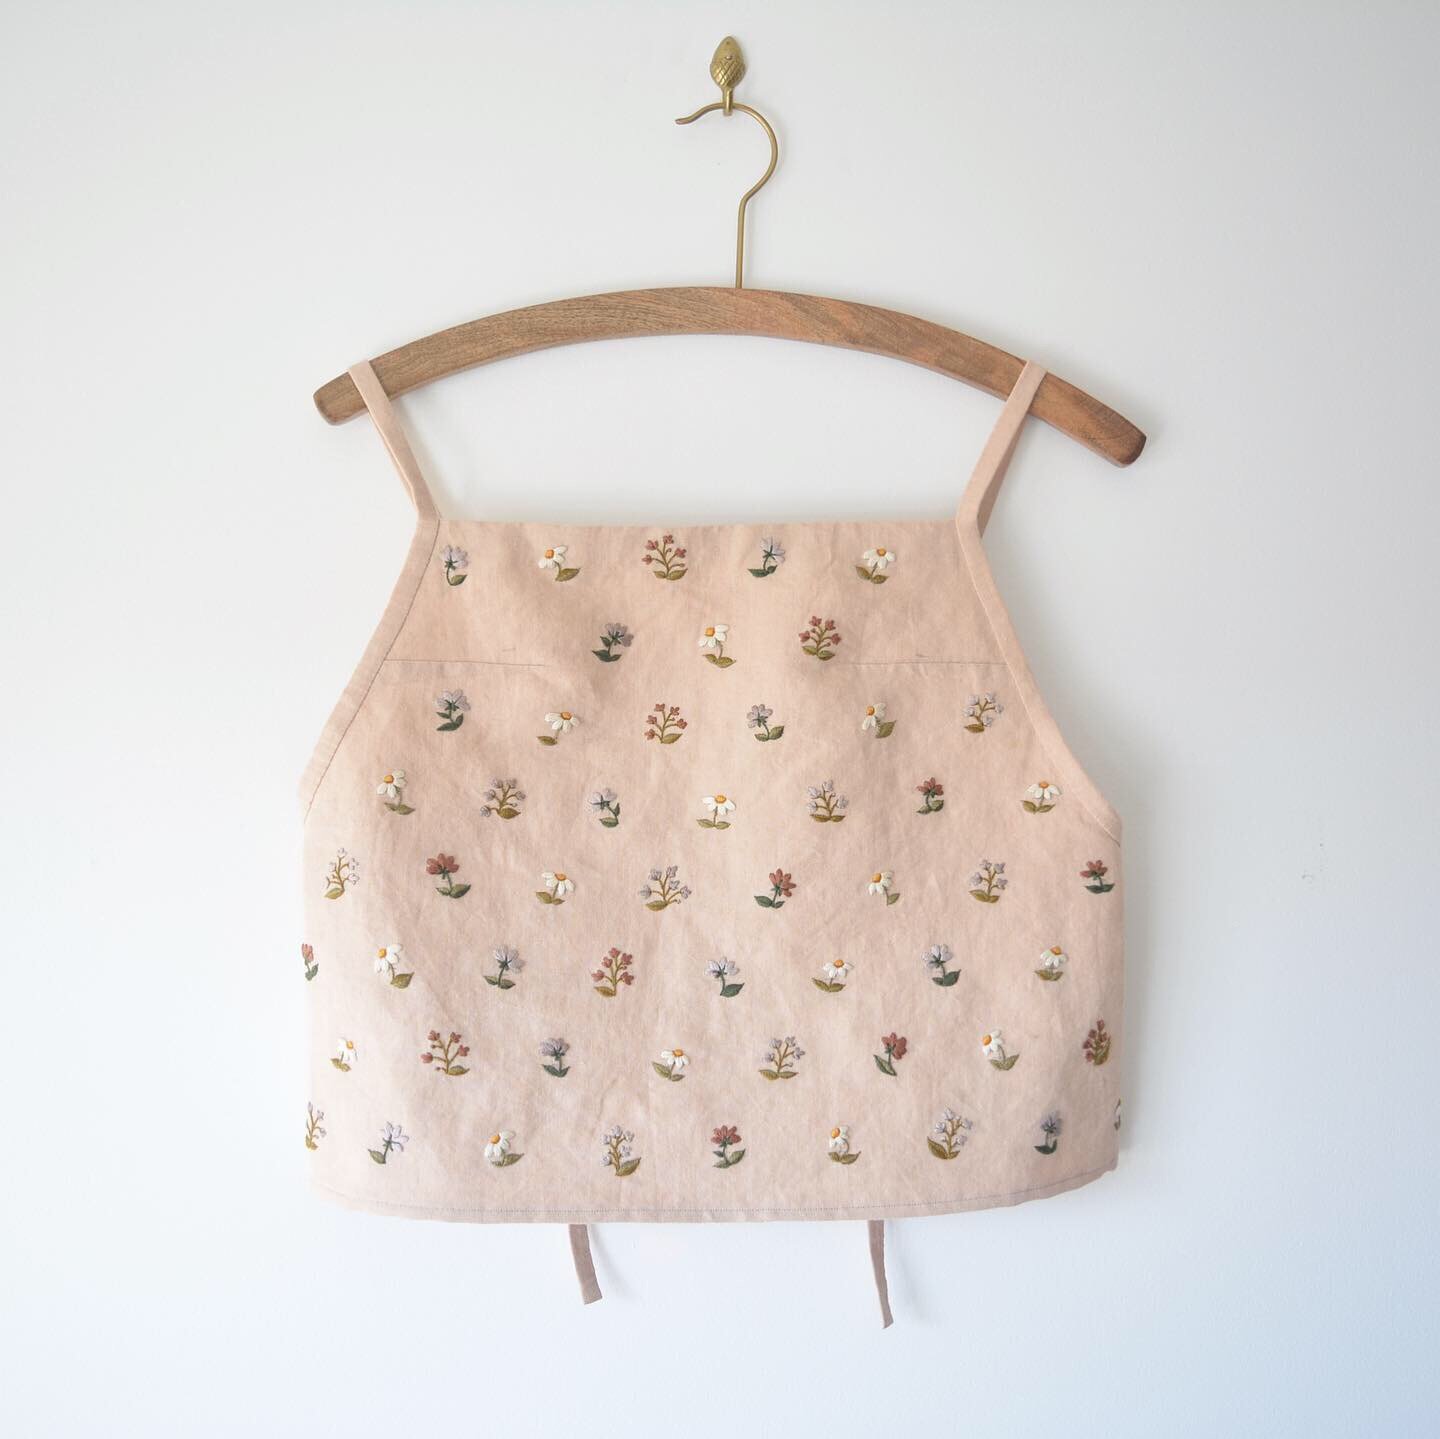
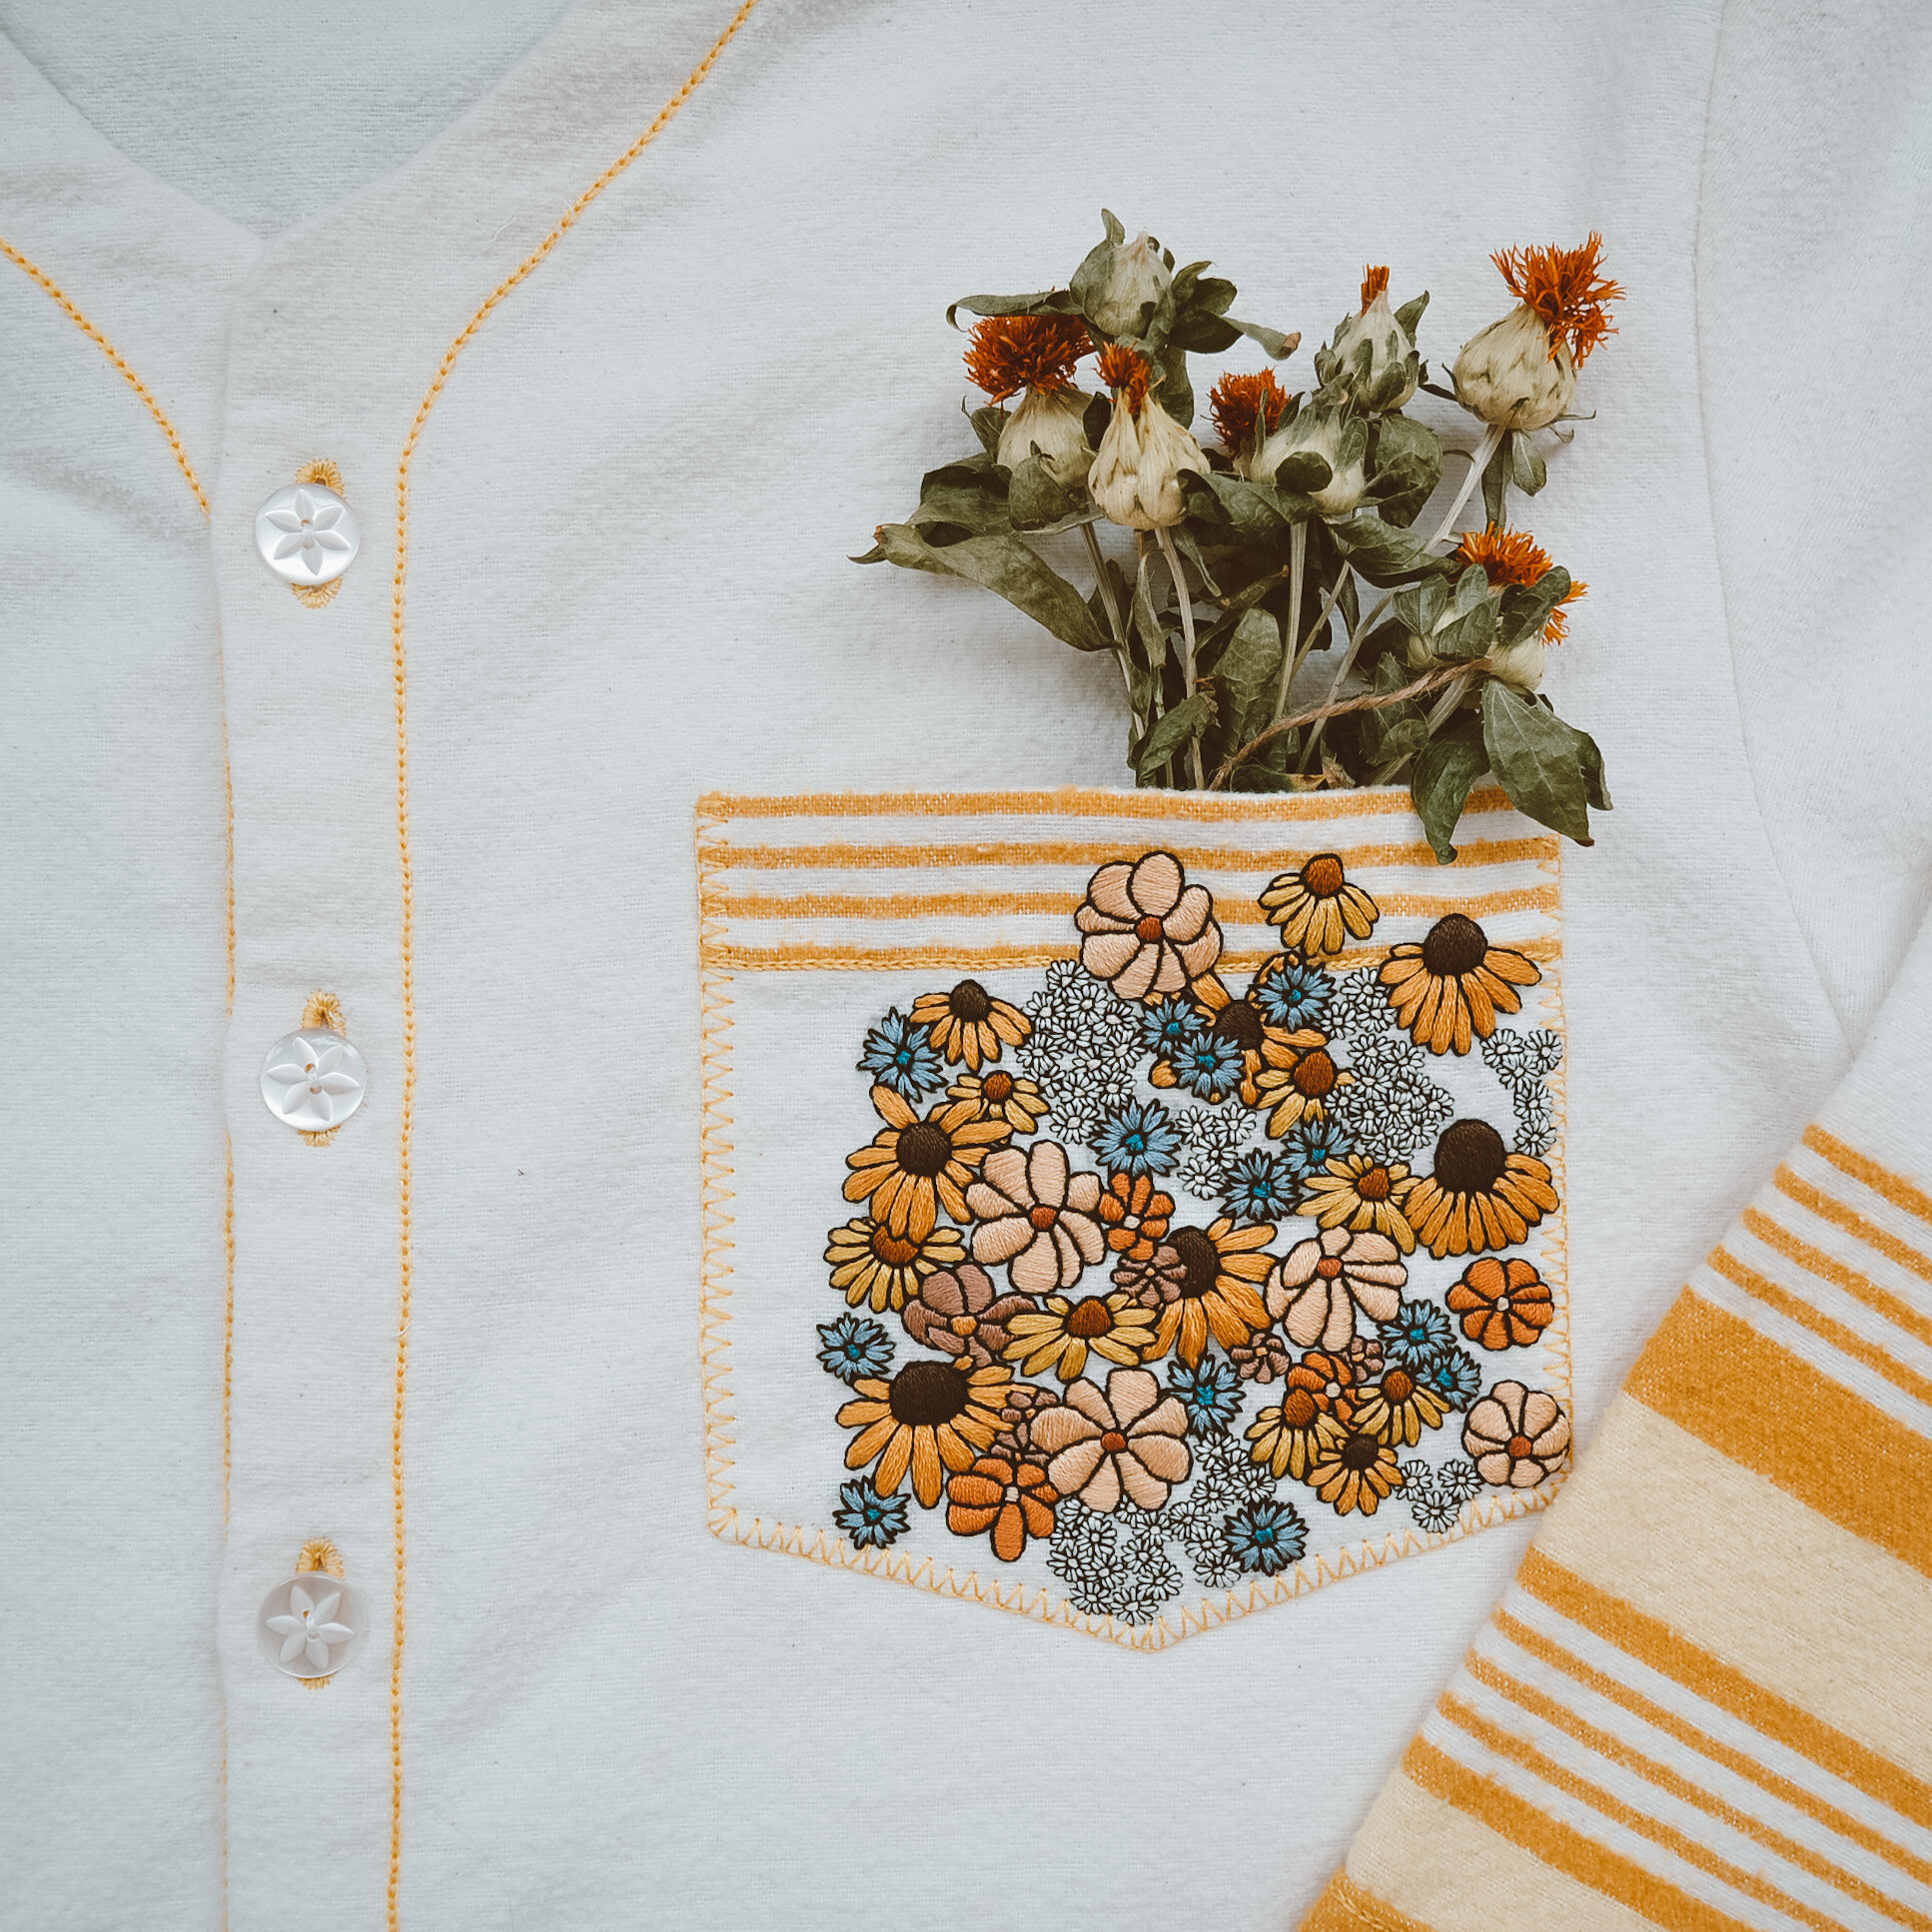
For the pocket piece I cut it in a way that would be mostly blank fabric with just a bit of the stripe running along the top. I needed a blank canvas for the embroidery but I still wanted it to tie in nicely with the stripes on the shirt. I used an embroidery pattern by Sarah K. Benning called Summer Flowers. It's not available currently on her website but a couple times a year she will do a re-release of all her old embroidery patterns. It was a pretty fiddly embroidery pattern but my main frustration with it was that I just could not get the pattern transferred onto the fabric. Usually to transfer patterns I just trace them with pencil or use some graphite transfer paper, but the flannel was too fluffy for this and it was so hard to get even the most basic shape of the flowers down. So basically I ended up just eyeballing it flower by flower which worked well enough. Next time I work with flannel I'm going to buy some of that paper that you print the pattern onto, embroider, and then it dissolves away in water. There was also a lot of outlining on this pattern but I actually loved that and found it very relaxing.

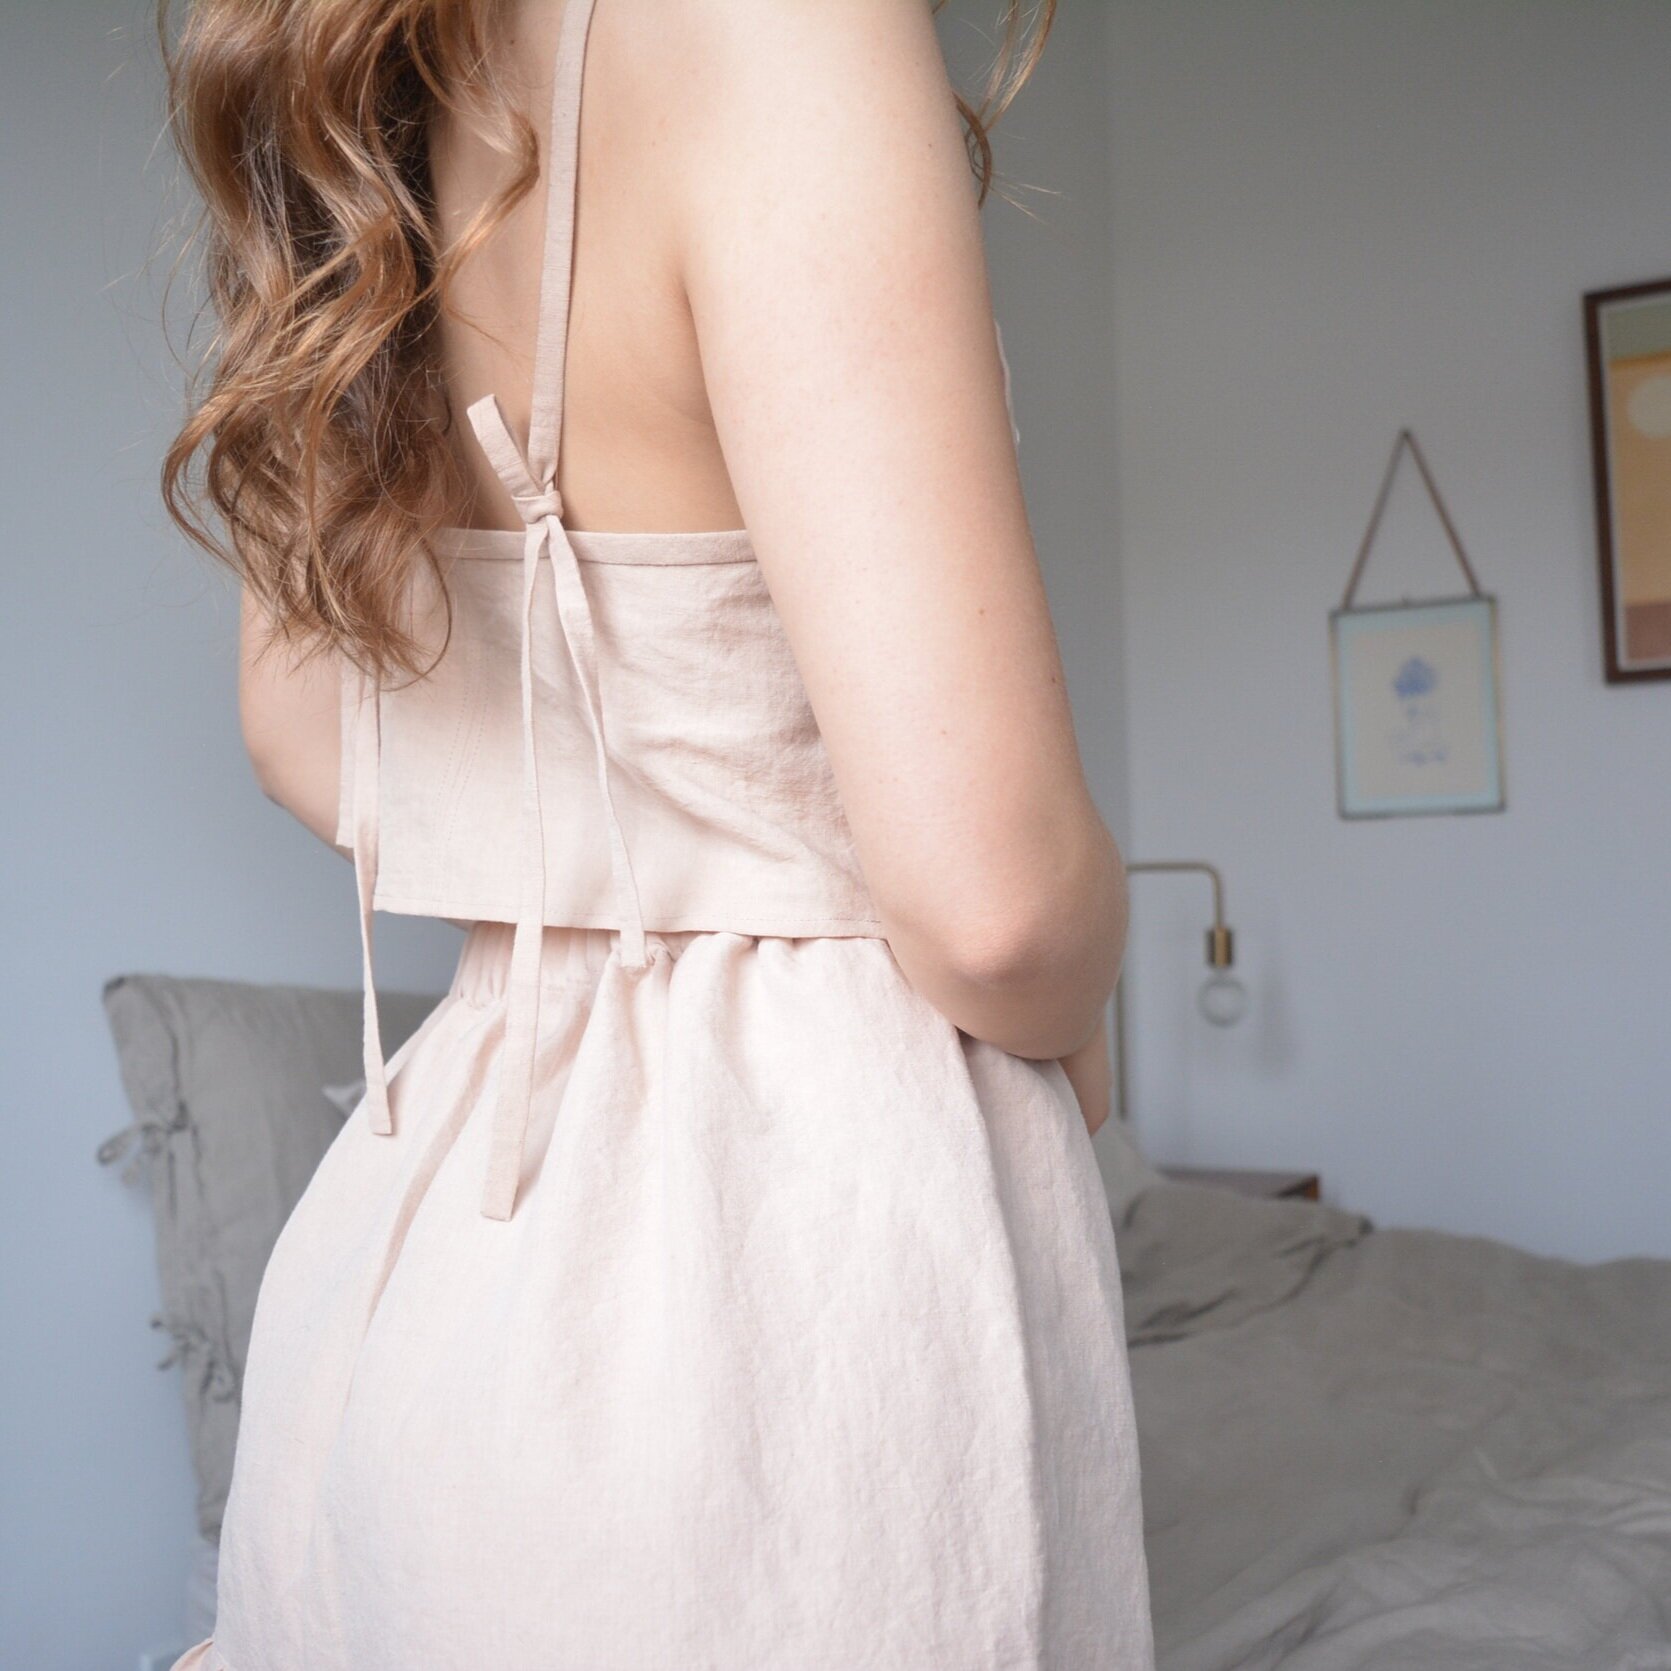
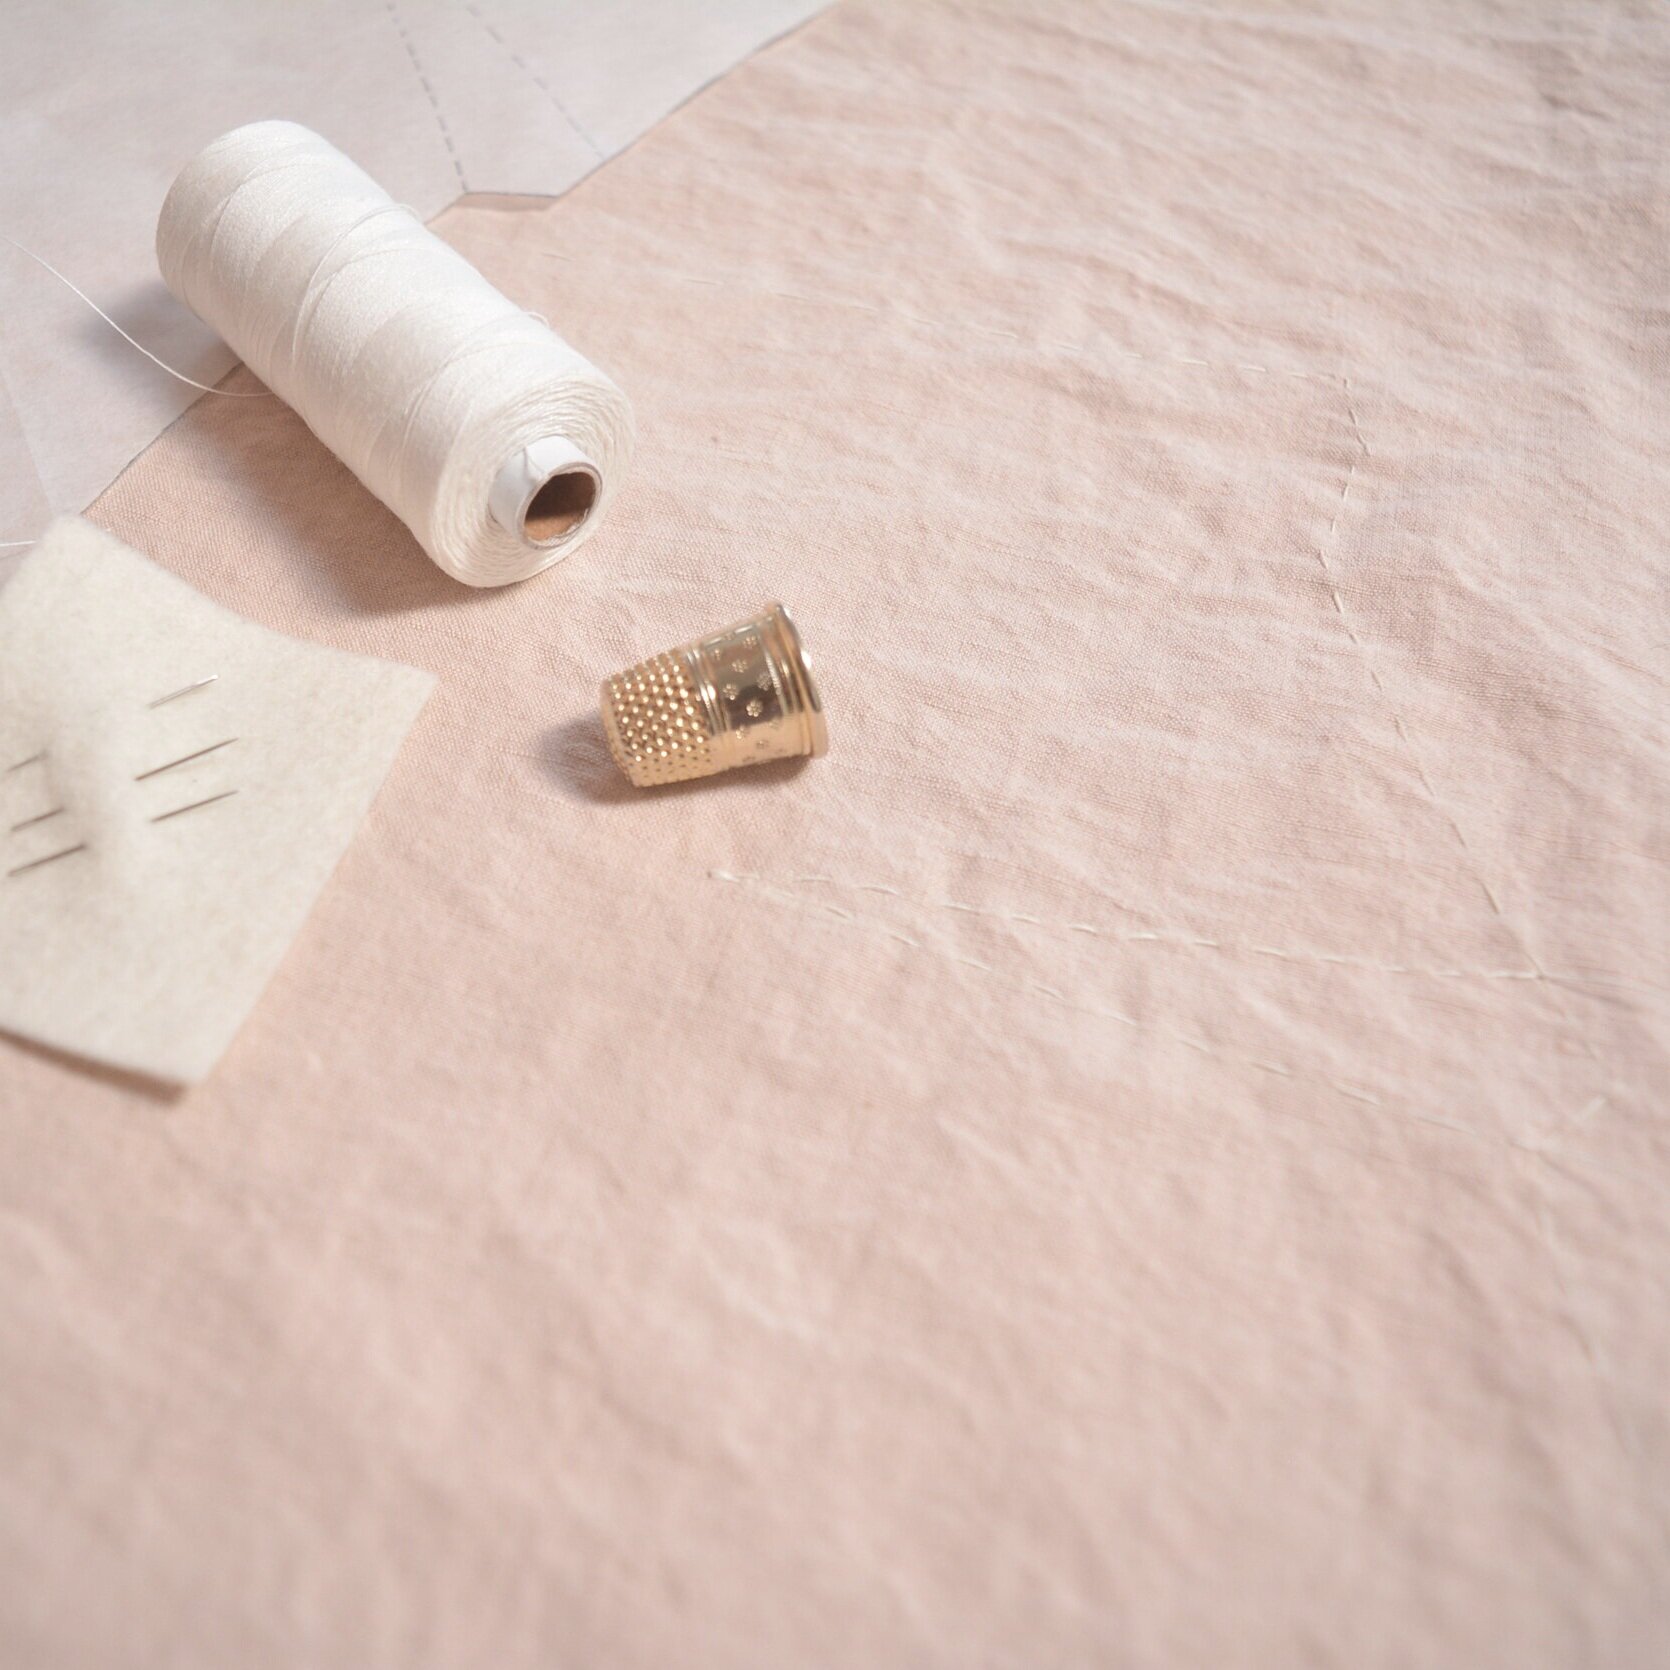
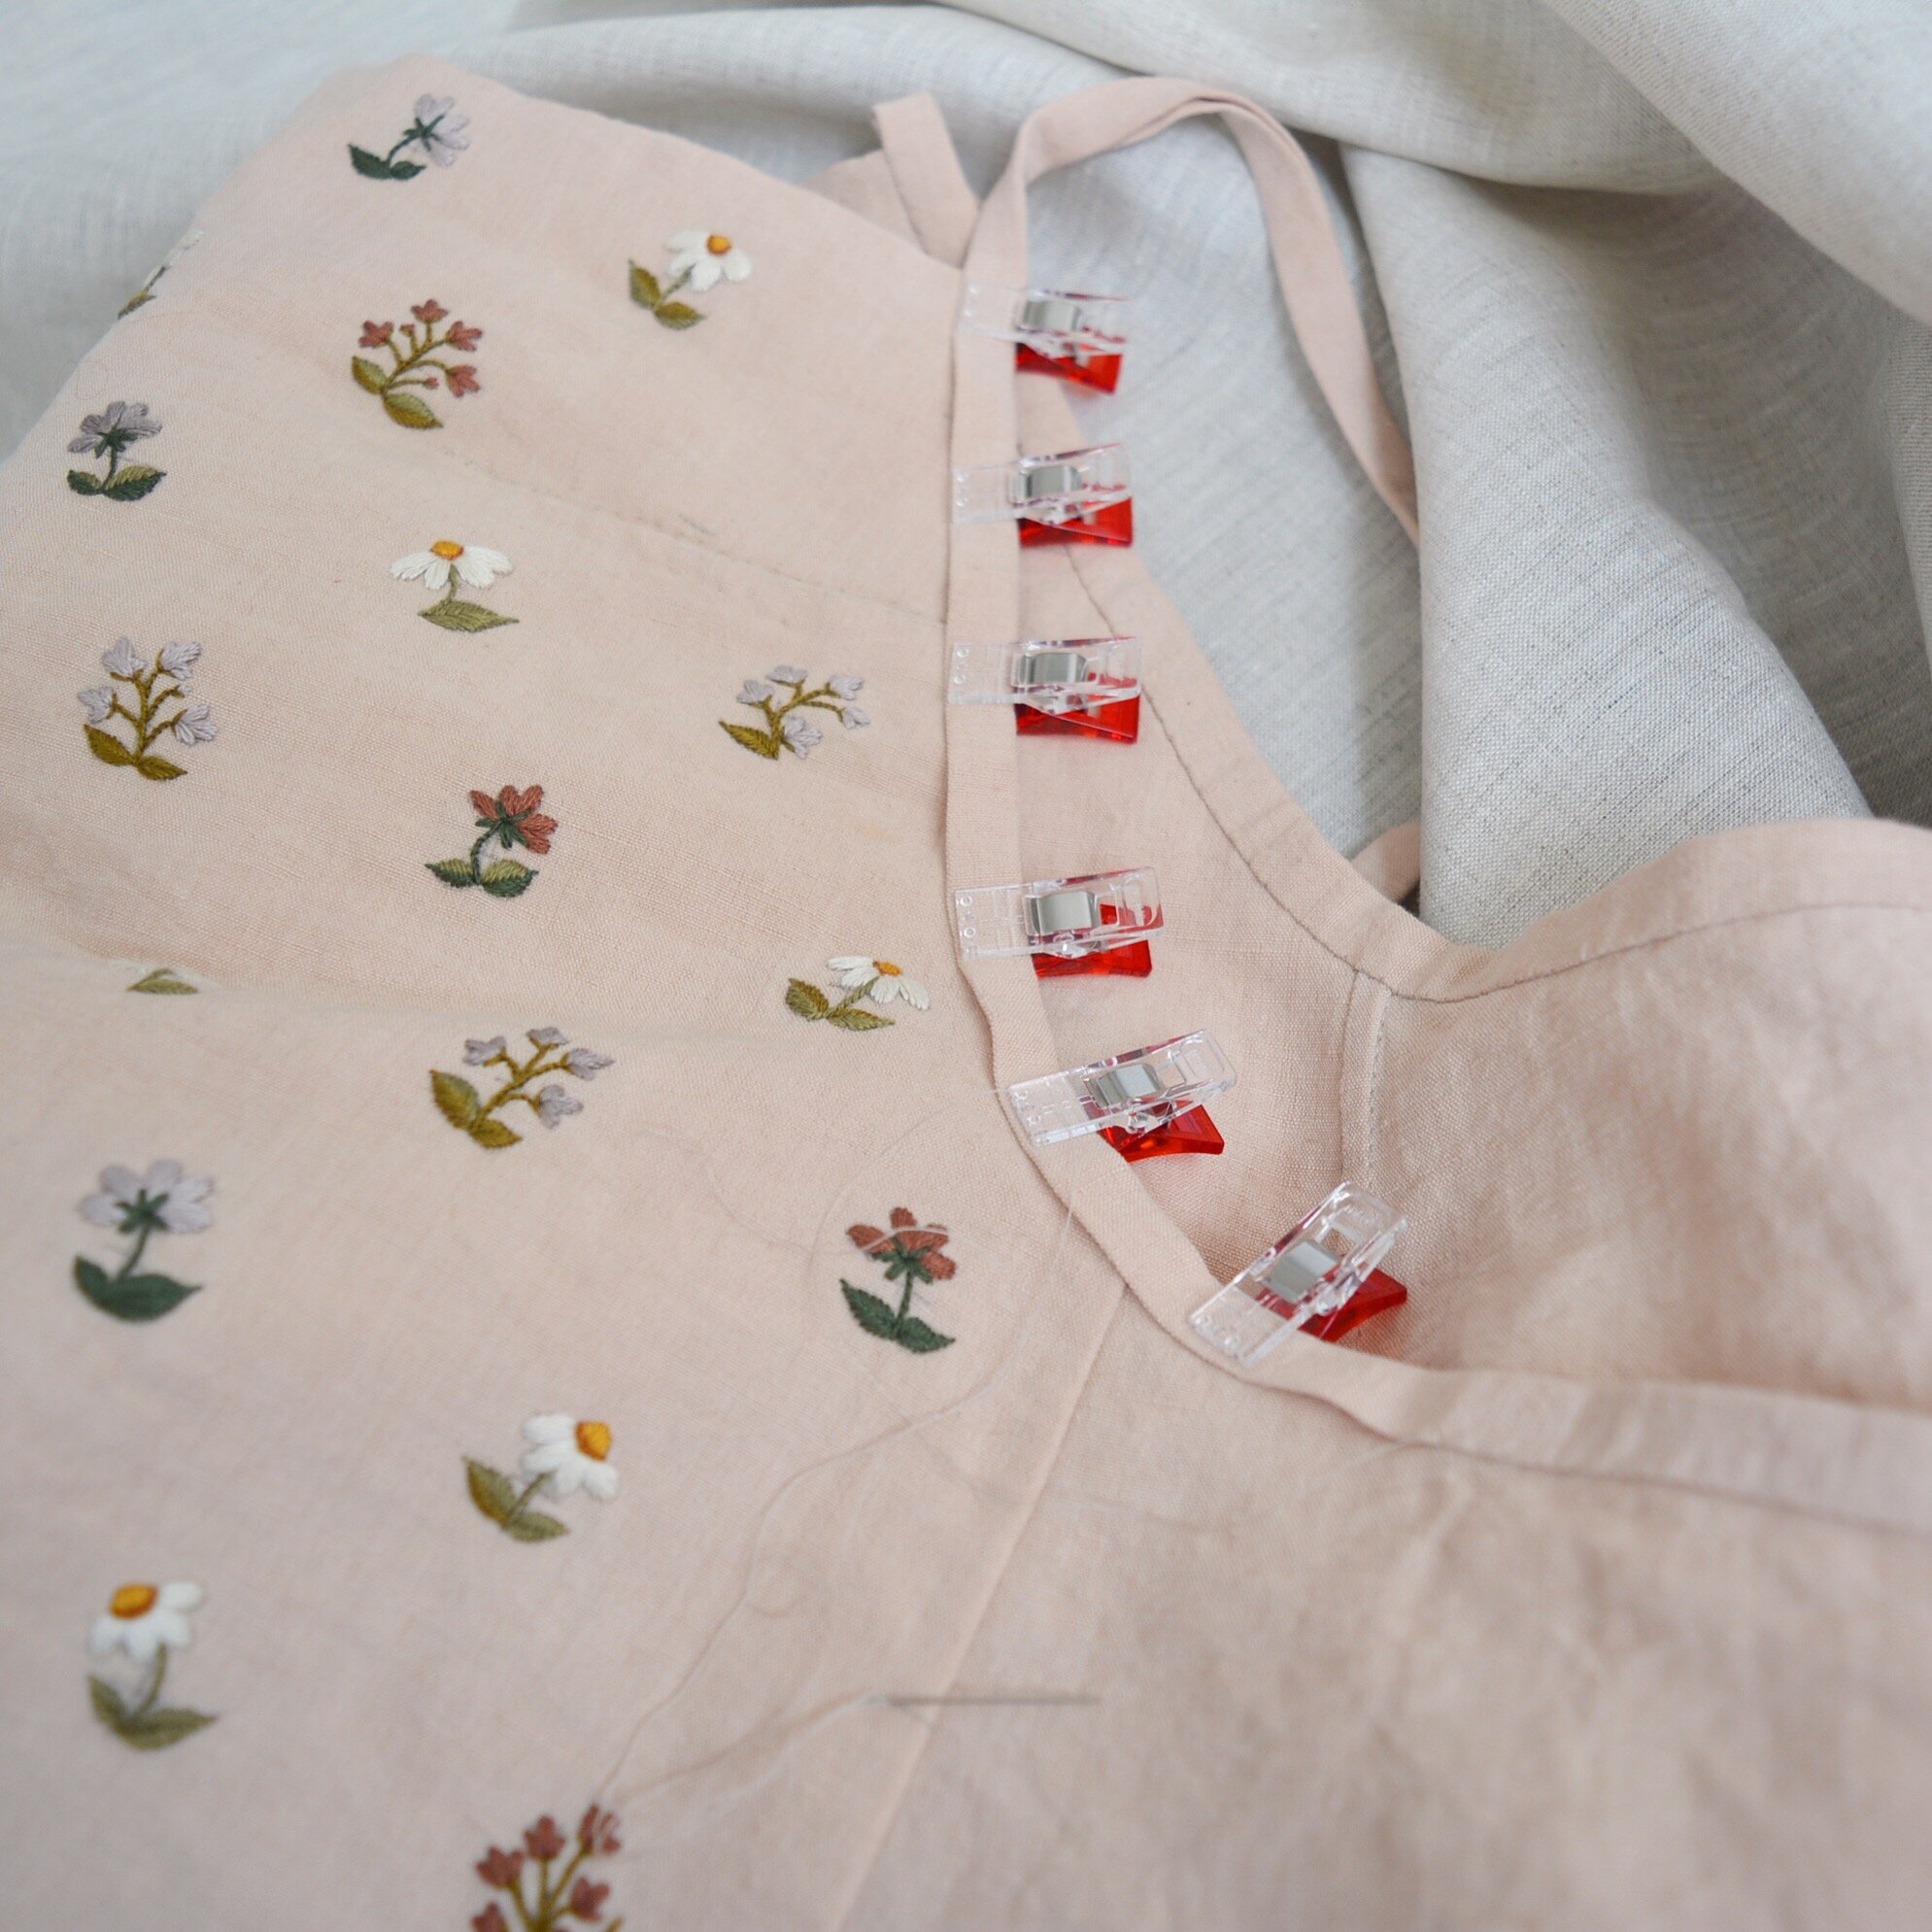
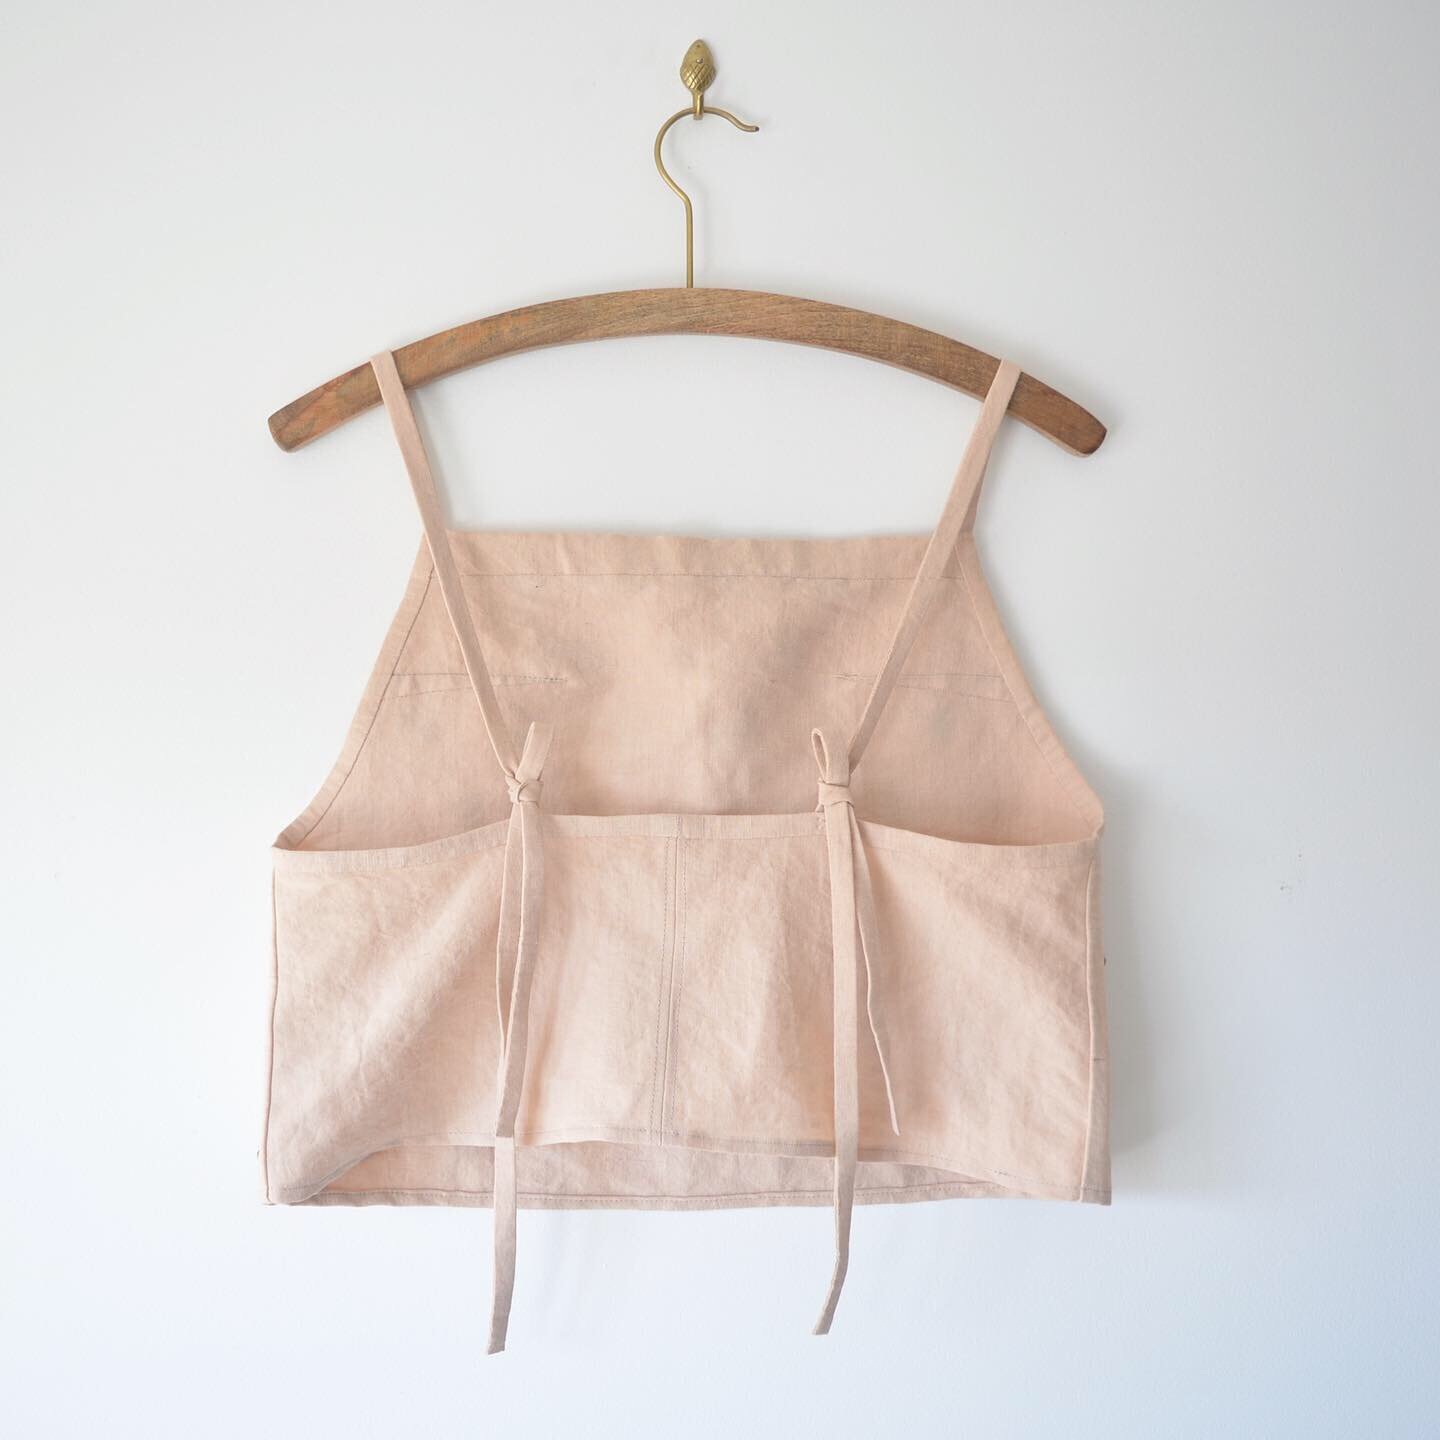
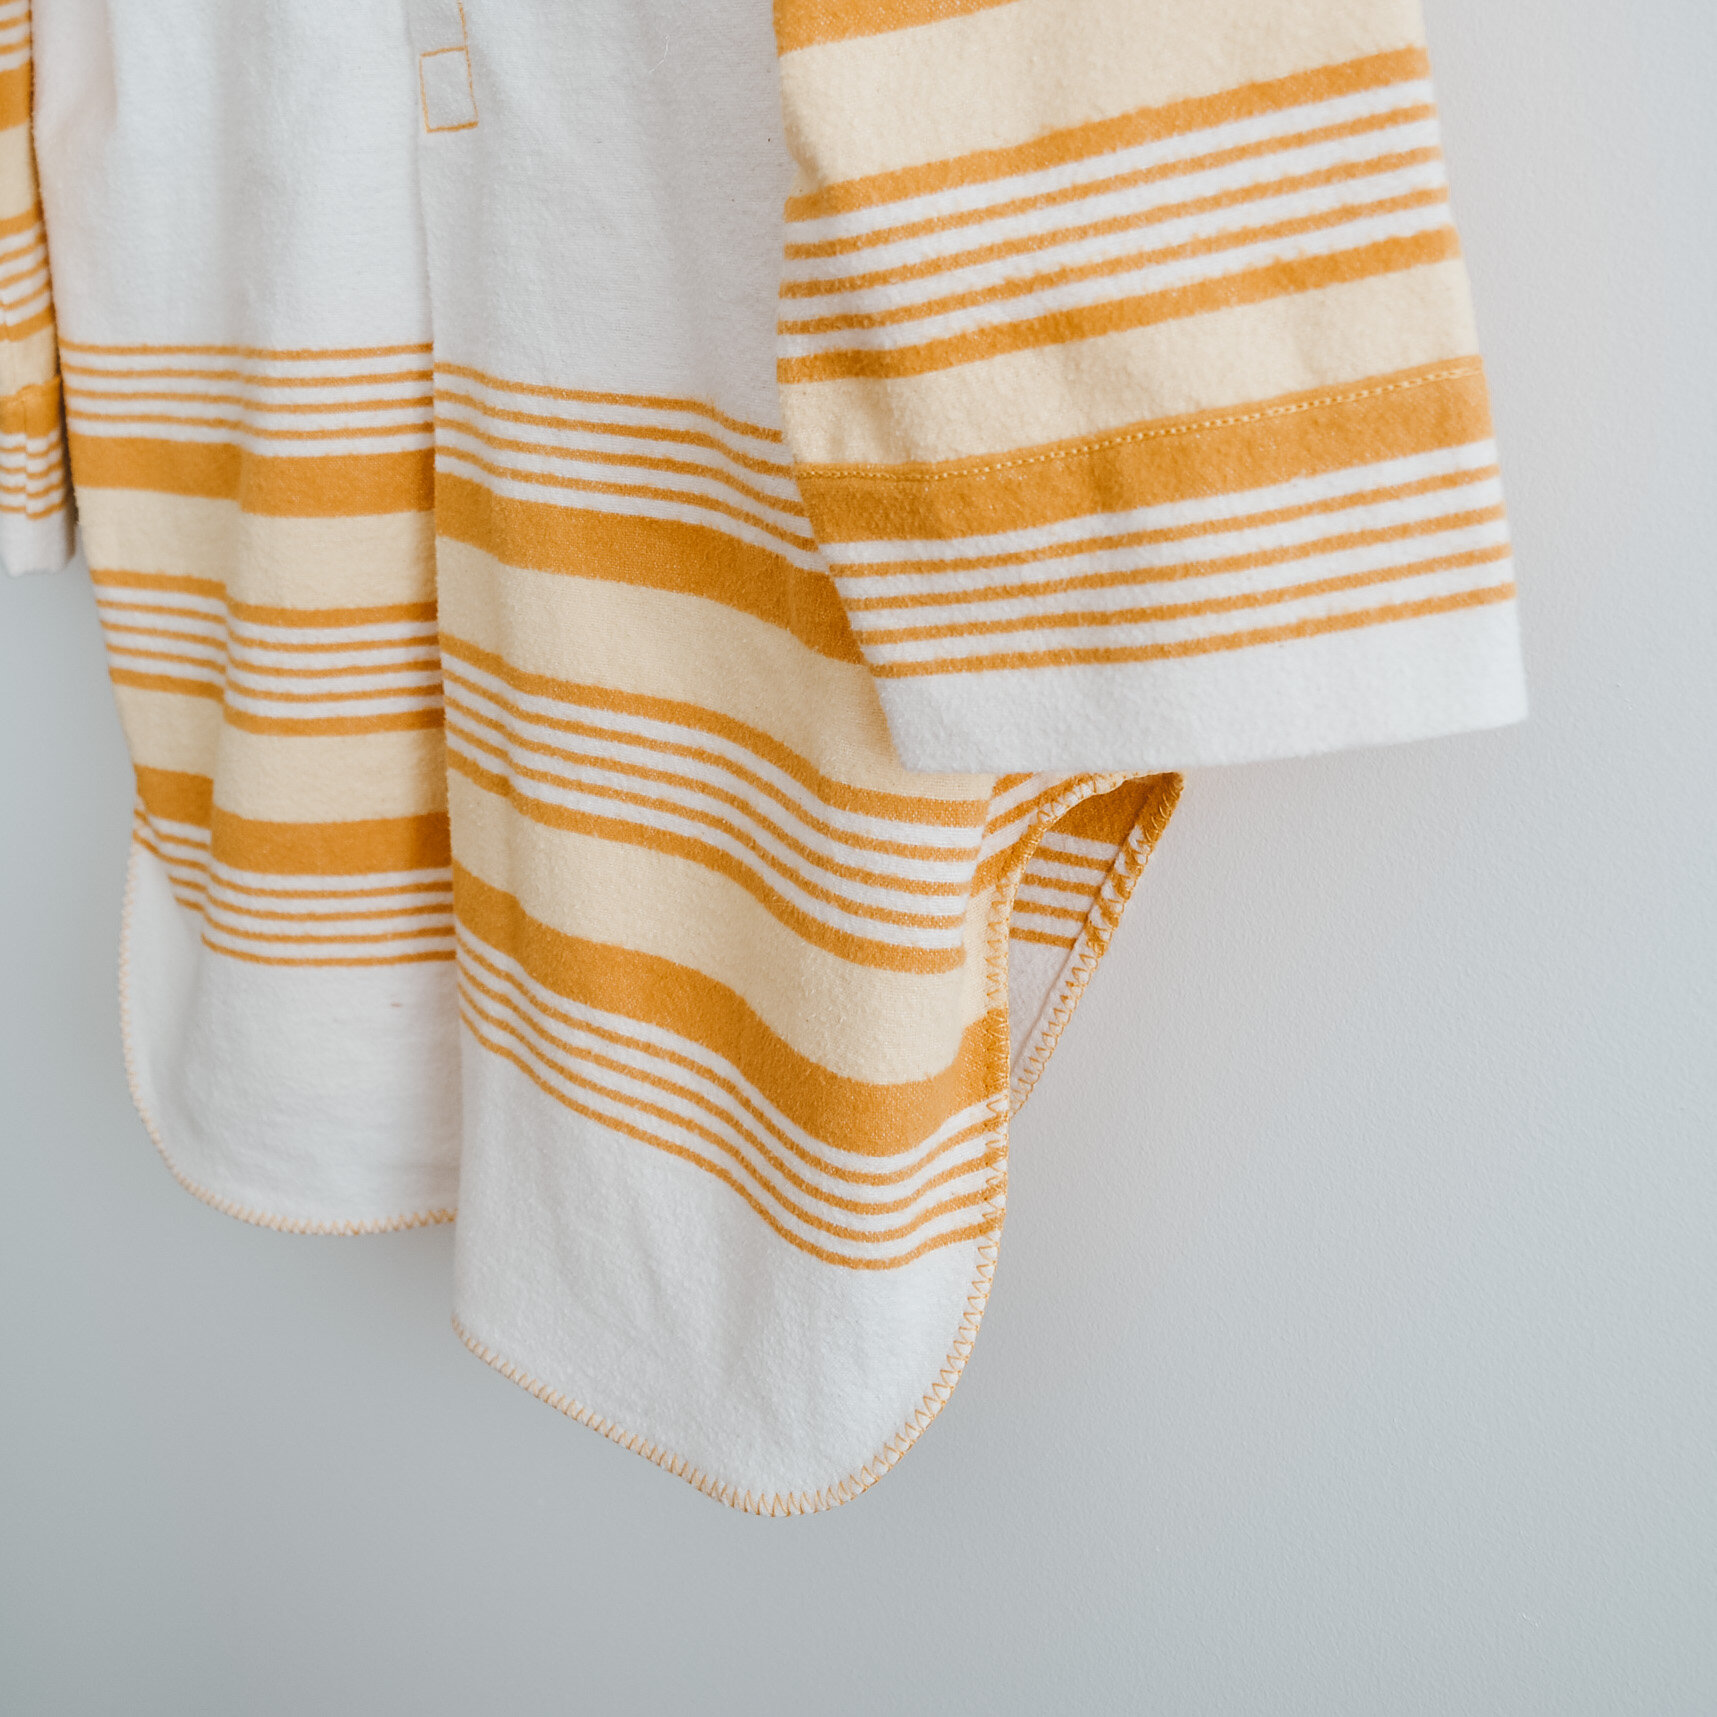
Once I had the embroidery done I could cut out the pocket piece and start assembling the night shirt. Attaching the pocket is the first step of the pattern so I couldn't start the until the embroidery was done. The shirt came together very fast, only slowed down by the fact that I wanted to do so much hand-stitching on it. I used a closed blanket stitch to attach the pocket and hem the bottom of the shirt, and I used chain stitch around the collar and the sleeve cuffs. I am so happy with this nightshirt, it almost feels too beautiful to wear to bed.

Making this just really made me so enthusiastic about all the possibilities there are when it comes to thrifting. I would have never thought to make something like this if I hadn't seen the sheet and got the inspiration from that first. Another section in the thrift store that I've been getting a lot of inspiration from is the table linens. There are often such beautiful hand embroidered napkins and tablecloths. Sometimes stained from years of families gathering and enjoying meals, but if cut the right way could be made into summer dresses, camisoles (something like my Wattlebird Cami), and baby clothes. Anyways, now back to my list of things I would actually like to have done by summer! I would like to sew a couple more lightweight summer dresses and I have a wedding dress I need to start planning as well!

2021-04-10_22-01-17.jpg

Some more posts for you to check out:

Wattlebird Cami and Fawn Skirt Pattern Review

wattlebird-cami.jpg

If I've ever poured all my love and energy into making something it was this project right here. My avocado dyed, hand-embroidered, hand-finished Wattlebird Cami & Fawn Skirt set. I started this project with the intention to make the Wattle-Fawn Dress hack, but it evolved into separates that can be worn together to look like a dress. This is the most involved I've ever been in the process of making a garment, and that makes me so proud of the finished pieces.

The Wattle-Fawn dress is a mash-up of two patterns by Common Stitch: the Wattlebird Cami and the Fawn Skirt. I bought the PDF version and had the pattern printed at my local copy shop so I wouldn't have to do any paper piecing. It was an investment to buy this pattern (which Common Stitch sells as a package including both individual patterns), but I really think I'll get a lot of use out of it. I love both the cami and skirt on their own, and I think I'll be doing plenty of future sewing from these patterns.

The fabric I used for this project is a handwoven 100% linen from Maiwa Supply. I dyed the fabric naturally using avocado skins and pits to get the peachy pink colour (you can read more about that here). I cut all my pieces like usual, except for the front cami piece. Because I knew that I would be embroidering that one I thread basted where I would be cutting later, and then left myself plenty of fabric all around that thread basted line so that the piece would comfortably fit into my embroidery hoop. I decided not to sew a mock-up for this dress, mainly because I'm not usually too picky about how garments like this fit. The Wattle-Fawn dress is designed to be a loose fitting flow-y dress without too much structure (and also no sleeves to fit!) so I figured I wouldn't have a problem just jumping straight into it, and making small adjustments later if necessary. Of course this bit me in the butt later when I realized that the dress was a little too shapeless for my preference, but turning it into a set of separates was a quick fix for that.

I wanted an all over embroidered floral print for the cami piece, so I tested a couple flower ideas on some scrap avocado dyed fabric, and once I had my plan I sketched it all out on my thread basted piece with pencil, measuring to make sure the flowers were equally spaced. Pencil doesn't wash out as nicely as a marker made for this purpose, but it's what I had on hand and I would be covering it all up with embroidery anyways. I went about embroidering, and 38 hours of stitching later (spread out over a couple weeks of course) I was ready to start assembling.

I wanted to cover the back side of the embroidery because I thought it might irritate my skin, so I lined just the front cami piece with another piece of the same pink linen. I used the flat-lining method, essentially cutting a double of the piece I wanted to line, laying them on top of one another, and from that point treating it as one single piece. Flat-lining gives you a chance to finish things really beautifully by hand, hiding stitches and seams in the lining. One of Bernadette Banner's videos explains the flat-lining process really well: linked here. I also hand finished all of the binding and straps because every time I try top-stitching fiddly bits like this on my machine it never turns out as straight or neat as I prefer.

I pieced together the skirt, getting mildly frustrated by all the gathering, but it came together fairly quickly. I basted the cami to the assembled skirt because I though I might want to shorten it, and it was here when I tried it on to fit that I realized it was not quite the look I wanted. The lack of a defined waist coupled with all the volume in the skirt was just making me feel shapeless. I decided to take them apart and just hem the cami and keep it as a classic Wattlebird cami, and finish the skirt as a separate at well. The Fawn Skirt is finished with an elastic waist, which gave me the waist definition I wanted. I'm pretty happy with this solution because I feel like I will get a lot of wear out of the cami on it's own, making the garments a lot more versatile than if I just had the dress.

If I do decide to try the dress hack again it would be with a much more drape-y and flow-y fabric, and I would probably insert ties in at the waist seams so that I could cinch the waist in and tie a bow at the back. But for now I'm smitten with my outcome from this first try and looking forward to a summer in avocado pink!

How I Wrap My Embroidery Hoops (and Why I Do It!)

2020-04-09_16-43-17.jpg

While I don't consider myself experienced with embroidery, even this one little tip has made everything I finish look so much better. I started wrapping my embroidery hoops and it has helped both with making my process easier, and with improving the look of the finished piece:

  • Wrapping helps to create a tighter working surface with the fabric, and I find the fabric doesn't loosen as I'm working.

  • When I'm working on a larger piece and have to move the hoop around the fabric, the softer surface of the wrapped hoop doesn't "squish" my worked embroidery as aggressively as the exposed wood does.

  • When I take my work out of the hoop I find the crease from where the hoop was sitting is less prominent and a little easier to iron out (although I still recommend taking your fabric out of the hoop whenever you are not actively working on it, to give the fabric time to rest).

A lot of resources suggest wrapping your hoop with some scrap fabric and glueing down the tails to the hoop. While this works just as wonderfully, I wanted my hoops to look a little more polished, and I wanted to avoid glueing anything to my hoops. So I've been wrapping all of my hoops with some linen tape, which I love the look of, and when I wrap tight and sew the ends down to the tape itself I find there's no movement while I'm working and the tape stays snug.

It also seems a lot of people prefer to wrap the inner hoop instead of the outer. This would still help with maintaining a tight hold on your fabric, but it wouldn’t do as much to protect your embroidery from getting squished by the hoop, so I prefer to wrap the outer hoop for that reason.

2020-04-09_16-05-55.jpg

To wrap your hoop you'll need:

  • linen tape (I use 1/2" Dutch Linen Tape from Burnley & Trowbridge)

  • thread (I use linen thread, waxed with beeswax, both from Burnley & Trowbridge, but any sewing thread will do)

  • sewing needle

  • embroidery hoop

  • thimble

  • craft clamps (I use similar clamps to these)

  • scissors

To start, I set aside the inner hoop, and I wrap the tape around the outer hoop a couple times. I wrap nice and tight, and use a couple clamps to hold this in place while I work on securing the starting tail. I leave myself a tail a couple of inches long to work with. This next part is a little fiddly. I basically play with positioning the tail of the linen tape (folding and trimming until it looks nice), and then whip stitch the end down to the tape already wrapped around the hoop. If the tape is wrapped really tight, you'll find that it doesn't shift around, even without glue.

Once I have that attached, I very carefully wrap the tape around the hoop, being mindful to keep the edges lined up (and not overlapping) and to keep the wrapping tight.

2020-04-09_16-28-28.jpg

When I get back to the metal clamp I need to secure this end as well. Again I use clamps to secure the work I've done, and cut myself a tail a couple inches long. I finish the end the same way I started the tape: fiddling until it looks nice, and then whip stitching the end edge down to the tape already wrapped around the hoop. To finish the loose strings I do a couple extra stitches in place, and then weave the thread into the linen tape before cutting the end.

I hope you found this useful. You could also use cotton twill tape or strips of fabric with this same technique. Happy embroidering!