January Etcetera

“Do whatever brings you to life, then. Follow your own fascinations, obsessions, and compulsions. Trust them. Create whatever causes a revolution in your heart.”
— Elizabeth Gilbert

The Woolful podcasts have been around for some time now, and I've heard lovely things about them from people in this community for a while. It took me much too long to finally make time to listen, but now that I have, I'm addicted. I started from episode 1 and I still have a ways to go before I'm all caught up. My favourite part is discovering new people in the community, there are so many people out there doing creative things.

sheep.jpg

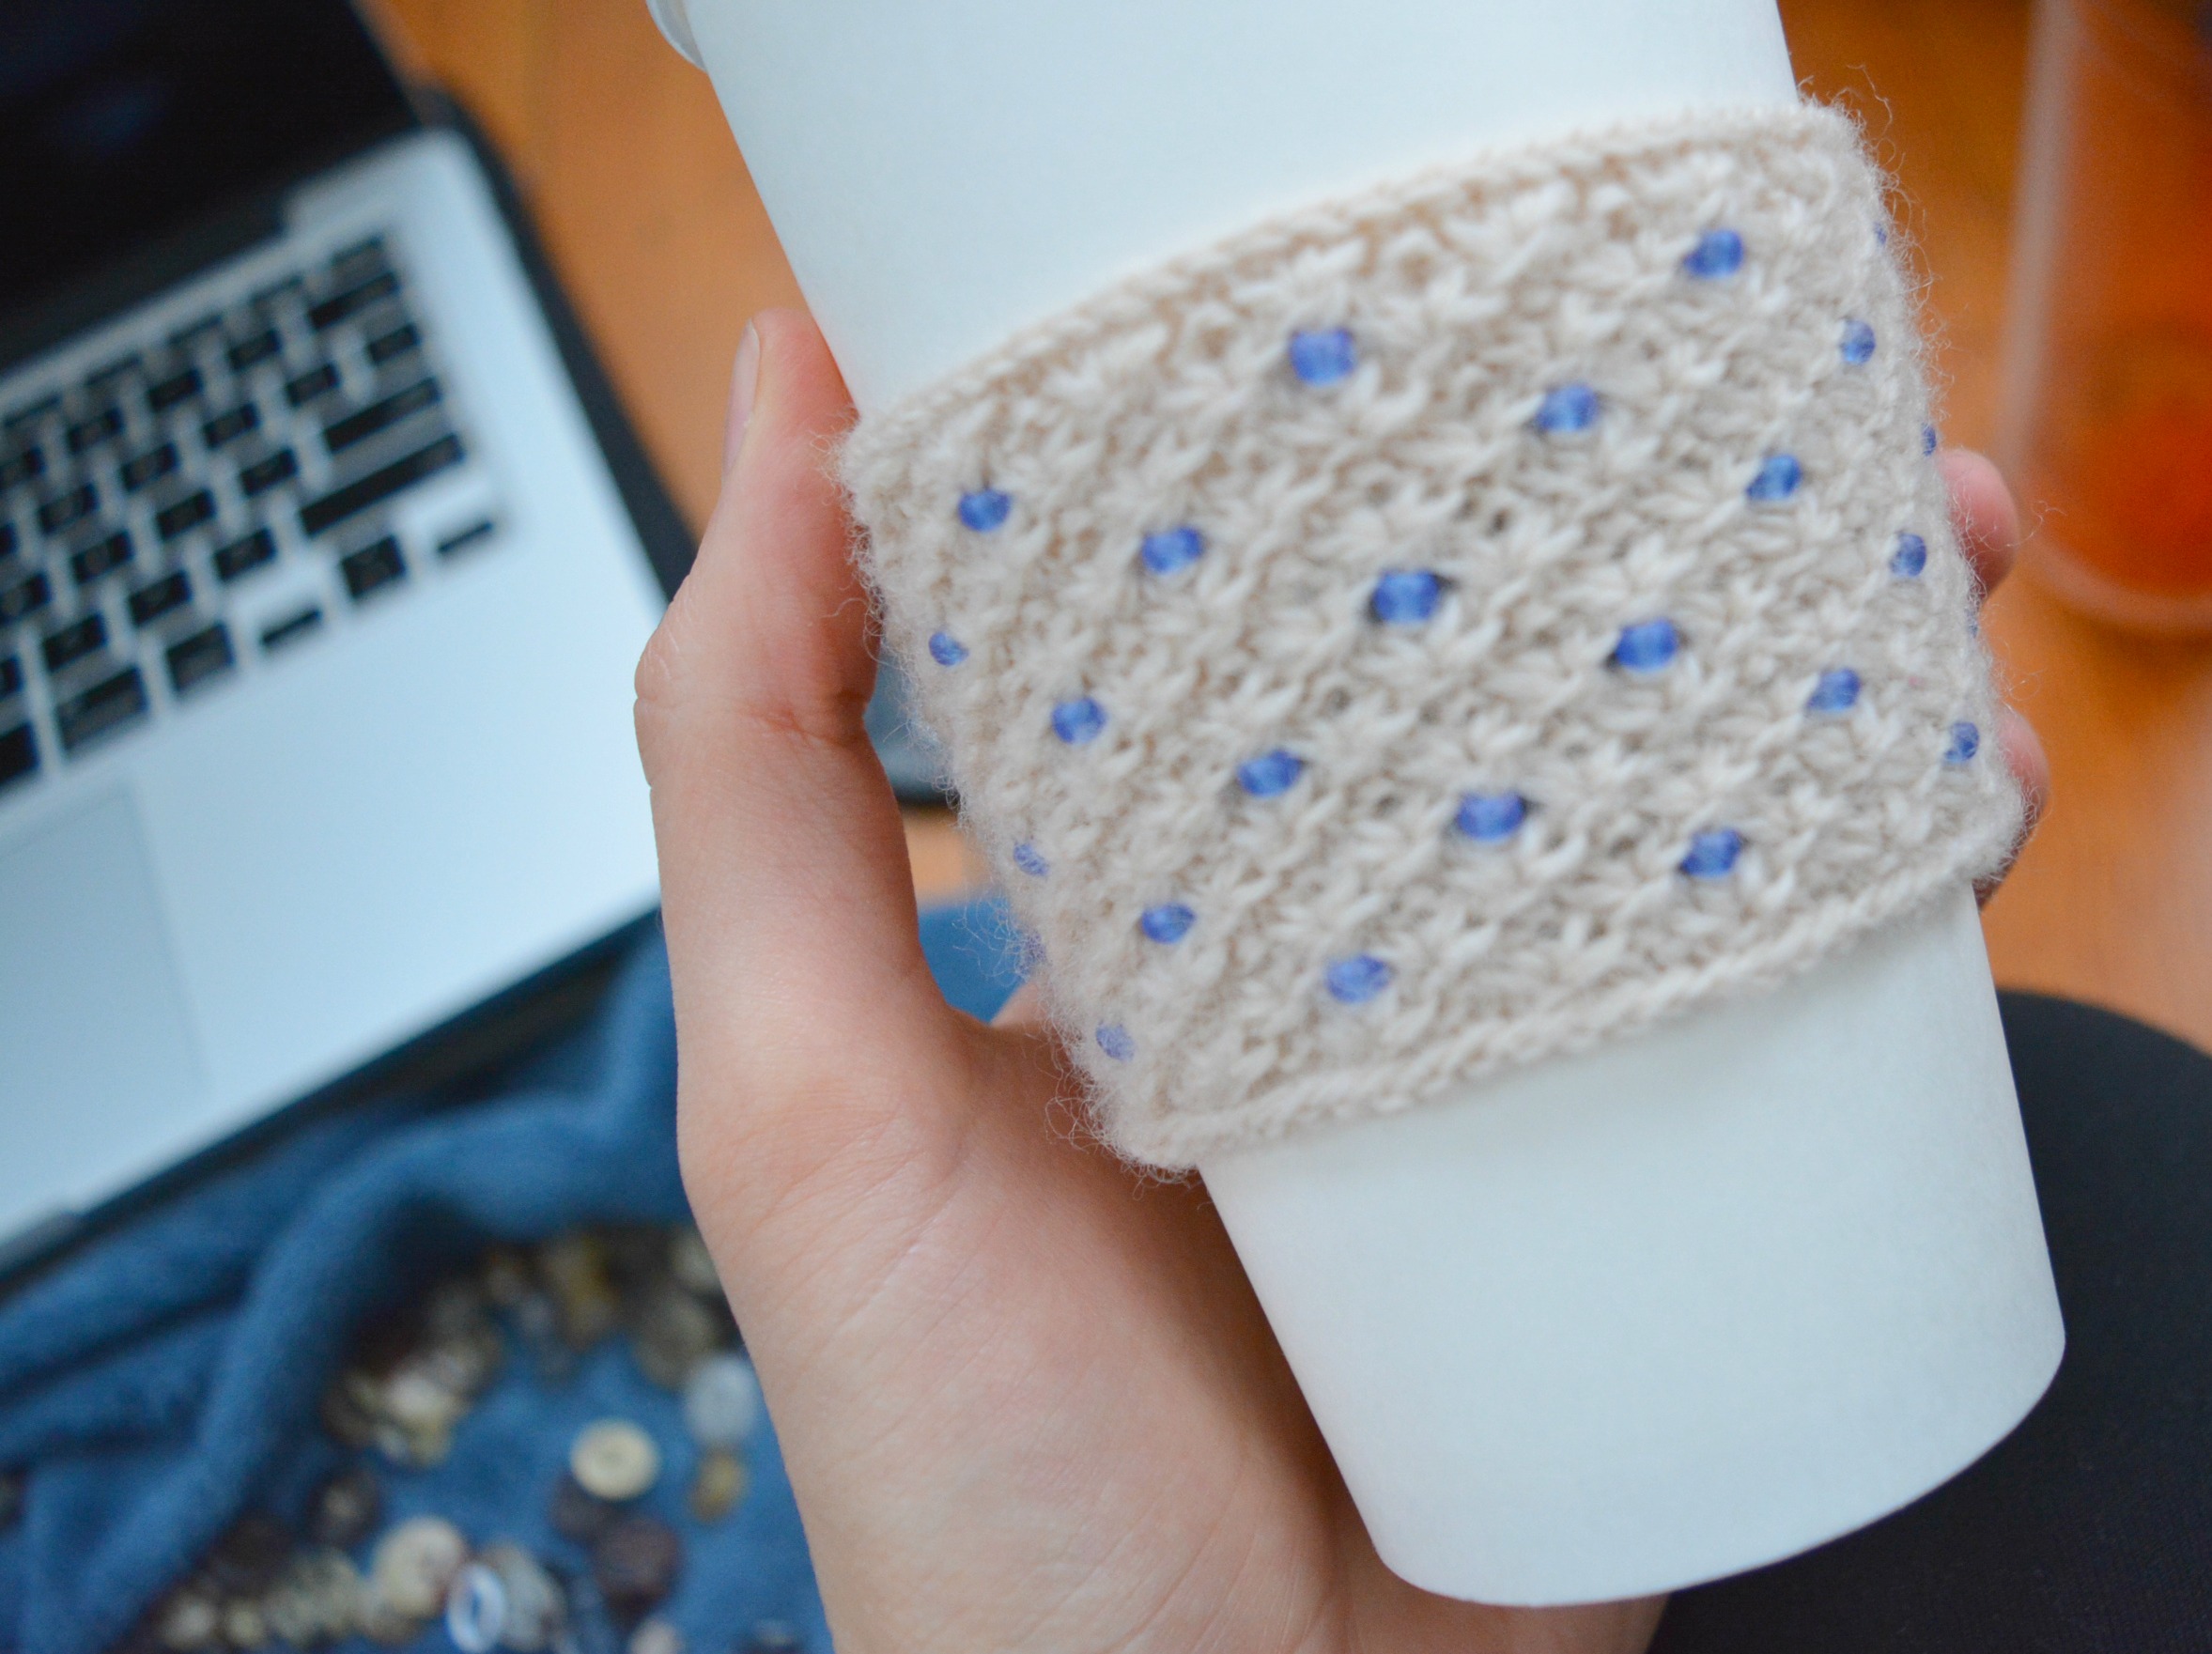
This month I think I've been really into listening, rather than watching. I used to always have a movie on while I knit, but things like podcasts and audiobooks I have found are perfect for knitting. You can watch what you're doing with your hands while still falling into a story. The audiobook I listened to this month was Big Magic by Elizabeth Gilbert. The book focuses on creating even when you are fearful, and while I wouldn't say the word 'fear' perfectly describes how I feel when I post a pattern, the message still really spoke to me.

brooklyntweed.jpg

Some patterns and collections I'm loving:

  • The Brooklyn Tweed Winter Collection
  • Shawls! I still haven't knit a shawl, so I think that might be one of my next projects. Some of my favourites are Summer Flies by Donna Griffin and Glacier Sweep by Stephen West
kirikipresswolf.jpg

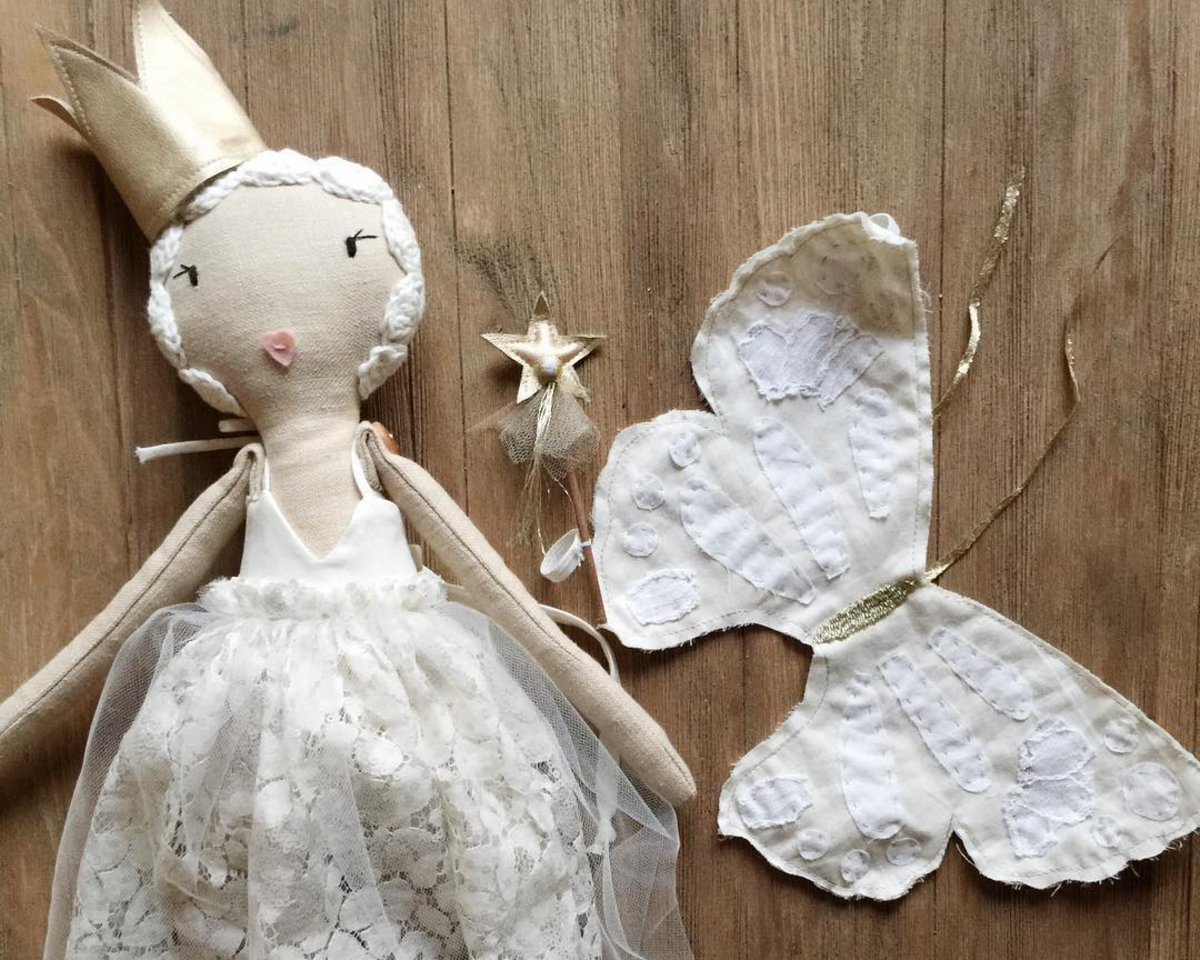
And last, my new craft obsession has been doll making. It wasn't something I ever thought I would be interested in but after trying out a Kiriki Press doll kit I became so intrigued by both doll making and embroidery. There are tons of doll makers on Instagram who make such breath-taking creations, some of my favourites so far are @danceypantsdiscomakes, @shopbonbonsito, and @_megan_makes_. Not that I need anymore hobbies but I even started designing and making my own doll.

danceypantsdisco.jpg
bonbonsito.jpg

Pineapple Socks

I have been a fruit fiend for as long as I can remember. I was always the sticky-fingered child at birthday parties, eating more then my fair share of the watermelon. I think this may be due to living in the arctic for part of my childhood, where good fruit was expensive and only a treat. I remember one day during a summer day camp up north when one of the boys got an orange in his lunch, the other kids and I were so envious that we followed him around during the lunch period begging for a piece of the peel. The peel! Not that we didn’t have plenty of food to go around when I was young, but fruit was definitely special in a place where it doesn’t grow.

And to this day I can’t get enough. I lug heavy bags of melons, peaches, and berries back from the farmer’s market to my apartment. I can’t get over the abundance of it! Fruit is so bright and happy and it has inspired my latest pattern, the Pineapple Socks. This pattern is available now on Ravelry!

pineapplesocks.png

Get the pattern here: http://www.ravelry.com/patterns/library/pineapple-socks-2

Baby Booties

One of my best friends is having her first baby, and so it will be the first chance I have to shower a mother with gifts. At the tender age of 22 she is having her first with the man she’s been with since we were in high school. I wanted to buy something off the registry, especially since I am not a mother and know nothing about what parents need, but I also really wanted to gift a handmade item.

booties.jpg

I went with baby booties because they were easy to make neutral (they’re letting the baby’s sex be a surprise!) and I thought they would look cute on top of a present, a decoration and gift in one. I’ve linked the pattern I used at the end of this post, I changed a couple numbers in the pattern to make it work out which I talk about on my Ravelry project page. They turned out so cute and I chose a nice cotton yarn so they are also very soft.

wrappedpresent.jpg

I also decided to include a book in my gift, a collection of short stories put together by Kristen Hedges called mama, bare. The short stories are all written by new mothers about their experiences following birth, in the early days of motherhood. From the registry I picked out a baby carrier and all together I’m really happy with the gift and excited for the shower. I think adding something handmade to a gift makes it so much more special.

Pattern: http://www.ravelry.com/patterns/library/stay-on-baby-booties-archive

My project page: http://www.ravelry.com/projects/ashleygeneral/stay-on-baby-booties-archive

Row Counting Stitch Marker DIY

I’ve accumulated quite the collection of stitch markers in the past couple years and I love the idea of a stitch marker that keeps track of how many rows I’ve knit so I thought I would add another one to my collection. This is a DIY for a stitch counter with sliding beads that you can use to count the number of rows you’ve knit. I decided to use ten beads on each of my counters because it’s a nice even number but you can use however many you think would work for you. If you'll be using this marker on larger needles make sure you get jump rings large enough to comfortably slide over the needles.

materials.jpg

Materials:

  • embroidery floss

  • 10 counter beads (size 6/0)

  • 2 accent beads (with same hole size as counter beads)

  • lobster clasp OR jump ring

  • 2 embroidery needles

  • needle nose pliers

  • scissors

Step 1: Cut 20 inches of embroidery floss. Thread the floss through your jump ring or lobster clasp (depending on which you’re using).

Step 2: Tie a knot in the thread as close to the jump ring or lobster clasp as possible.

Step 3: Using an embroidery needle, thread one of the accent needles onto both threads. 

Step 4: Push the bead right up to the knot.

Step 5: Tie a knot right beneath the bead and get it as close to the bead as possible.

Step 6: To make it easier to thread the counter beads place an embroidery needle on each thread.

Step 7: Thread one of the needles through one side of the bead and the other needle through the other side of the bead. Pull each thread to tighten the bead up to the top.

Step 8: Attach all 10 beads this way, pulling each tight so you have a line of 10 beads as shown in the picture.

Step 9: Tie a knot in the embroidery floss approximately 1 cm down from the last bead you threaded.

Step 10: Use an embroidery needle to attach another accent bead over both threads.

Step 11: Tie a knot in the thread as close to the accent bead as possible. Trim the threads.