DIY Maker's Tags
/
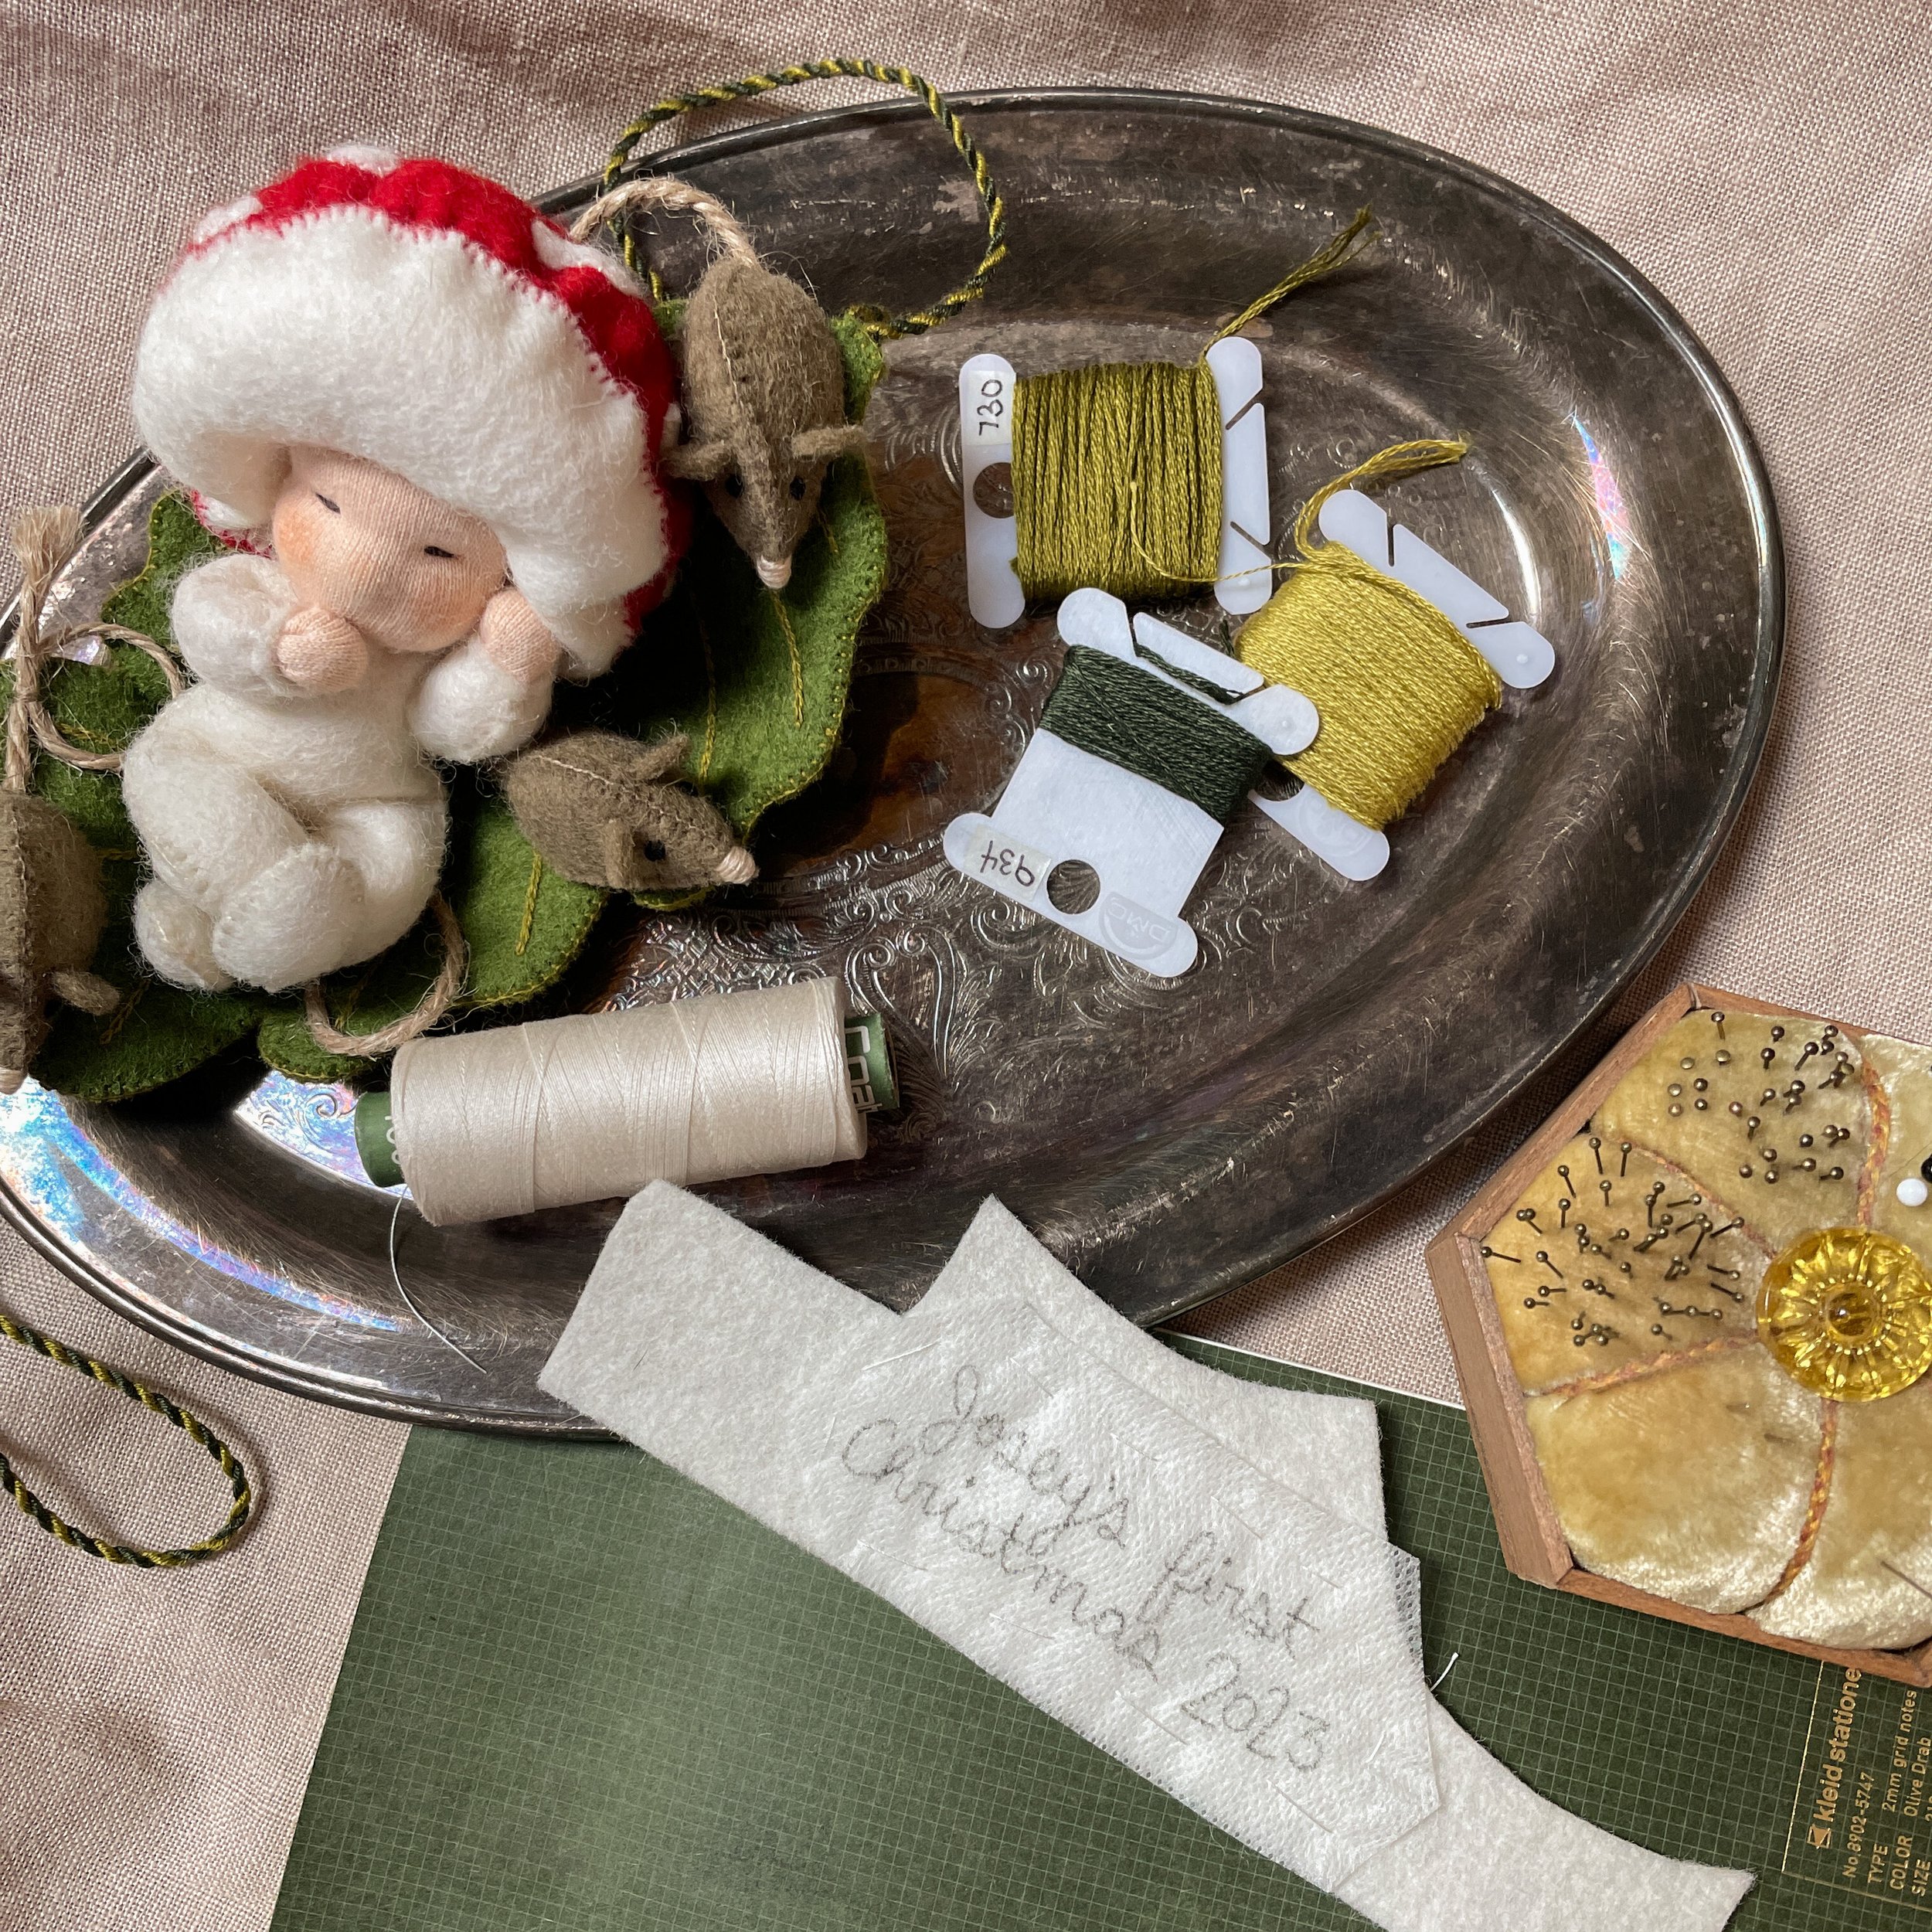
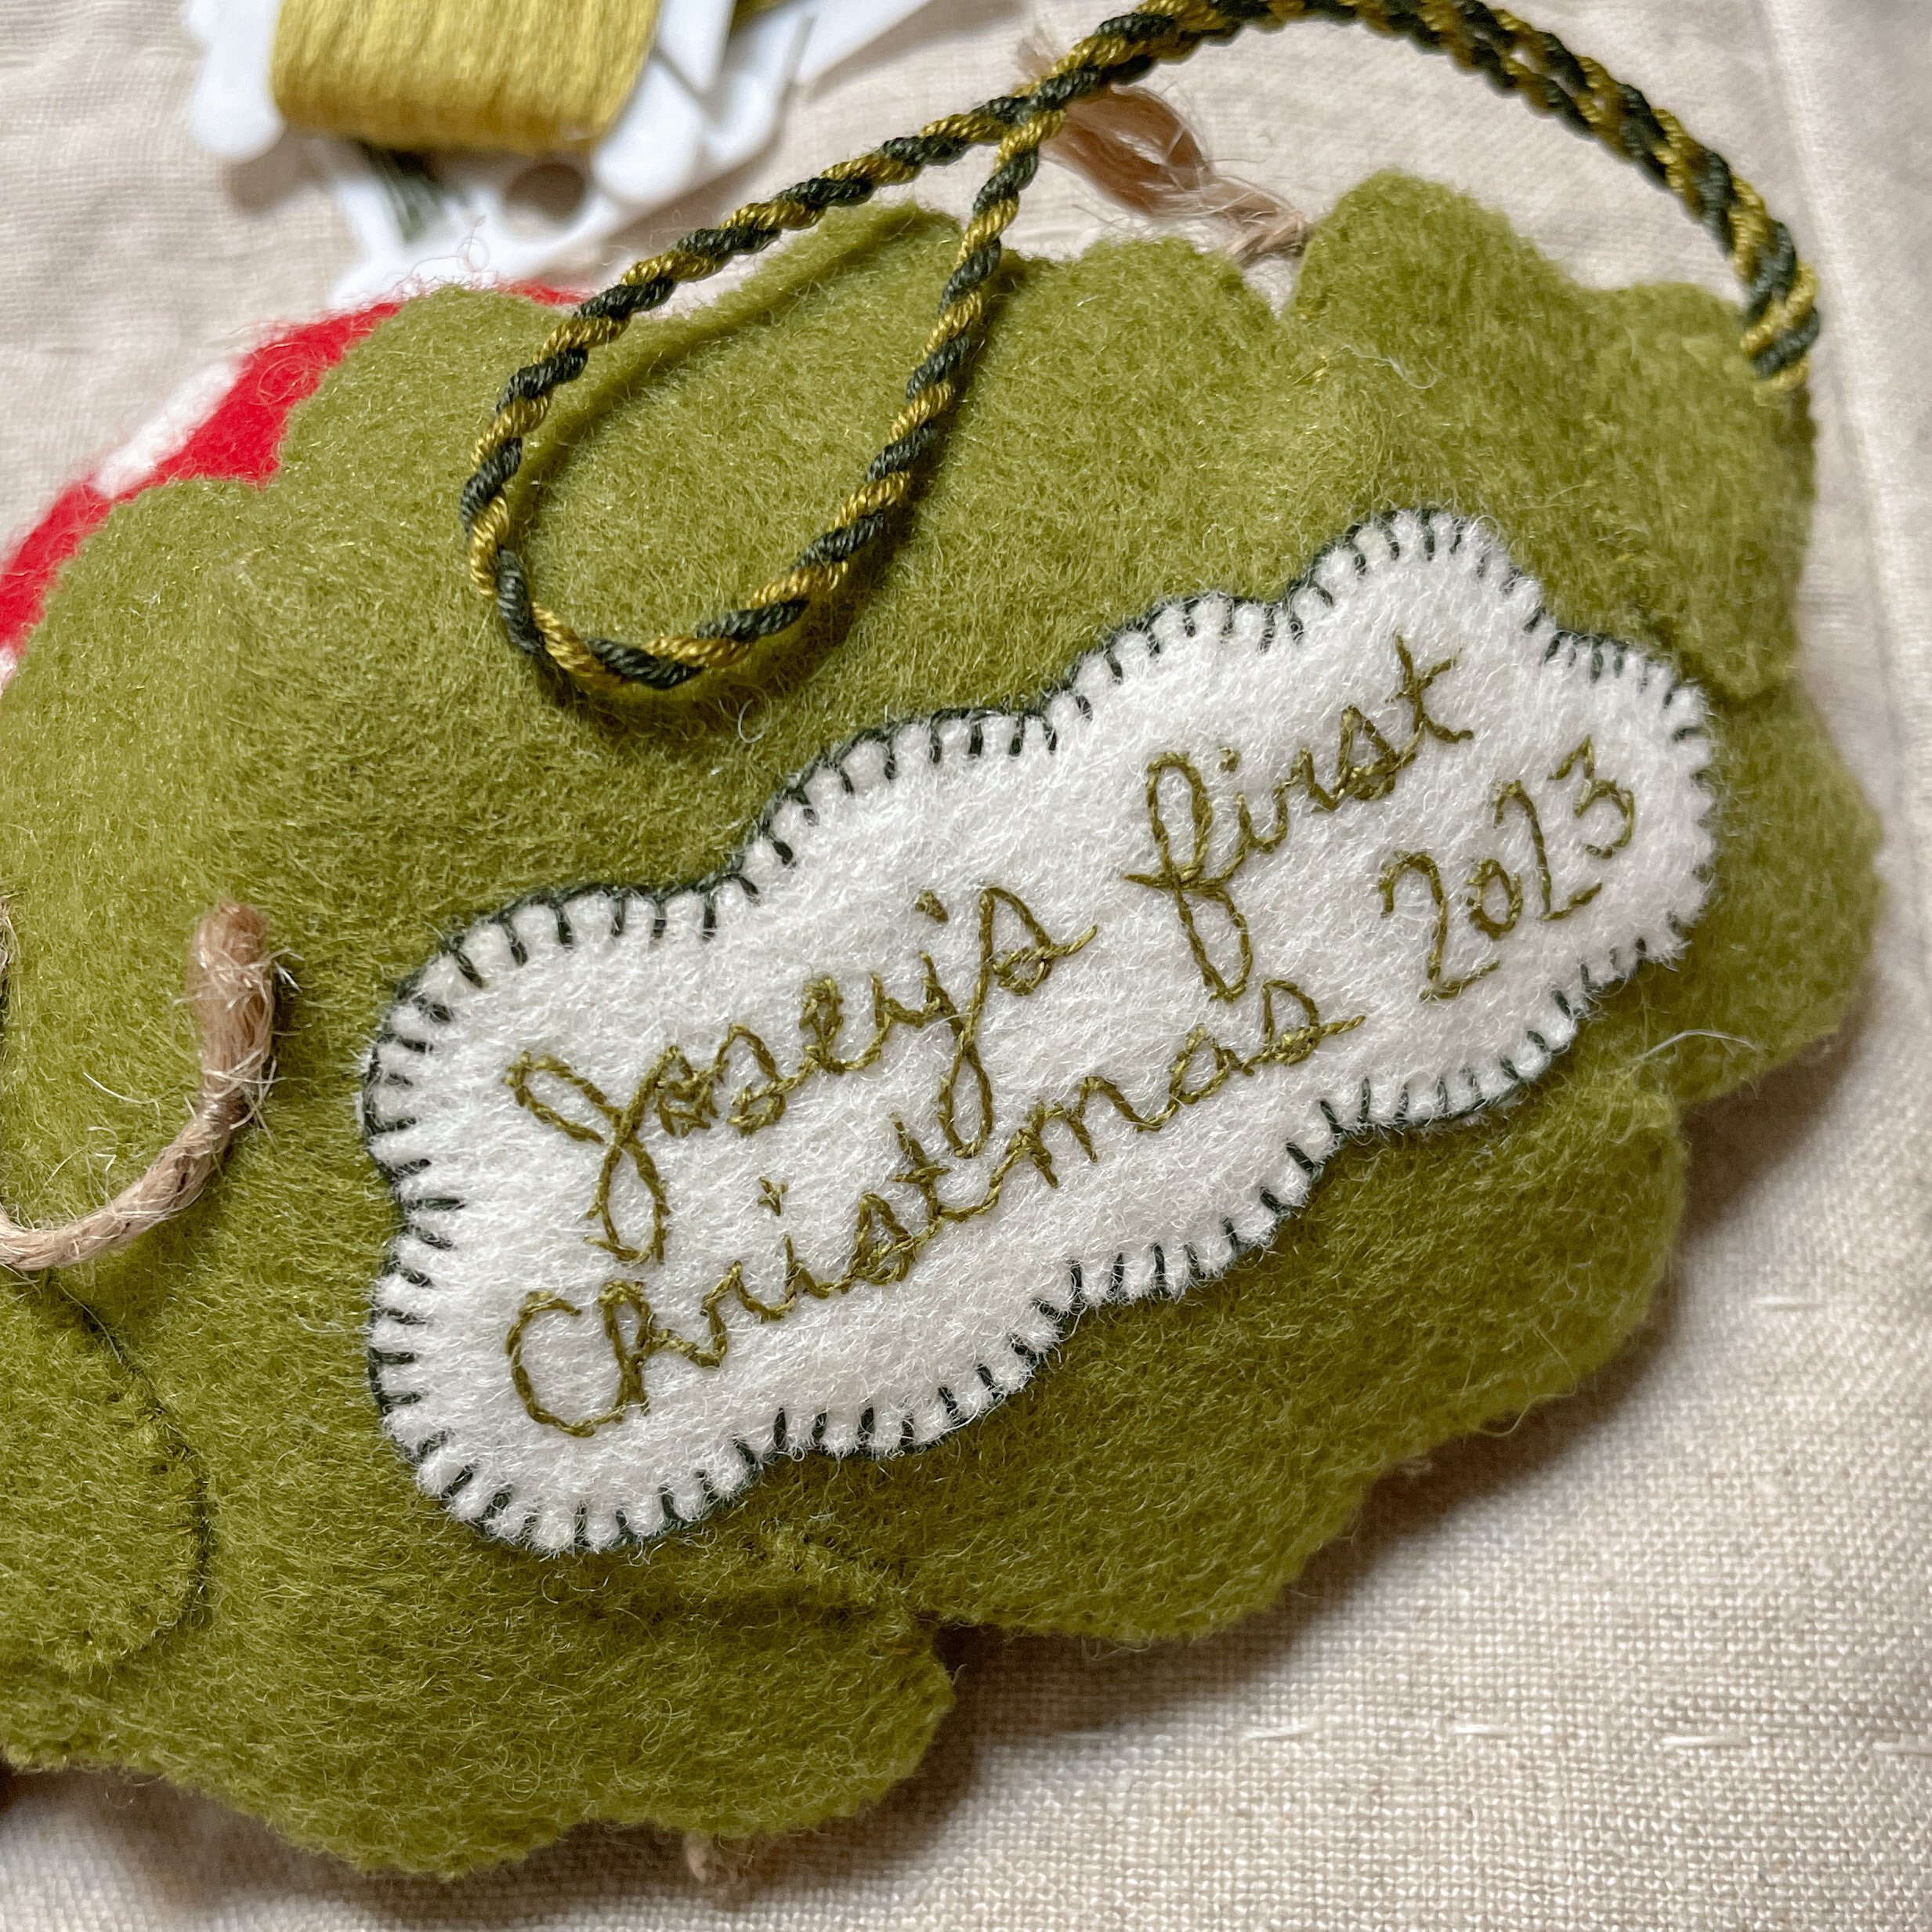
Every so often I will come across something at the thrift store with a “handmade with love” tag sewn into a seam. Seeing this instantly gives the item life as I start thinking about the makers creative process, their choice of fabric and thinking about who they made it for. In all honesty I haven’t labelled many of my makes. I don’t really like the look of most store bought labels, and while I love embroidered labels, they are very time consuming. I’ve been finding that by the time I get to the final steps of sewing and adding embroidery to a dress I just don’t have the energy to embroider a label as well. So I’ve been thinking about how I can make something I love that’s a little faster then embroidering my entire name in tiny letters. Here are a couple of the fully embroidered tags I’ve made in the past:


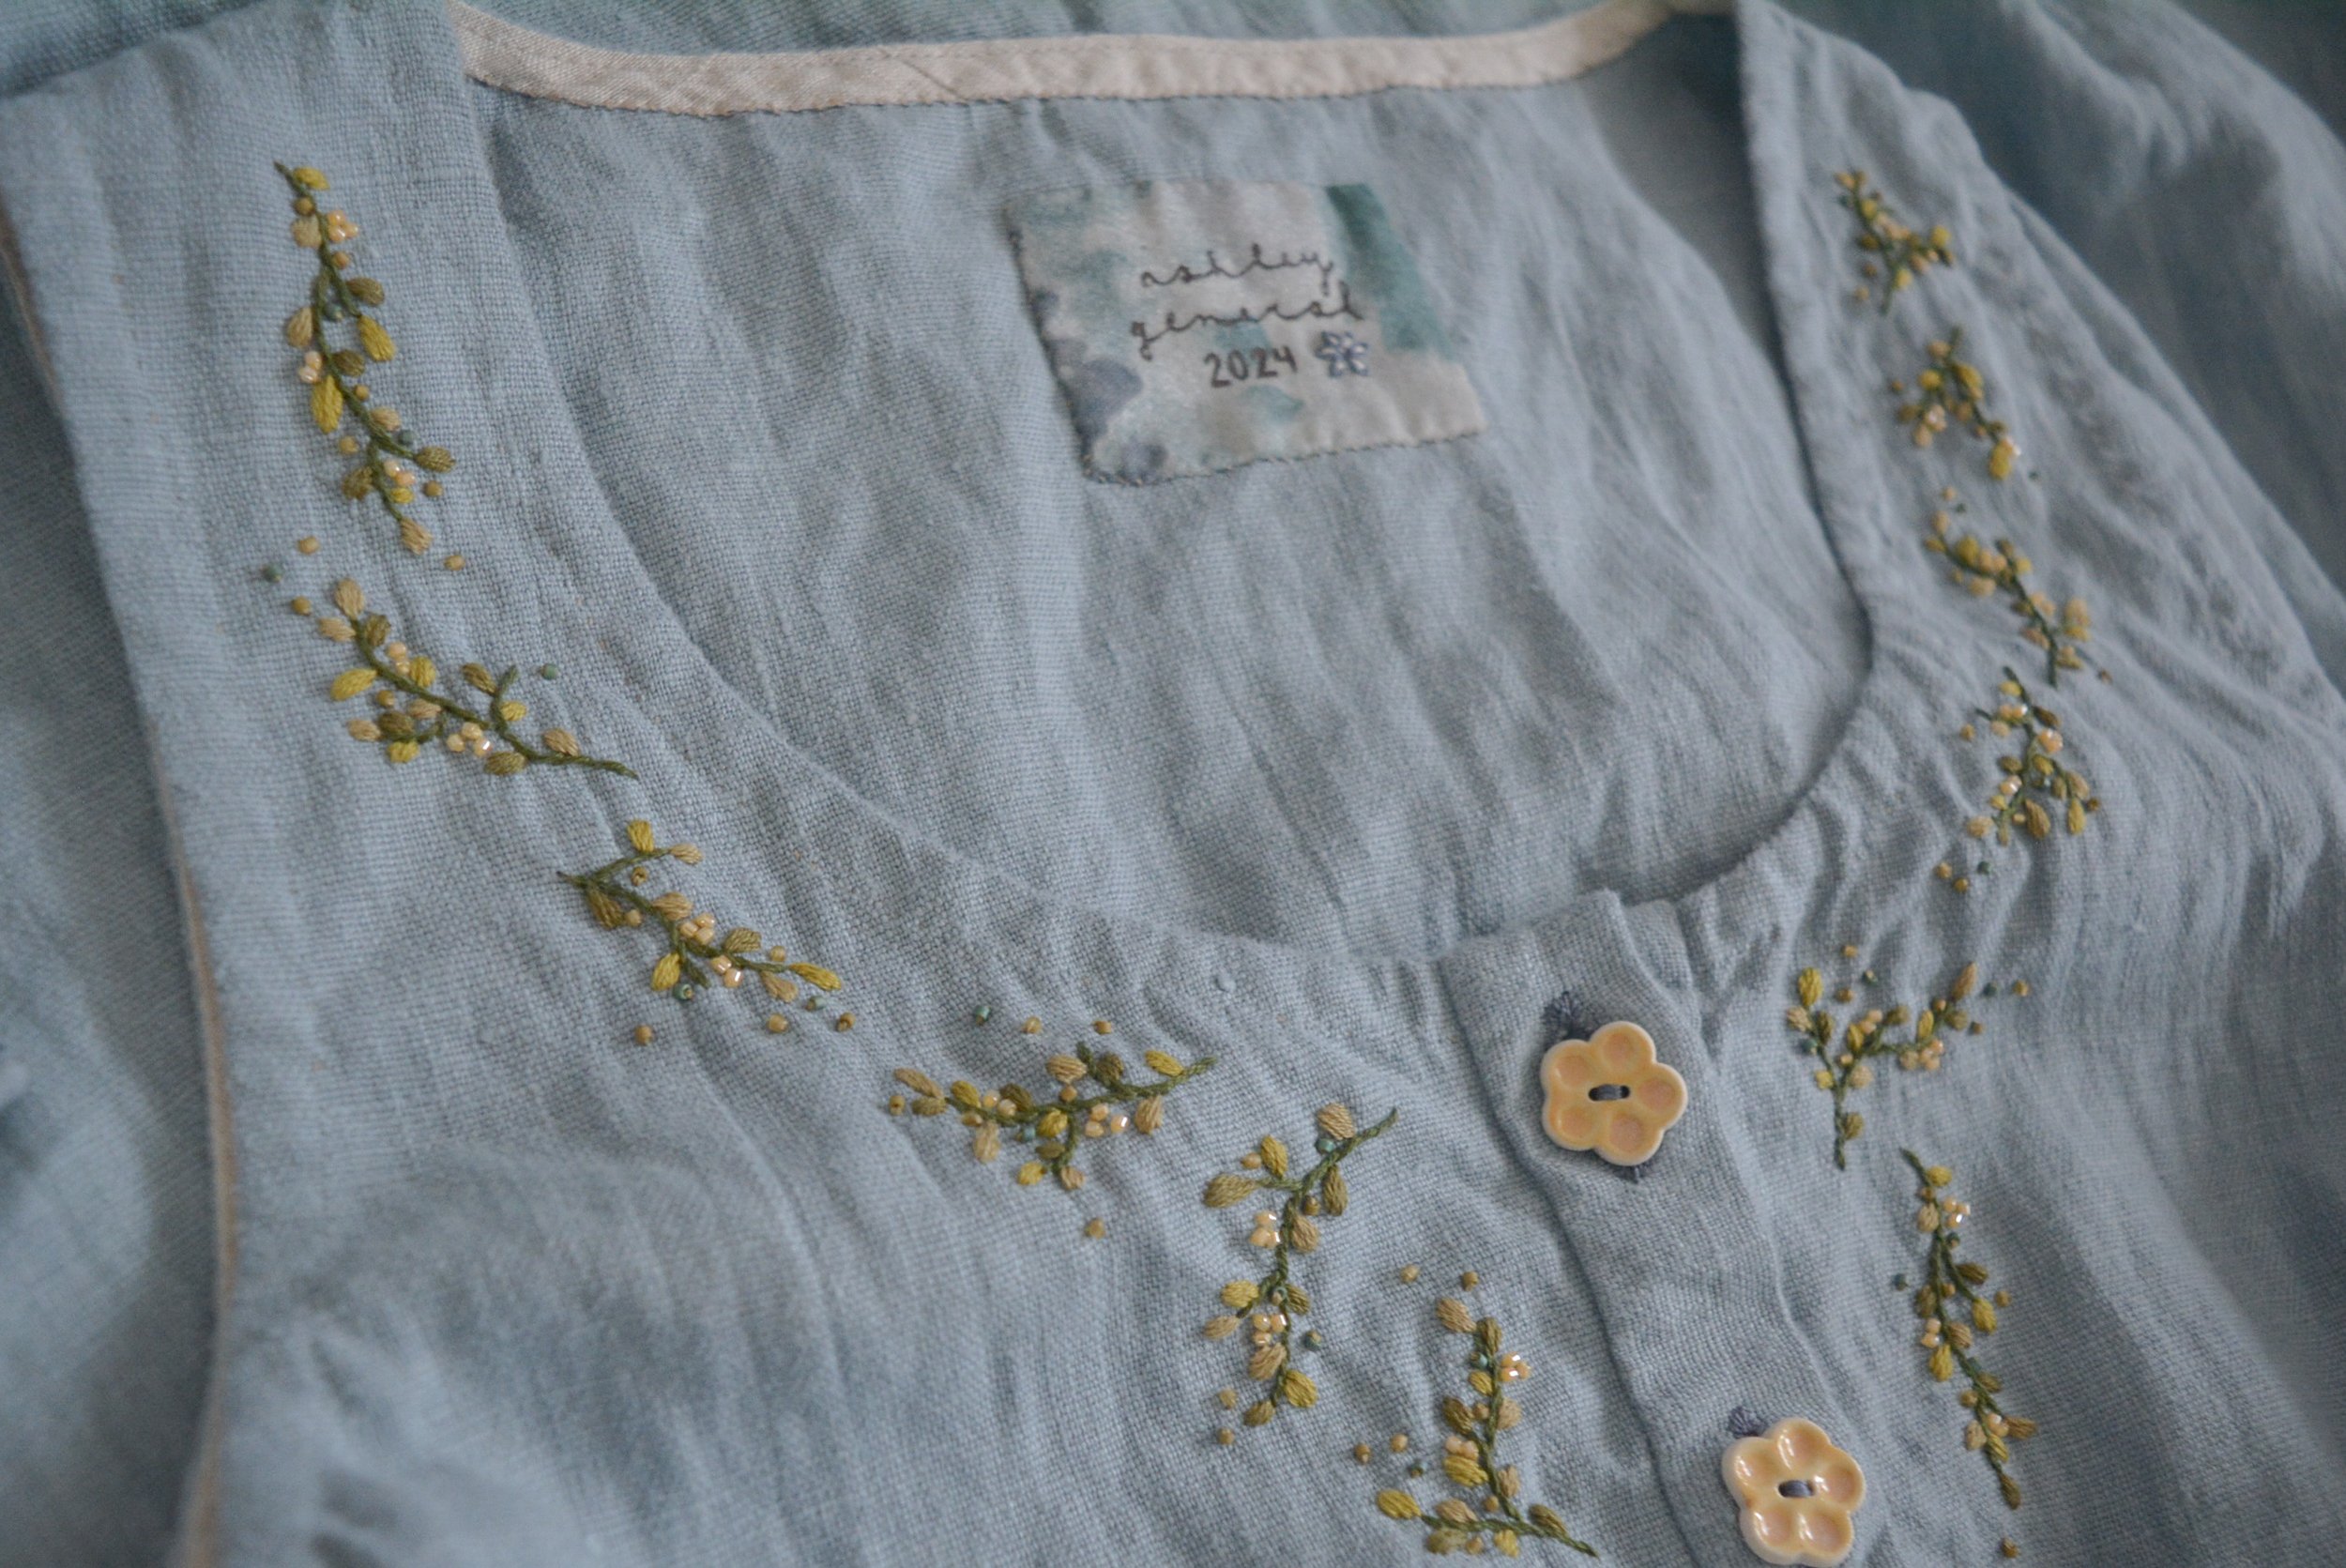
For the new DIY tags I decided to use stamps and fabric paint. A couple years ago I was a member at a local pottery studio and so I had a stamp made so I could label all of my pottery pieces. The stamp is made of metal and intended to leave an indentation in clay, so I wasn’t sure how well it would work with paint on fabric, but it worked great! To get this stamp made I sent an image of my name in cursive writing to this Etsy shop. The brass stamp is a more expensive option but I’ve also had acrylic stamps made from this shop that work as well. And of course you could use a simple set of alphabet stamps to spell your name out too. That was my plan for stamping the year, but my basic set of stamps didn’t have numbers included so I just used a paintbrush to paint the year on these tags. The fabric paint I used is the Pebeo Setacolor Opaque.


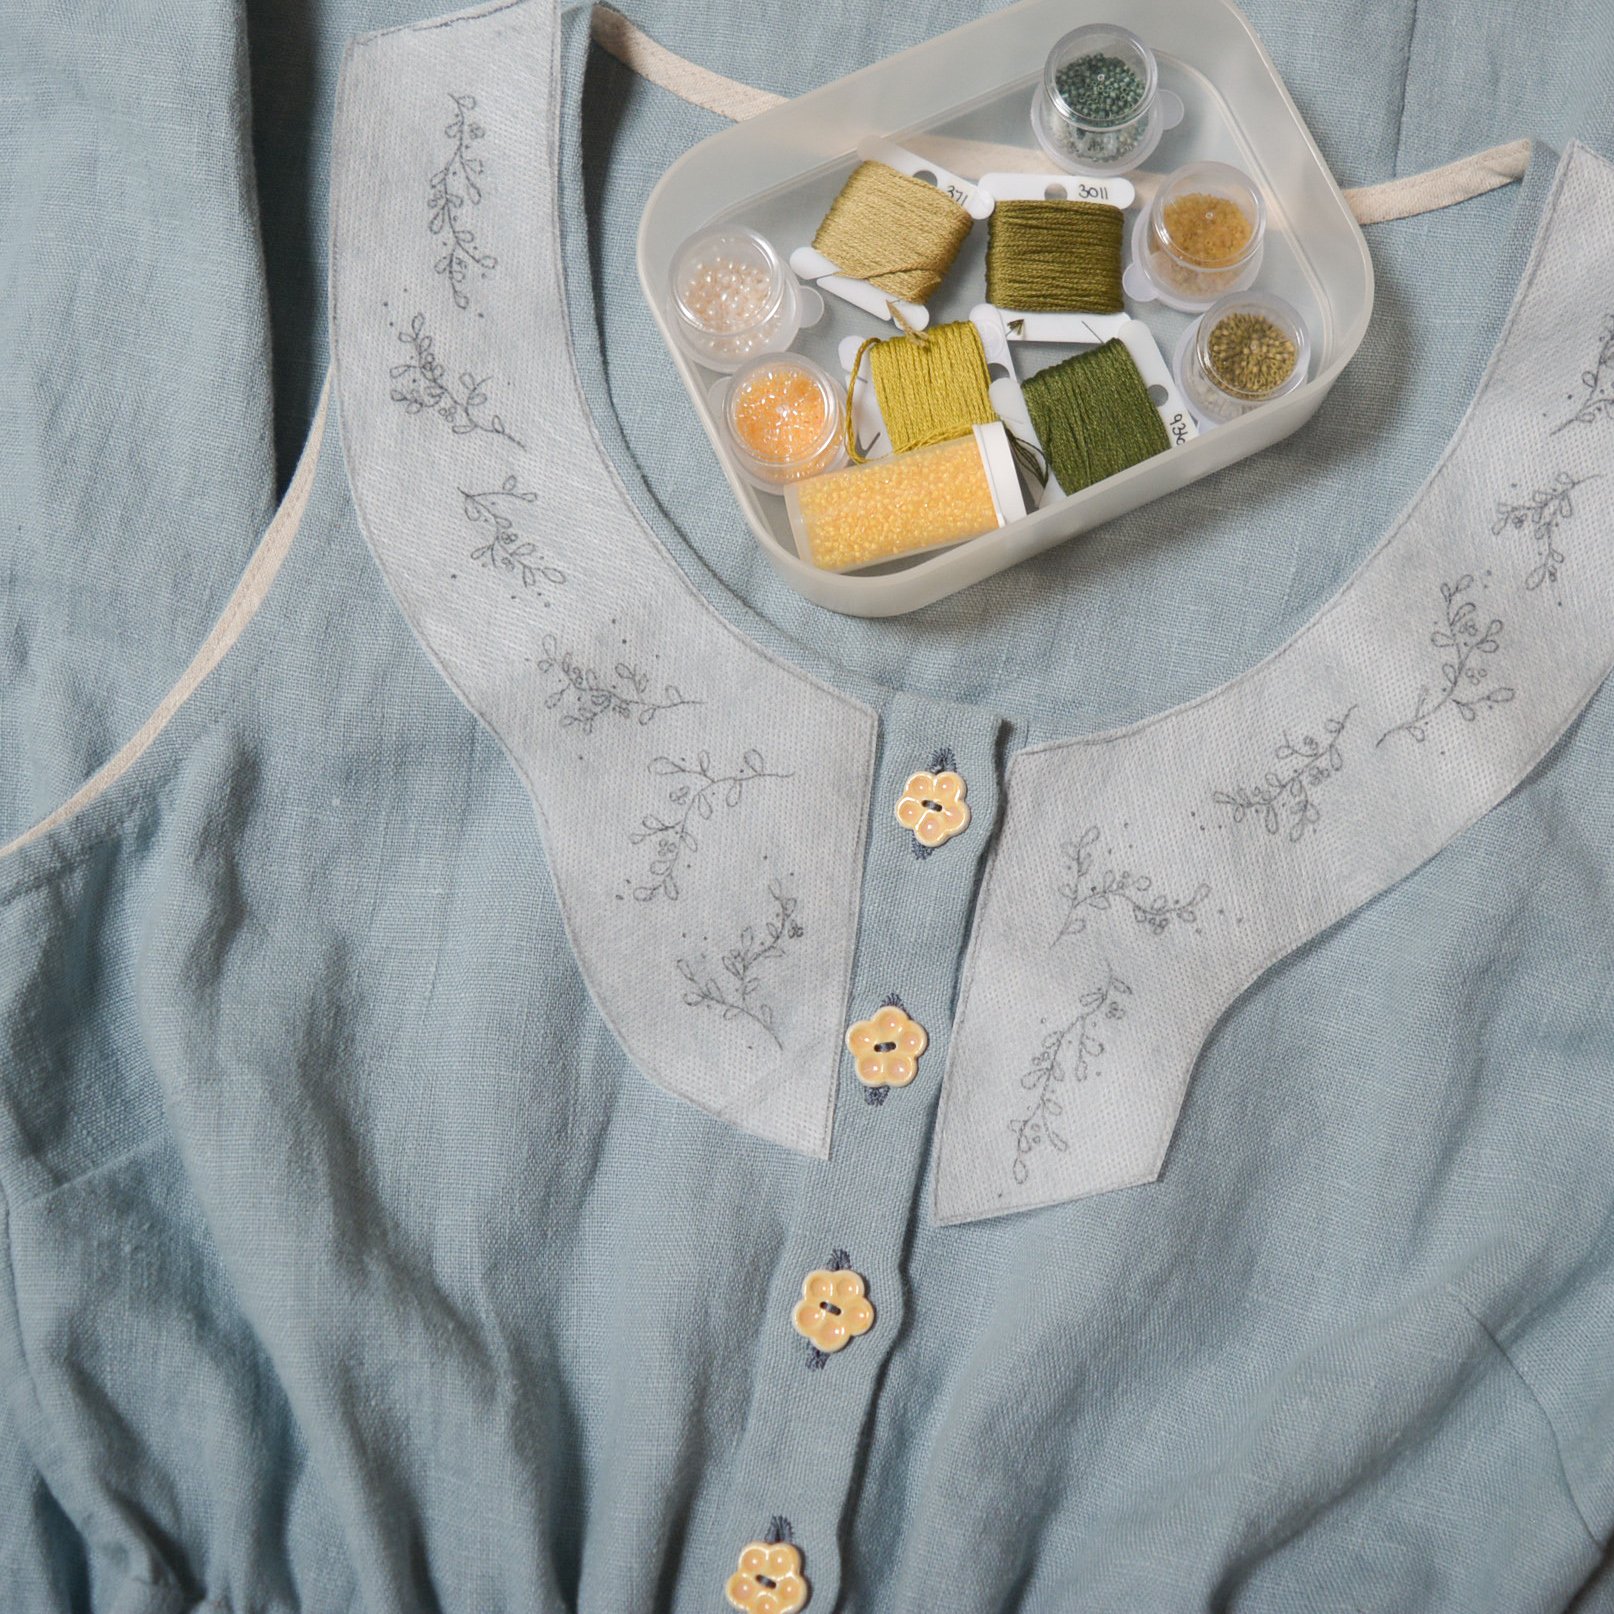
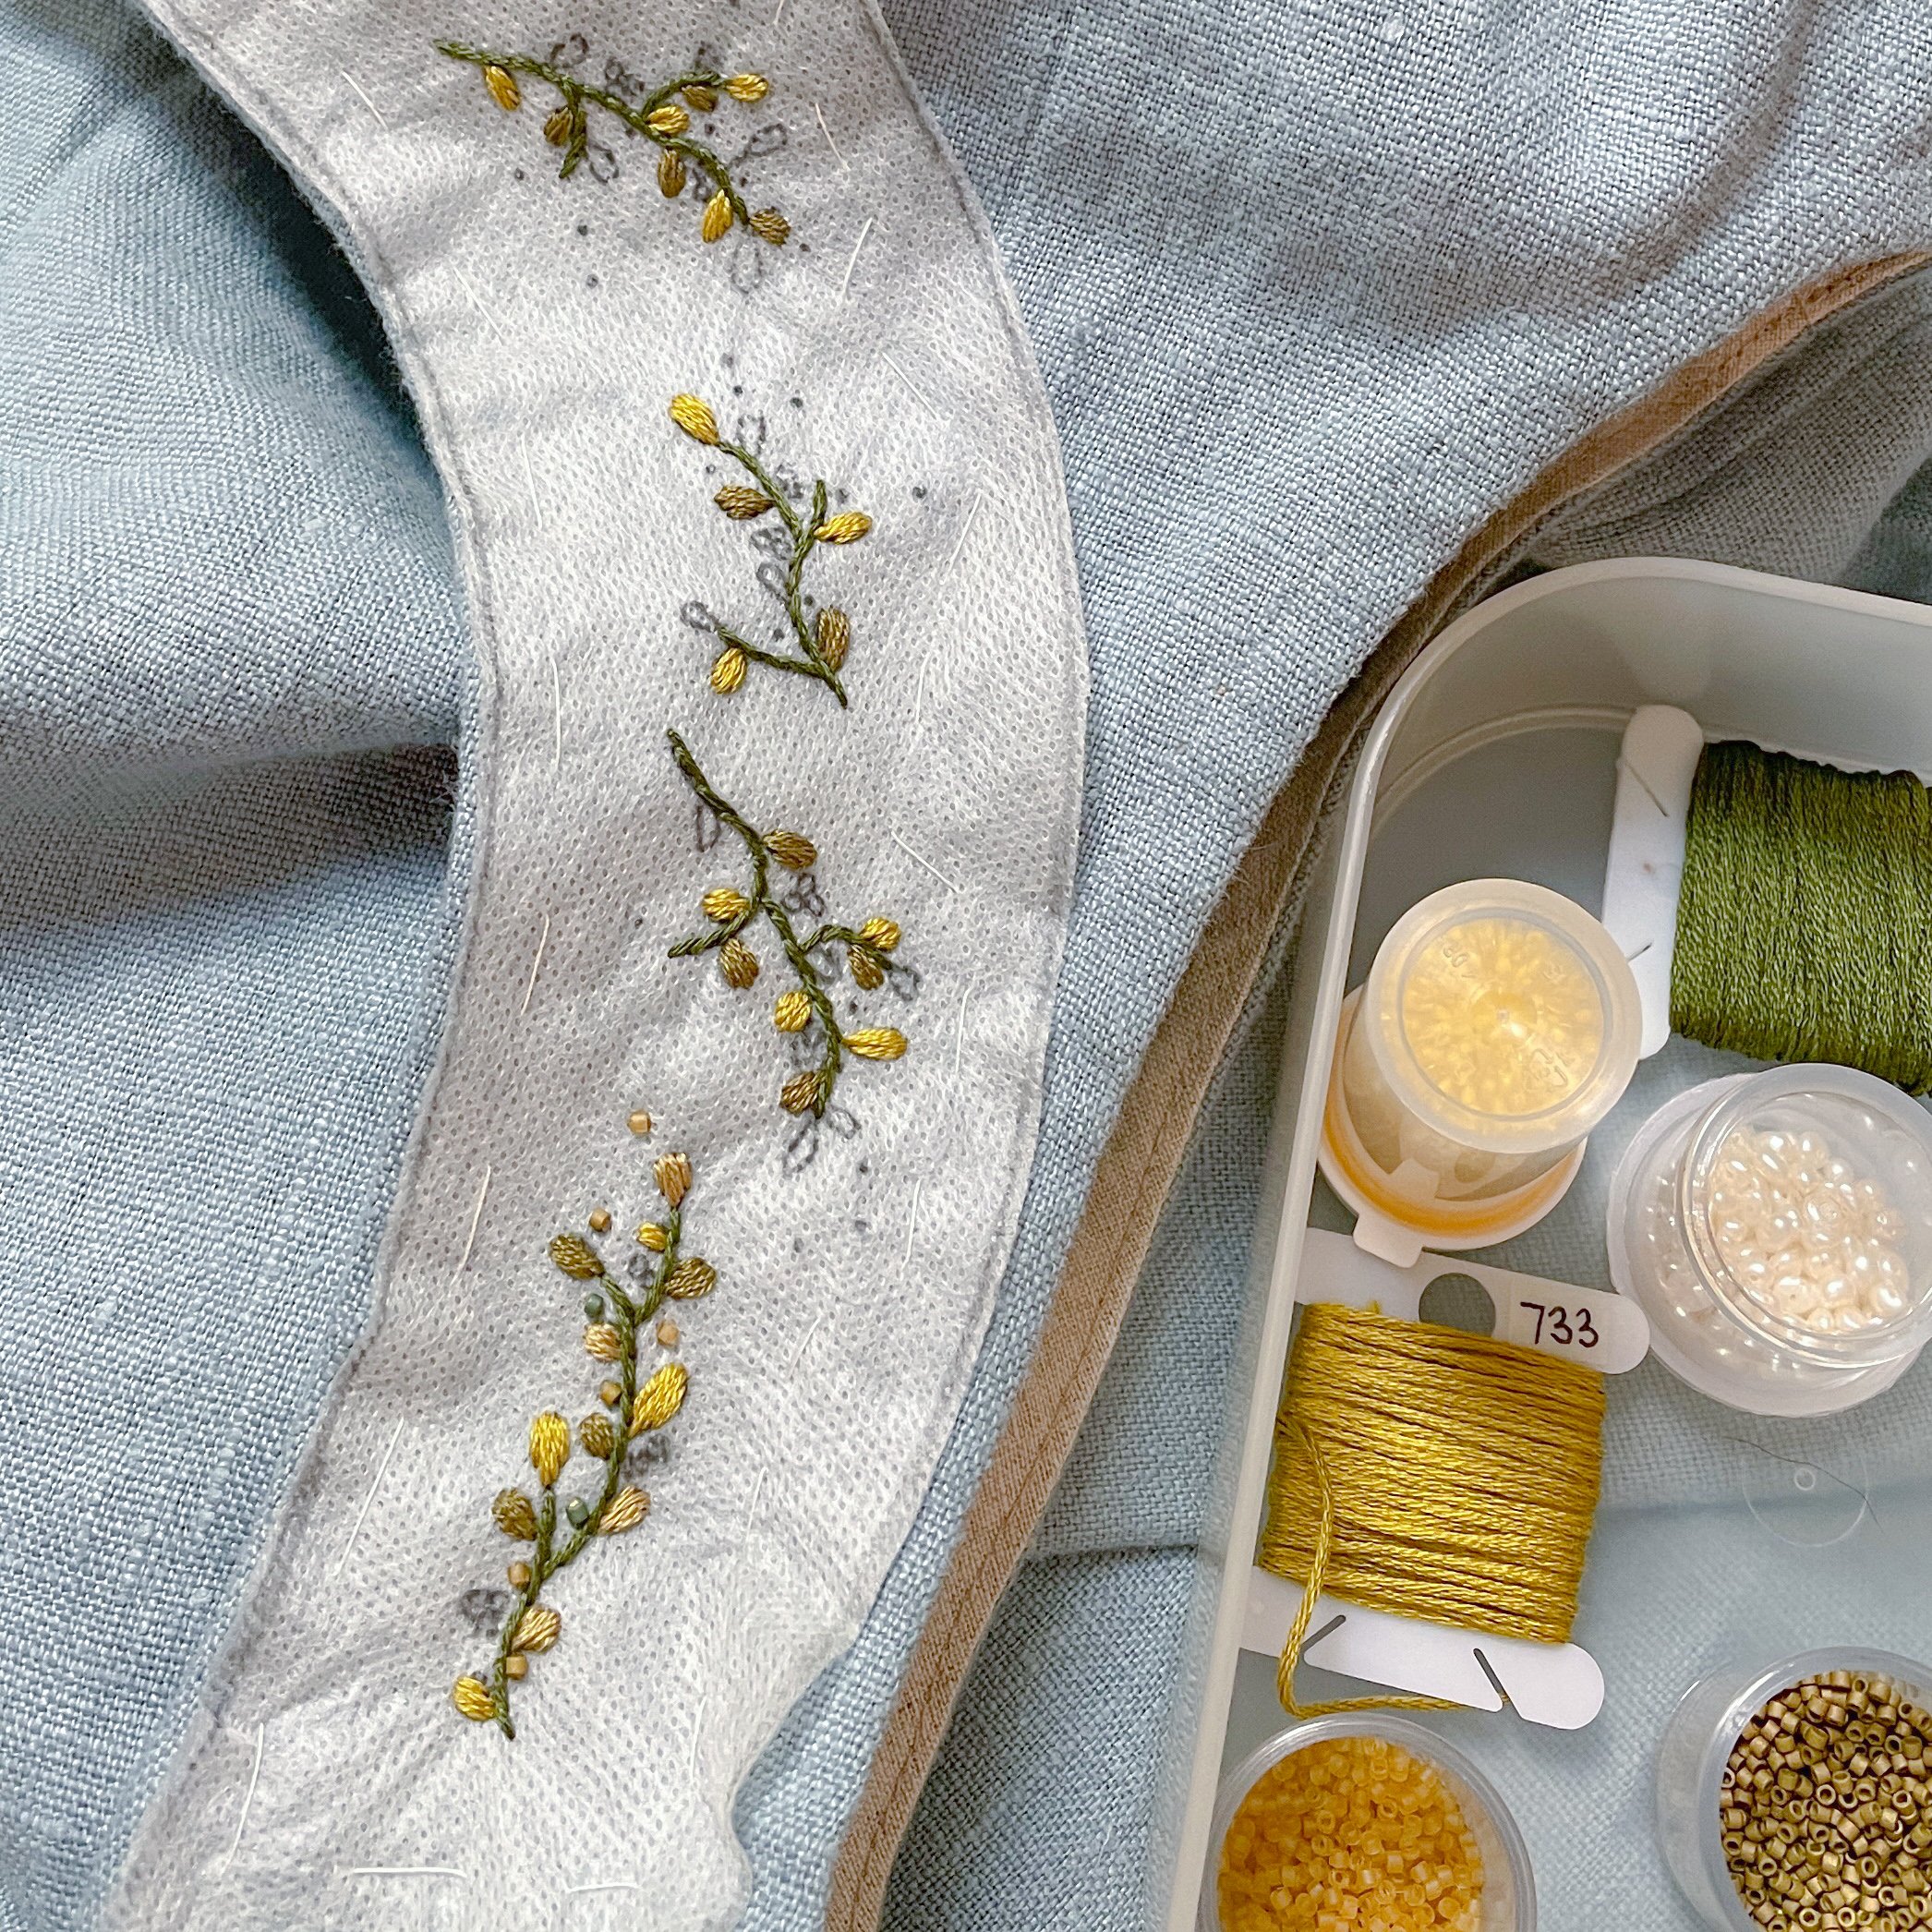
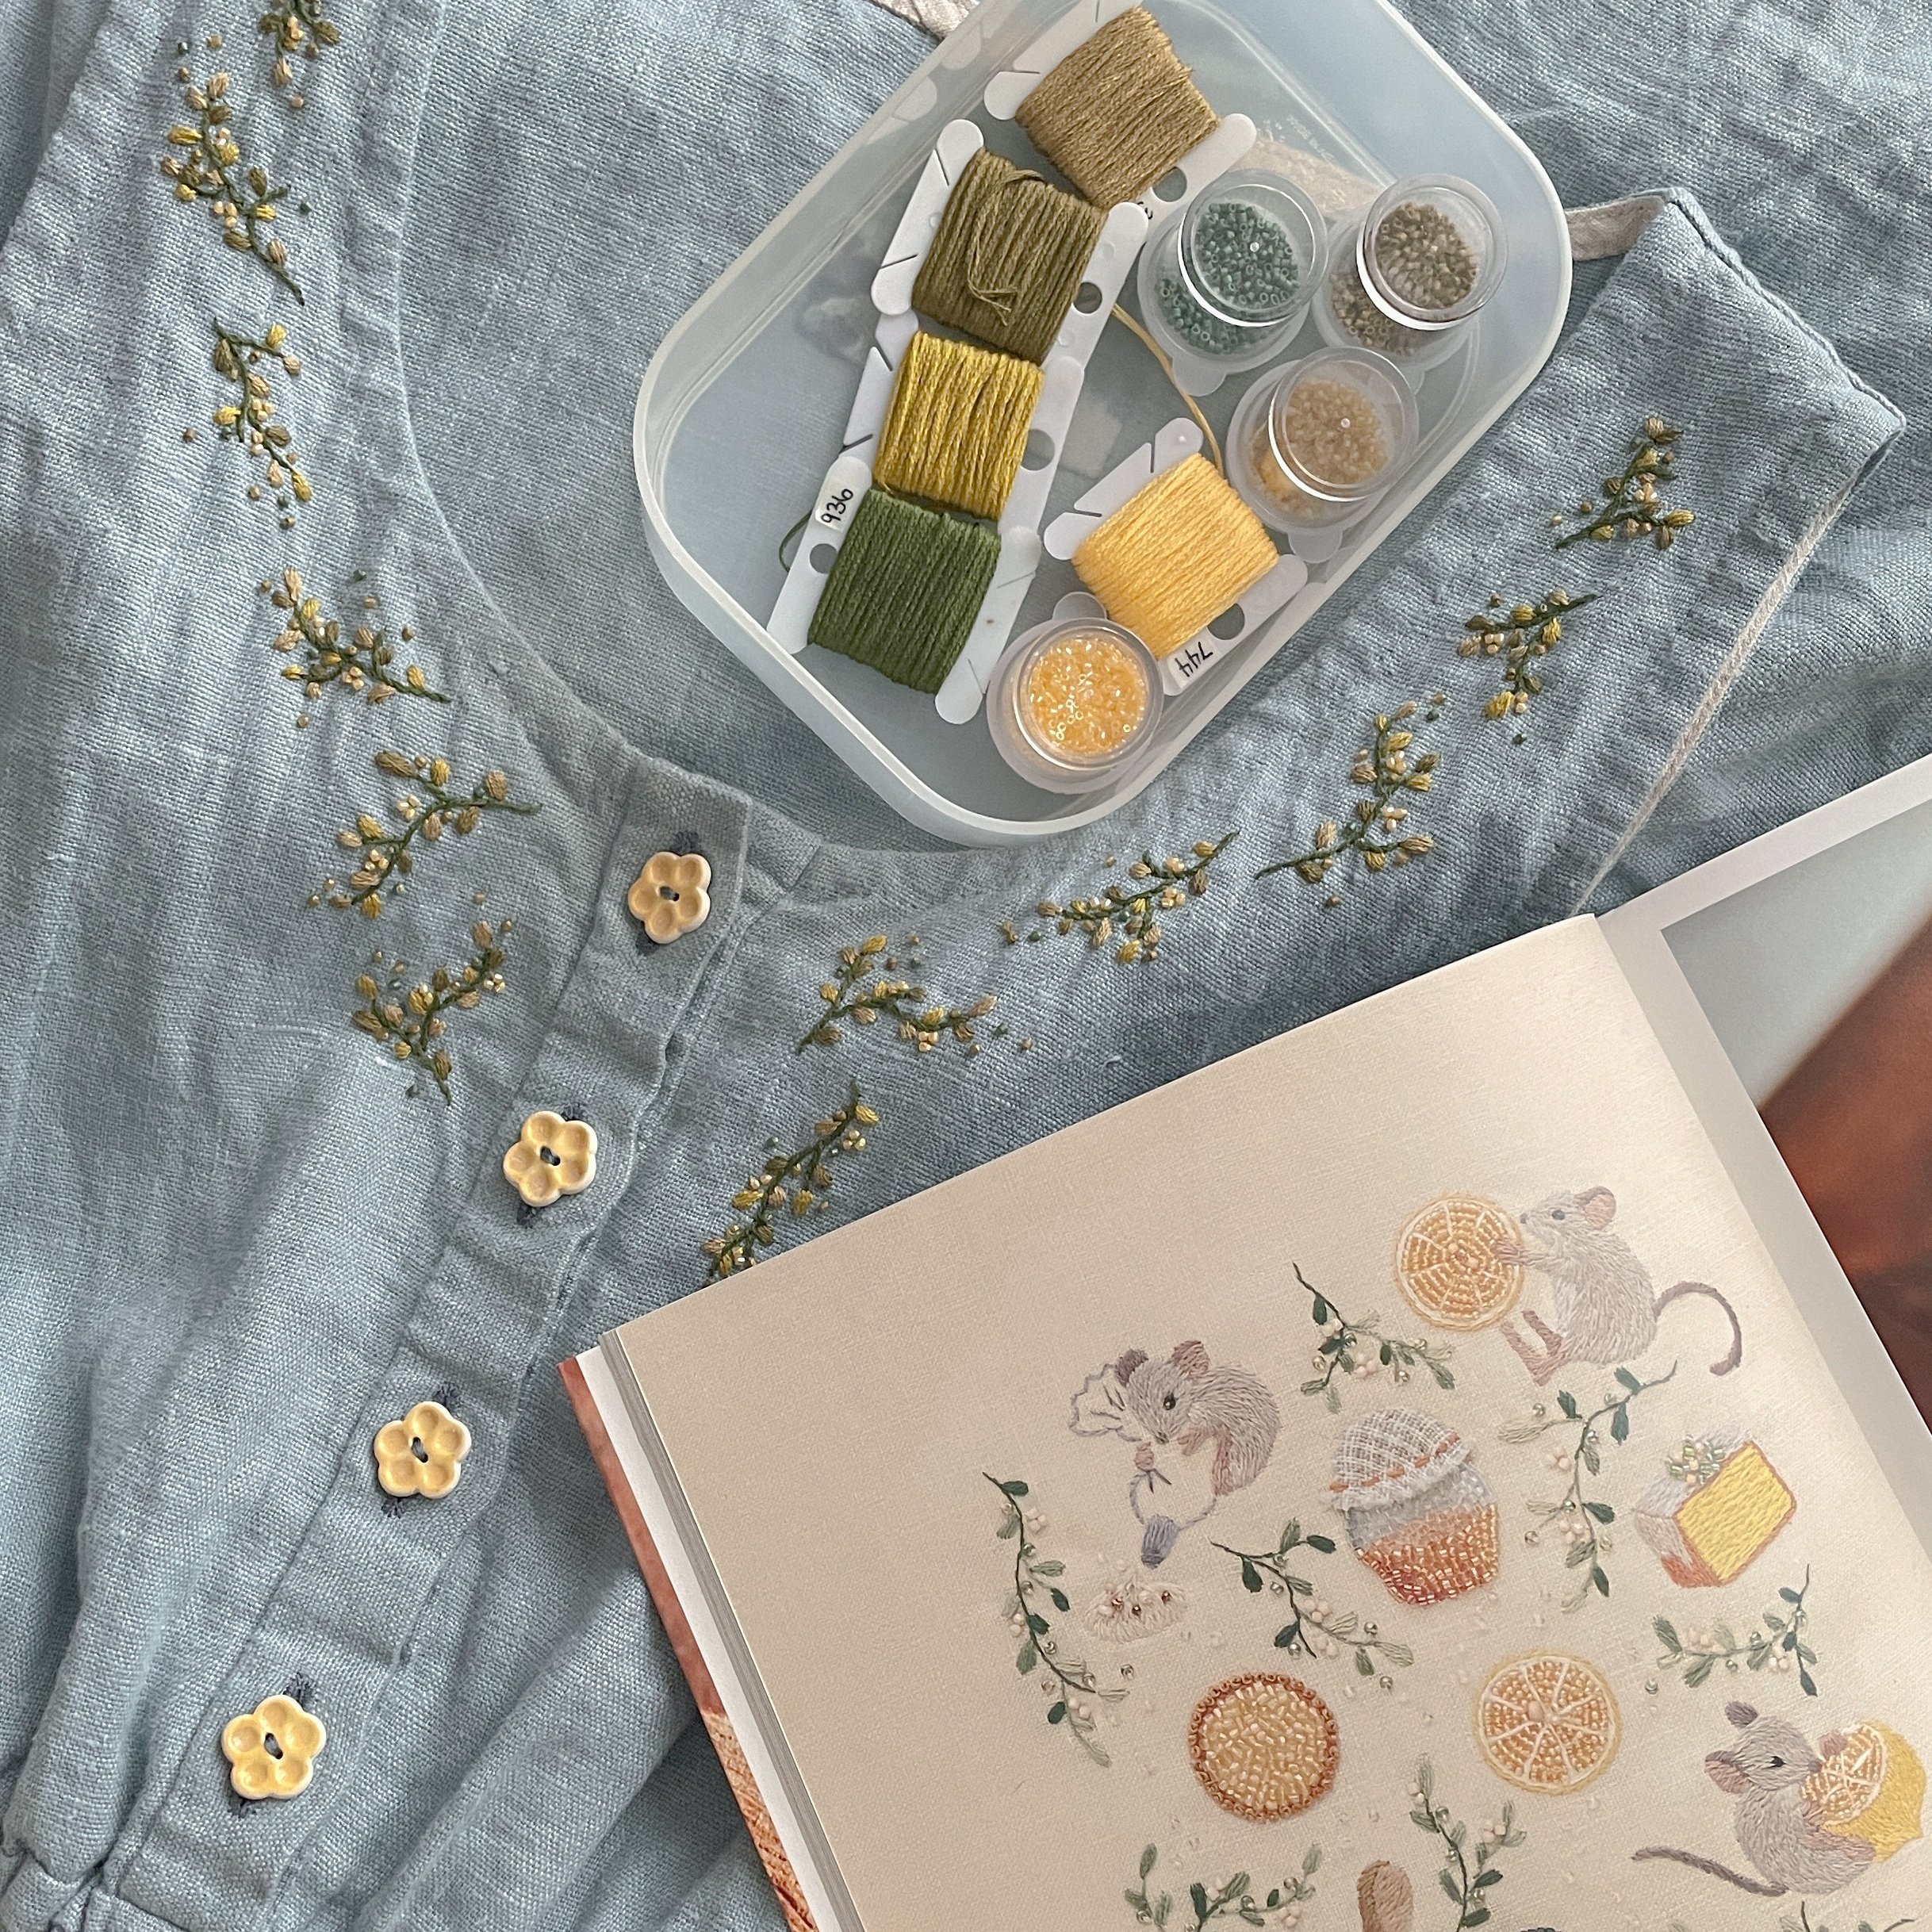
The stamping technique that worked best for me was using a paintbrush to spread paint on the bottom of an empty yogurt container, pressing the stamp into this thin layer of paint, and then pressing the stamp down (quite hard!) onto the surface of the fabric and holding for a couple seconds. I tried this on cotton, linen, and some scraps of Nani Iro double gauze (that’s the blue fabric). The more tightly woven and fine the fabric is, the more crisp your lines will be. After letting the paint dry it needs to be heat set, which means you need to hold an iron on it for a few minutes. I ended up adding a couple simple embroidered flowers to mine and now they are ready to go!


To sew a label onto your garment, turn each edge under 1/4” and stitch down by hand using whip stitch. Basically you are attaching them the way you would an applique patch. With thread that matches the garment and a delicate whip stitches you will barely be able to see the stitches from the right side of the clothing. Give this a try and let me know what you think! I will be labelling everything I make with these tags from here on out!