A Handmade "Baby’s First Christmas" Ornament

An Attelier Pippalotta Kit Review

Some links in this blog post may be affiliate links. This means if you click through and purchase the product, I earn a small commission at no additional cost to you. Thank-you.

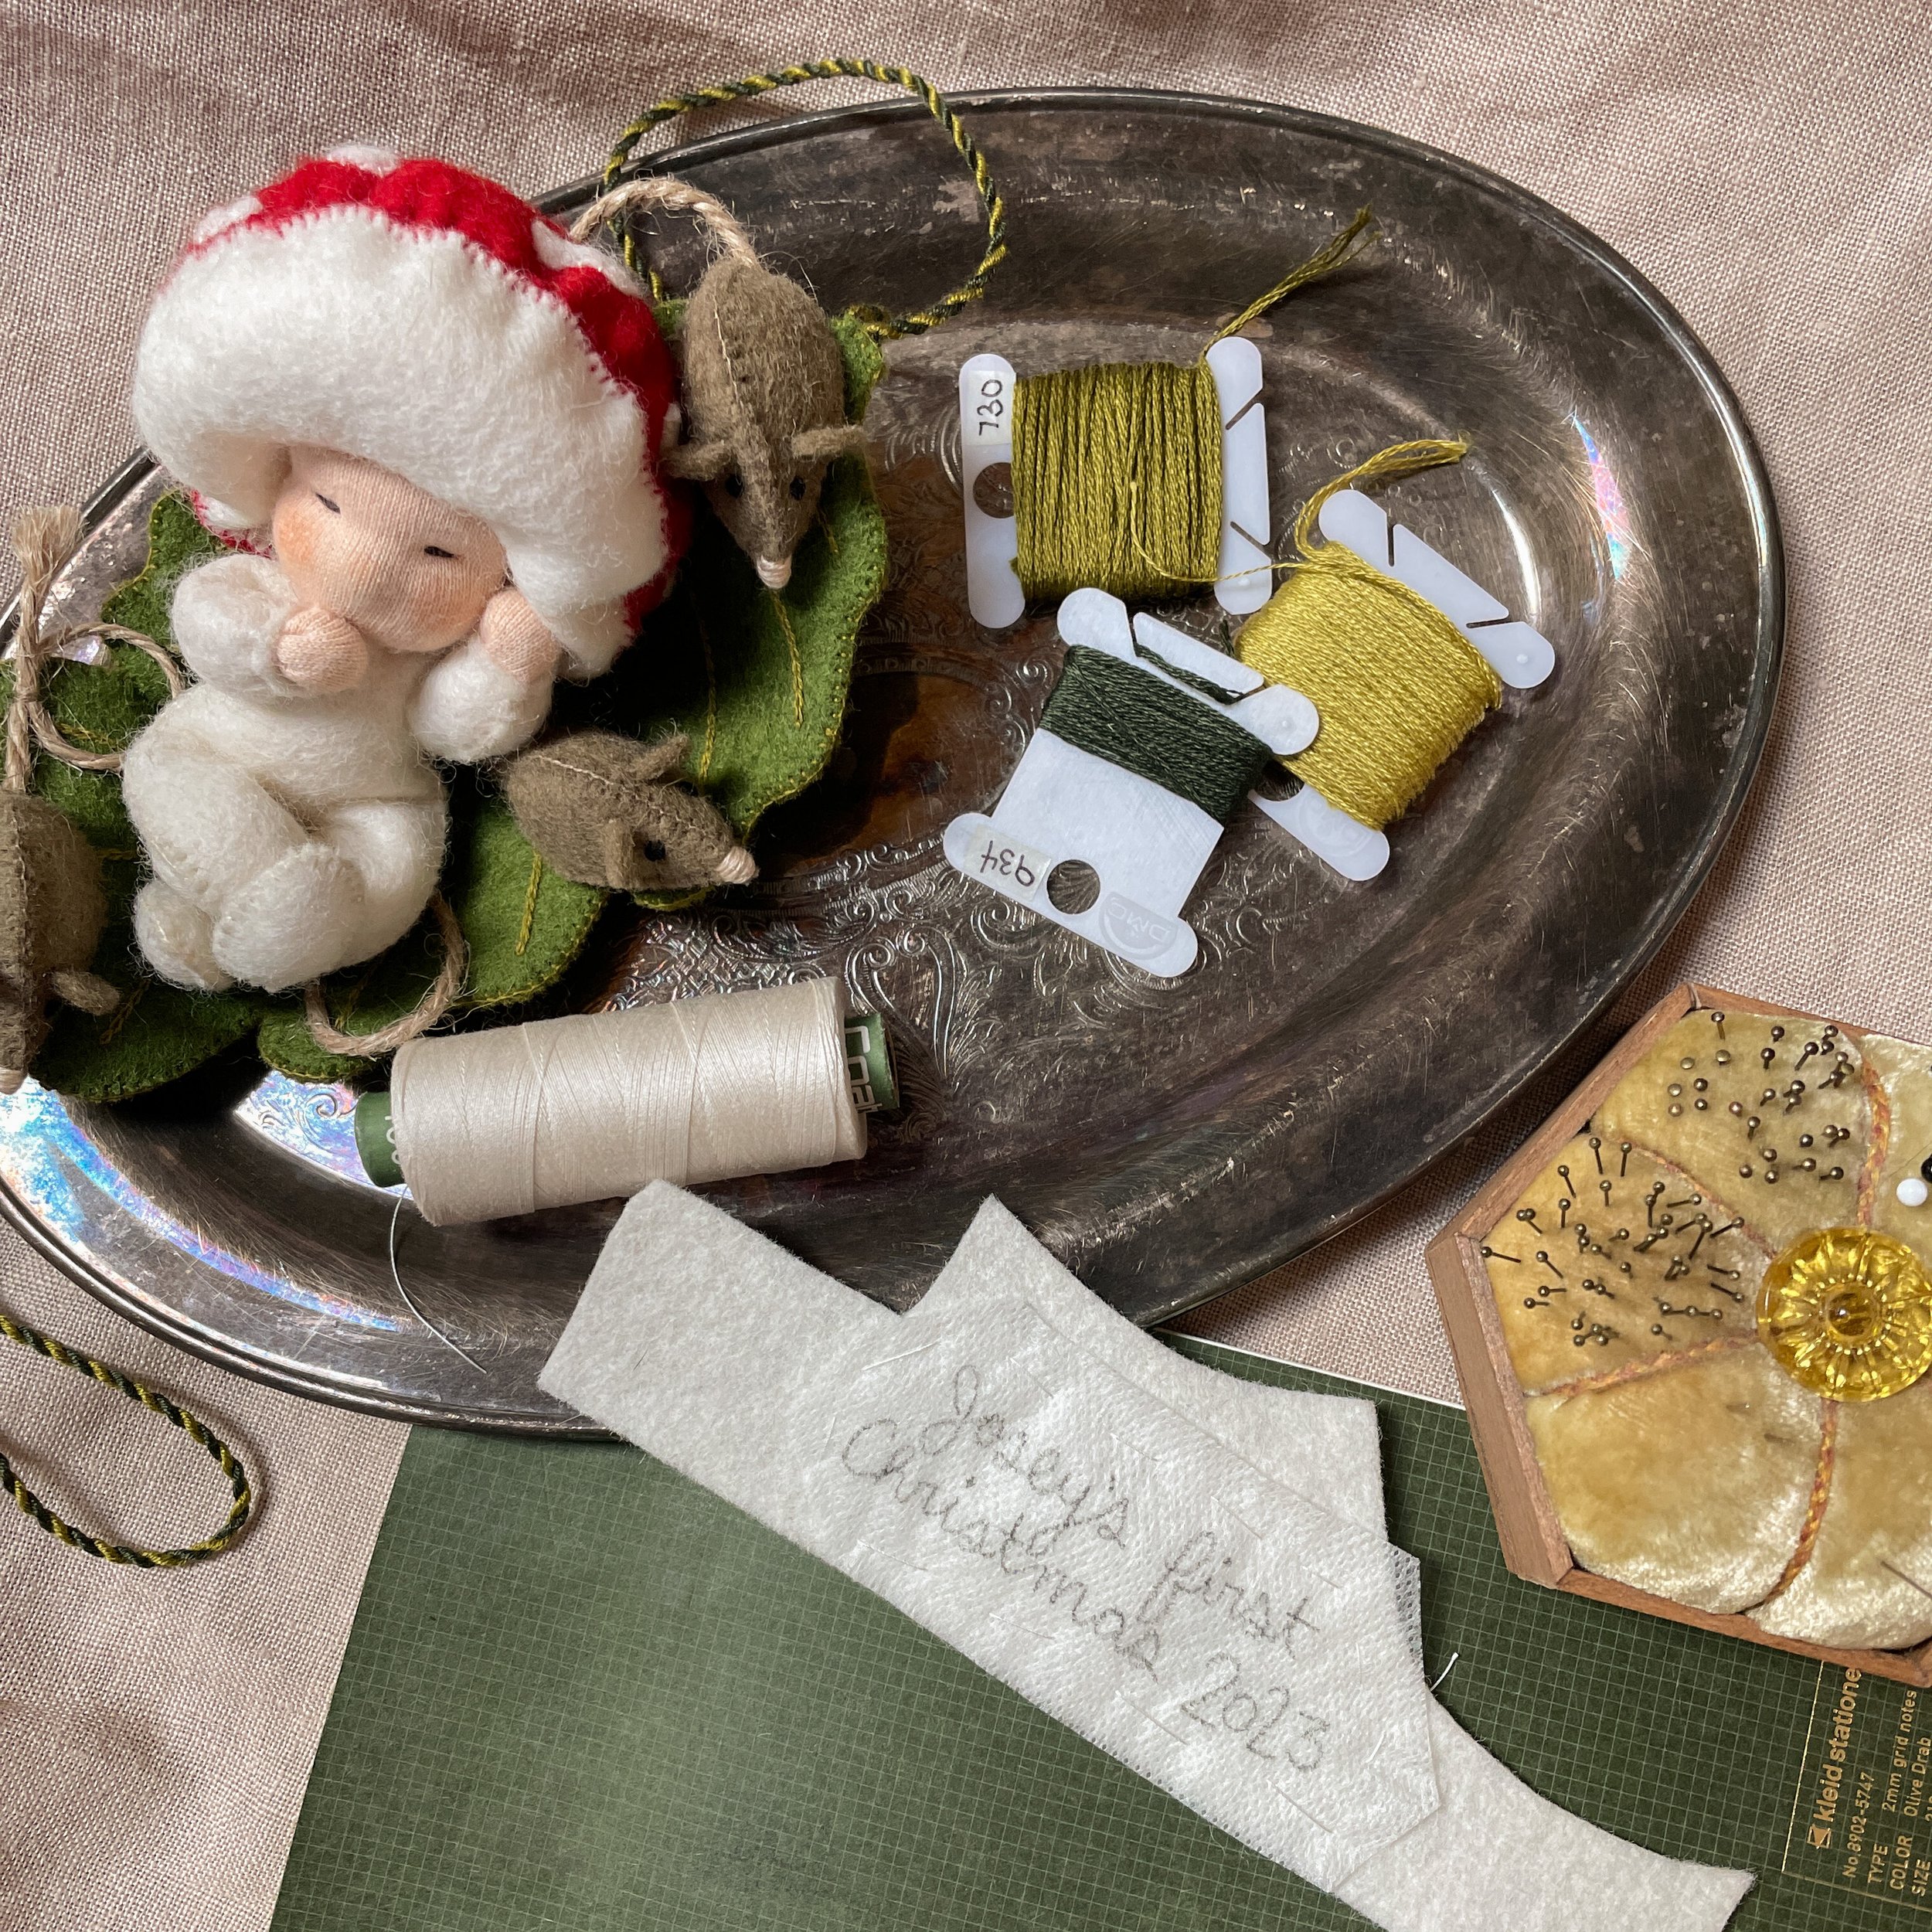
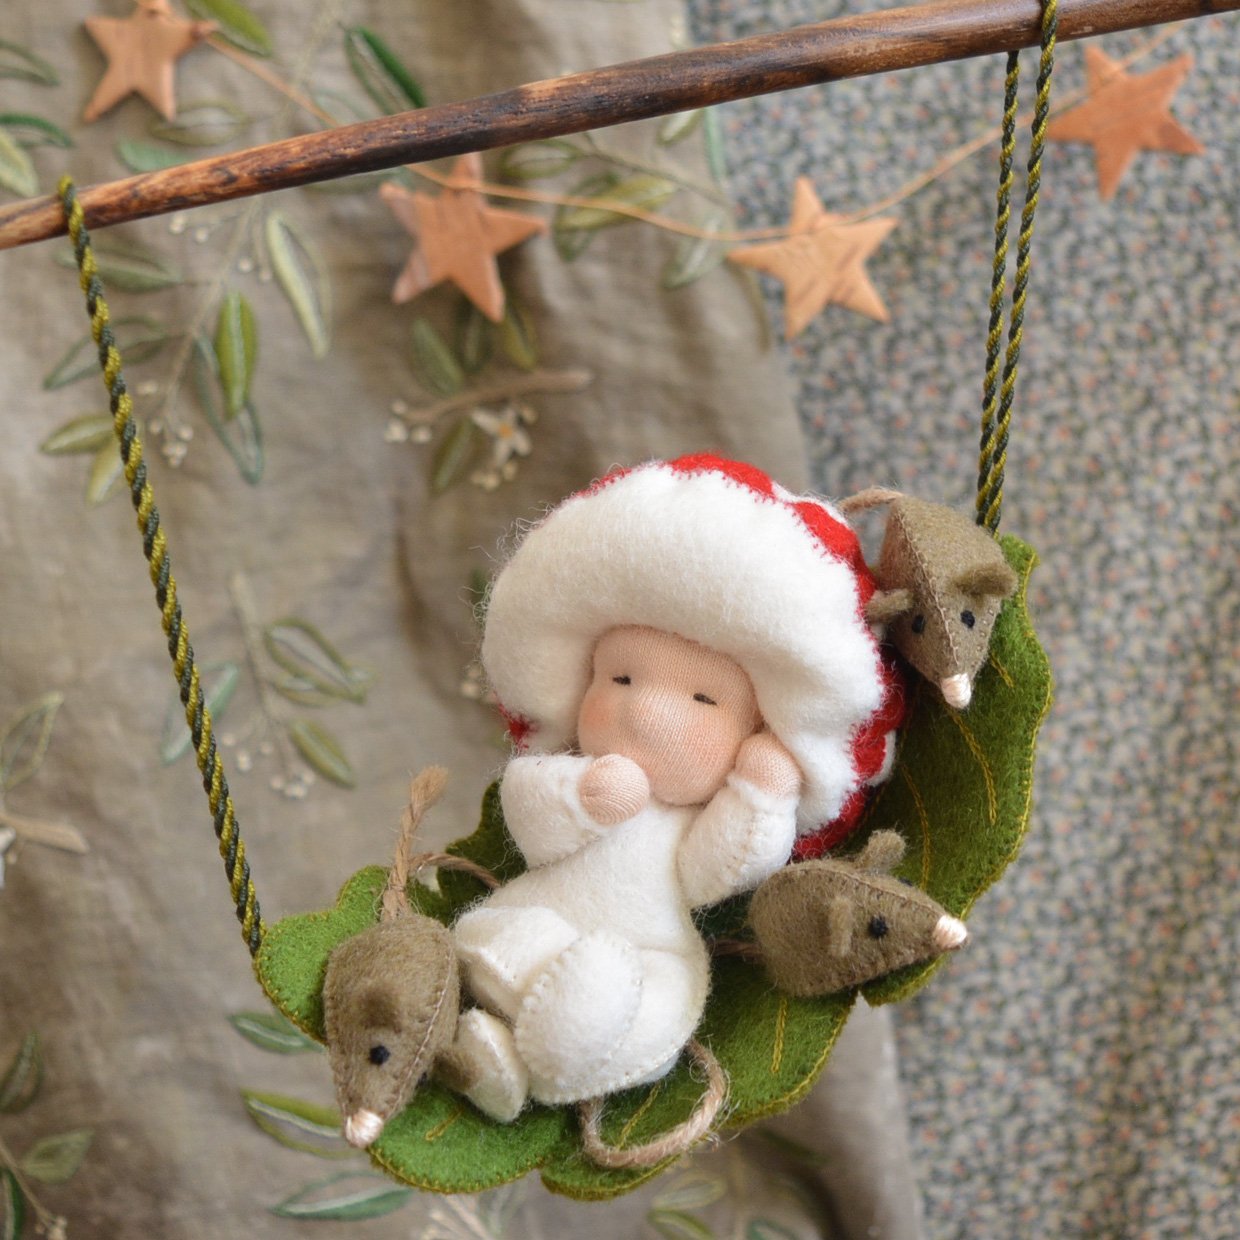
When I was pregnant with my son Josey I was so excited to work on a couple baby related crafts. I decided to add his first Christmas ornament onto the project list because I wanted to make sure I made something for him a little more permanent than the baby clothes I knew he would very quickly grow out of. This craft got me so excited for his arrival and I had so much fun making it! It was a great way to learn some basic Waldorf Doll making techniques as well. I can’t wait to use the skills I learned from this kit to make more ornaments from my own ideas. Maybe a little character made custom to his interests each year.

This is the “Forest Gnome Baby” Attelier Pippalotta kit and even though I’ve never made a doll like this before I found it pretty straightforward! I do have basic hand sewing skills, so I think if this was your first time ever sewing you might have a more difficult time following along. I stitched the baby exactly as instructed and only made a couple modifications to the leaf bed. I cut a second leaf out of felt from my stash and blanket stitched the two layers together so the bed would be sturdier. I stitched the design on the leaf using chain stitch which I prefer the look of to the more basic back stitch. I also added two cords for hanging so that the bed would hang in the tree like a cute little hammock.

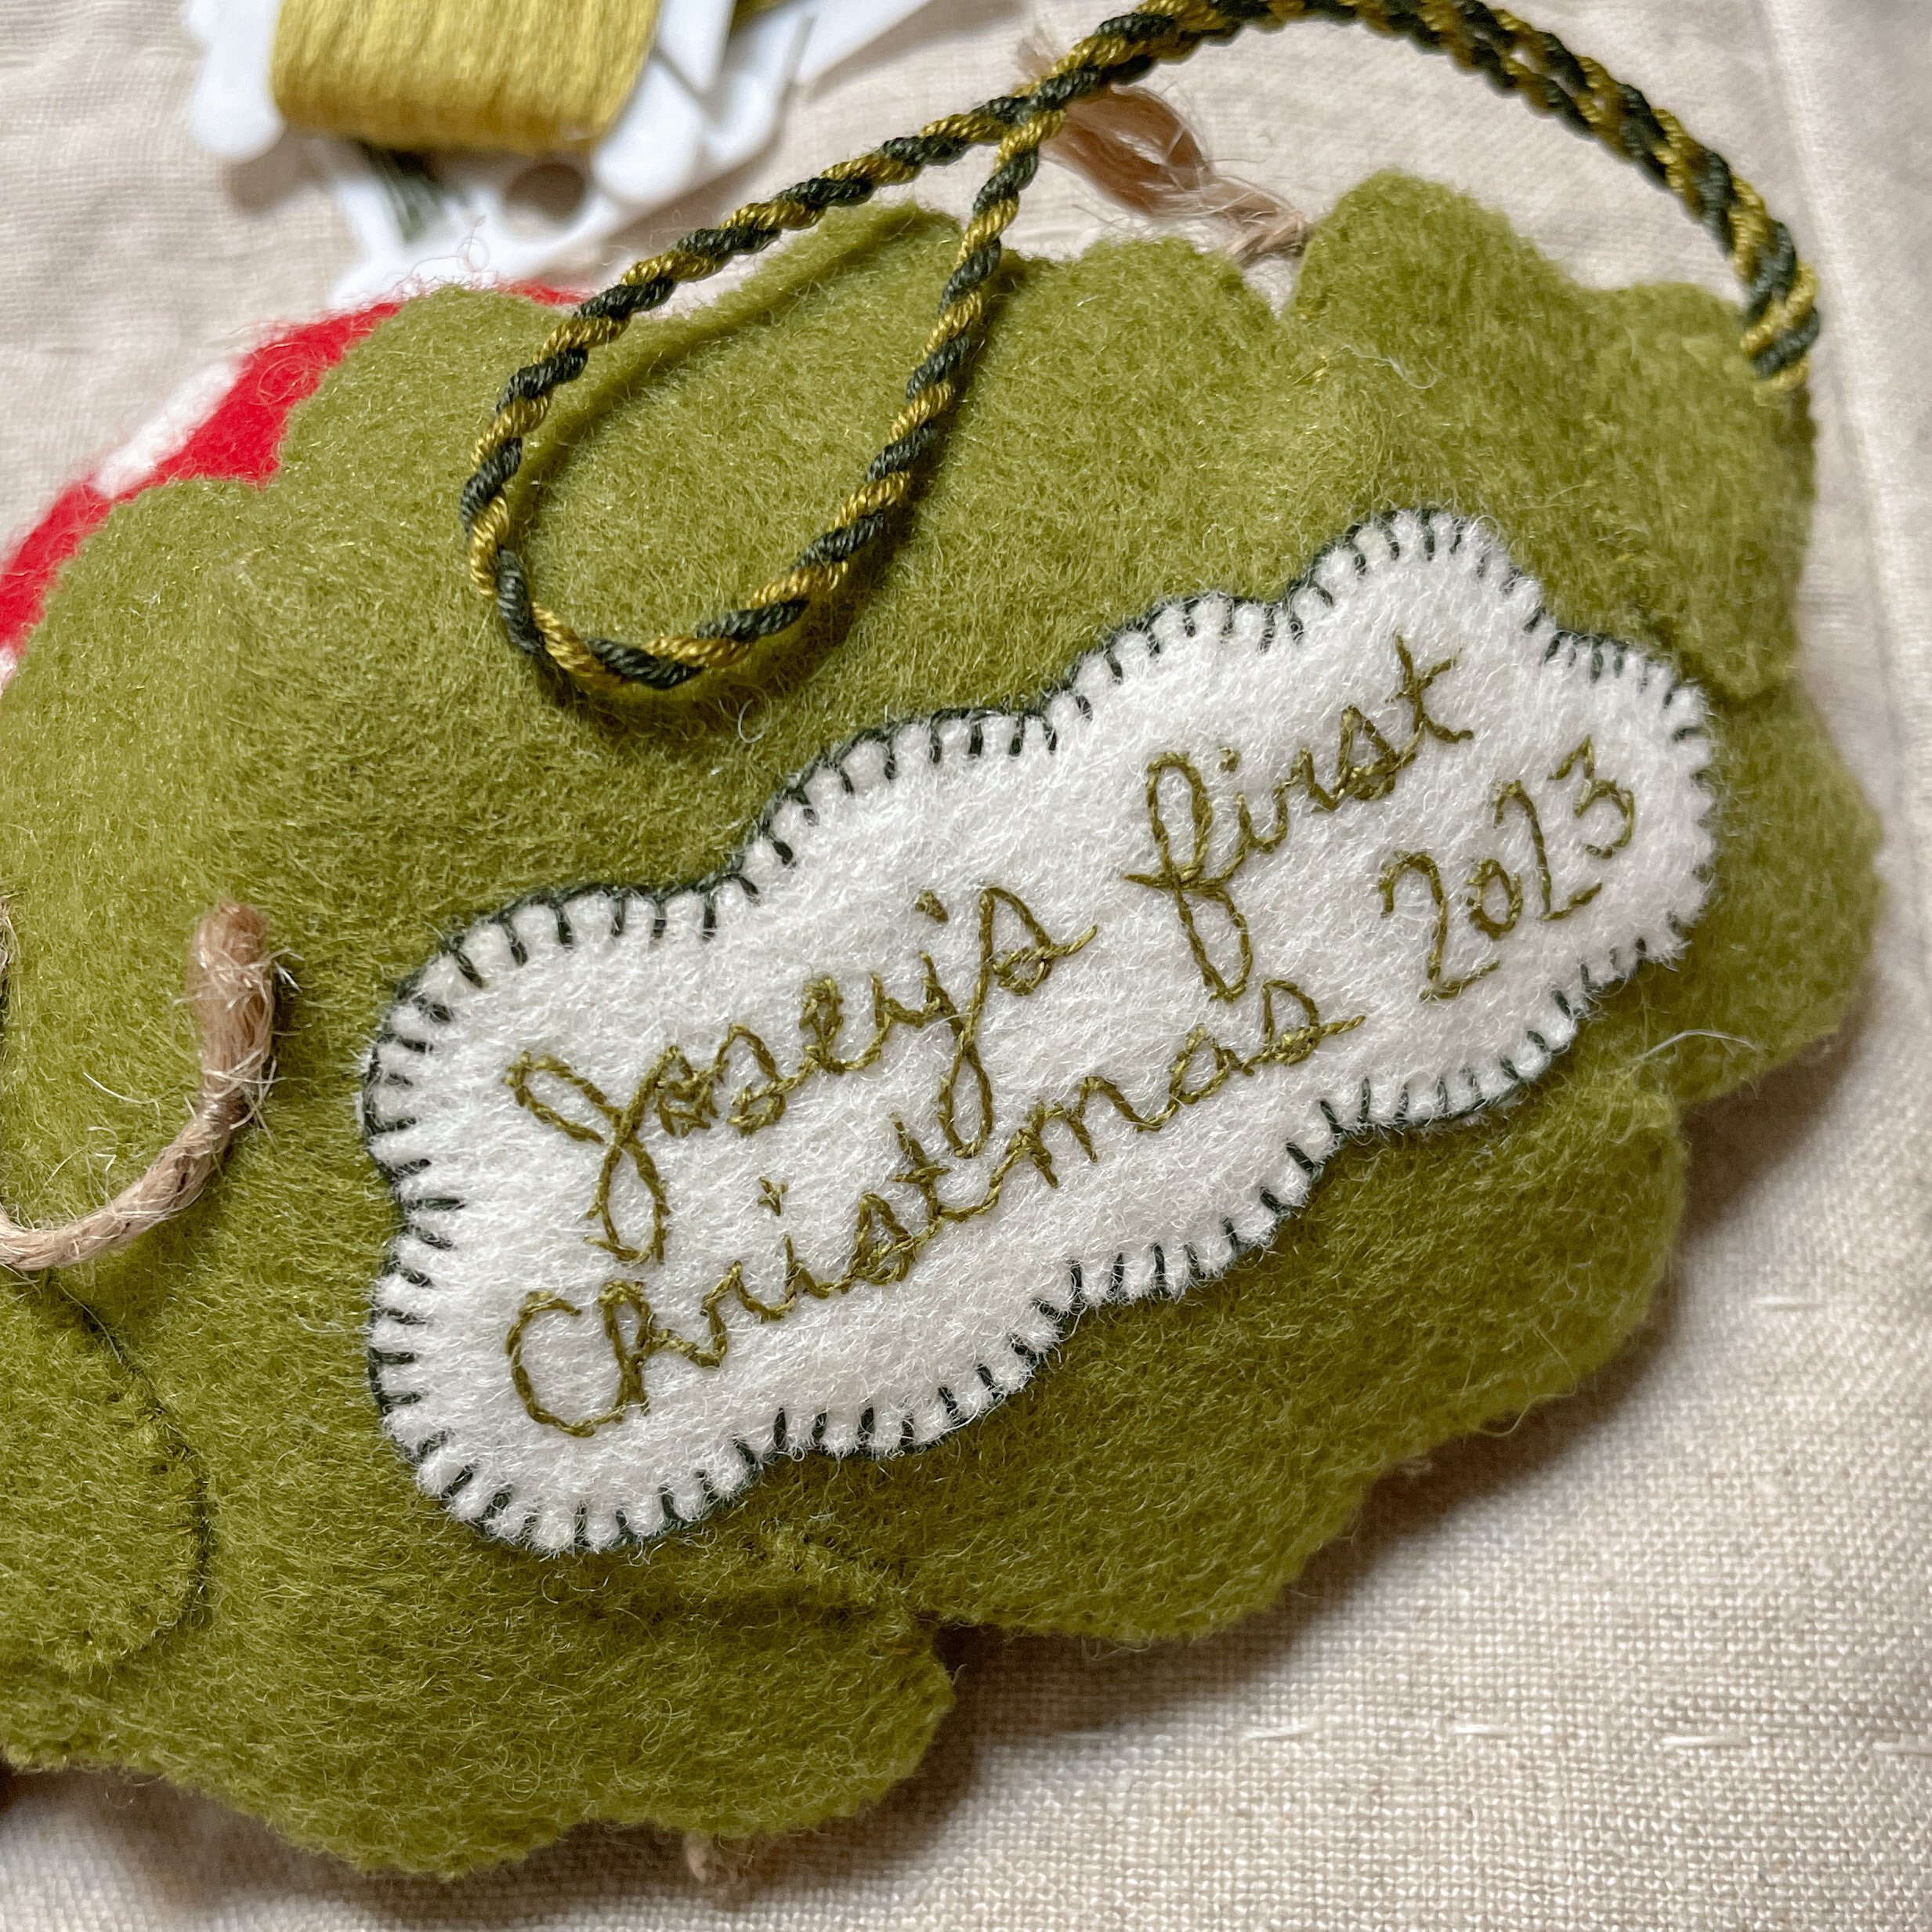
We didn’t decide on a baby name until we met our son at the end of May, so I waited to stitch the tag on the back of the ornament until just now, about three months after his birth. For the embroidered tag I used a washable sewn-on interfacing. So easy to draw my design on with pencil, I stitched it onto the felt with big basting stitches, and then a quick rinse after stitching and it’s gone. Starting this project so early in the year made it easy to get it all done in time for Christmas! Now let’s see if I can get some sort of Halloween costume made in time for his first Halloween. Maybe I should have started with that!

Some Helpful Links:

English language Attelier Pippalotta kits: Bear Dance Crafts

Interfacing: Water Soluble Stabilizer (affiliate link)

Hinterland Dress Pattern Review

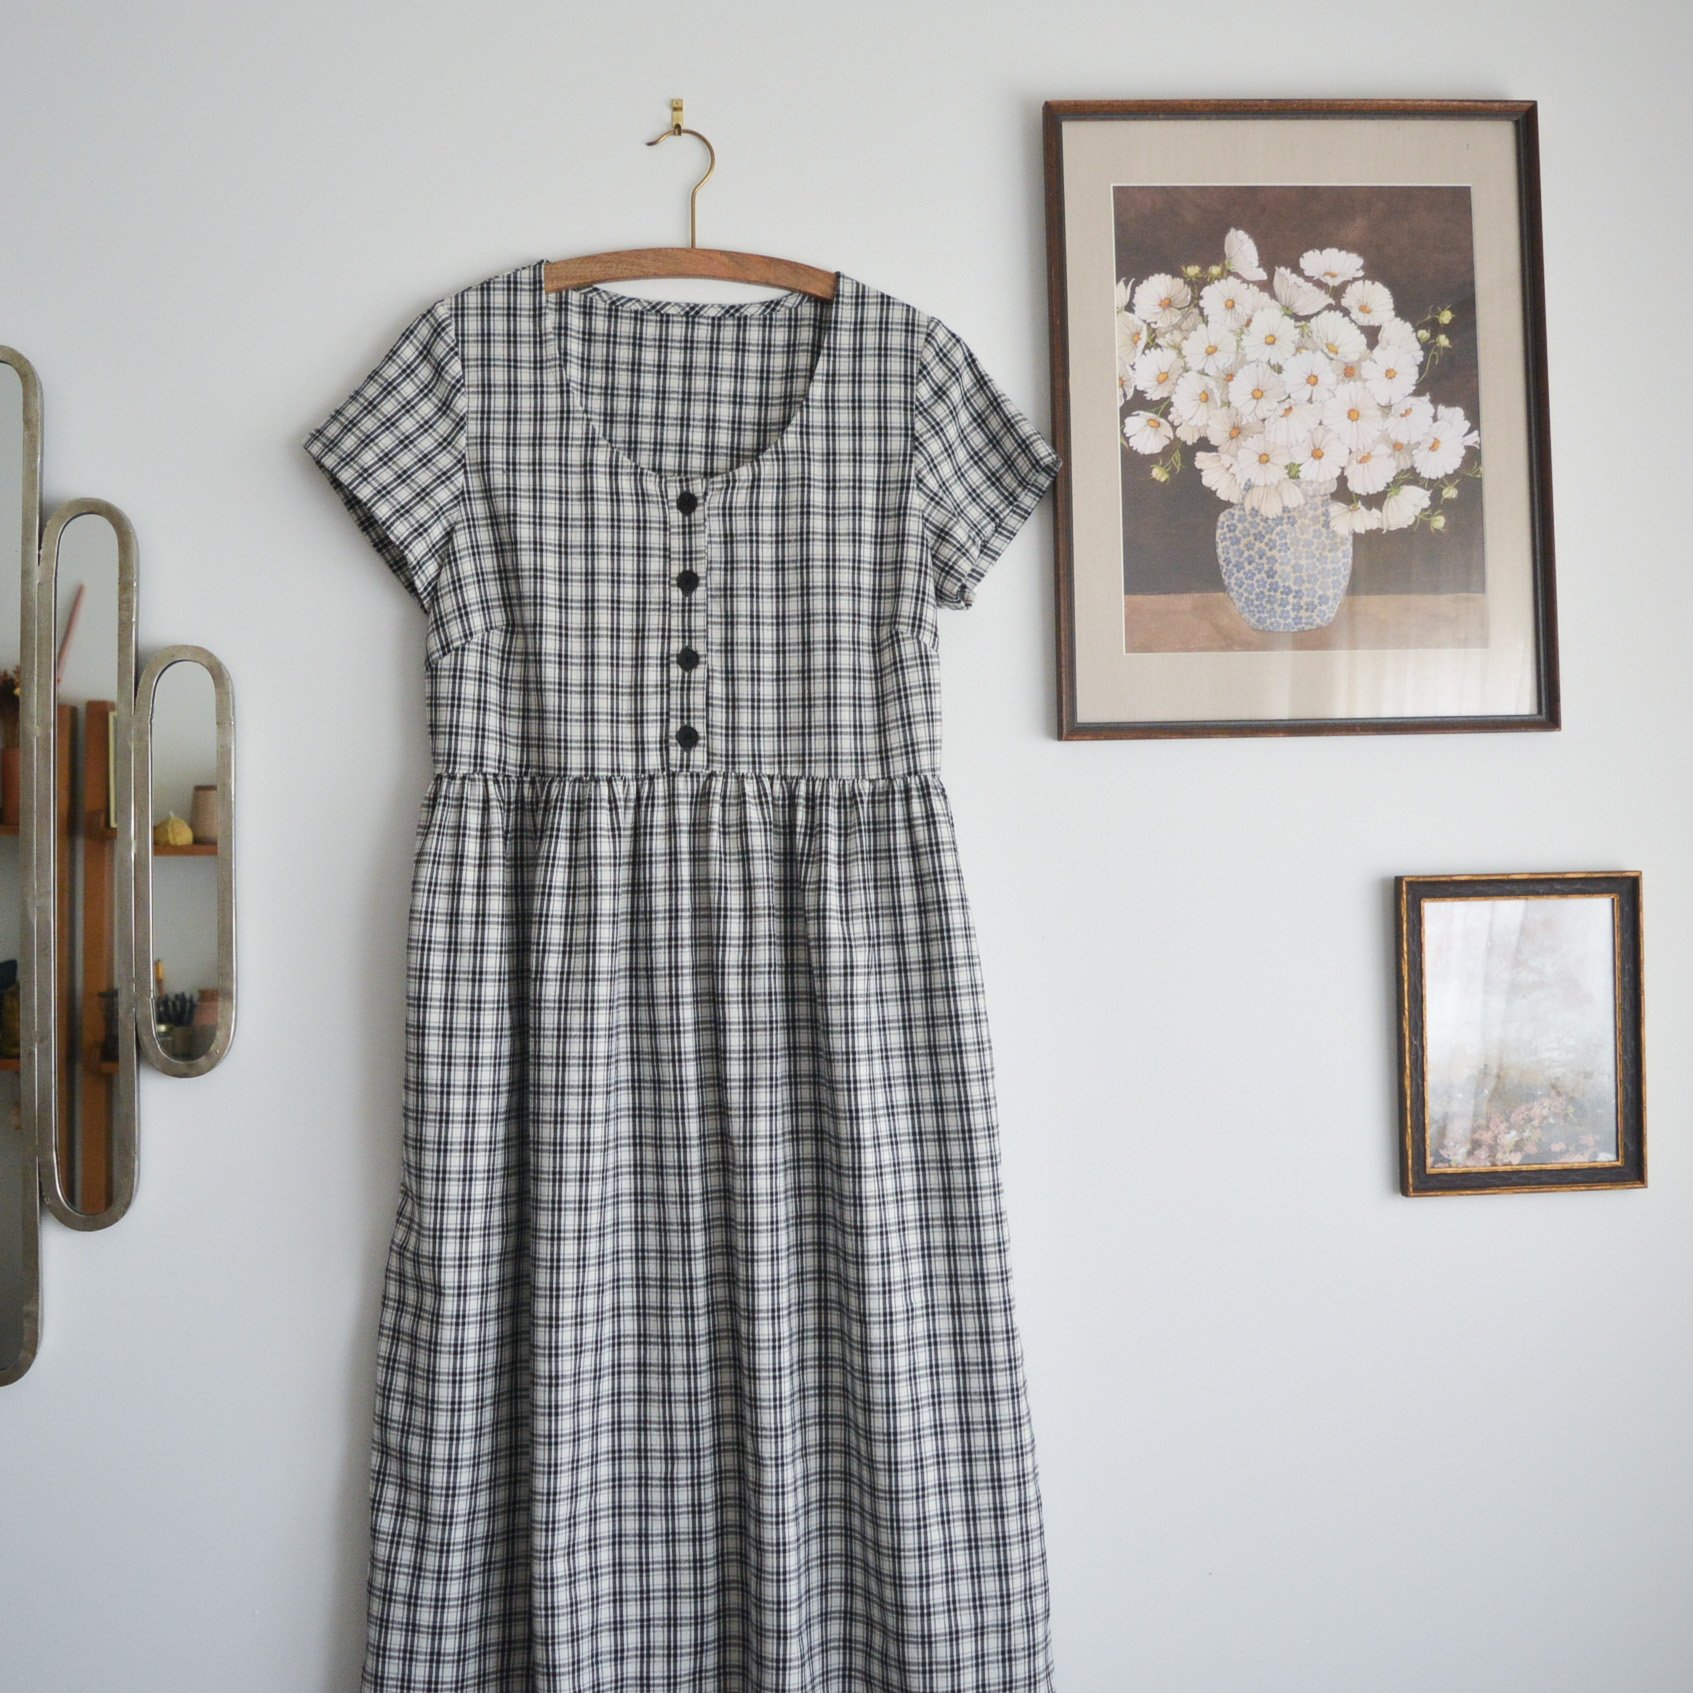
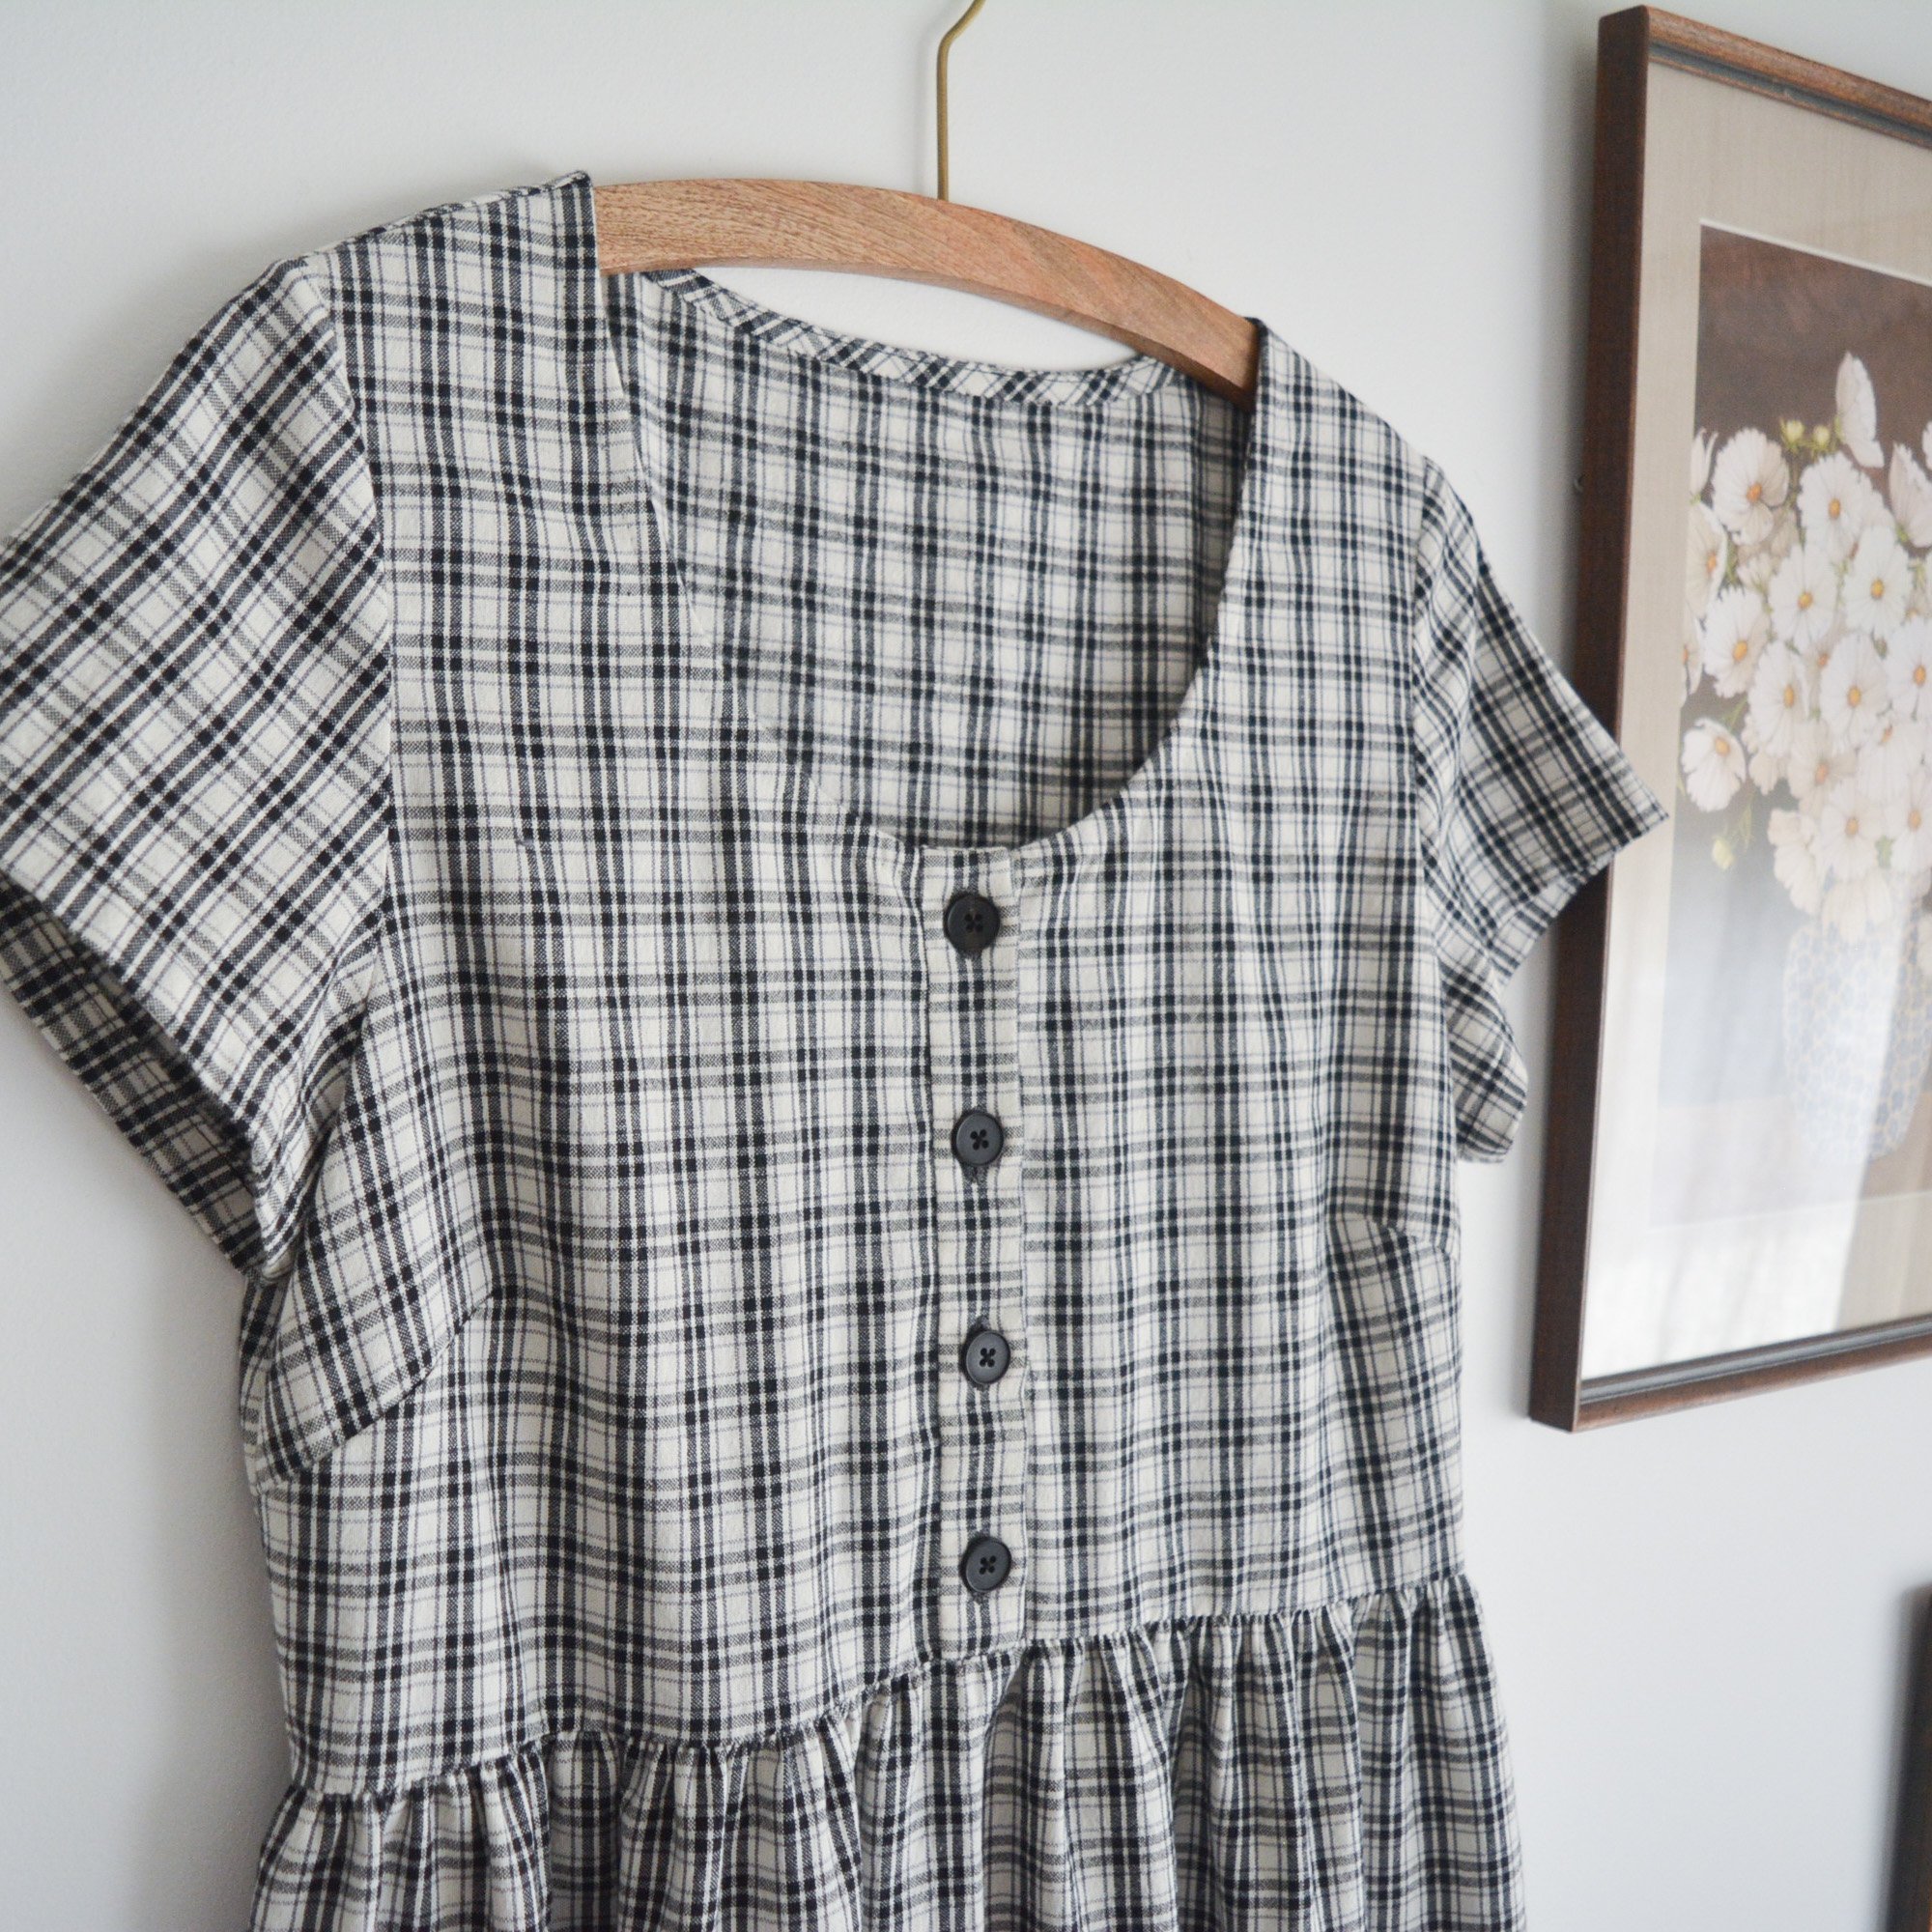
I just finished my winter black and white plaid Hinterland Dress. It’s machine sewn and hand finished, so it ended up taking me a couple months to make, although a large part of why is that I really slow down my crafting come winter, we will call it a form of hibernation! I do a lot more relaxing and I work at a slower pace. I also took a little break from it around Christmas to make a couple new ornaments for the tree. But with it being finished around half way through January that still gives me lots of time to wear it while the weather is still cold.

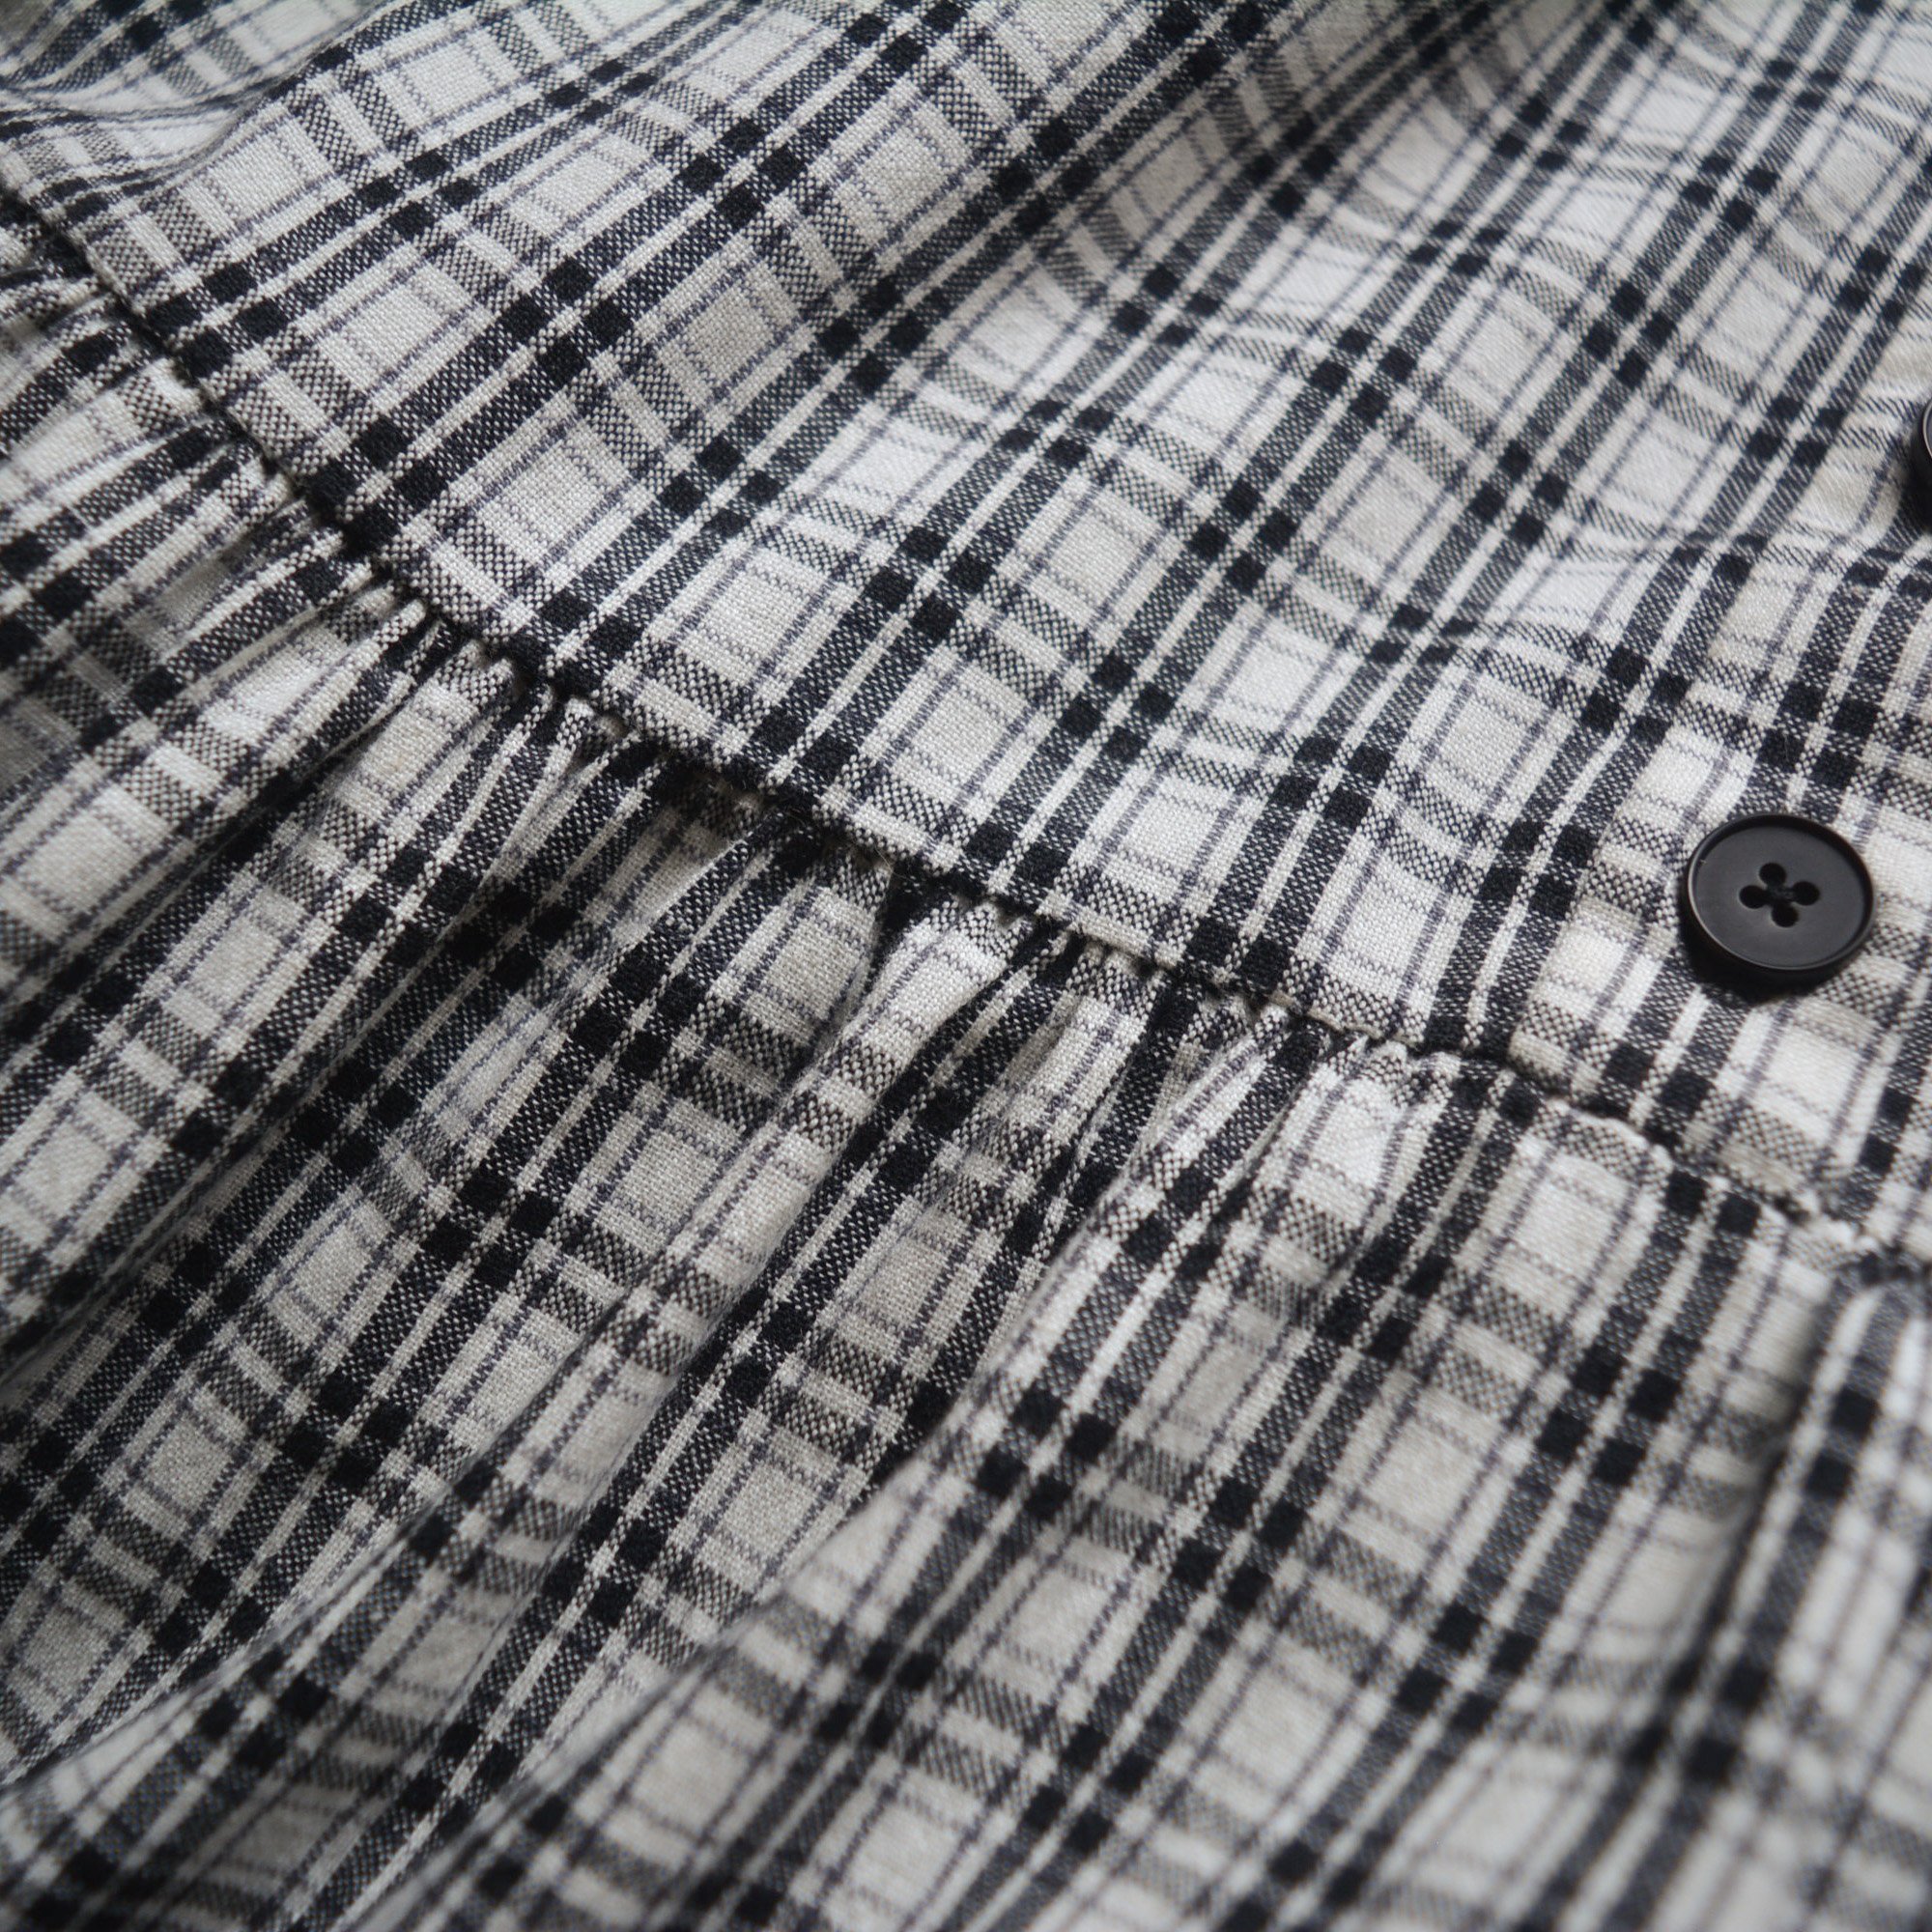
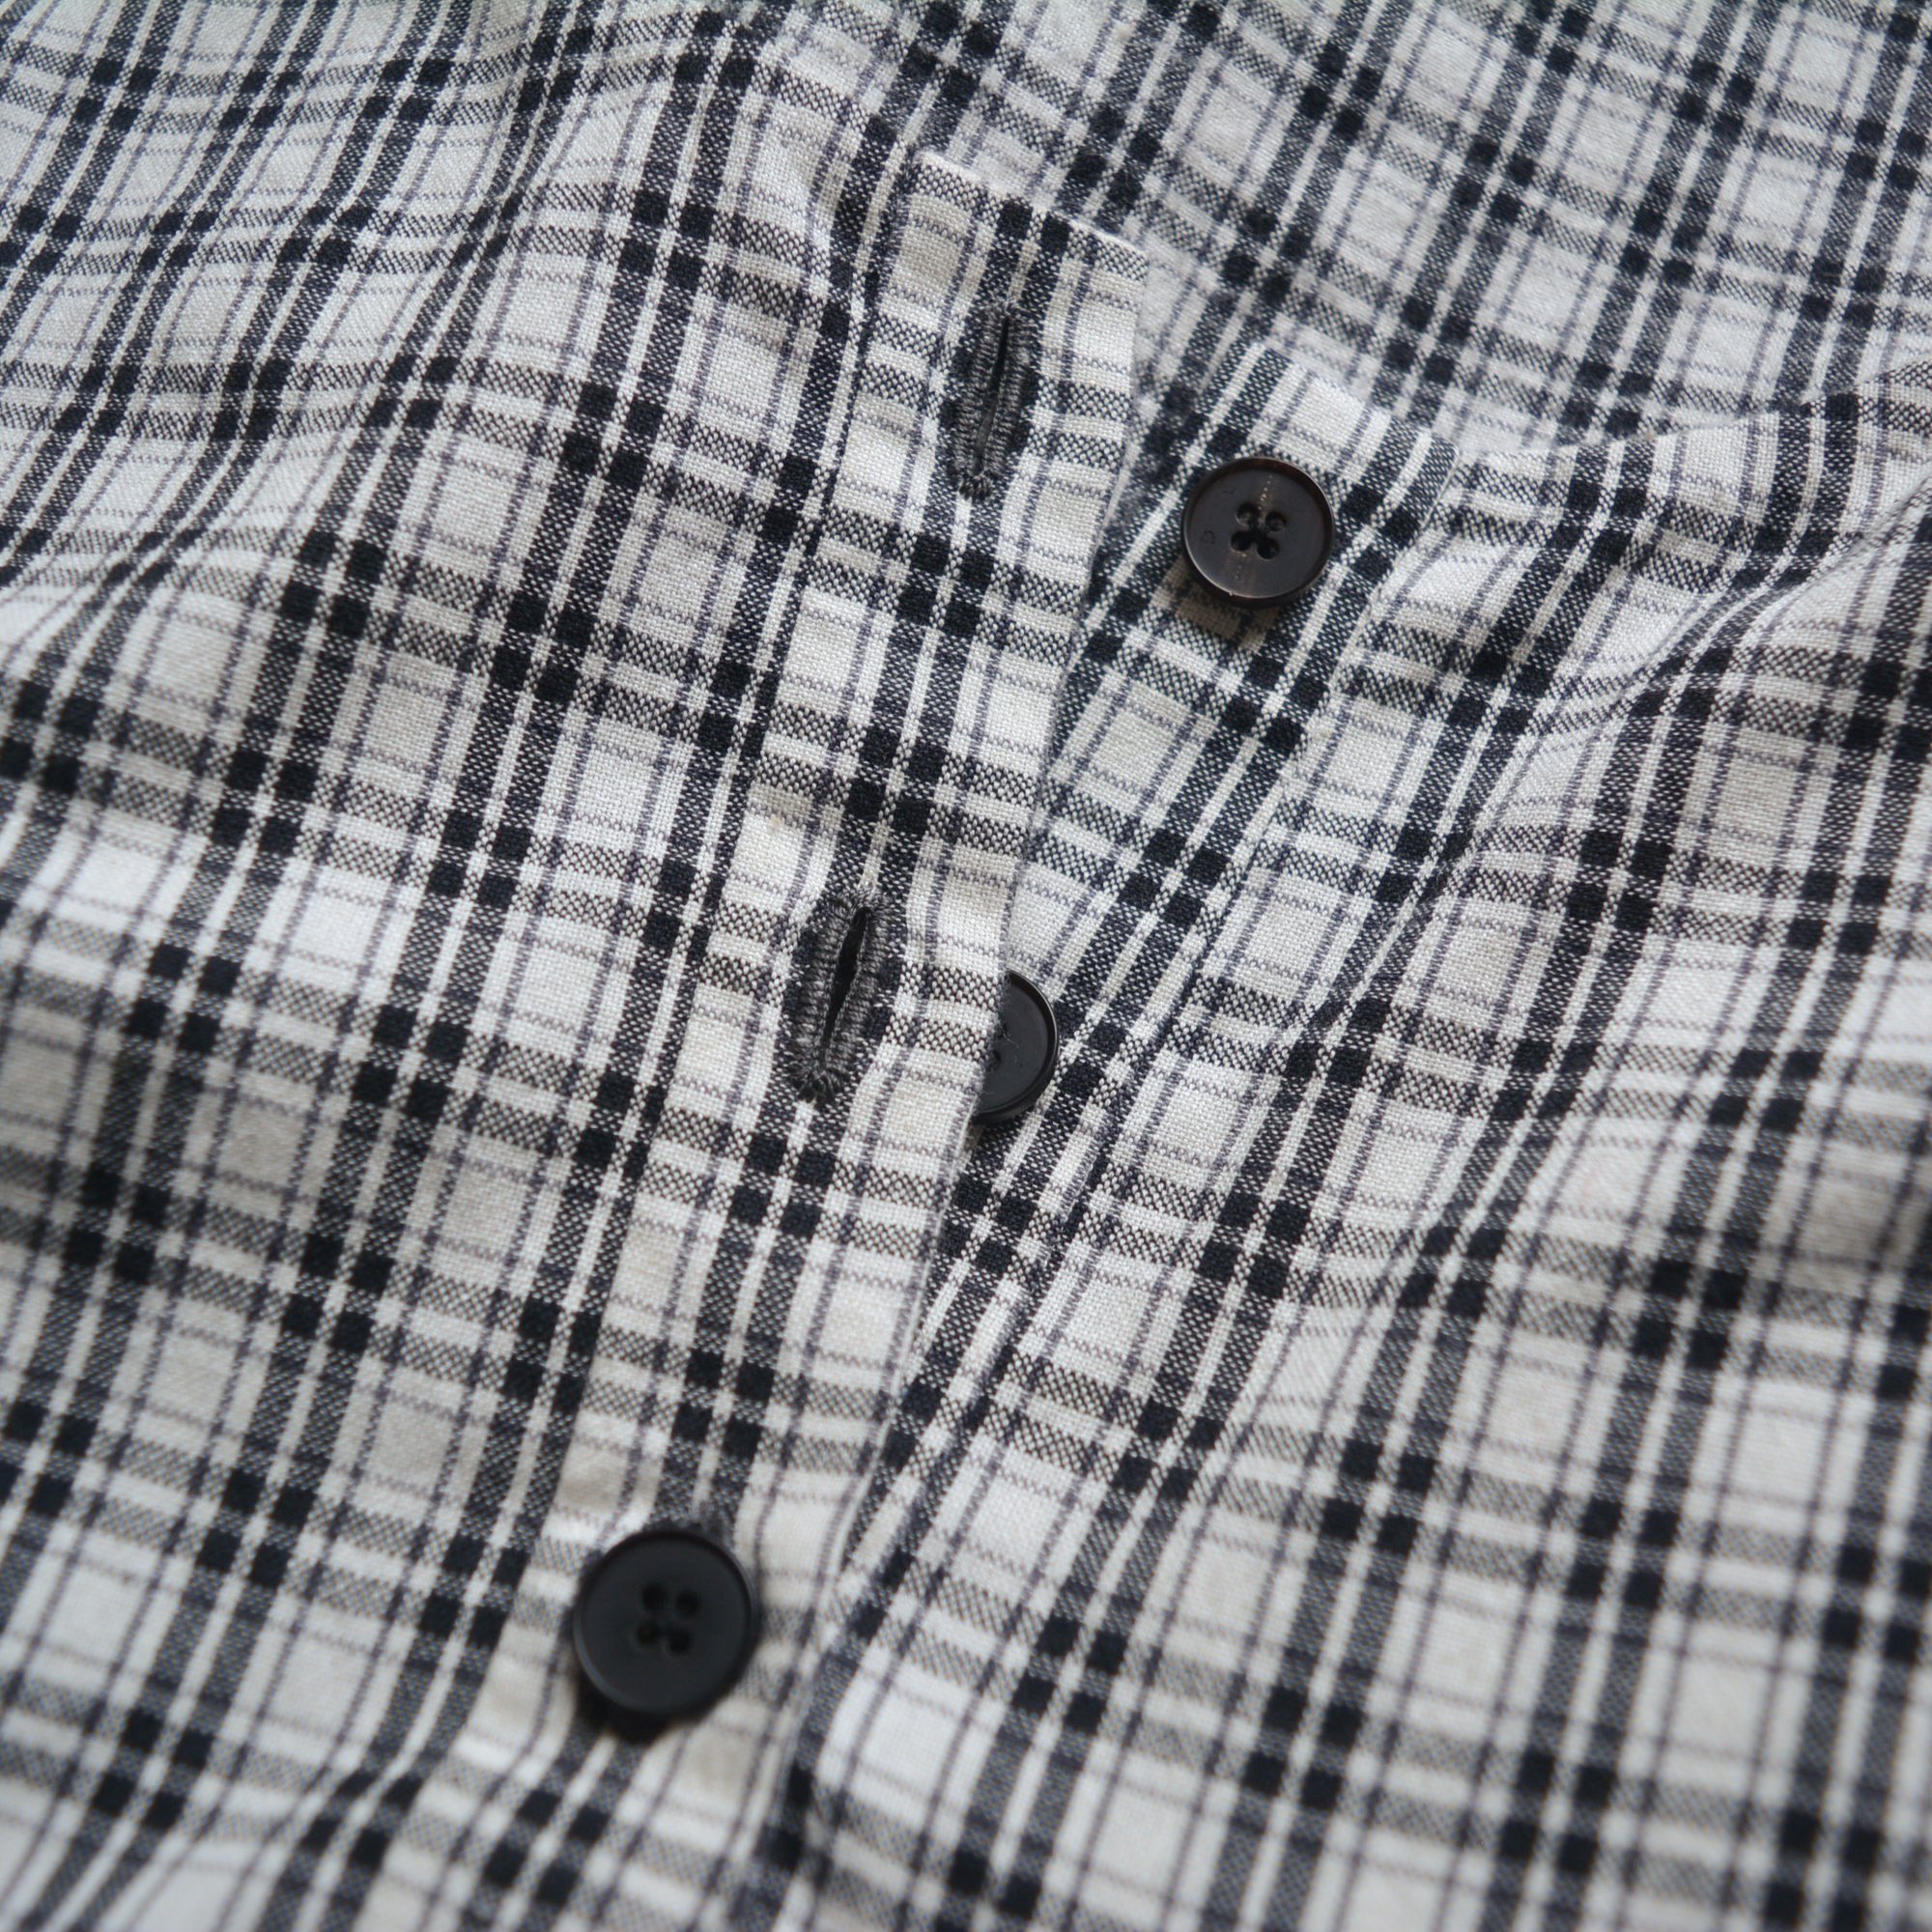
The fabric is a light to medium weight cotton plaid, with one side being a brushed cotton so the inside feels like a soft pair of pyjamas. I bought it at one of the fabric stores here in Vancouver, Dressew. It’s called Urban Homestead Gatherings Woven Plaid for Moda, and it looks like right now Dressew still has some available so I will link to that below. I chose some simple black horn buttons, and overall kept this one pretty simple as I didn’t really think embroidery would look good on top of the busy plaid print.

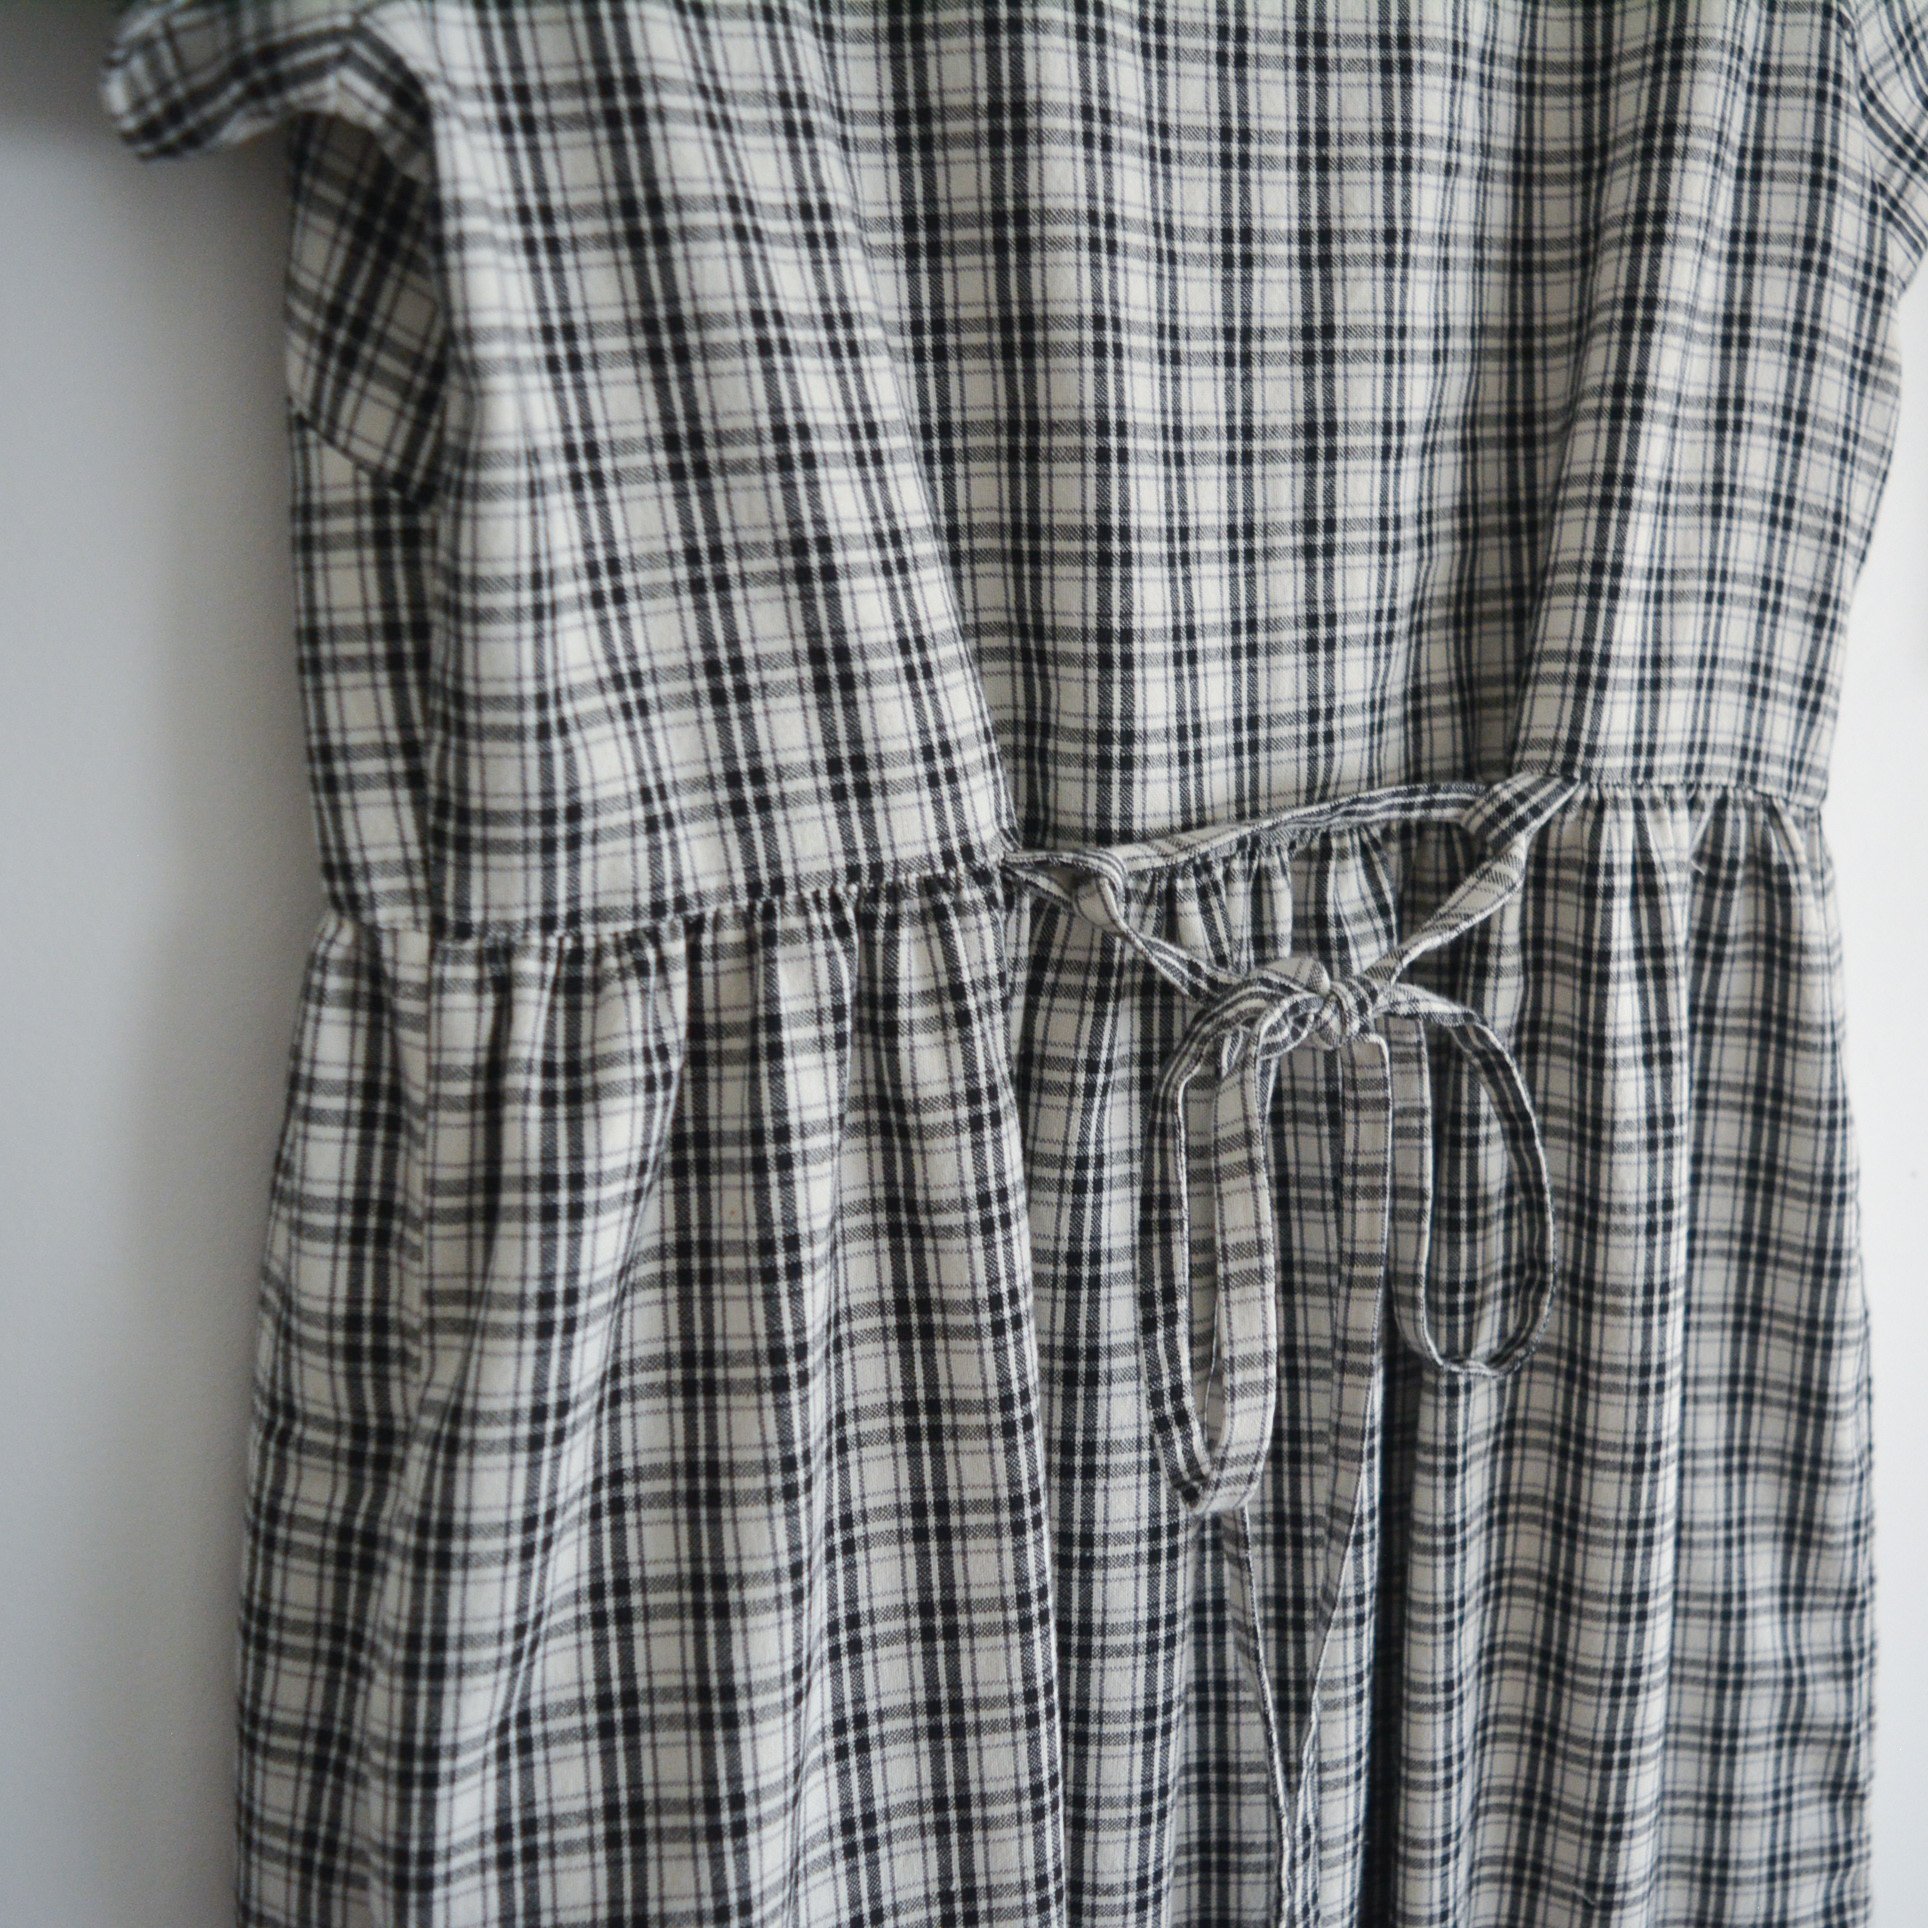
I didn’t change much about the pattern, just a couple elements from the machine method to the hand-sewing method (gathers, buttonholes, neckline binding, and the hem). I also changed the placement of the waist tie to be closer to the centre back. I have a couple dresses that use the waist tie method that the pattern uses (sewing the waist ties directly into the dresses side seams), and I find it pulls on those seams in an unflattering way. Also when you wash the dress with those long ties they can get tangled up with your other laundry. So adding some tie loops that you can thread a long waist tie through solves the laundry issue, and moving those tie loops in a little solves the pulling at the side seams.

Sizing wise I went with a size 6 on top and a size 10 for the skirt which worked perfectly for my pear-shaped body. I also added 4 inches to the length of the dresses skirt piece. I absolutely love this pattern and all the different variations it includes and I’m excited to make a linen one next for summer.

Plaid Hinterland Dress

And this photo above pretty much shows how I’ve been styling the Hinterland Dress! With warm wool tights and my favourite vintage boots. I add a wool sweater and a winter coat before I head out and I am very warm all day!

Some links you might find helpful:

Butterick 6250: Whimsical Vintage Cotton Pyjamas

2021-03-04_18-36-40.jpg

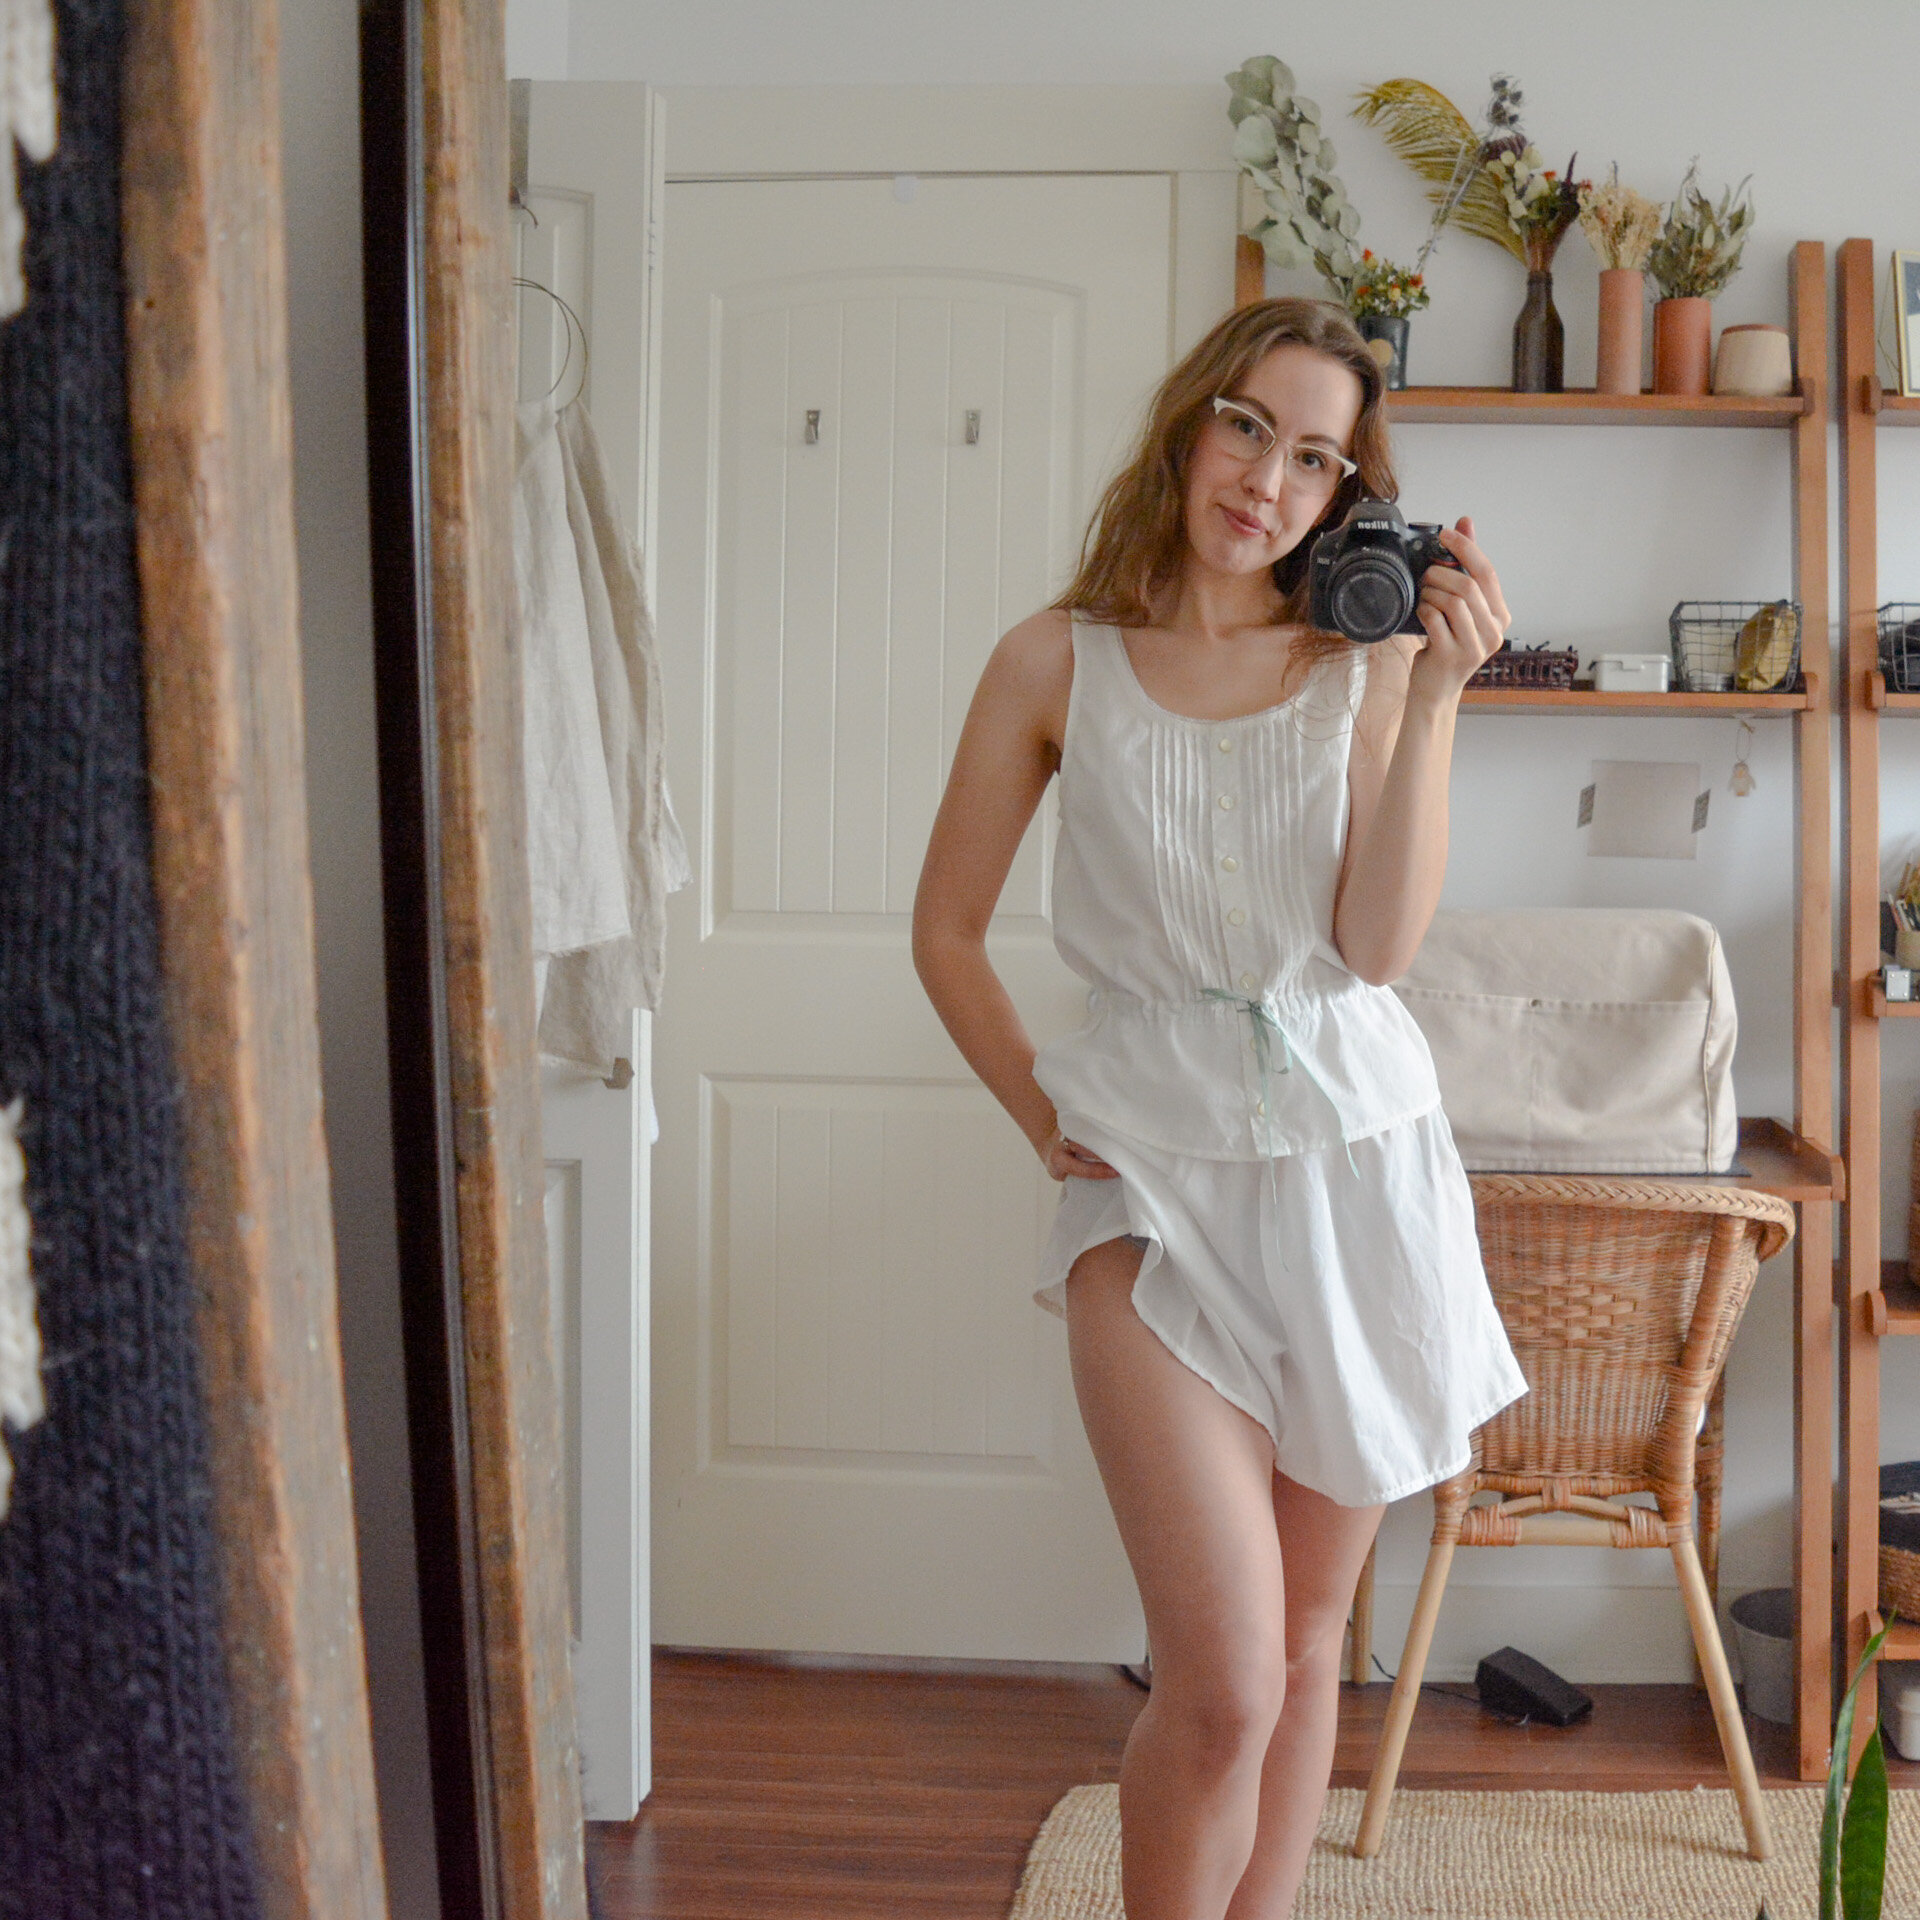
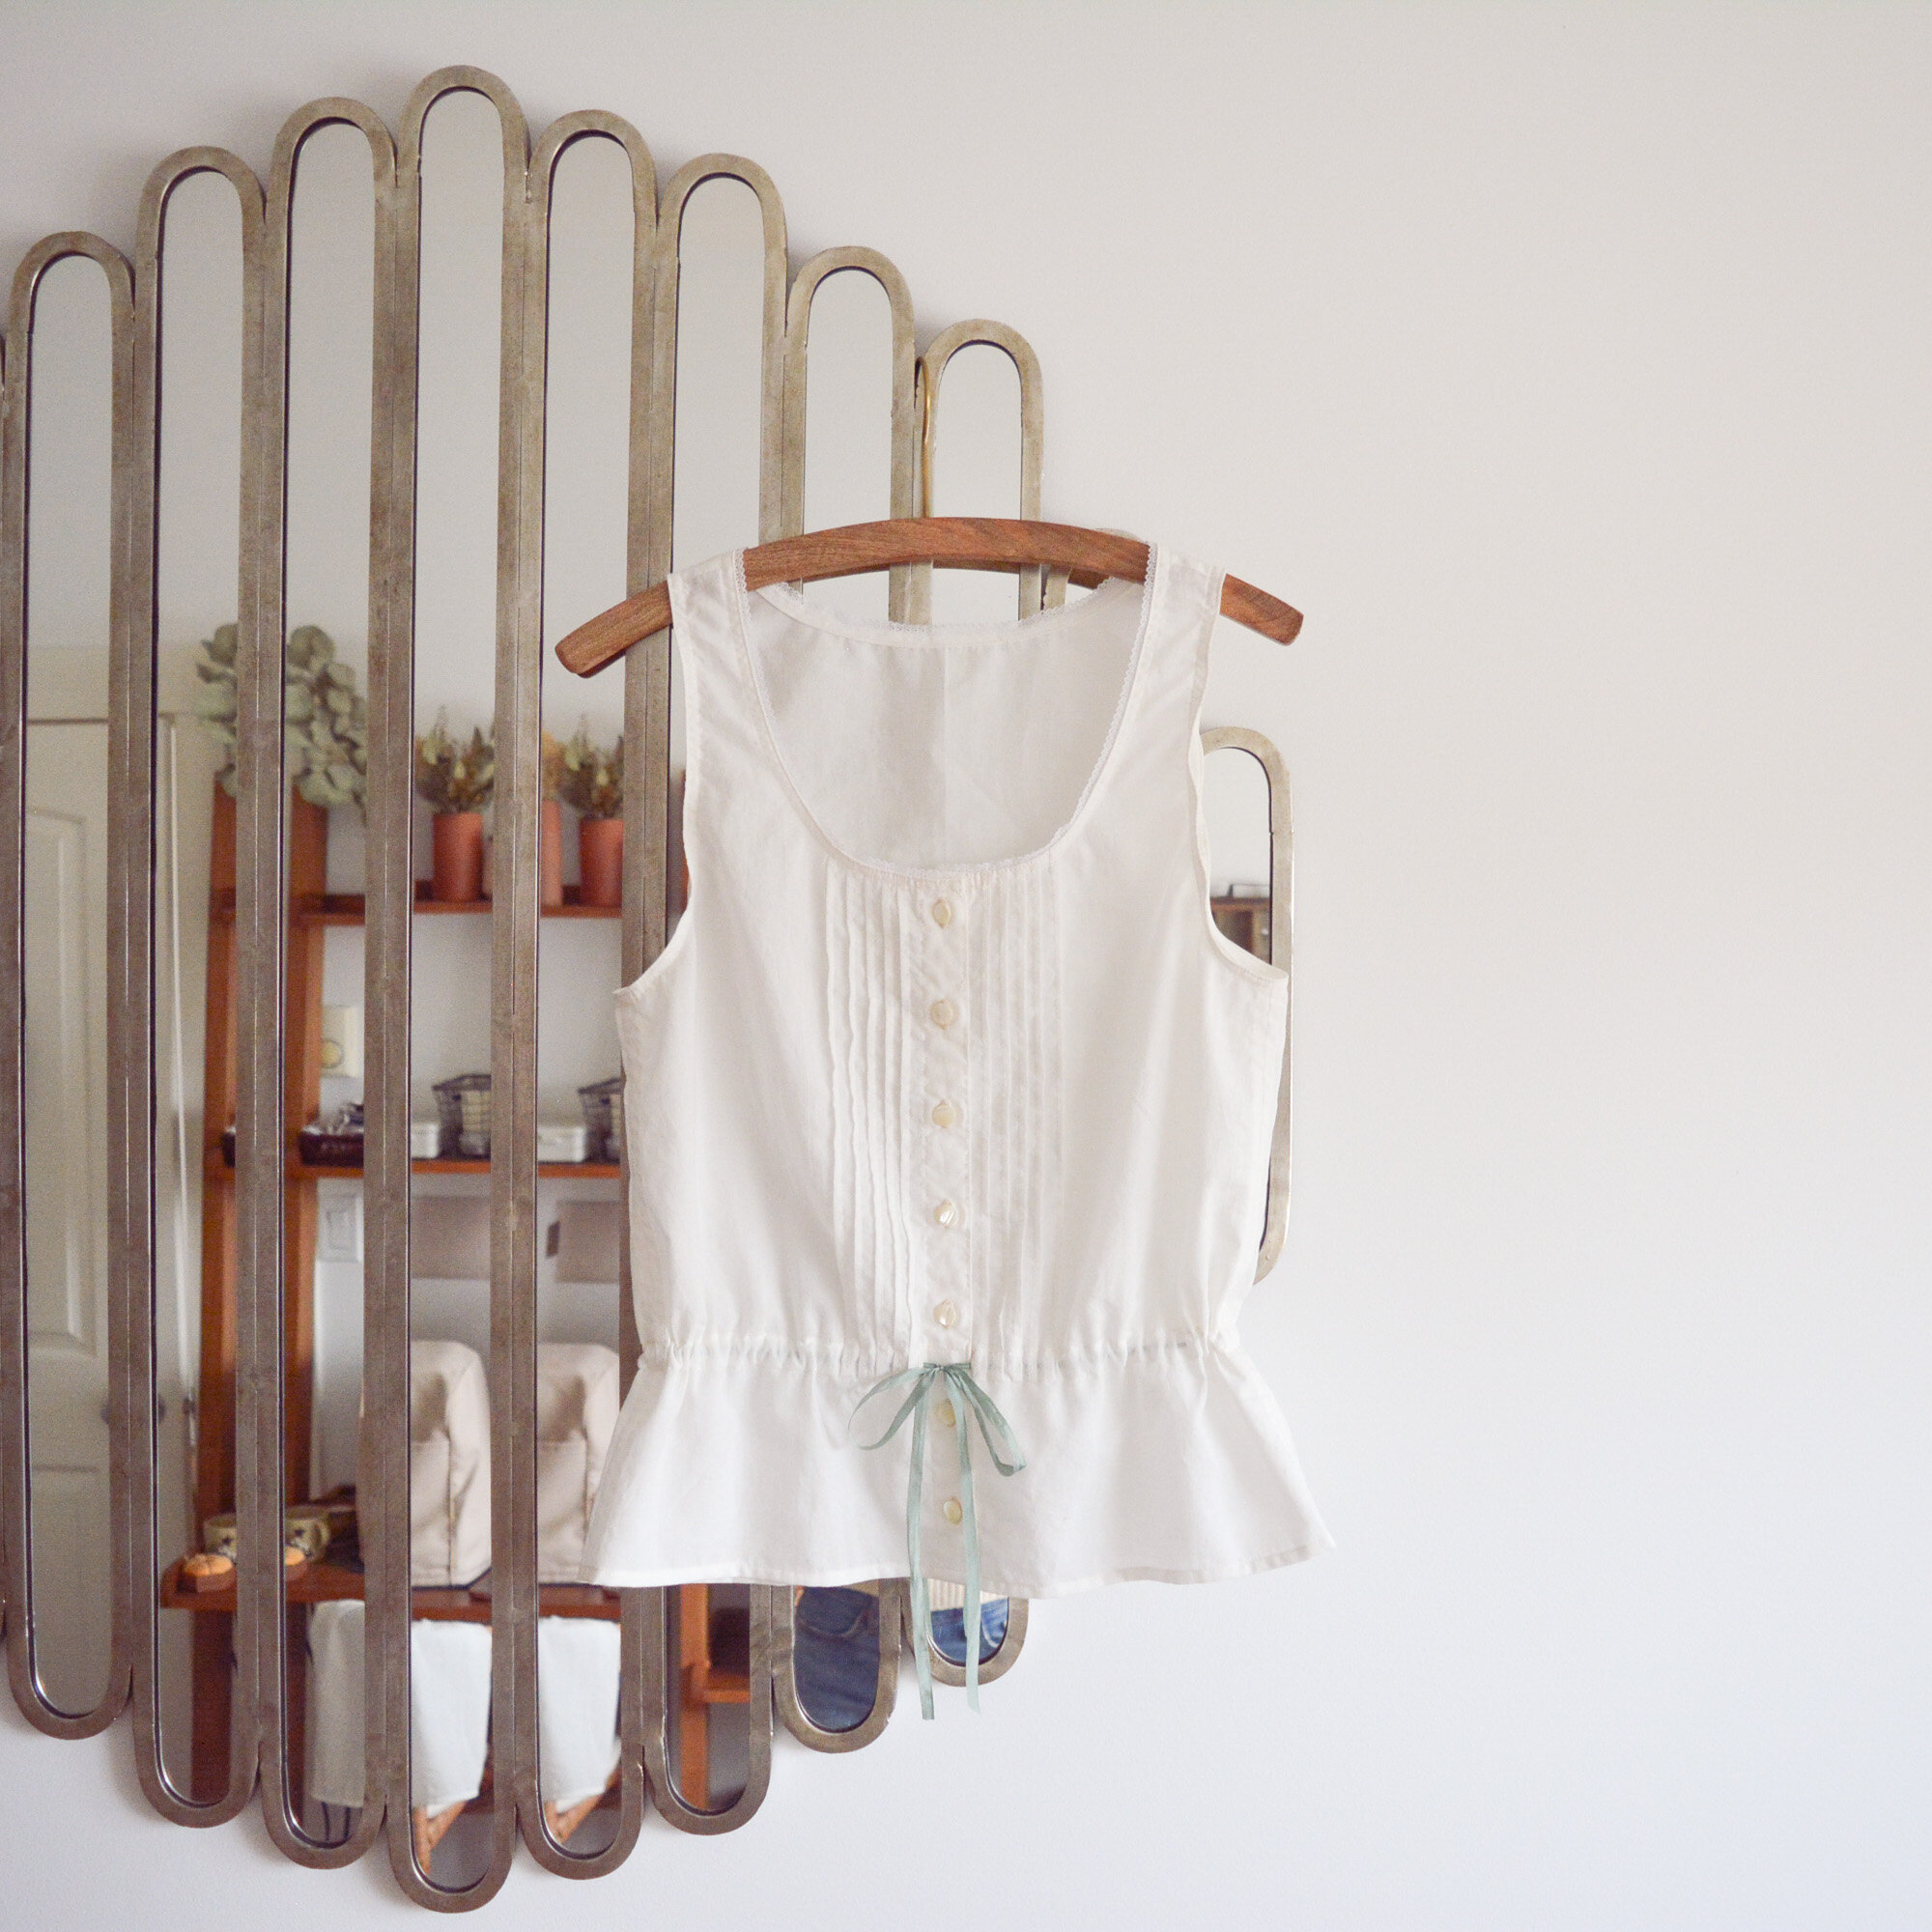
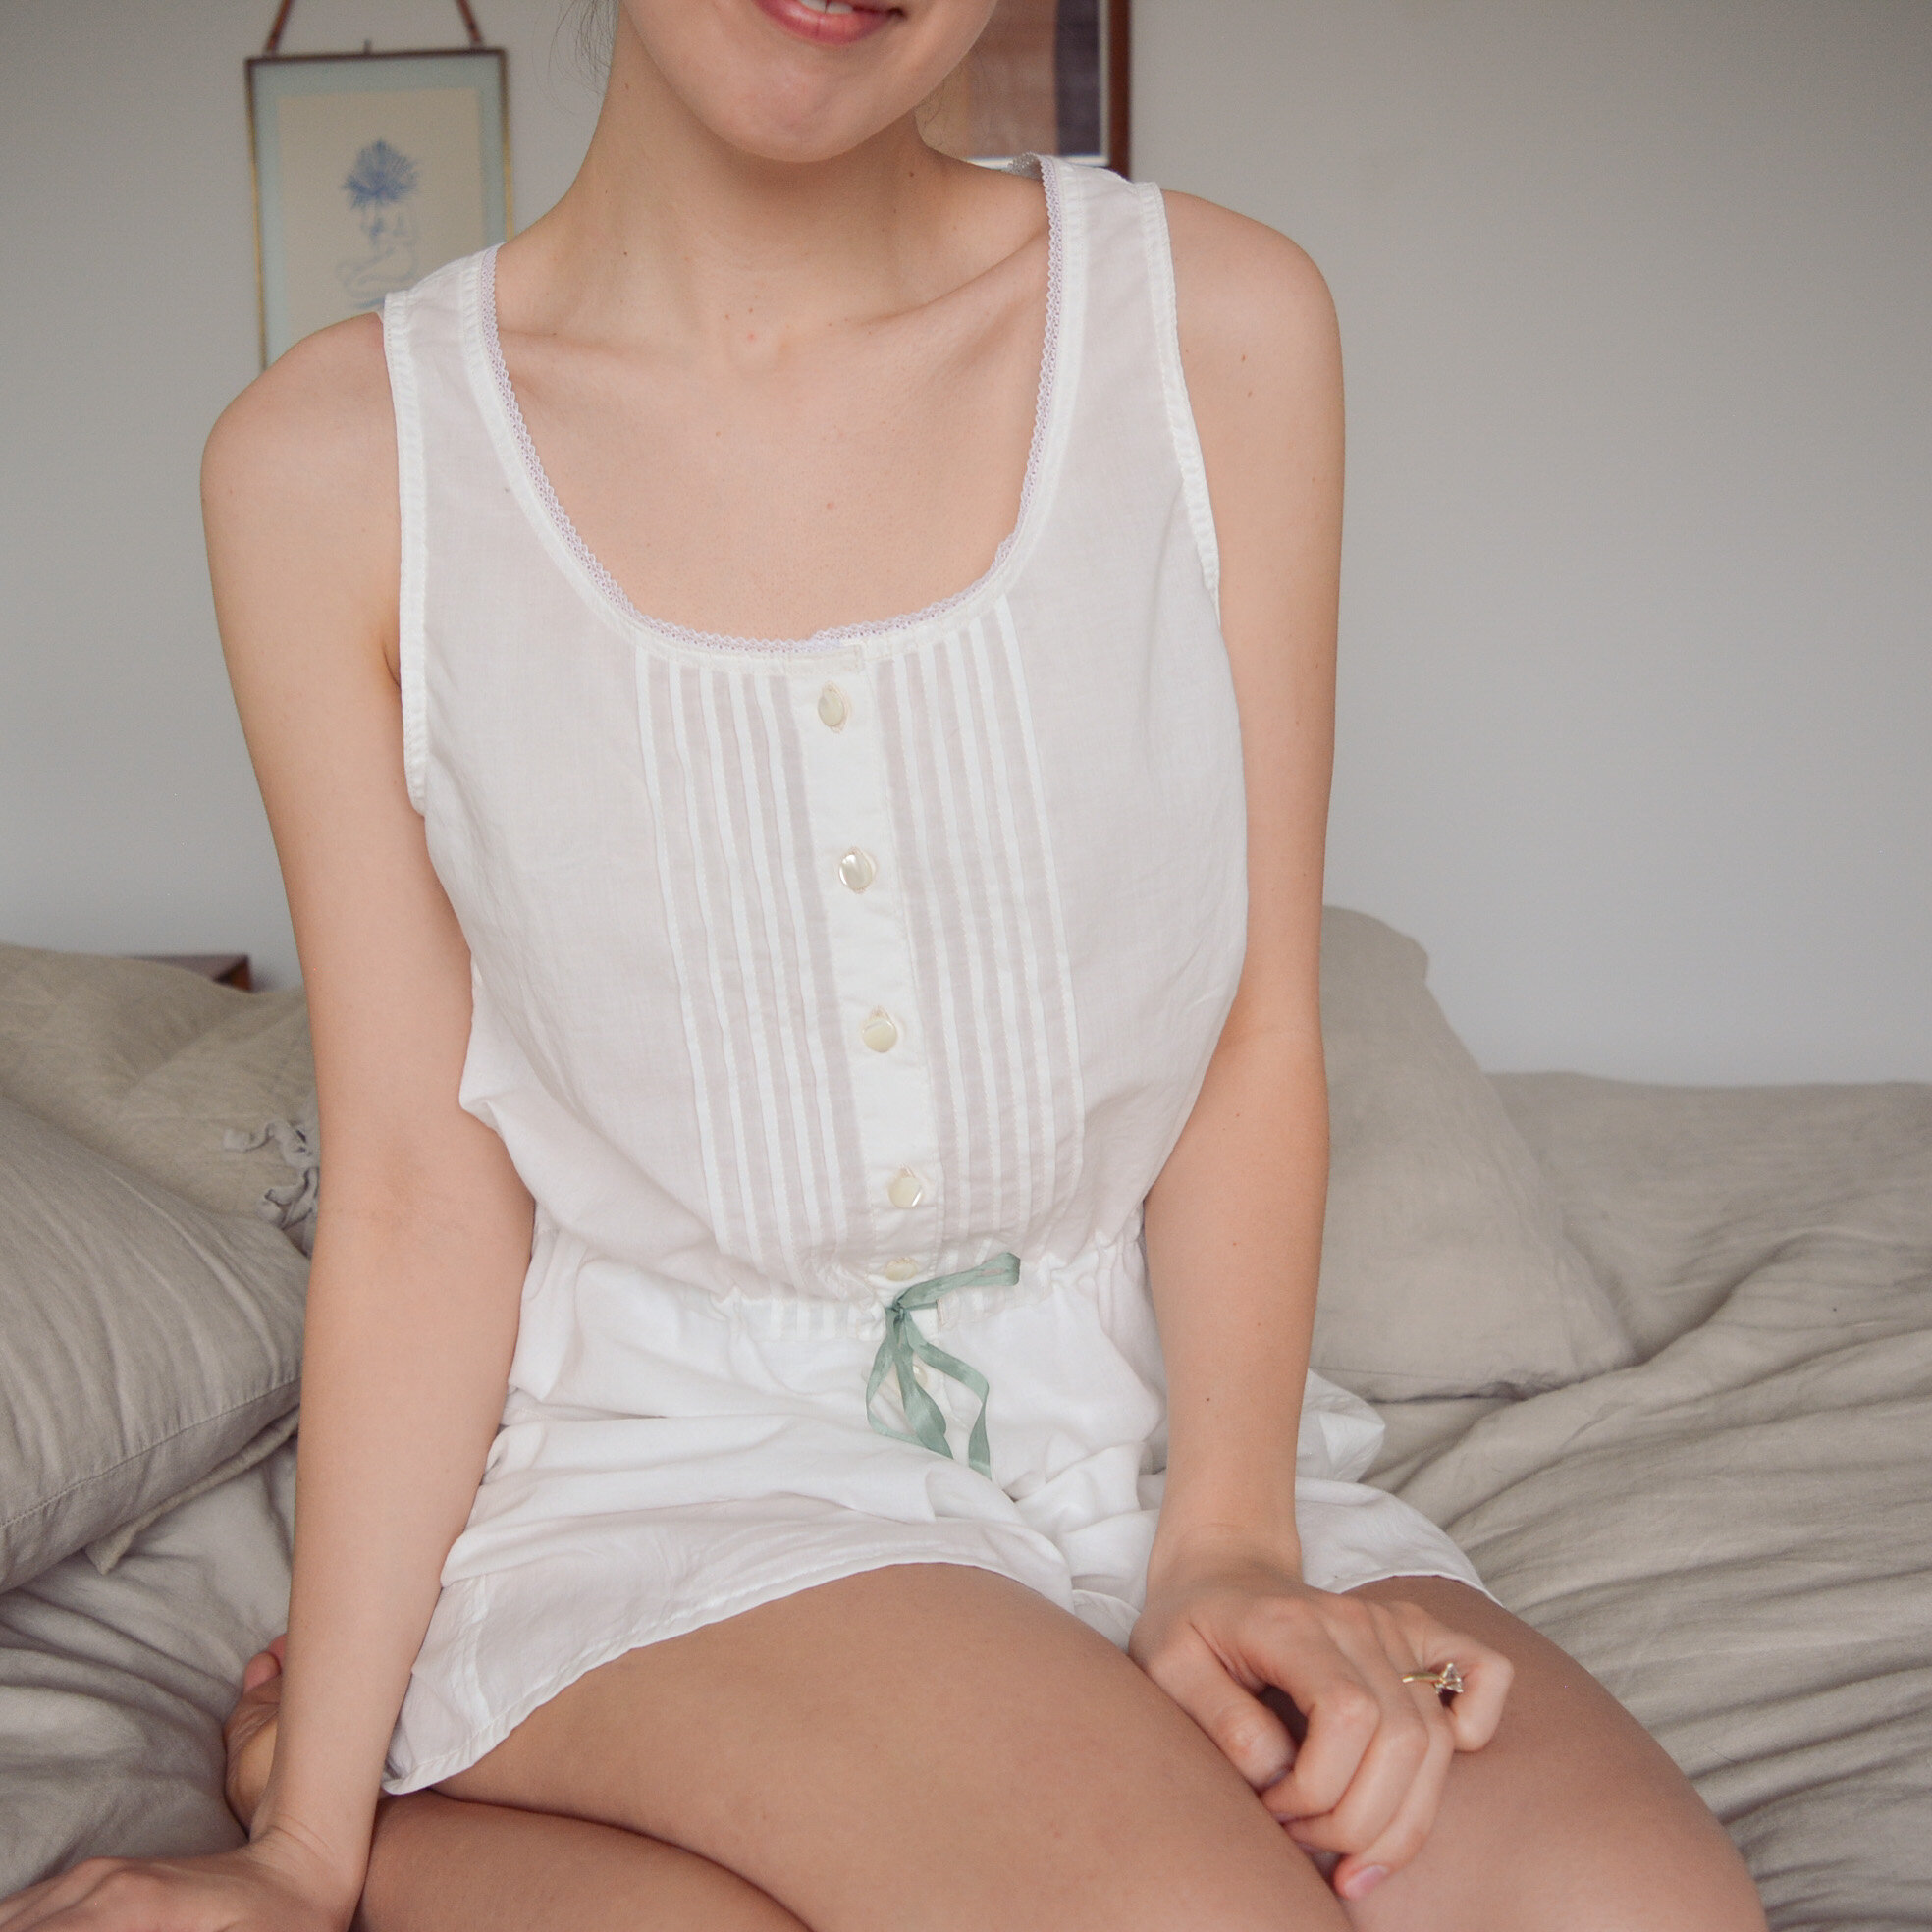
The plan was that these pyjamas were going to be a mock-up. Sewn up in an inexpensive lightweight white cotton this first time, as my final vision for these includes tediously hand embroidered fabric, naturally dyed silk or cotton lawn, and potentially some handmade lace trim. Considering how time consuming all that will be I decided to use this mock-up to practice as much as I could: hand stitched silk buttonholes, hand-felled seams, and very careful stitching on the hems and pin tucks. I'm so happy I did all this. This mock-up turned out to be such a lovely, whimsical set of pyjamas. I probably cut a size too big for the shorts but they work in this lightweight cotton and they just are so floof-y and wonderful to prance around the house in. I also feel like I always learn so much from hand stitching, and I never regret using every excuse to practice.

The cami is much more involved than the shorts, which are just done with an elastic waist. Pin tucks always make me a little nervous (if you aren't precise with them you can really alter the fit of the garment), but ultimately sewing from a pattern is just working your way through each step. So what looks daunting is always simple once you break it down. I added a silk ribbon to the casing which makes these pyjamas so feminine, I always love when a garment defines my waist. This mock-up turned out to be such a romantic set, and I'm eager to make it up again with even more special material.

2021-03-04_18-21-26.jpg

Some links that might be helpful:

lightweight organic cotton: Maiwa

delicate cotton lace: Cotton Lace

vintage sewing pattern: Butterick 6250

Wattlebird Cami and Fawn Skirt Pattern Review

wattlebird-cami.jpg

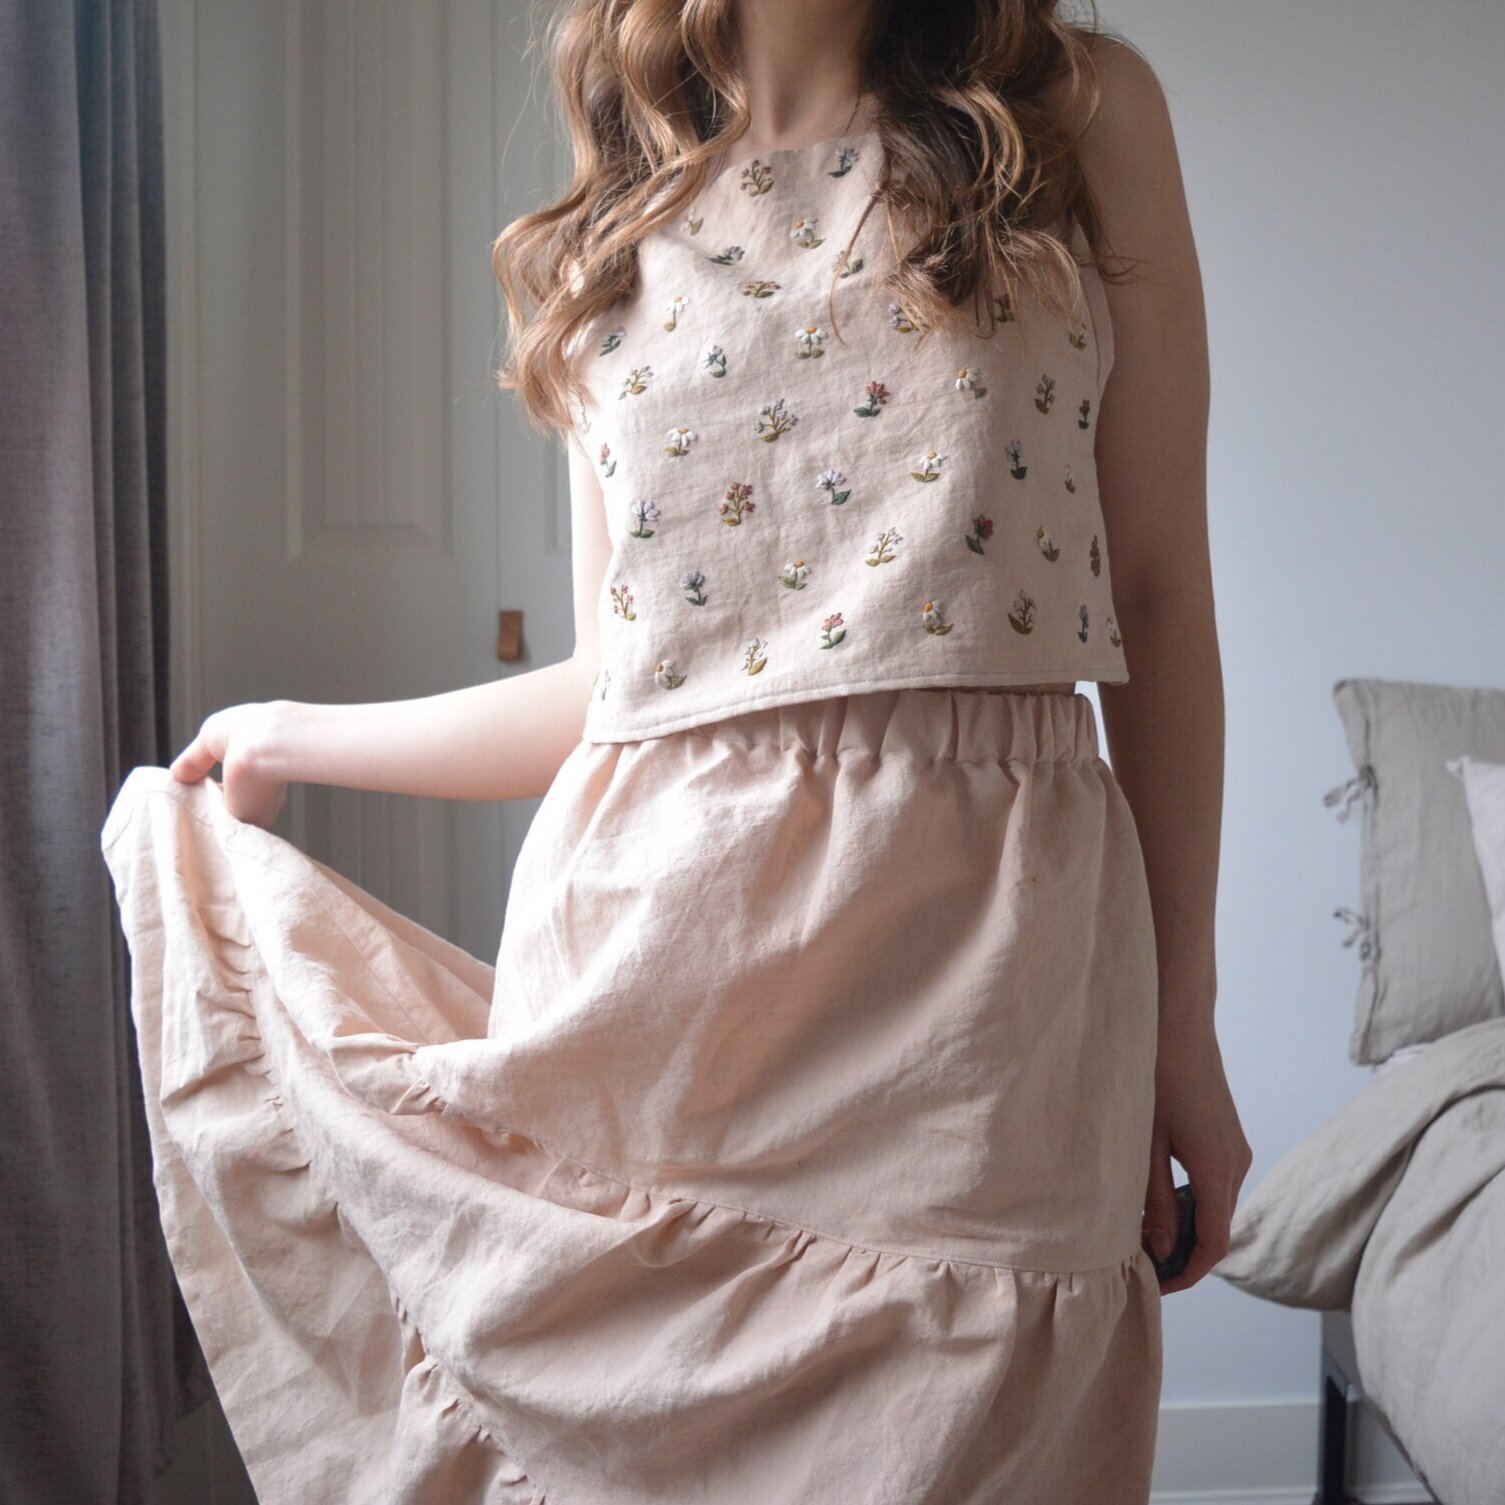
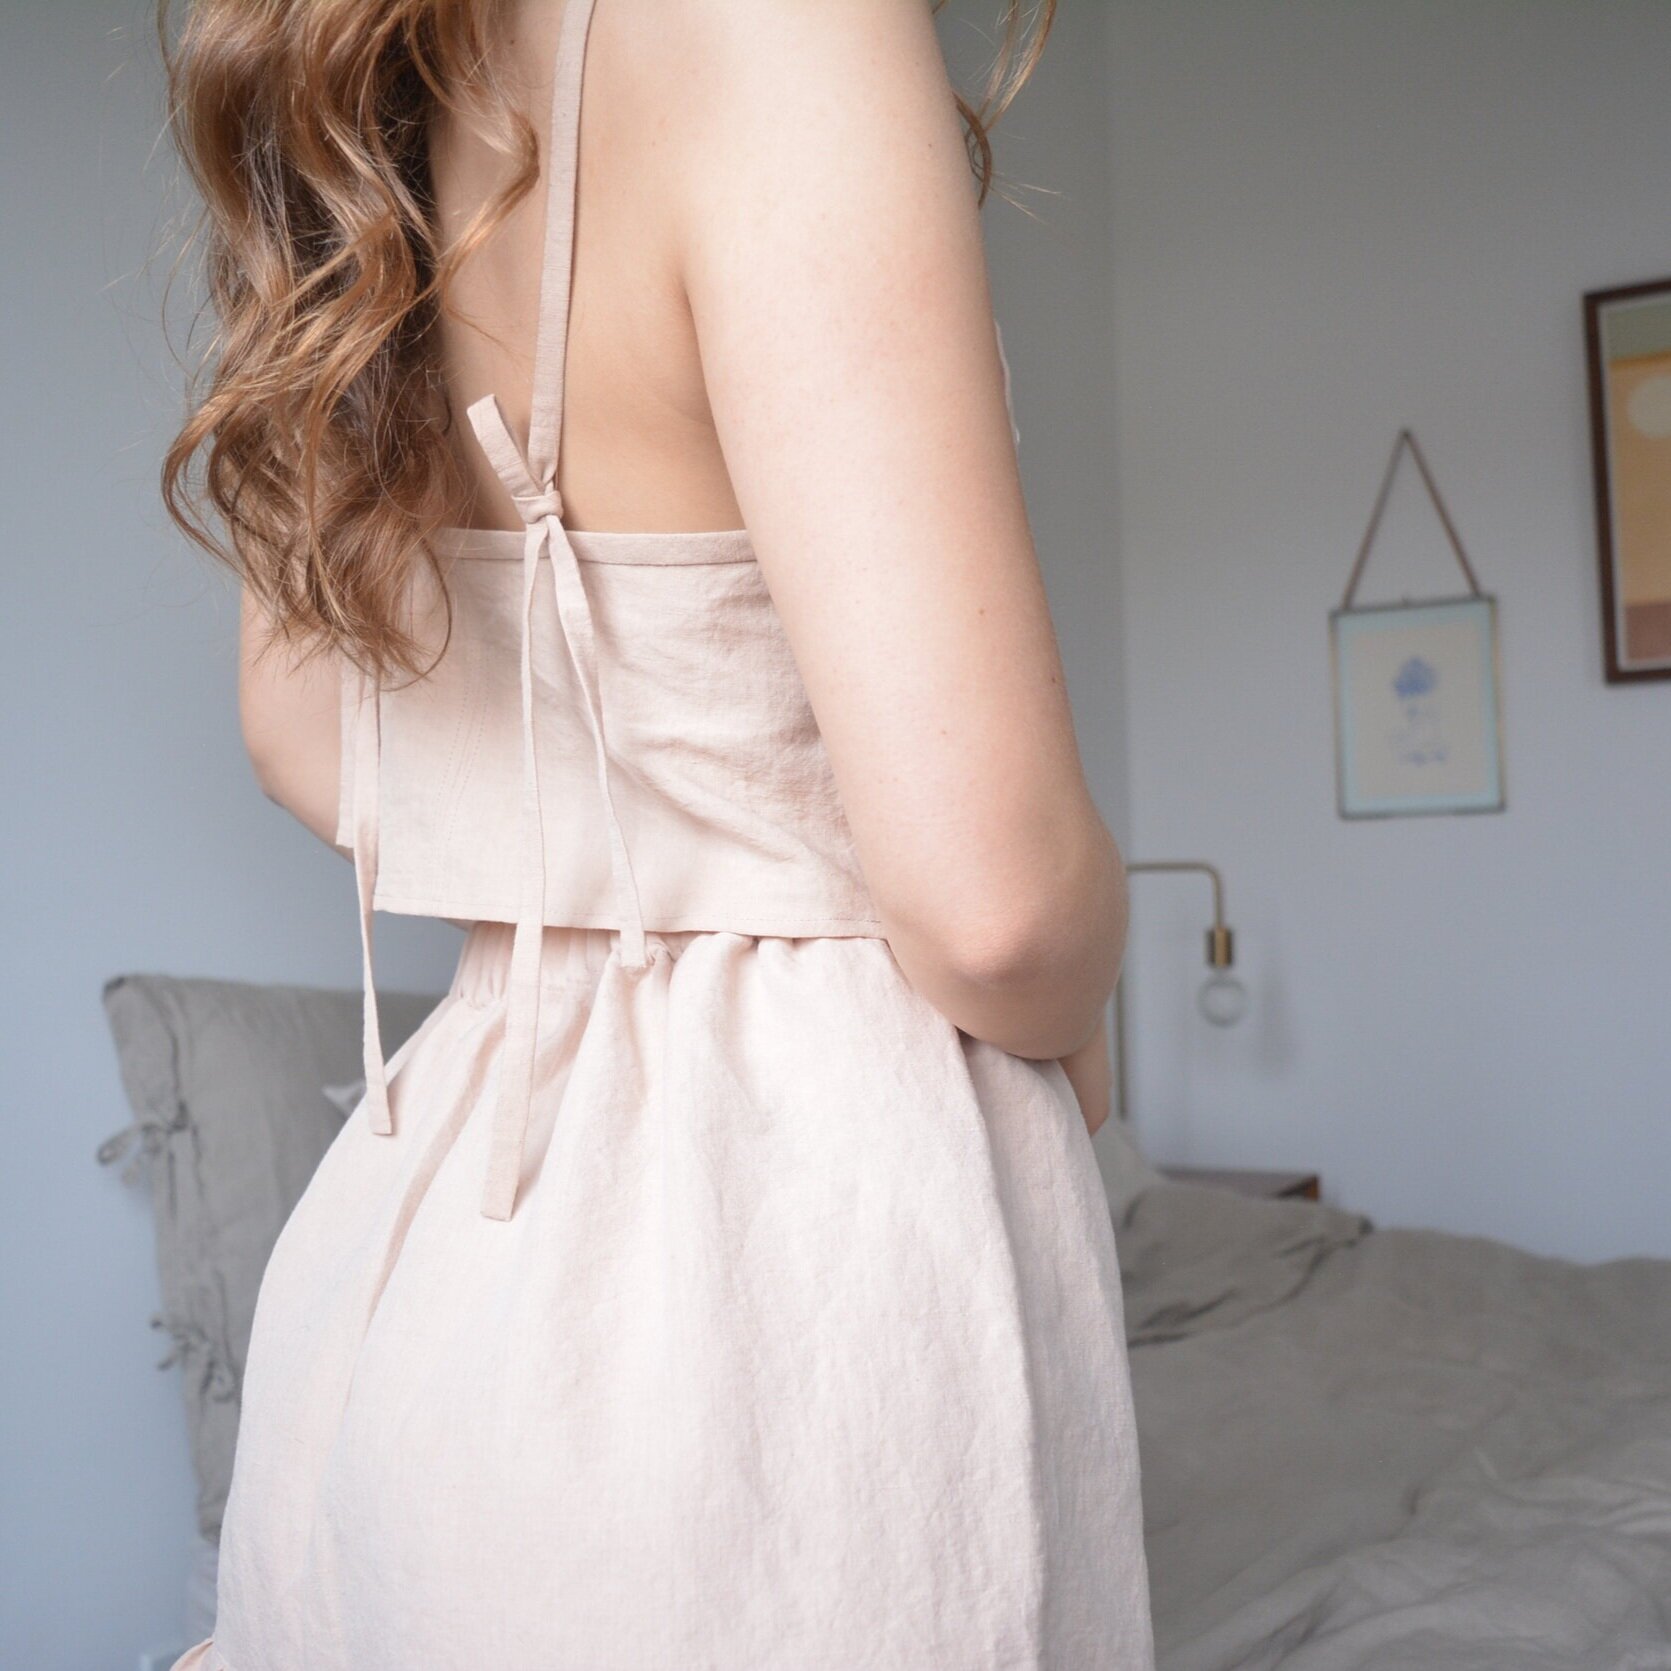
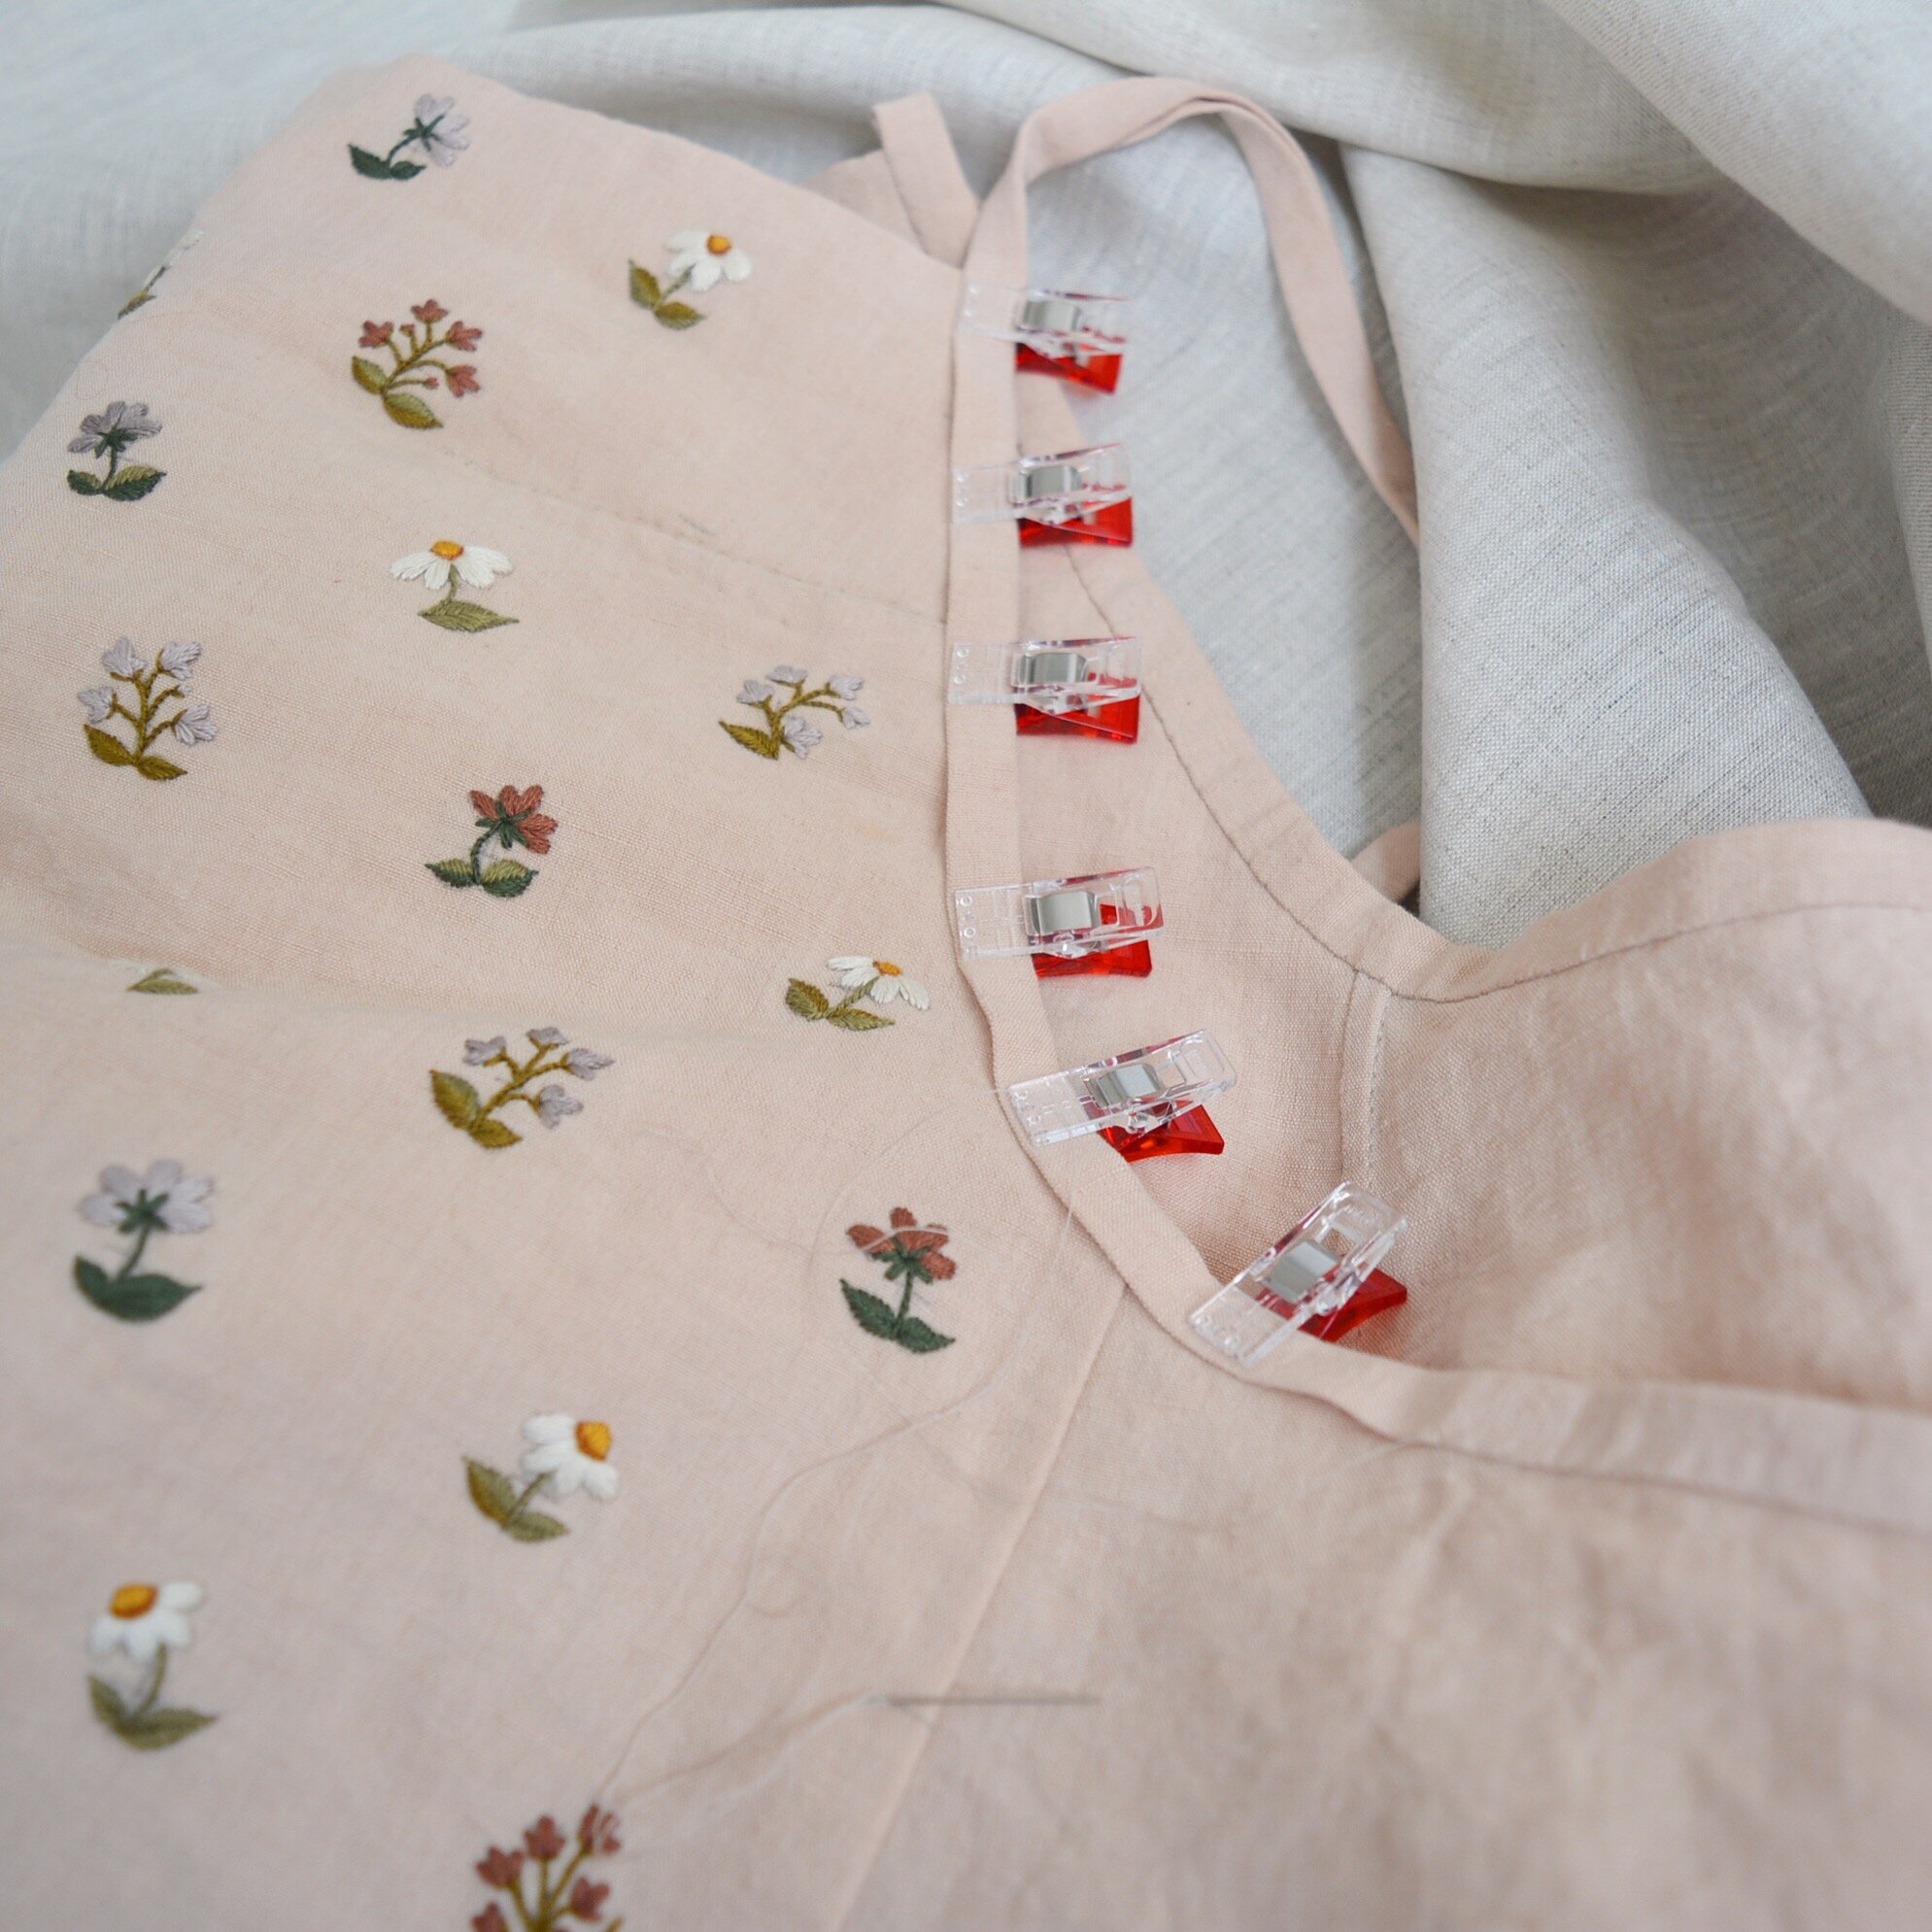
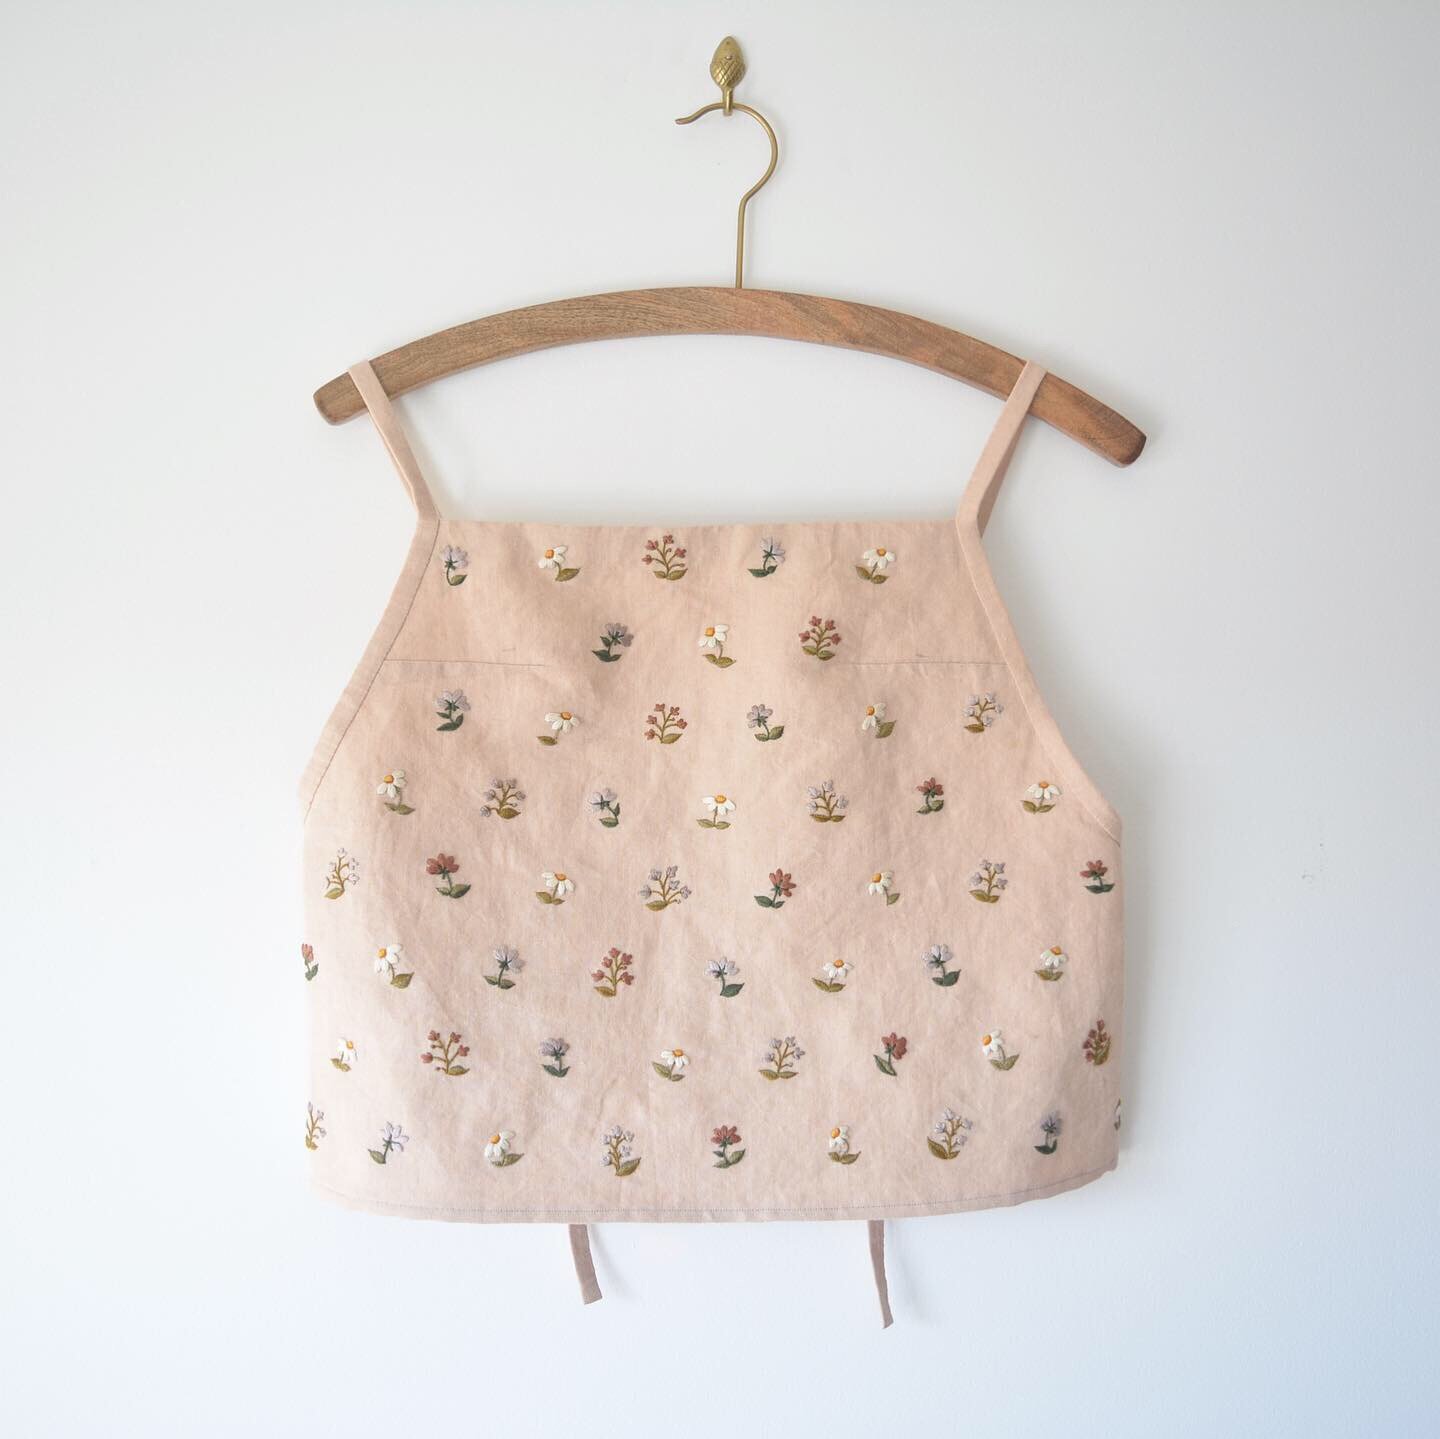
If I've ever poured all my love and energy into making something it was this project right here. My avocado dyed, hand-embroidered, hand-finished Wattlebird Cami & Fawn Skirt set. I started this project with the intention to make the Wattle-Fawn Dress hack, but it evolved into separates that can be worn together to look like a dress. This is the most involved I've ever been in the process of making a garment, and that makes me so proud of the finished pieces.

The Wattle-Fawn dress is a mash-up of two patterns by Common Stitch: the Wattlebird Cami and the Fawn Skirt. I bought the PDF version and had the pattern printed at my local copy shop so I wouldn't have to do any paper piecing. It was an investment to buy this pattern (which Common Stitch sells as a package including both individual patterns), but I really think I'll get a lot of use out of it. I love both the cami and skirt on their own, and I think I'll be doing plenty of future sewing from these patterns.

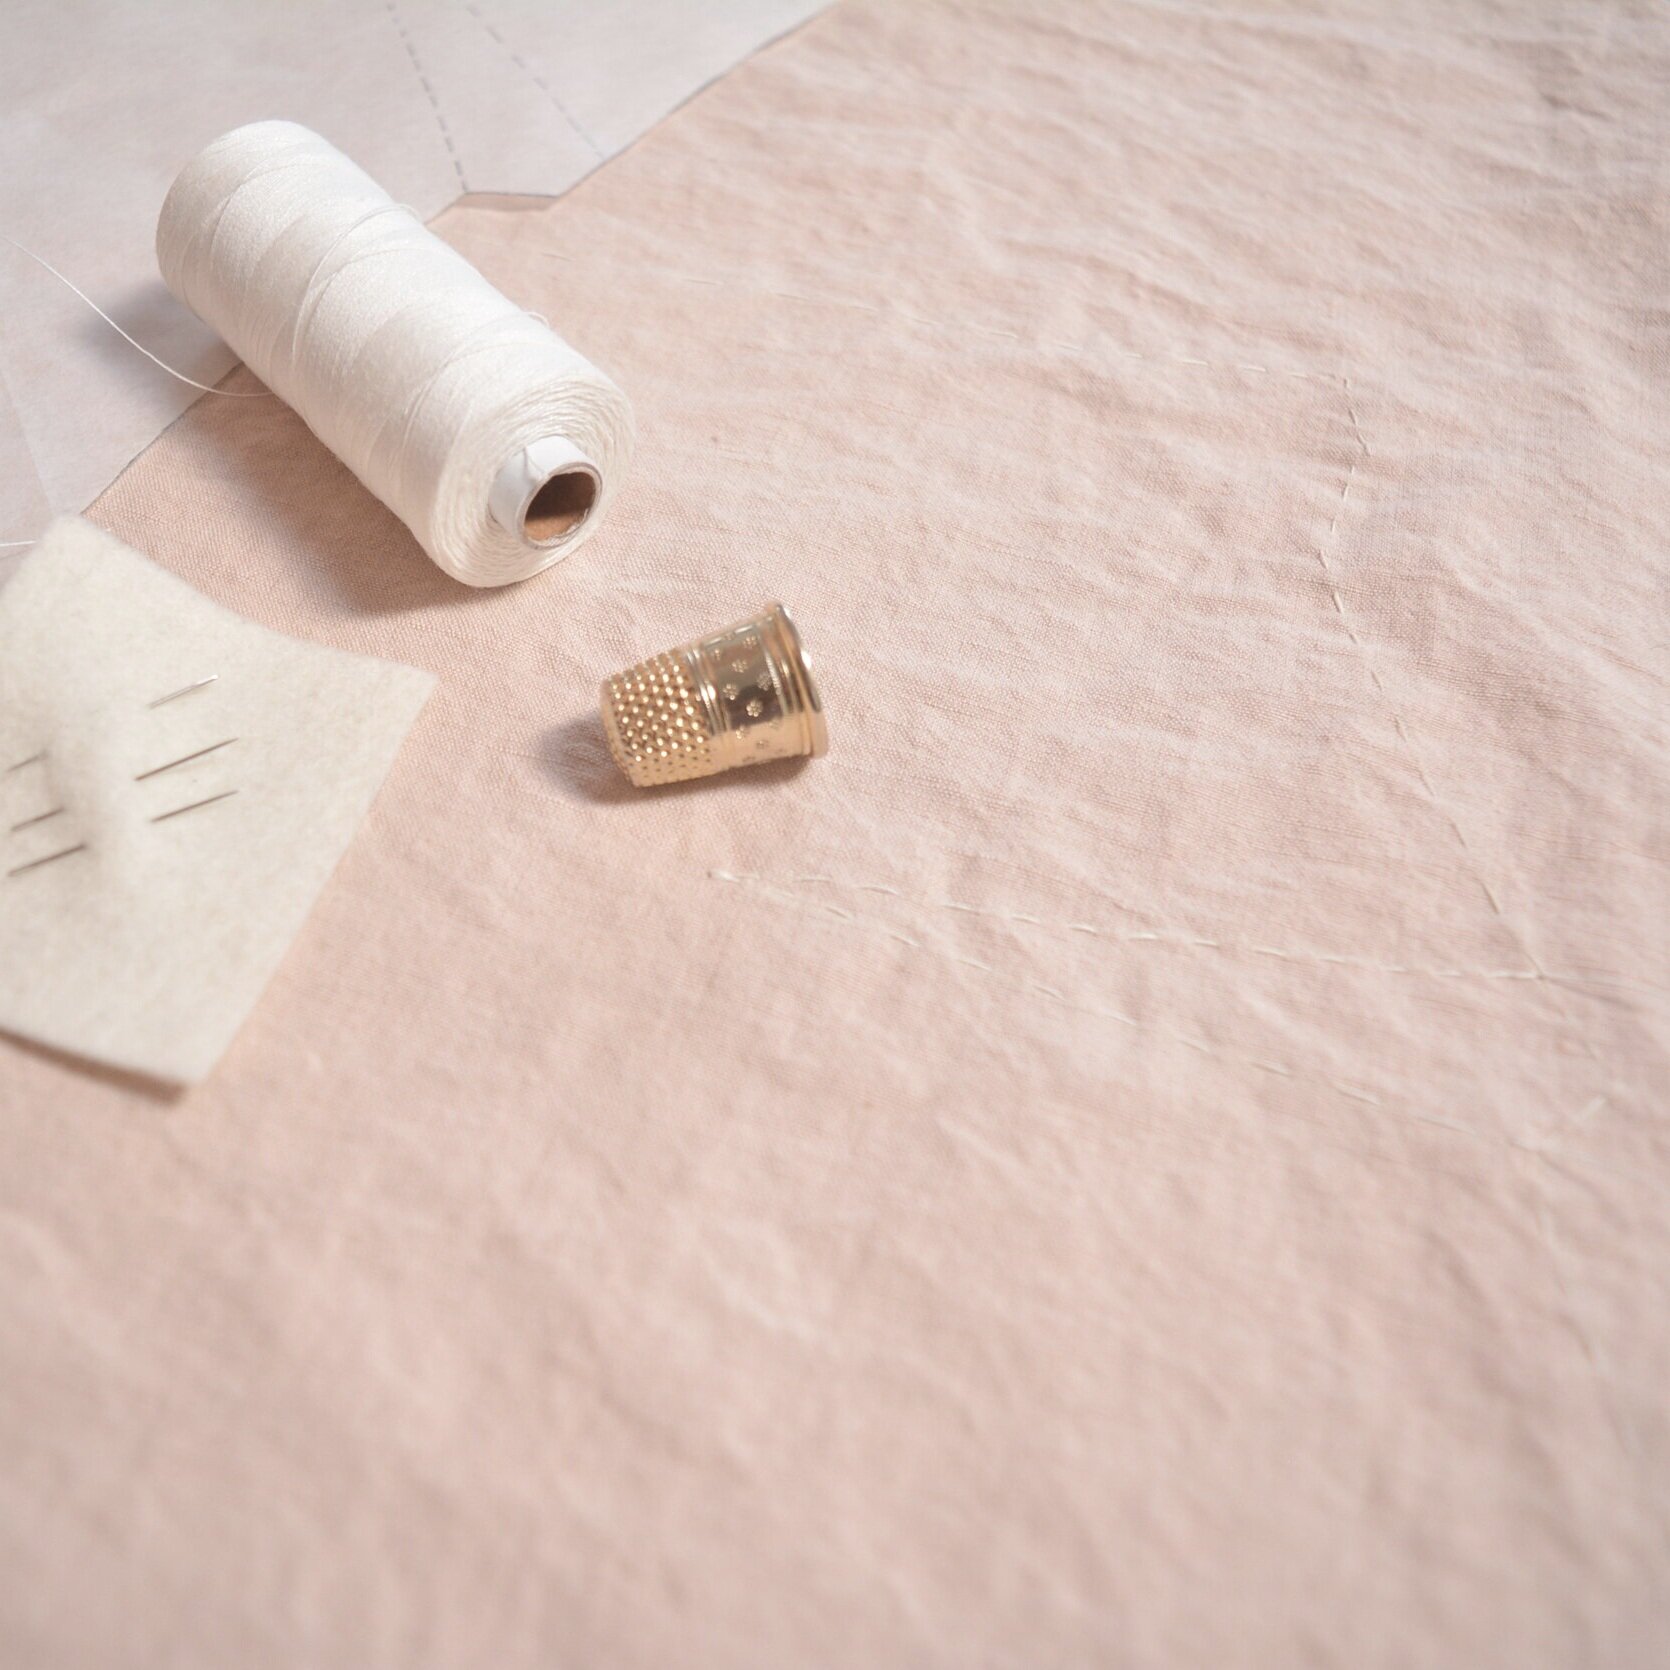
The fabric I used for this project is a handwoven 100% linen from Maiwa Supply. I dyed the fabric naturally using avocado skins and pits to get the peachy pink colour (you can read more about that here). I cut all my pieces like usual, except for the front cami piece. Because I knew that I would be embroidering that one I thread basted where I would be cutting later, and then left myself plenty of fabric all around that thread basted line so that the piece would comfortably fit into my embroidery hoop. I decided not to sew a mock-up for this dress, mainly because I'm not usually too picky about how garments like this fit. The Wattle-Fawn dress is designed to be a loose fitting flow-y dress without too much structure (and also no sleeves to fit!) so I figured I wouldn't have a problem just jumping straight into it, and making small adjustments later if necessary. Of course this bit me in the butt later when I realized that the dress was a little too shapeless for my preference, but turning it into a set of separates was a quick fix for that.

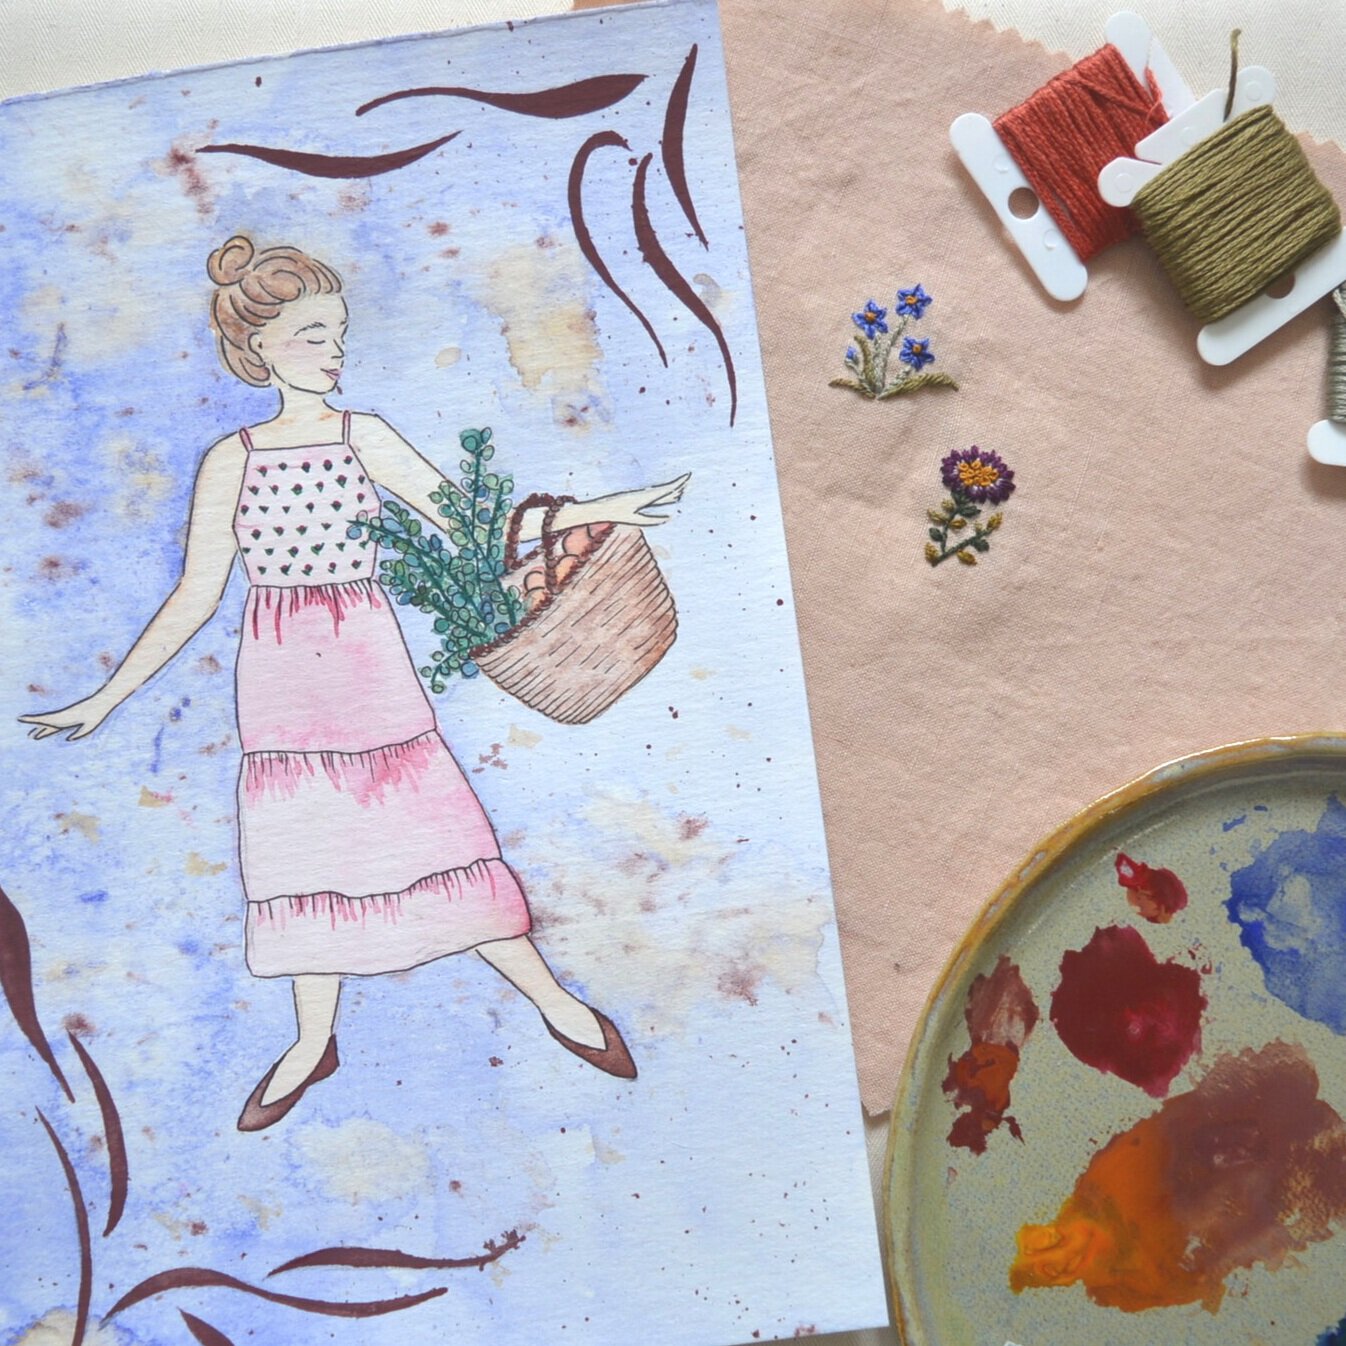
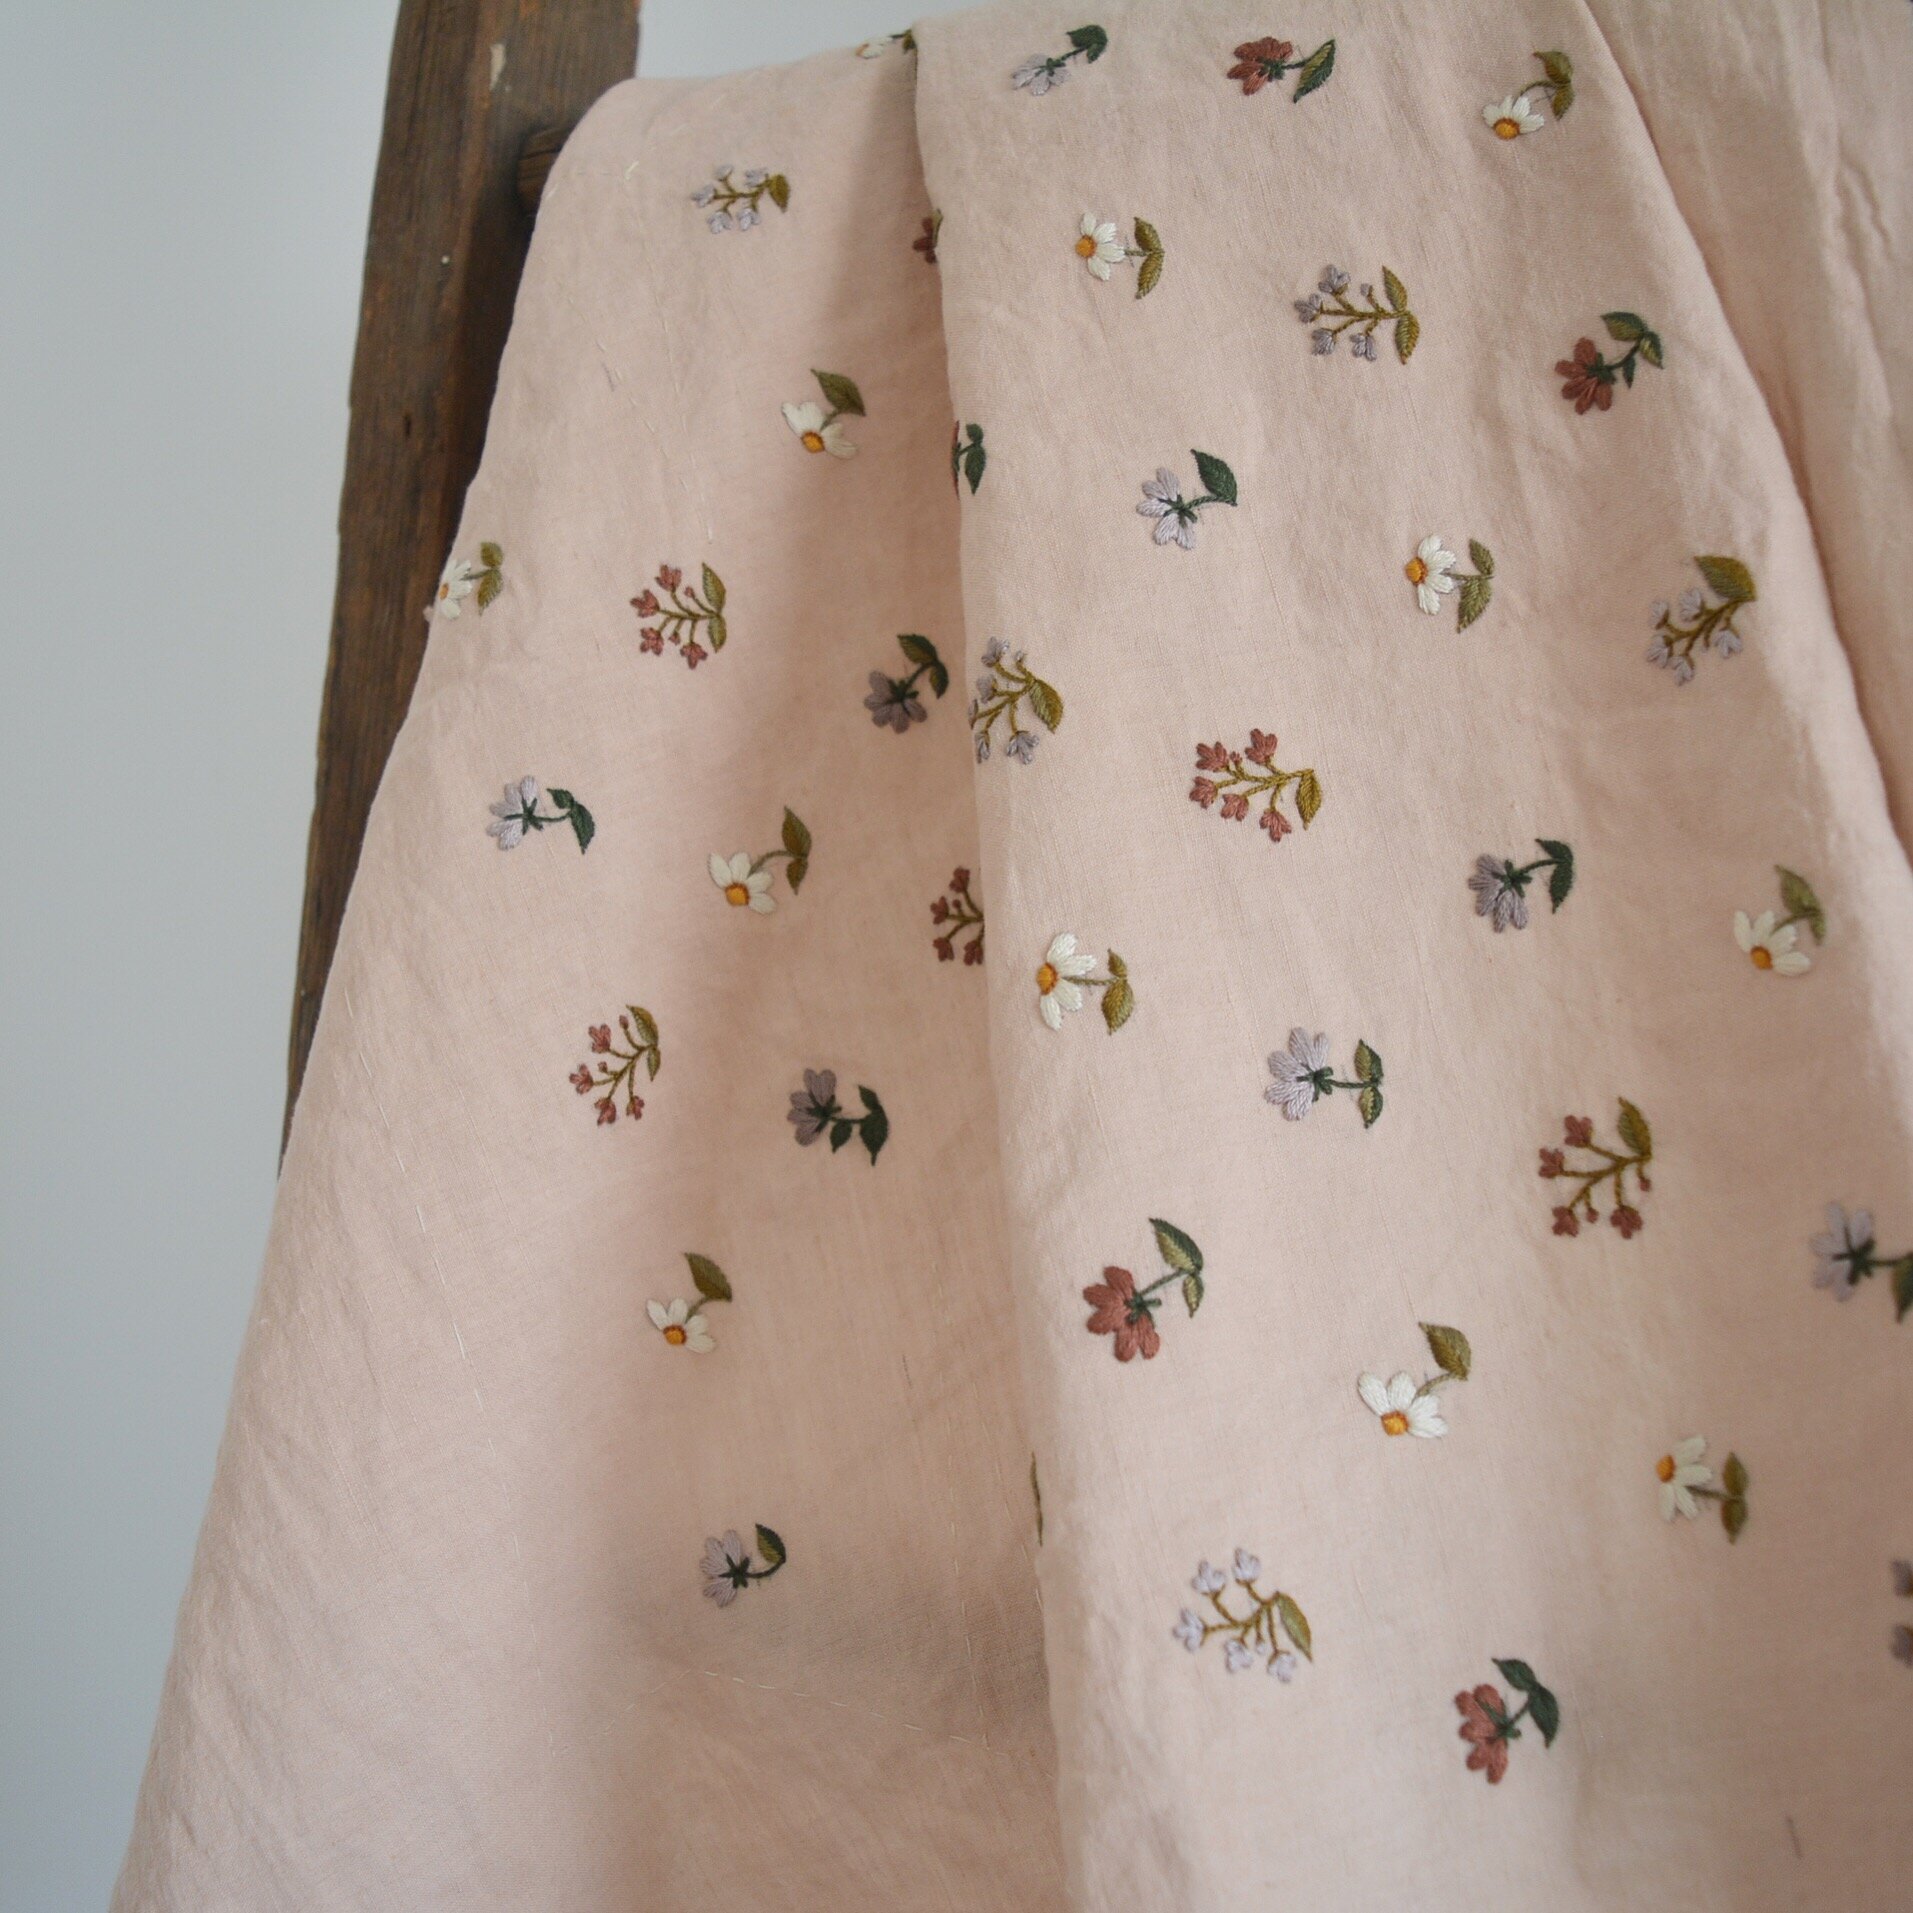
I wanted an all over embroidered floral print for the cami piece, so I tested a couple flower ideas on some scrap avocado dyed fabric, and once I had my plan I sketched it all out on my thread basted piece with pencil, measuring to make sure the flowers were equally spaced. Pencil doesn't wash out as nicely as a marker made for this purpose, but it's what I had on hand and I would be covering it all up with embroidery anyways. I went about embroidering, and 38 hours of stitching later (spread out over a couple weeks of course) I was ready to start assembling.

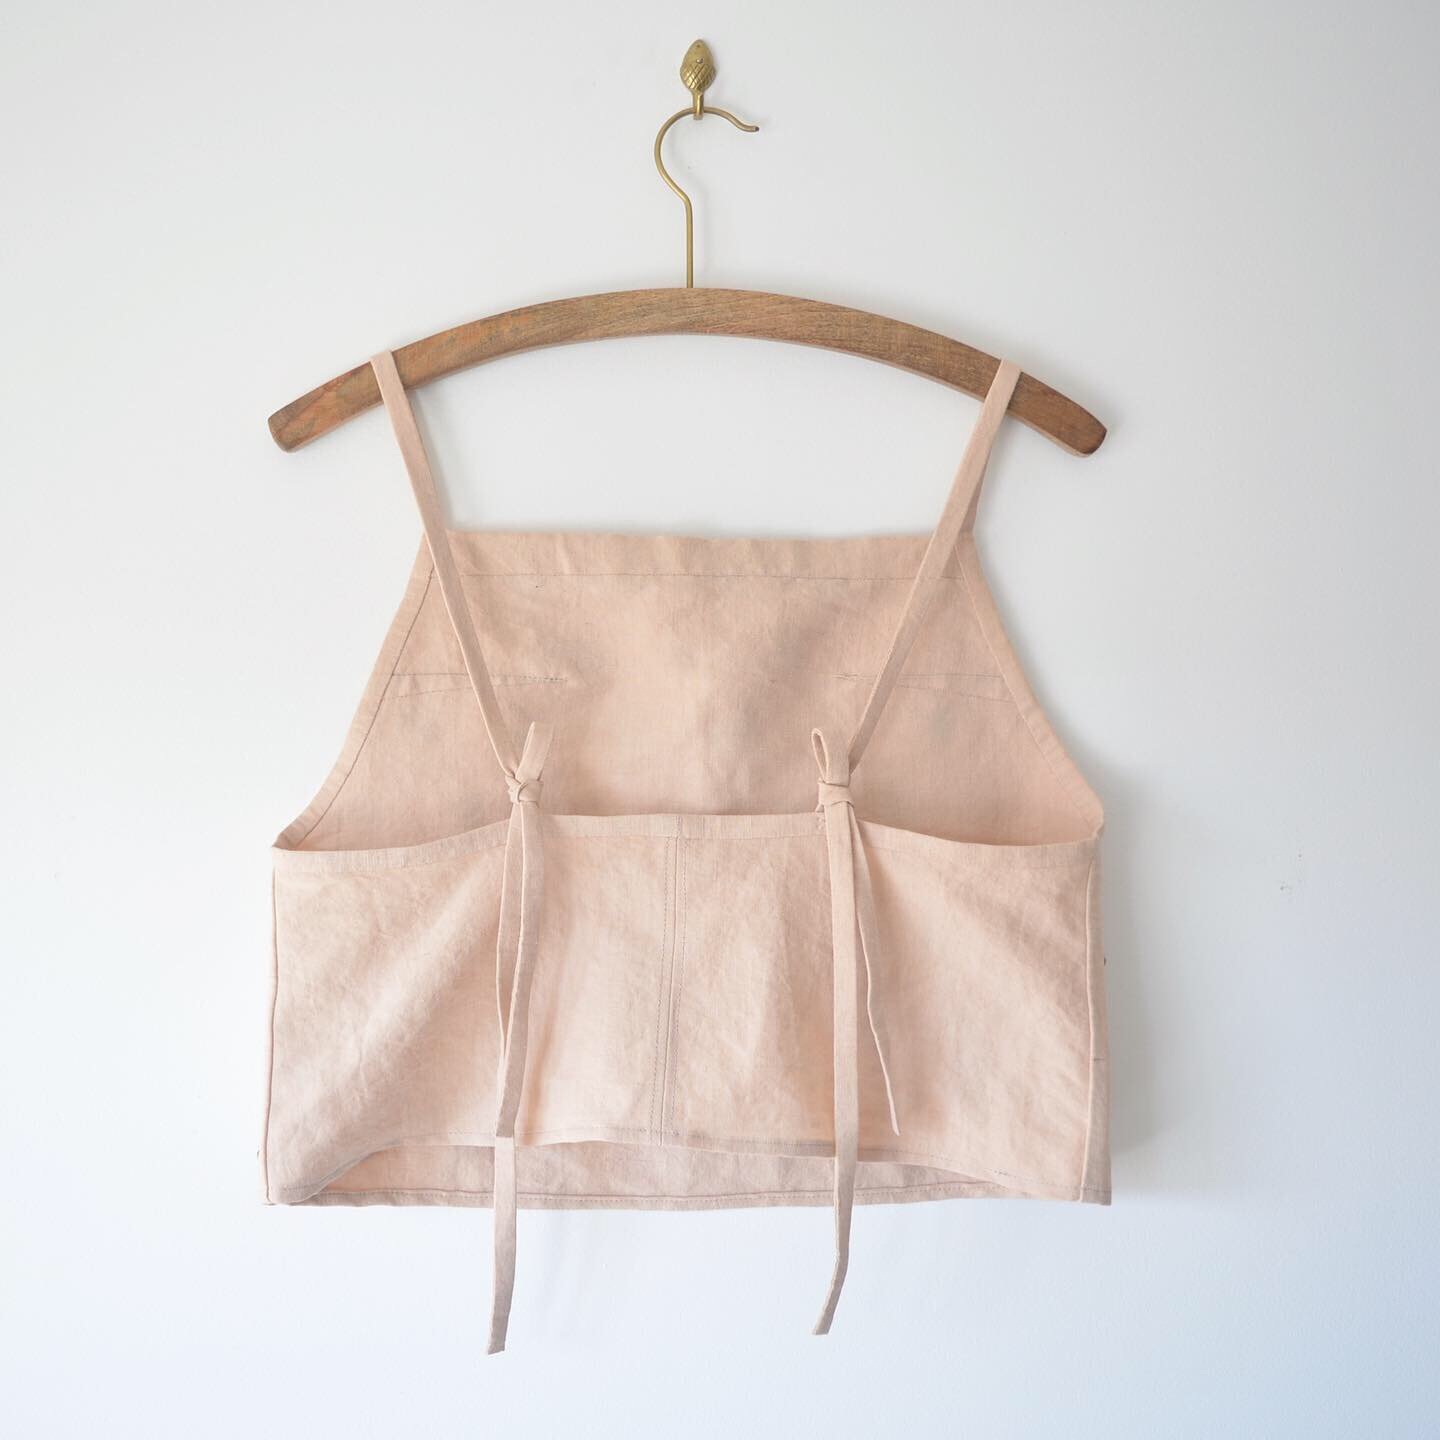
I wanted to cover the back side of the embroidery because I thought it might irritate my skin, so I lined just the front cami piece with another piece of the same pink linen. I used the flat-lining method, essentially cutting a double of the piece I wanted to line, laying them on top of one another, and from that point treating it as one single piece. Flat-lining gives you a chance to finish things really beautifully by hand, hiding stitches and seams in the lining. One of Bernadette Banner's videos explains the flat-lining process really well: linked here. I also hand finished all of the binding and straps because every time I try top-stitching fiddly bits like this on my machine it never turns out as straight or neat as I prefer.

I pieced together the skirt, getting mildly frustrated by all the gathering, but it came together fairly quickly. I basted the cami to the assembled skirt because I though I might want to shorten it, and it was here when I tried it on to fit that I realized it was not quite the look I wanted. The lack of a defined waist coupled with all the volume in the skirt was just making me feel shapeless. I decided to take them apart and just hem the cami and keep it as a classic Wattlebird cami, and finish the skirt as a separate at well. The Fawn Skirt is finished with an elastic waist, which gave me the waist definition I wanted. I'm pretty happy with this solution because I feel like I will get a lot of wear out of the cami on it's own, making the garments a lot more versatile than if I just had the dress.

If I do decide to try the dress hack again it would be with a much more drape-y and flow-y fabric, and I would probably insert ties in at the waist seams so that I could cinch the waist in and tie a bow at the back. But for now I'm smitten with my outcome from this first try and looking forward to a summer in avocado pink!

FO: Beach Tank

2017-02-02_15-29-54.jpg

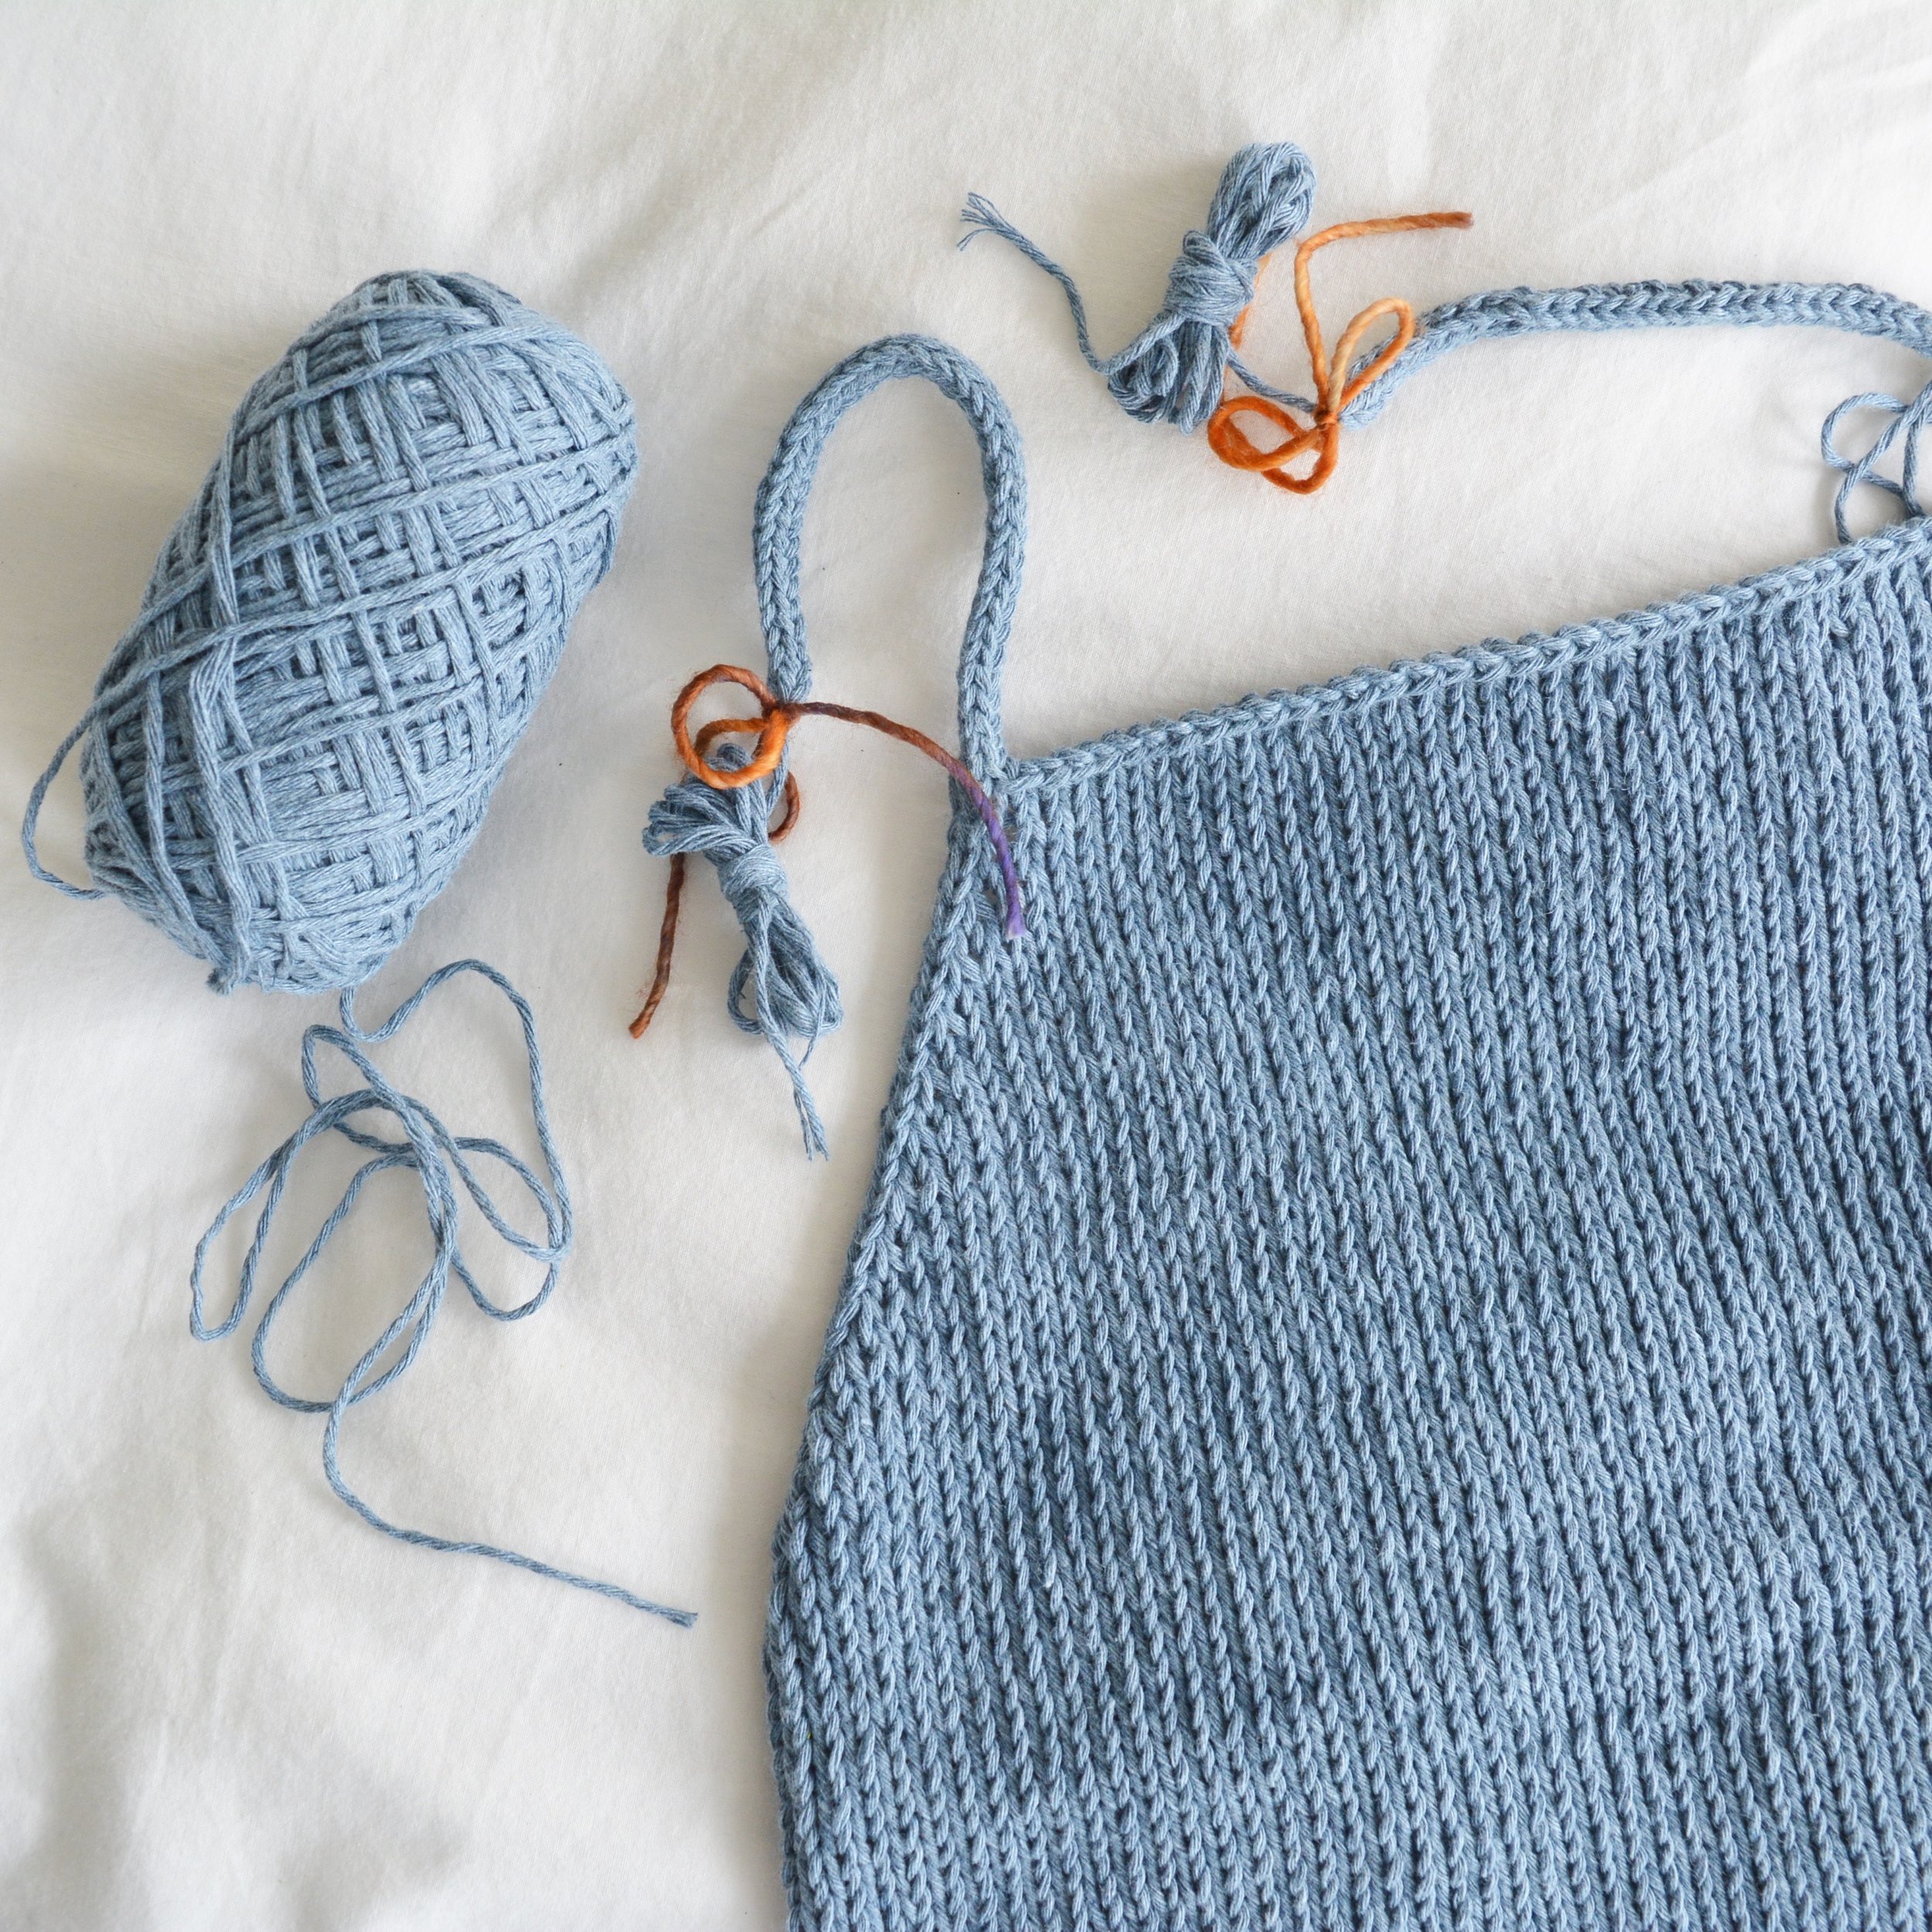
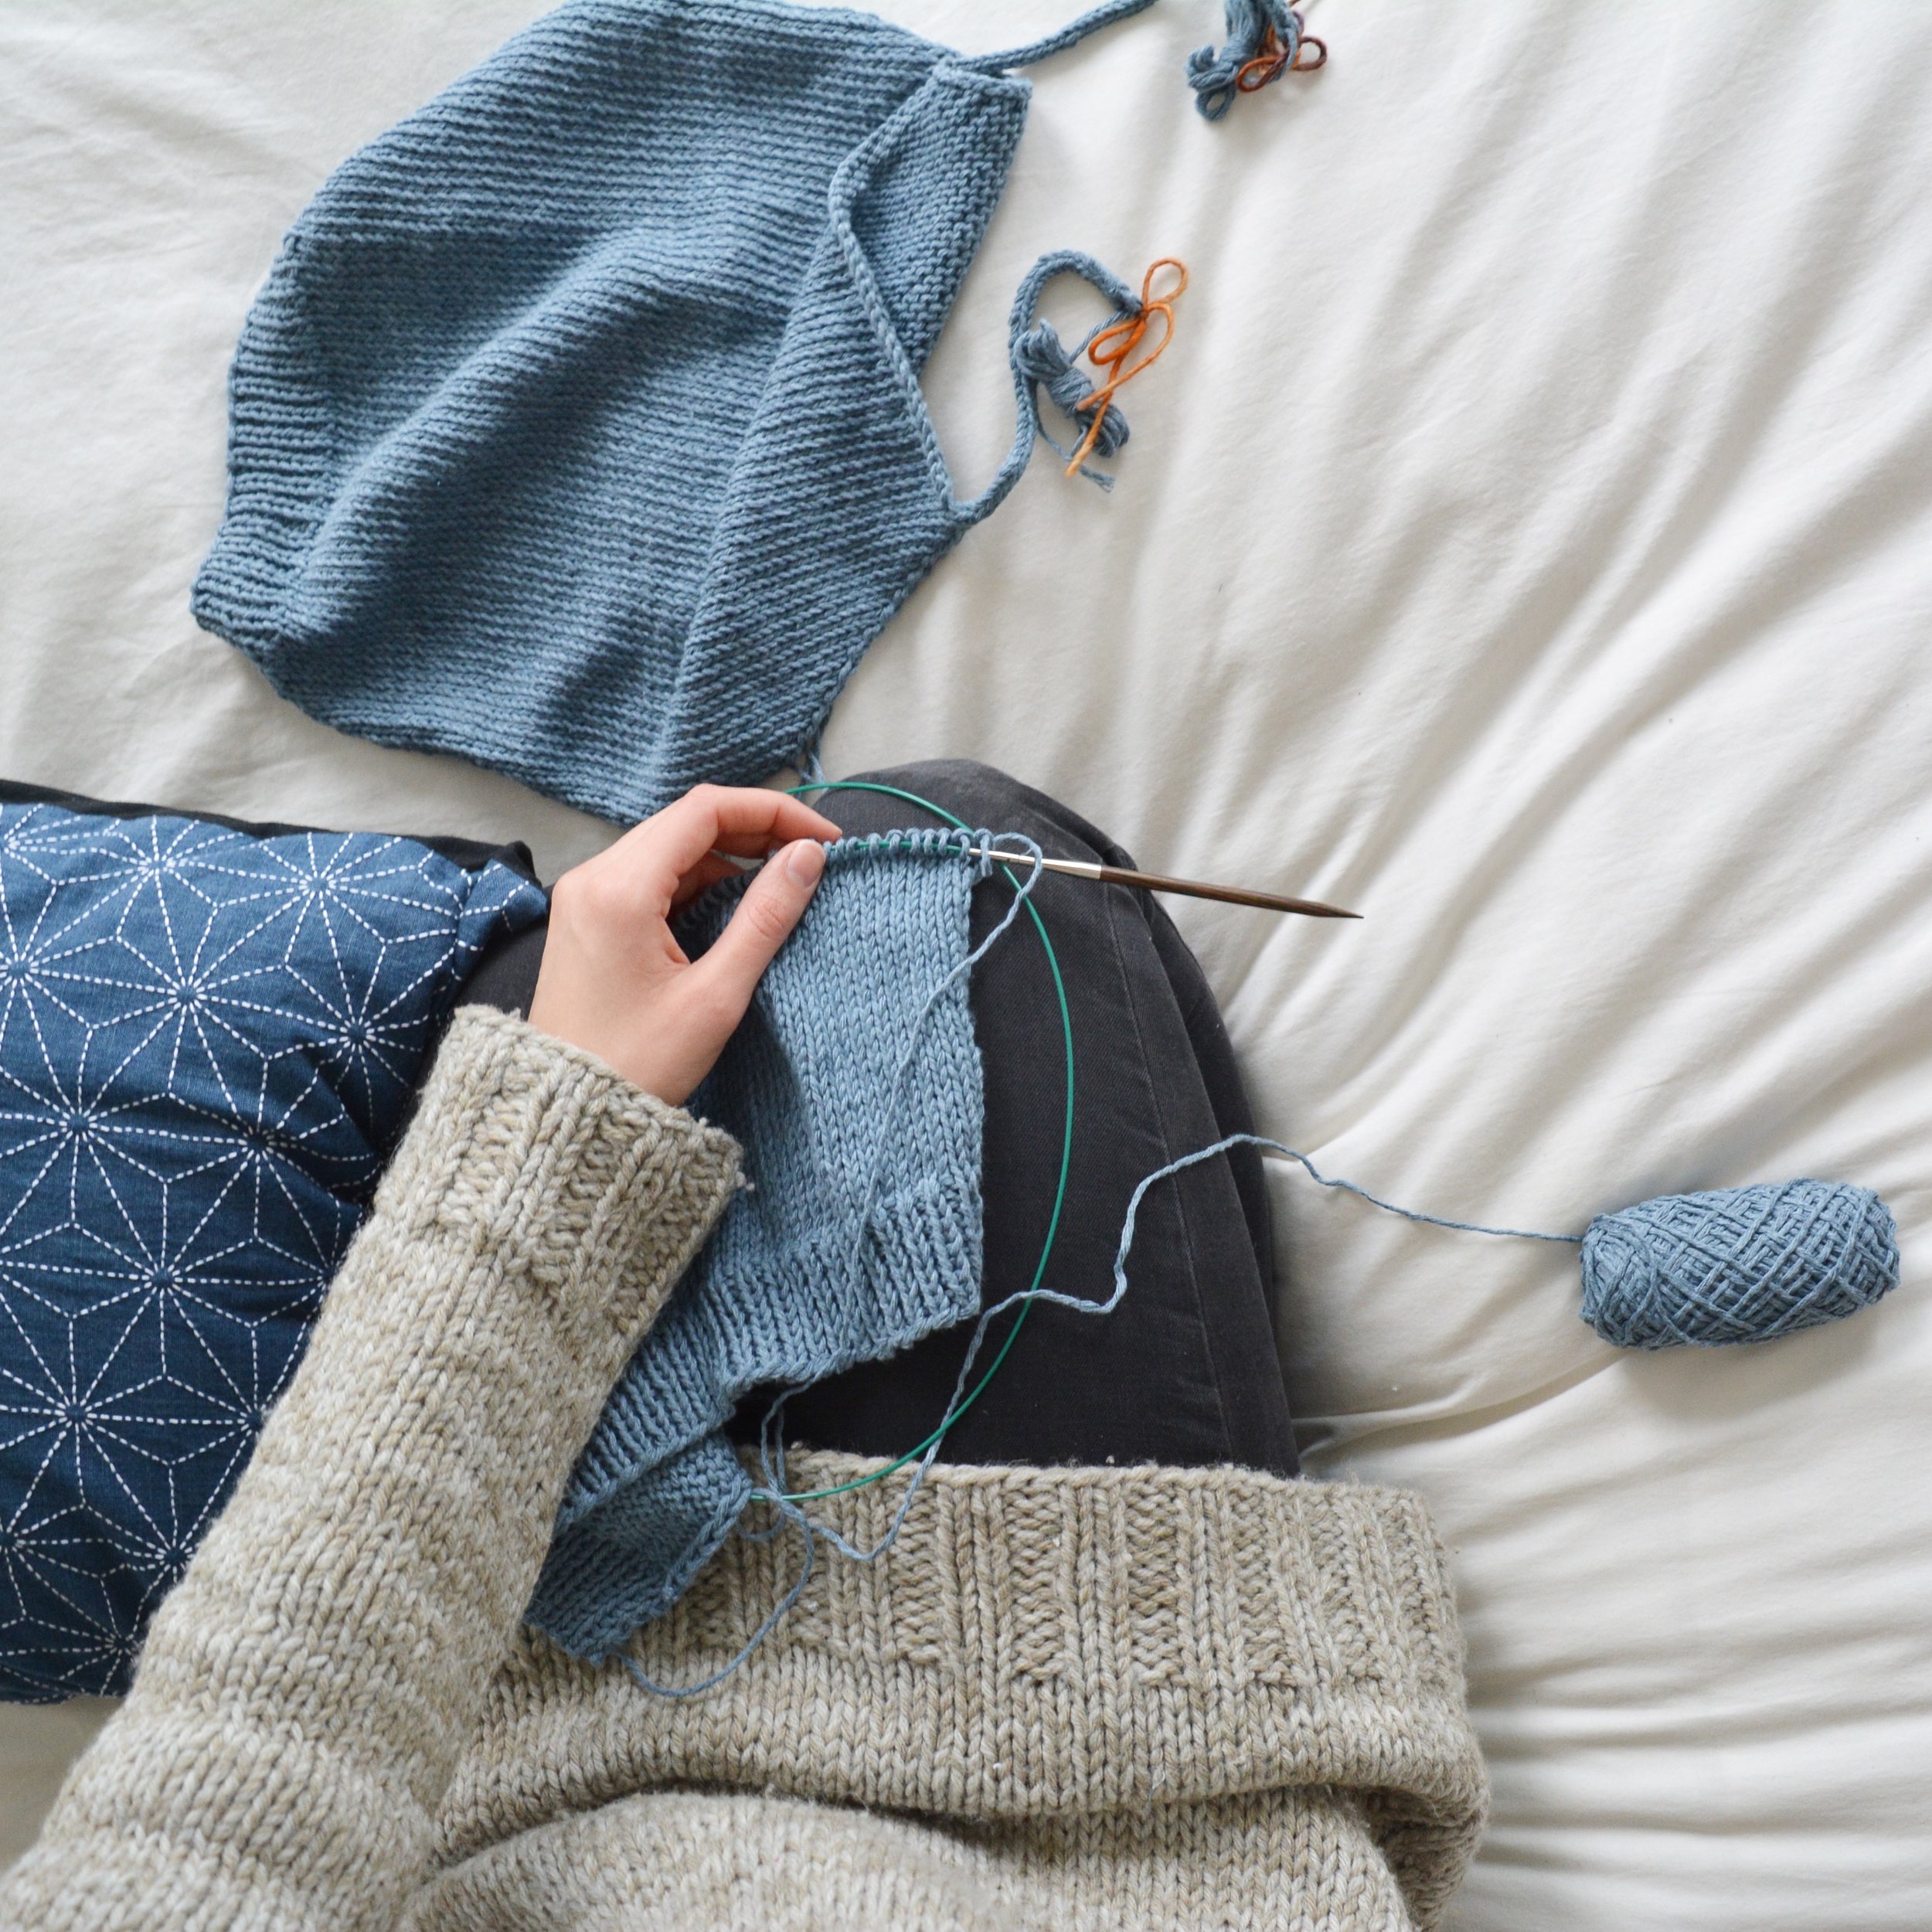
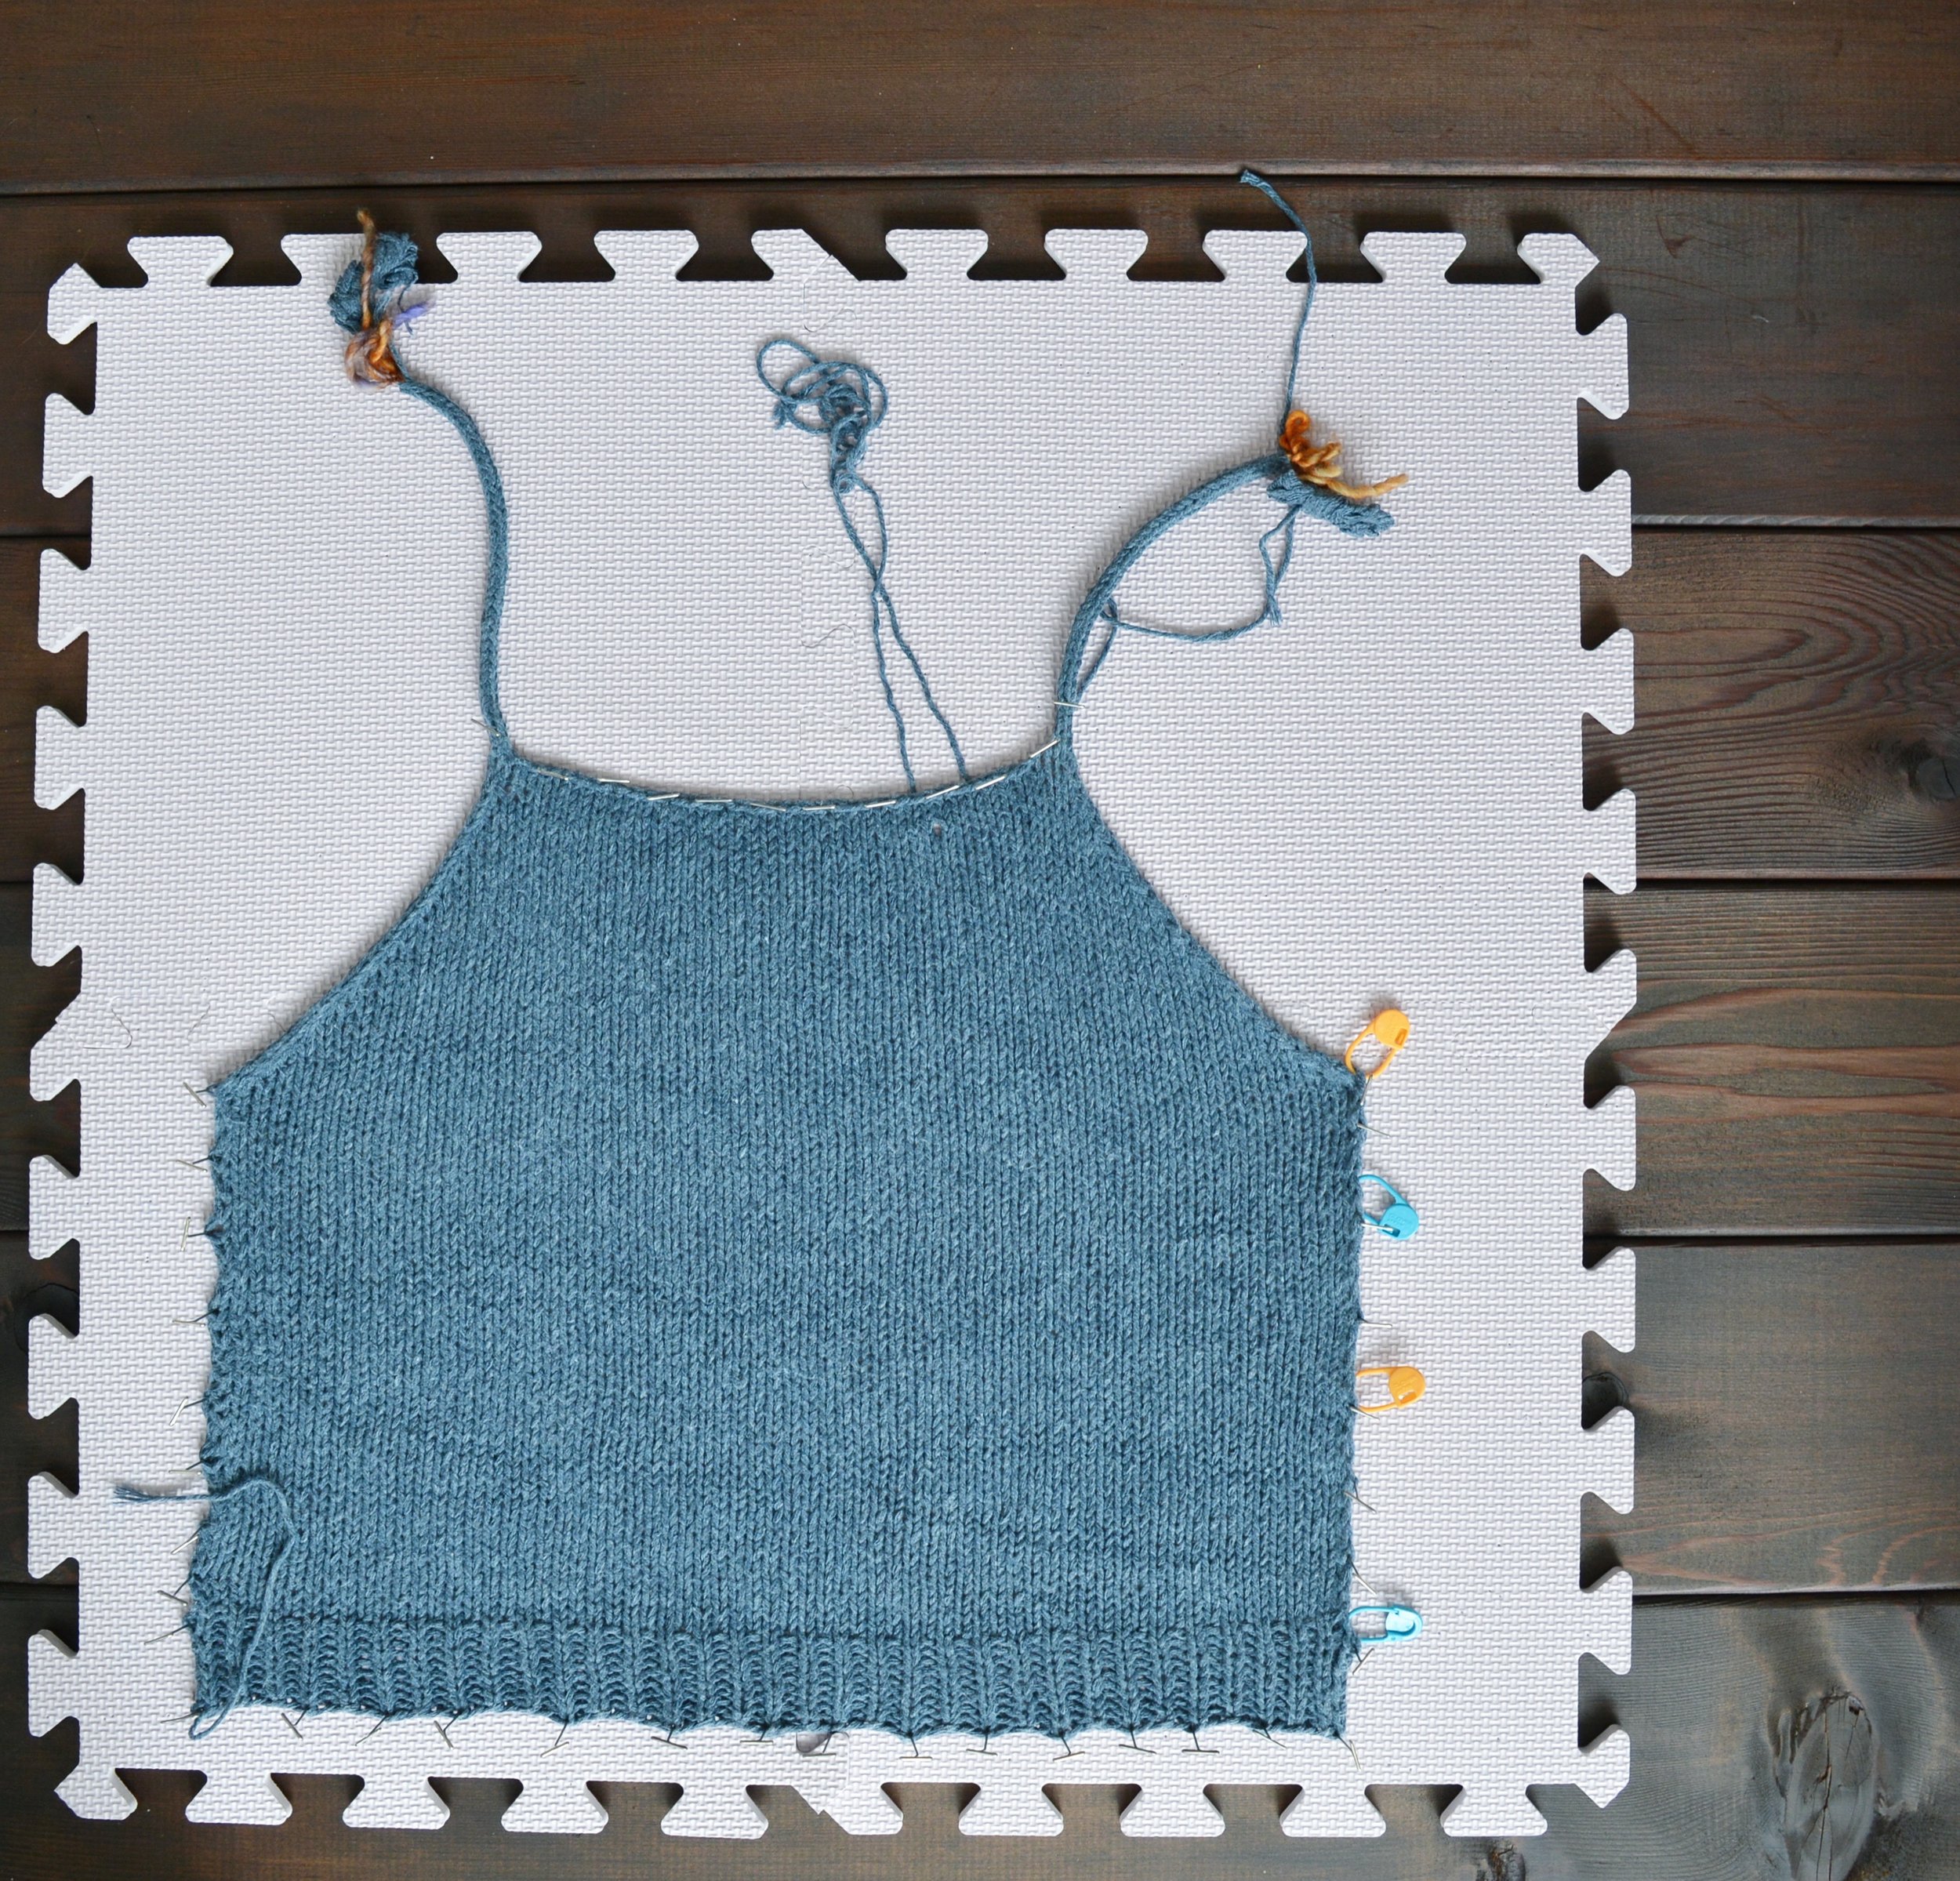
I just finished my first FO of 2017, the beach tank, a pattern by Jess Schreibstein. This was such a fast knit, and if I didn’t have so many WIP’s going at once I would have finished it well before February. The pattern is simple and straight forward, and the boxy tank is the exact style I want for a summer beach shirt. I’ll probably make another one, but this time a little longer for everyday wear. But what’s more perfect for summer then a cropped, boxy tank made from upcycled denim?!

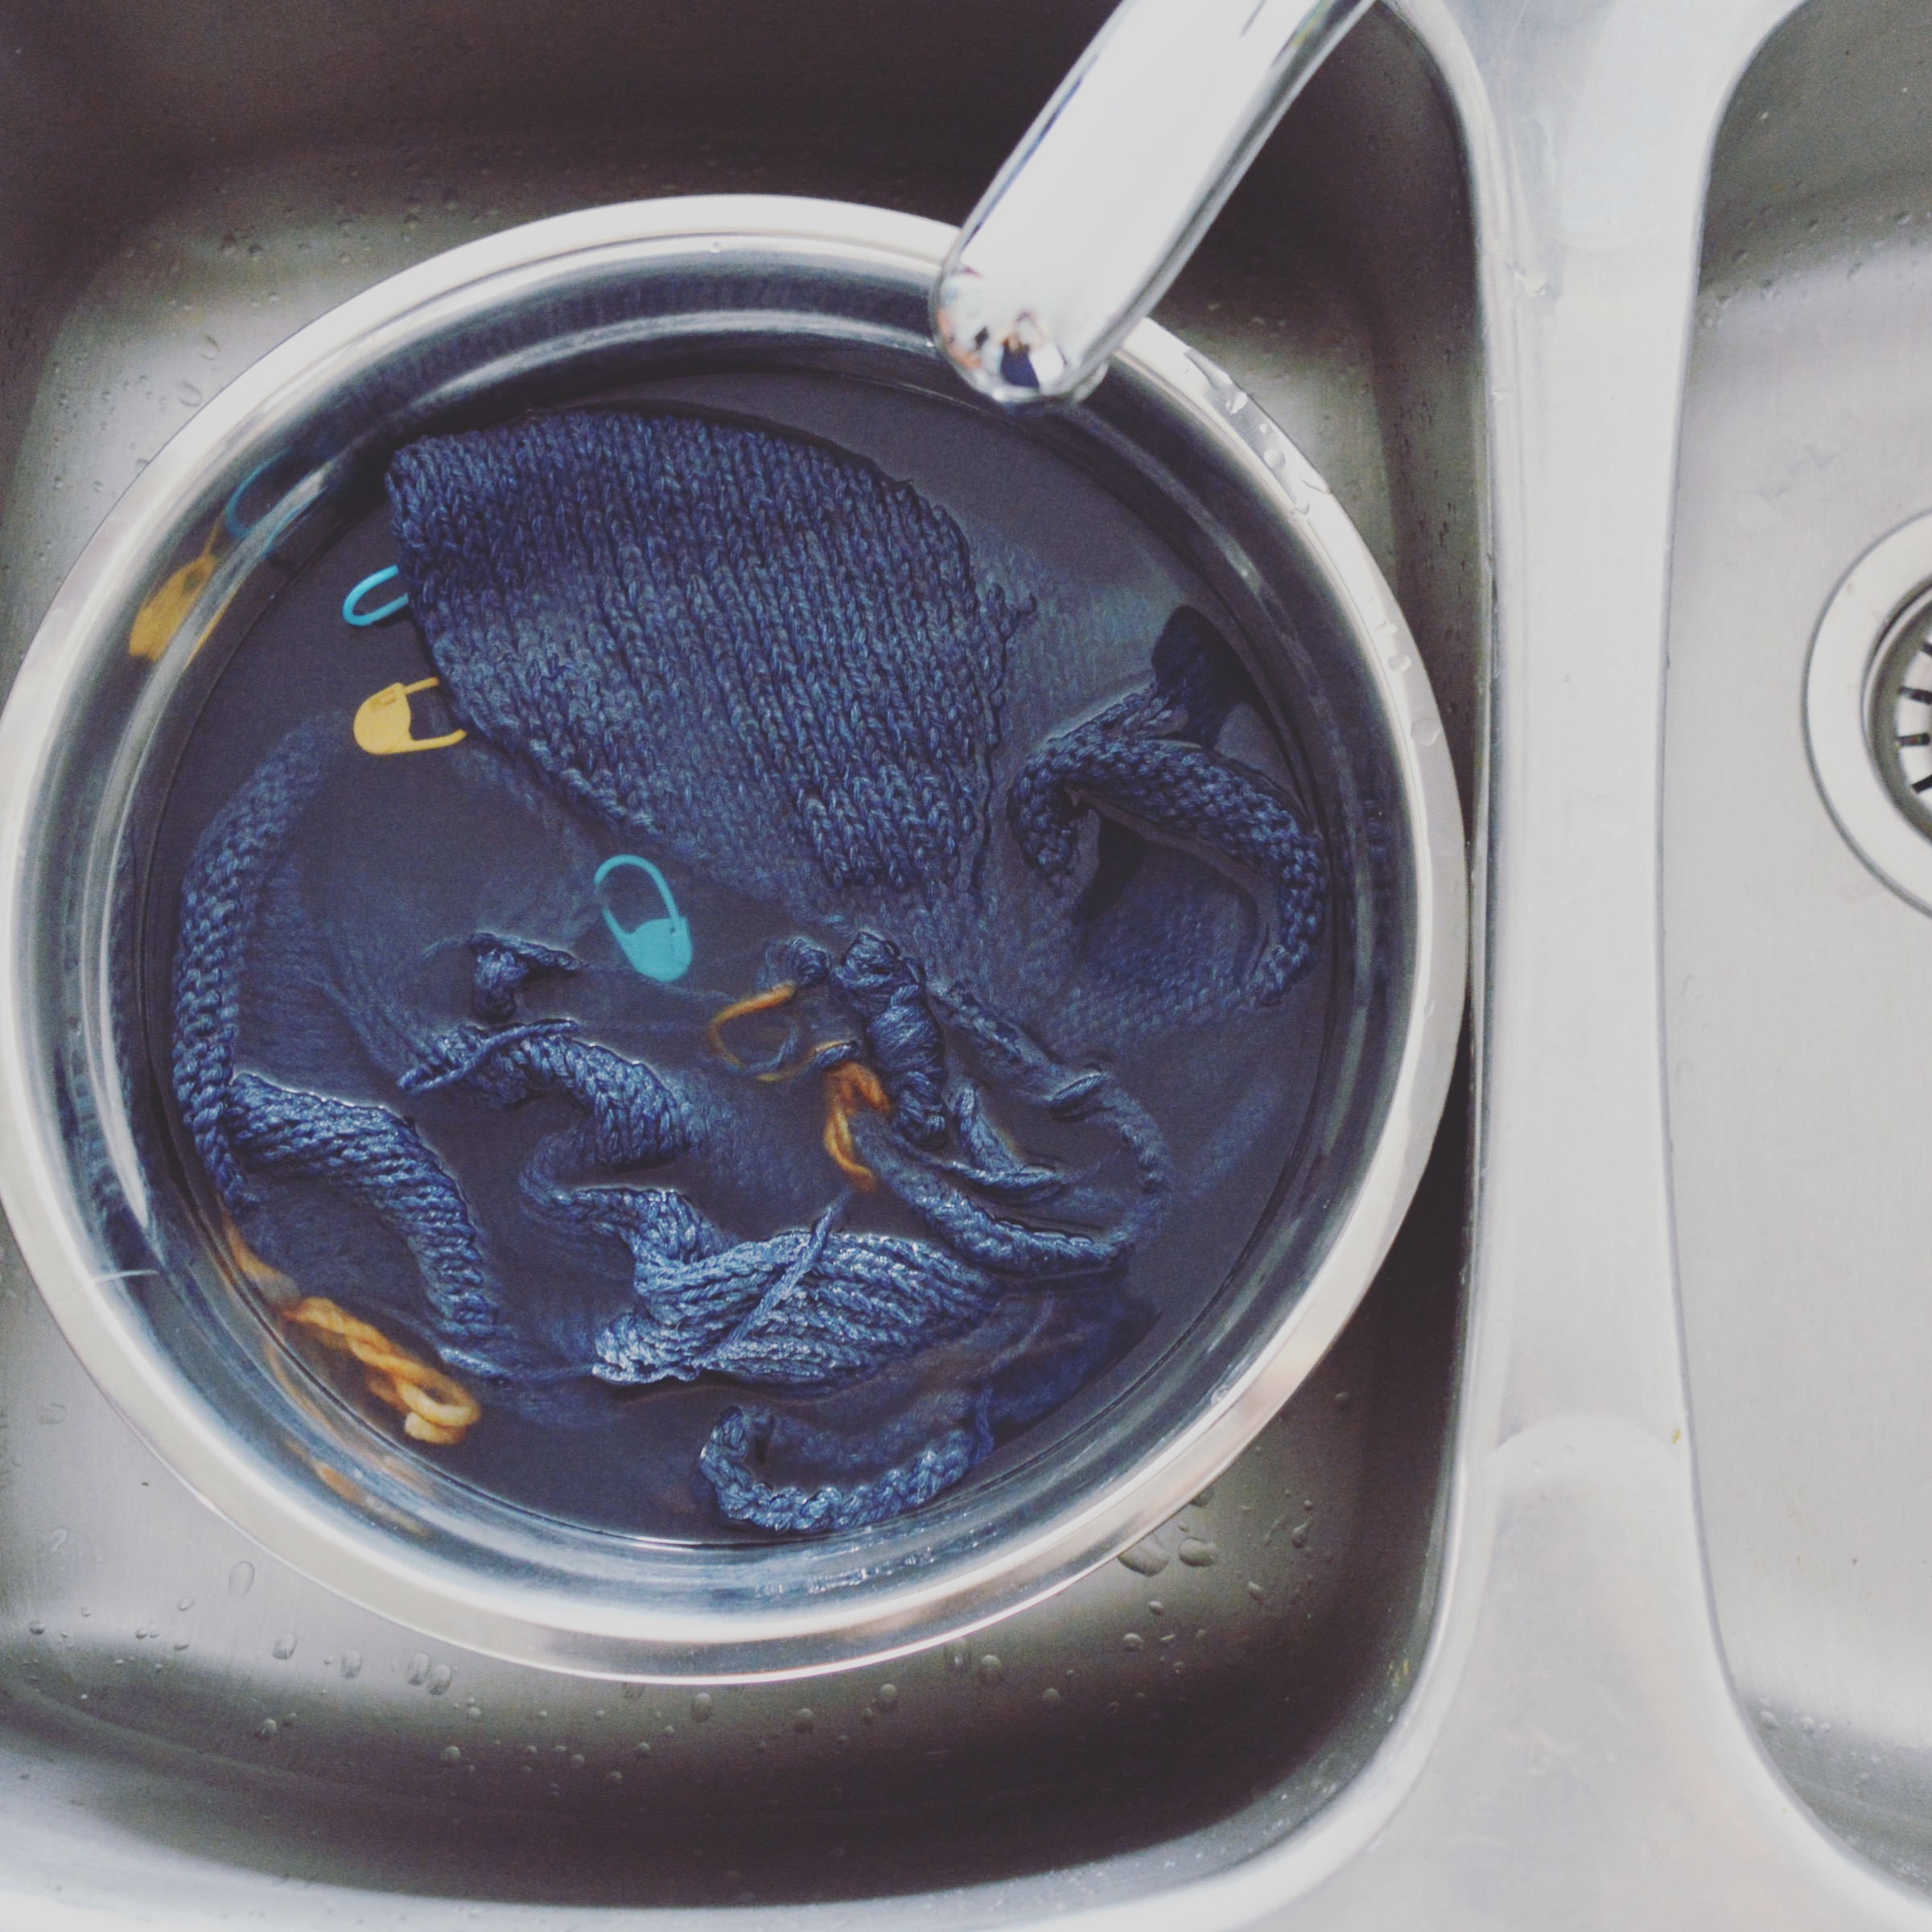
The yarn I used is Wool and the Gang’s Billie Jean yarn. It’s one of their newer yarns, sustainably made from upcycled denim (pre-consumer denim waste). I found working with this yarn was similar to working with any worsted weight cotton yarn, although it did turn my fingers blue after knitting with it! Quite a bit of dye came out when blocking too (but to be fair, WATG warns that this is expected) and hopefully I won’t get blue skin when I wear the tank. Overall I’m super happy with my yarn choice and the outcome of the project! I’m looking forward to what Jess comes out with next!