
Wedding Dress Part 1: Planning, Mock-up, and Embroidery Samples
/
Sewing a wedding dress seems like it ought to be the culmination of my sewing career, although I do hope that’s not the case, I hope there’s some more fantastic projects in my future. The wedding dress just feels different because, when will I have a chance to wear something like this again? This is a big one, and it might be my most exciting make for the next little while.
There are a lot of reasons why I’m approaching this in a very thought-out and well-planned way. Mainly because that’s just me, I don’t tend to ‘wing it’. But also: because I don’t really feel confident sewing with such delicate (and expensive!) fabric, I’ve never actually made a full-length dress, and I really want this one to fit me well. For everyday wear I think a more casual fit is nice, but for my wedding dress? I want this one to fit me like a glove, perfectly tailored. So I’ve actually spent about a month now doing the set-up for this dress. I found a sewing pattern that I fell in love with, the Lune Dress from French Poetry. And you can probably tell from all my recent makes that I need to incorporate embroidery into this, so I decided to do a sheer embroidered overlay or overdress. A vision of this was starting to form in my head.
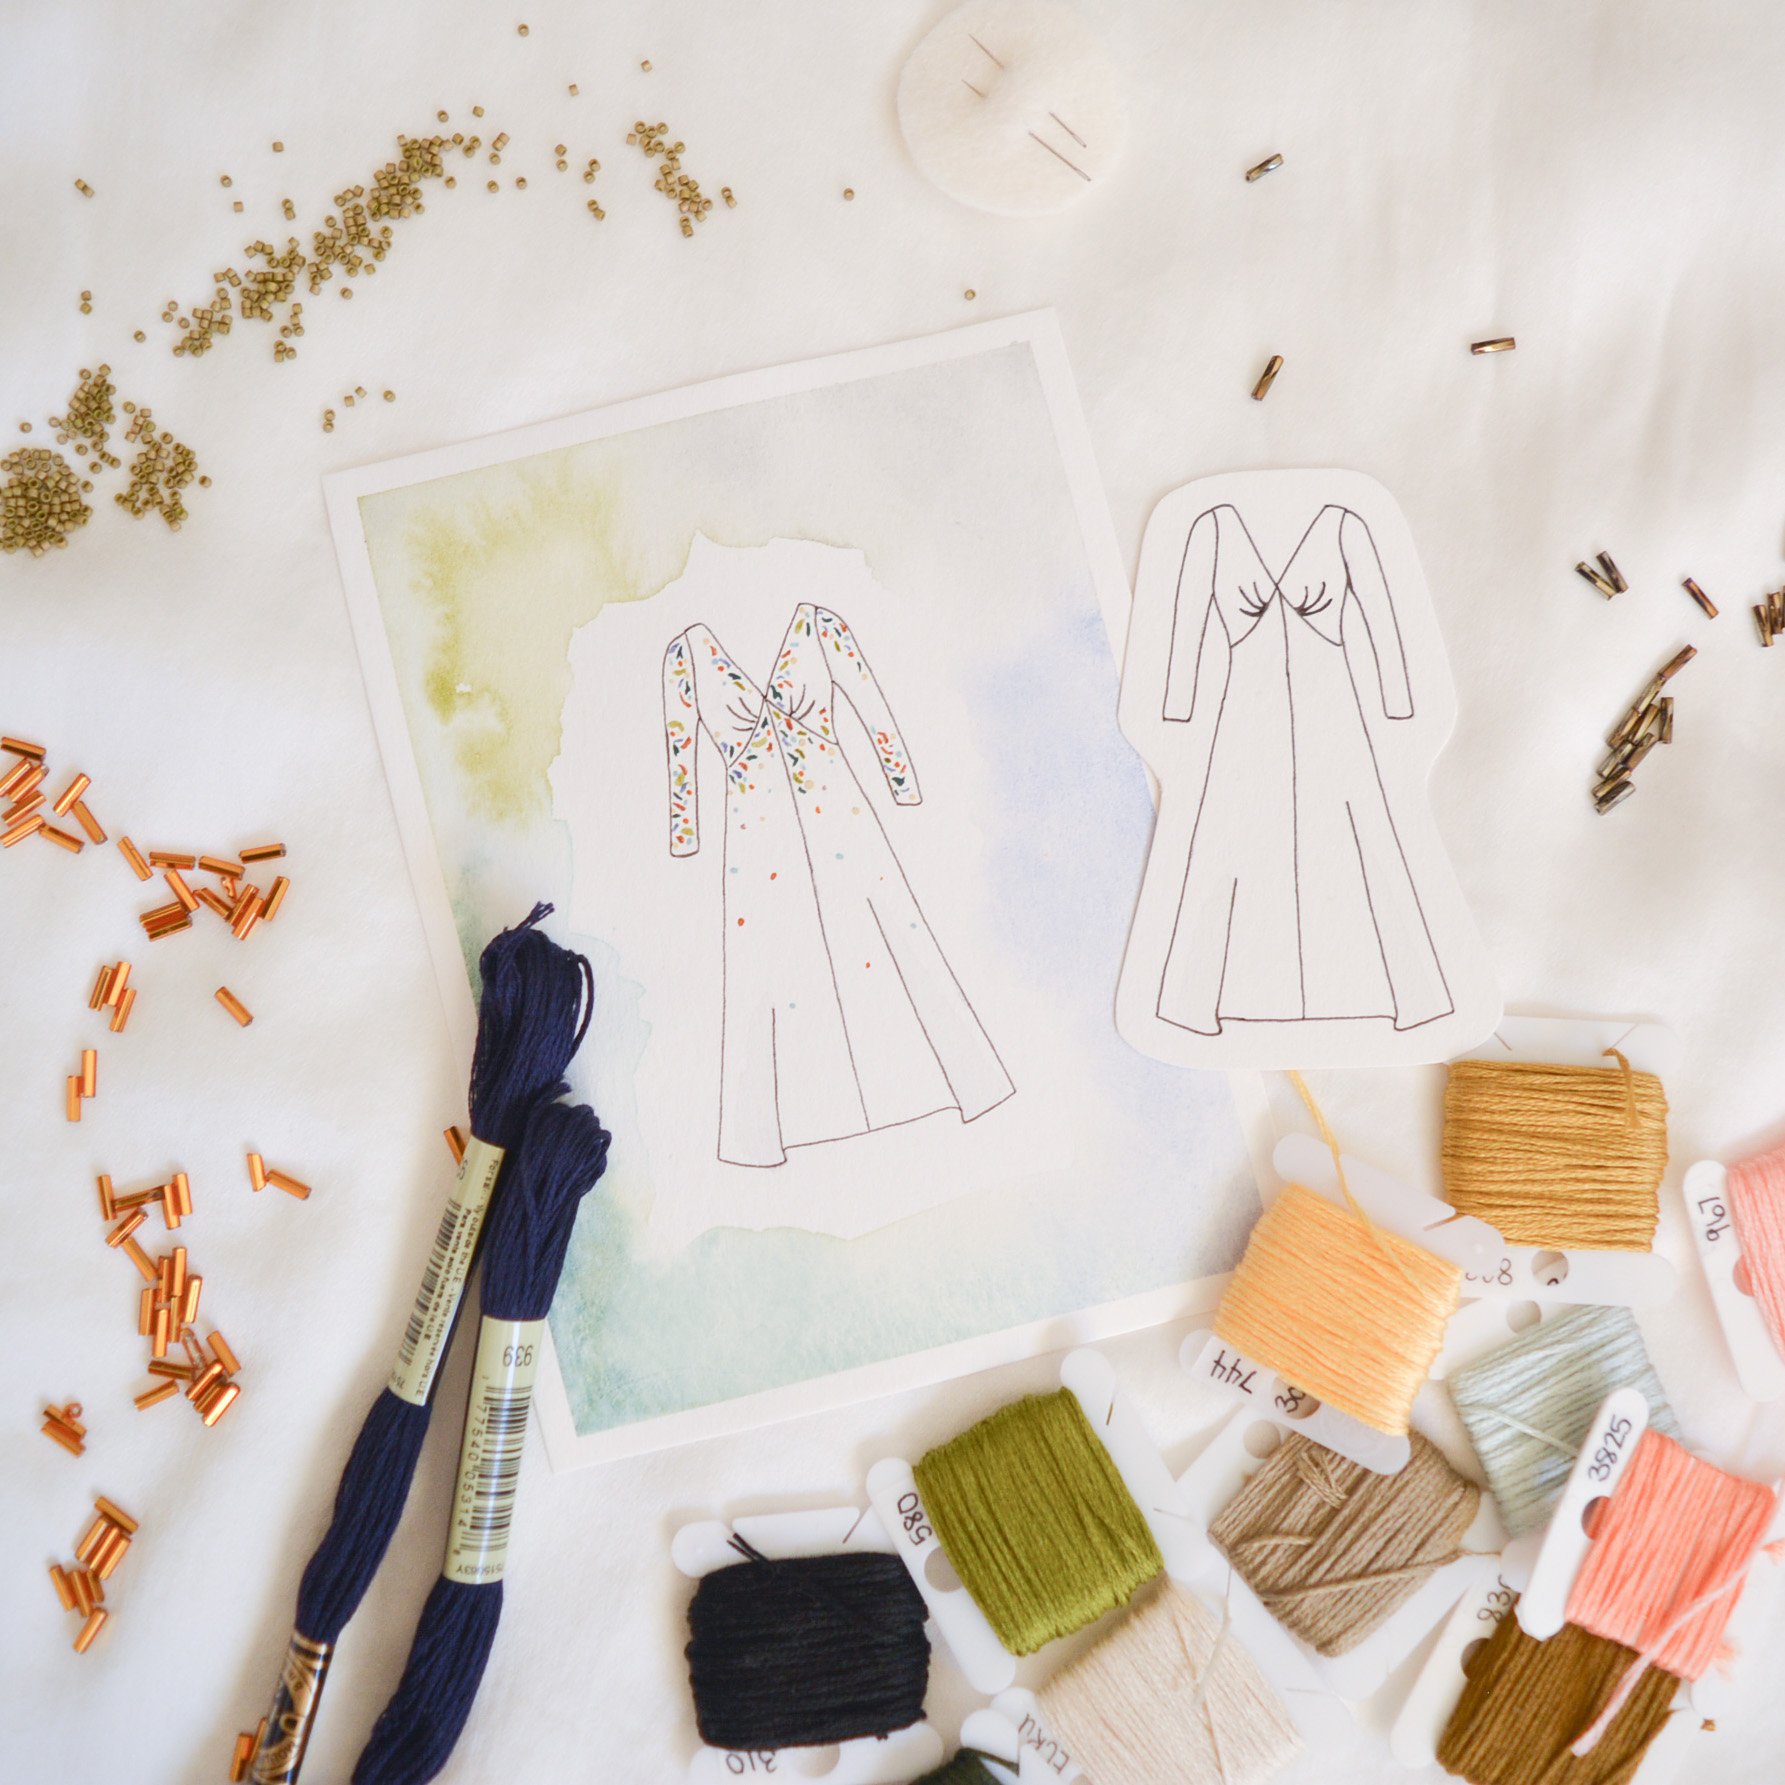
So a couple things to work out. Will this pattern sew up like I’m imagining? What fabrics am I going to use for the dress, and for the sheer overlay? And lastly, what am I going to embroider on it?
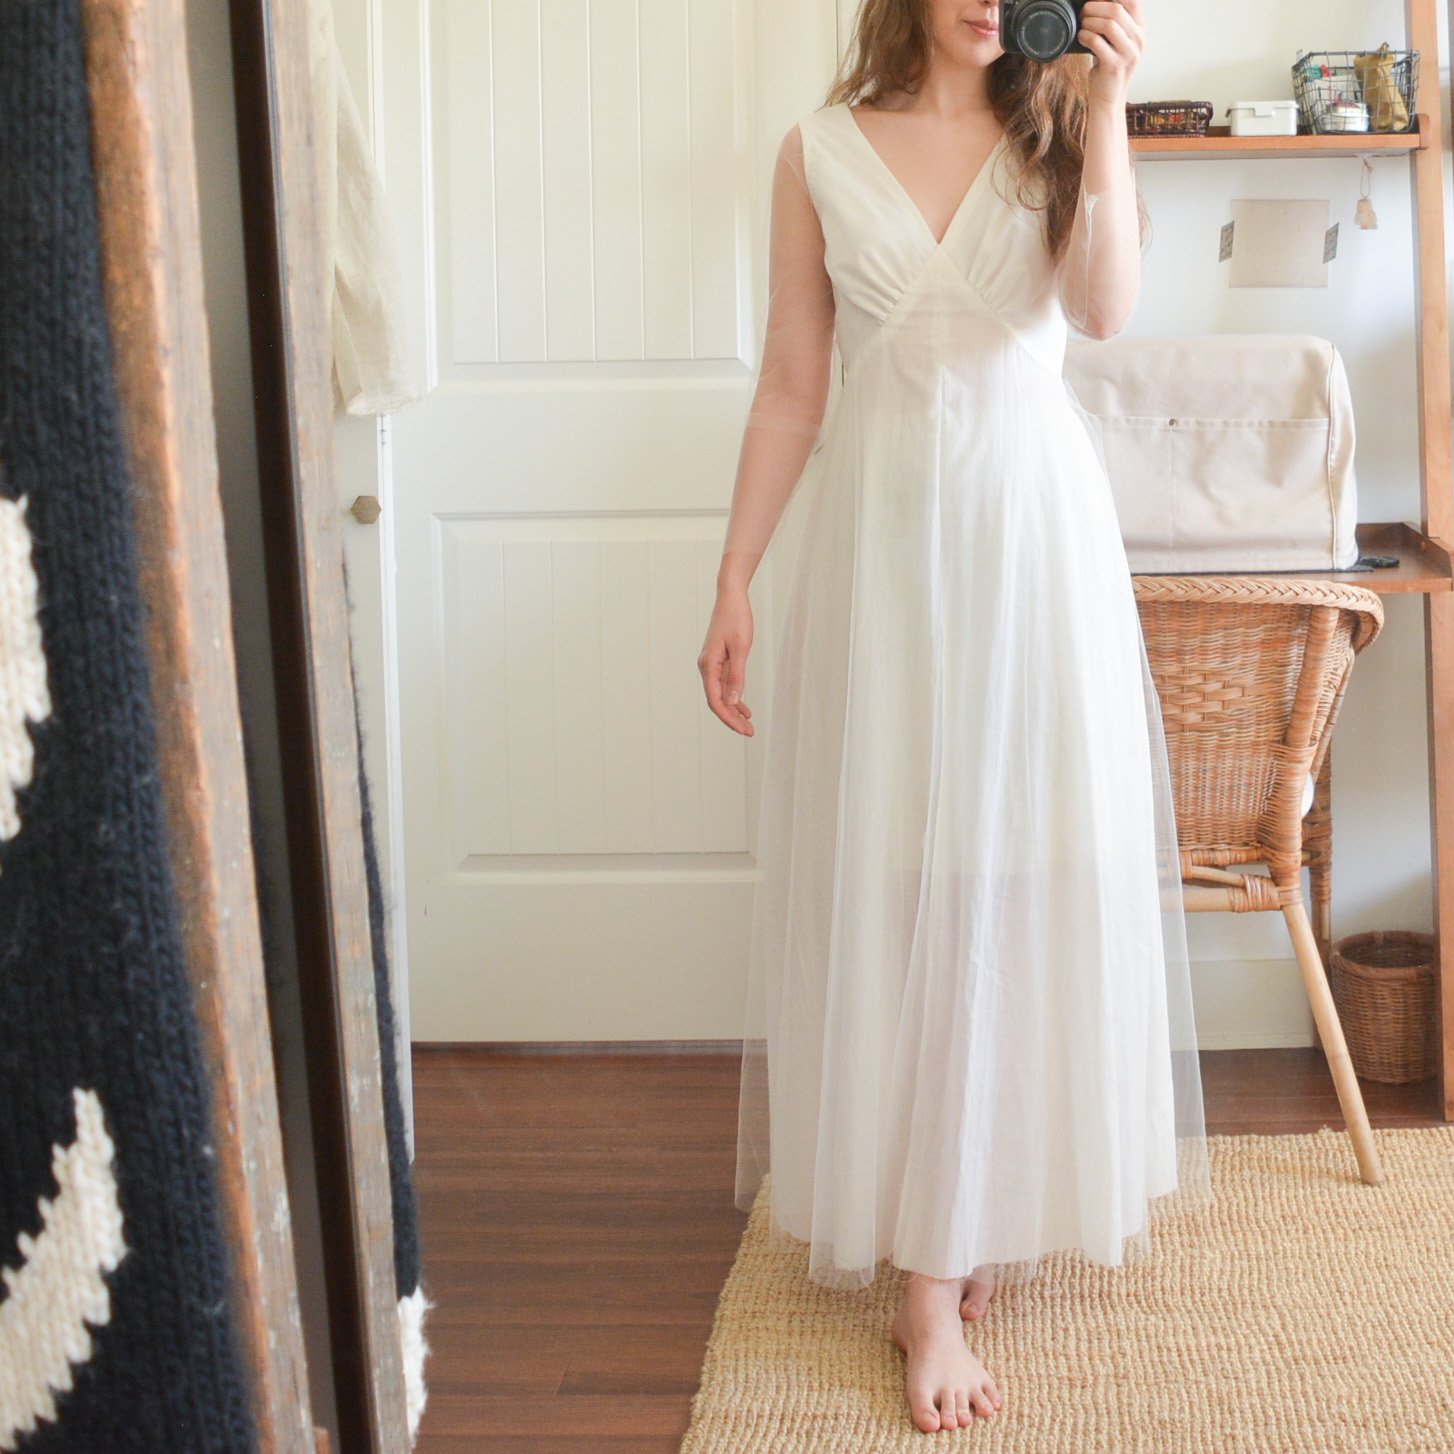
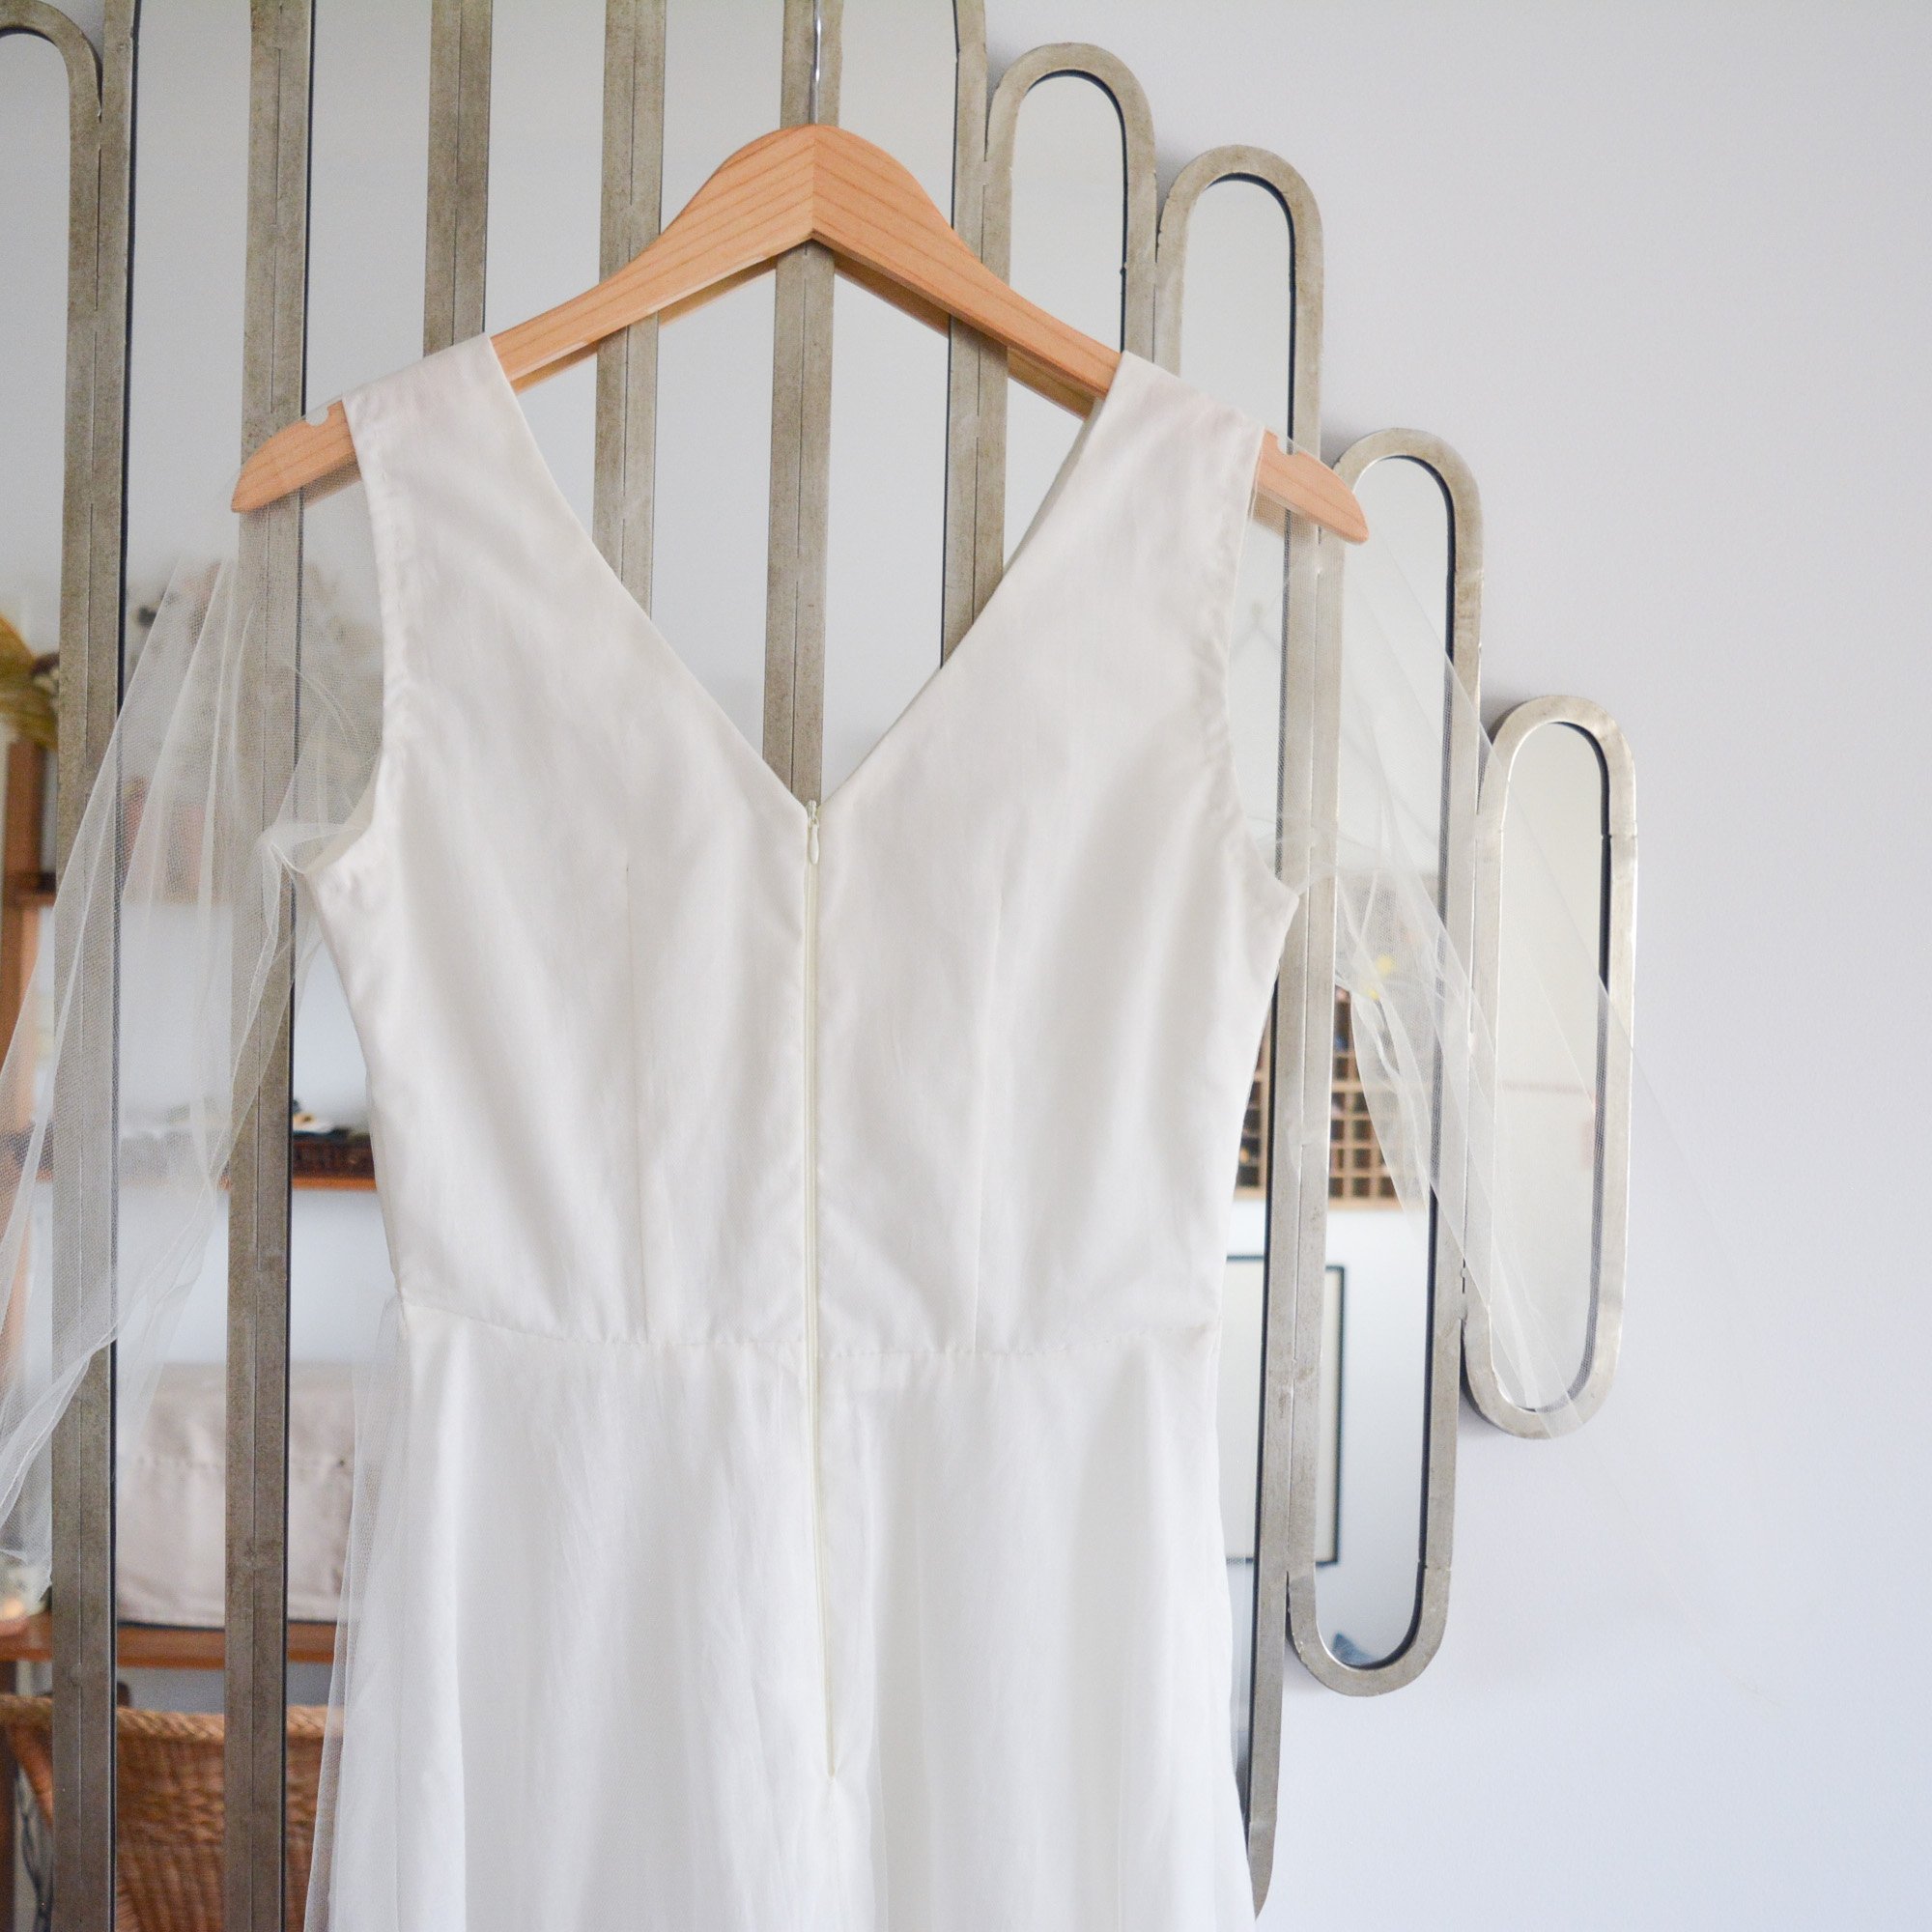
I started with a mock-up or a test run of the Lune Dress pattern. I sewed the mock-up in a lightweight cotton with a tulle overlay, because I already had the cotton in my stash and the tulle cost only a couple dollars a meter. The tulle actually was in the running for the final fabric, but more on that later. The pattern is just incredible, it was so easy to sew up, and not only are the instructions great but there is also a ‘sew-along’ video for it on the French Poetry website. I did have to make a couple changes to make the overlay work, and it was really helpful just to practice all the steps and make my own notes on what helped me. I feel really confident sewing the final dress now that I’ve already gone through the steps once. The fit was pretty good too. I forgot to take a picture of the ‘before’ fit but basically I just had to take out the waist a little at the side seams, shorten the shoulders, make the dress longer, and then tweak a small fit issue at the centre front.
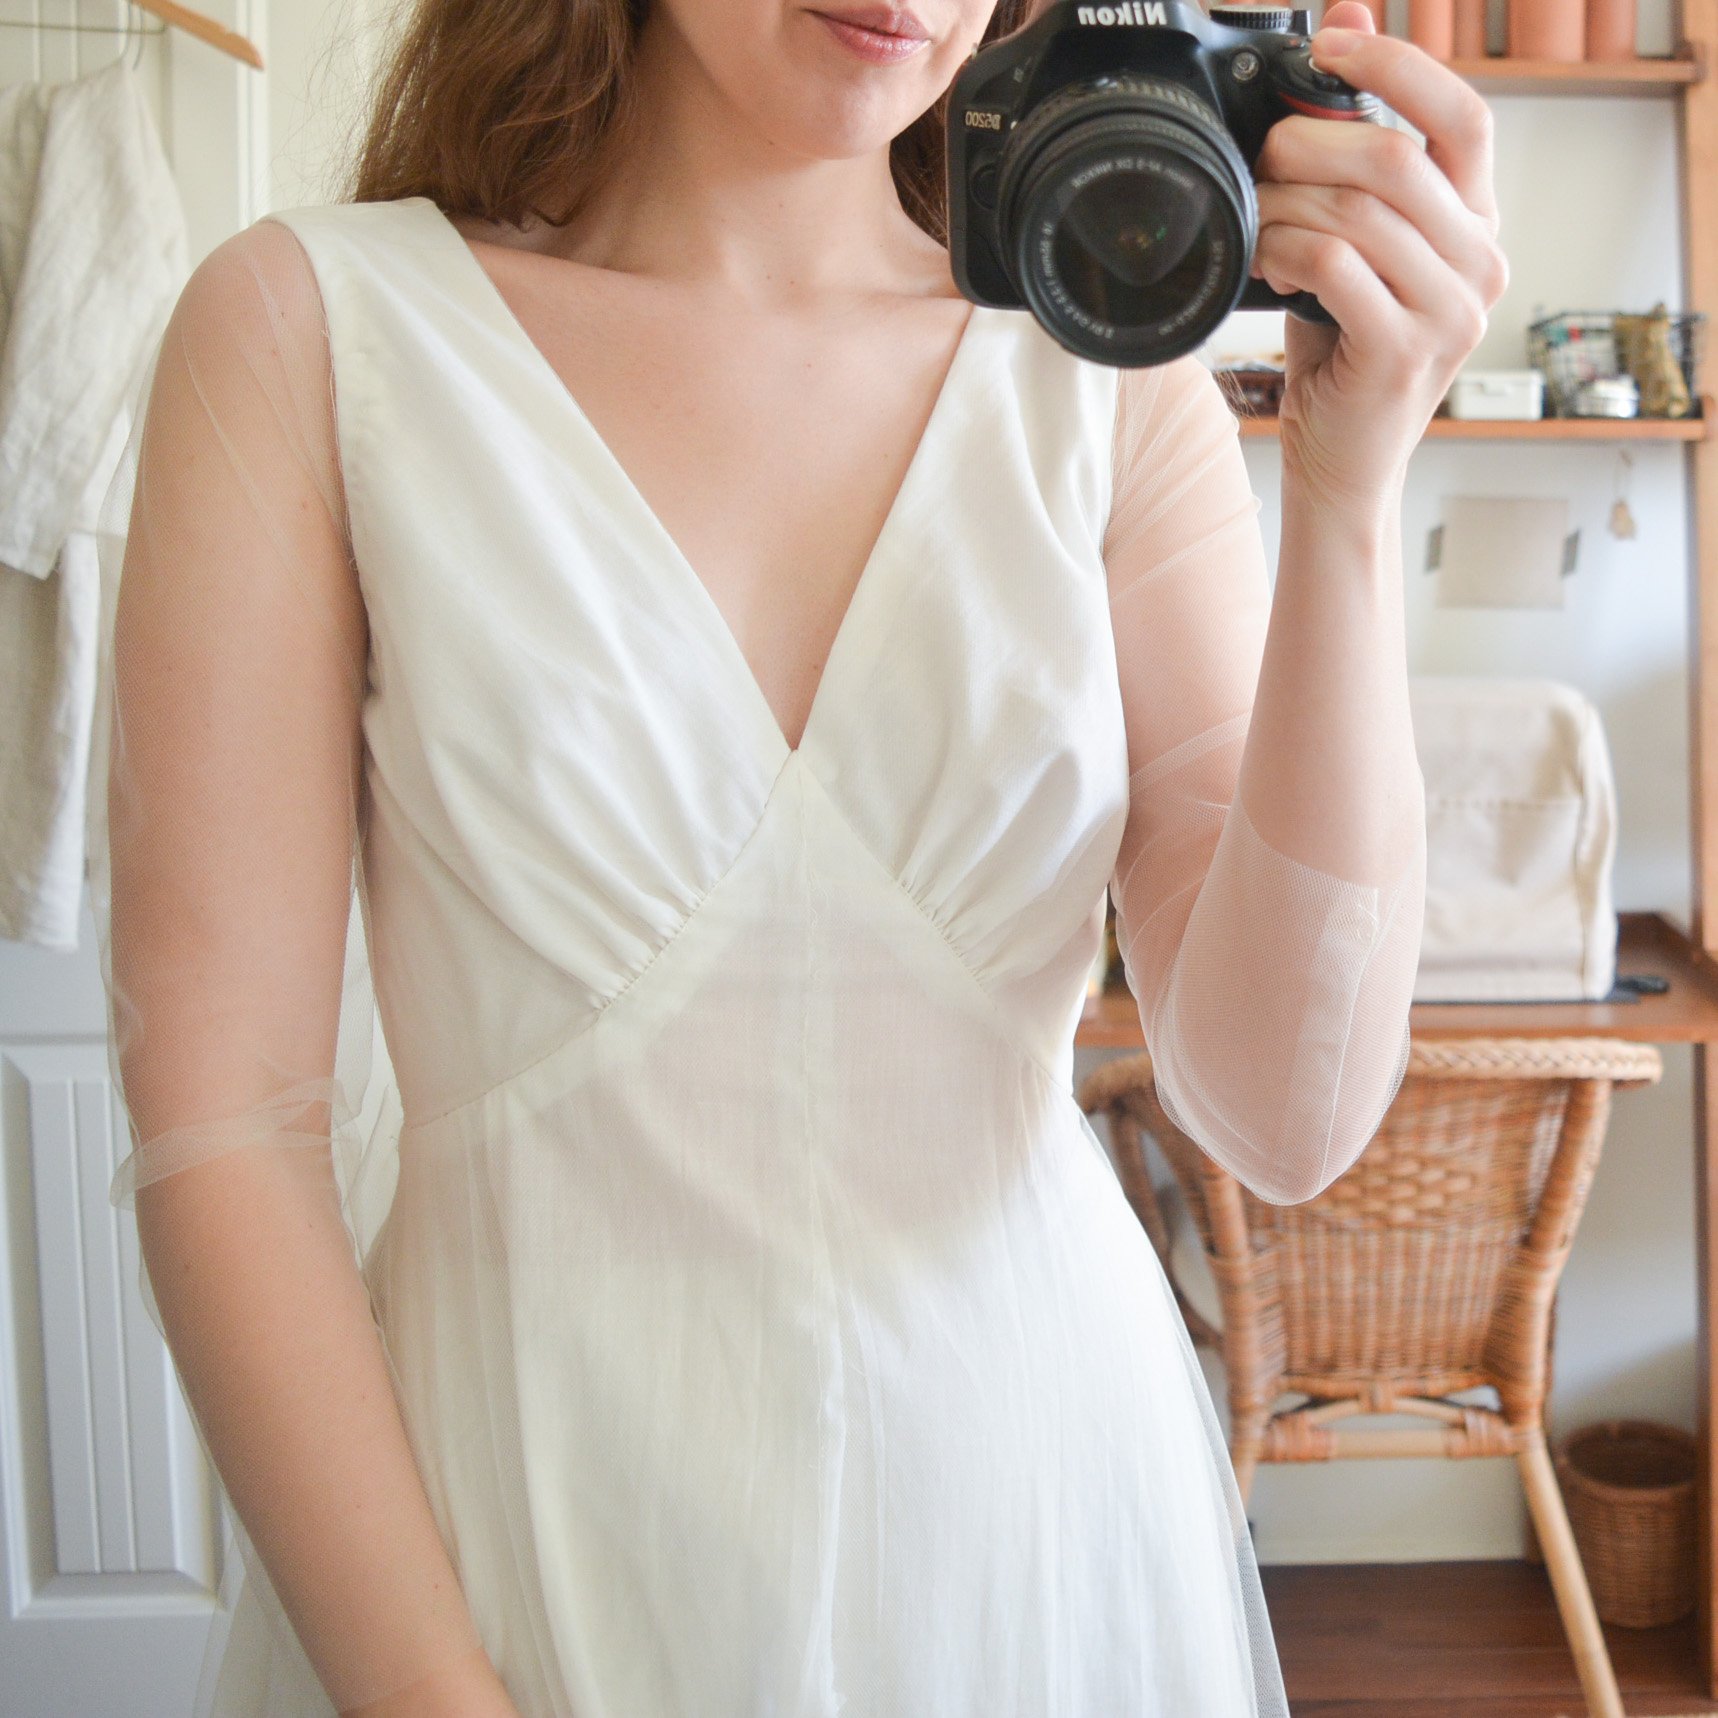
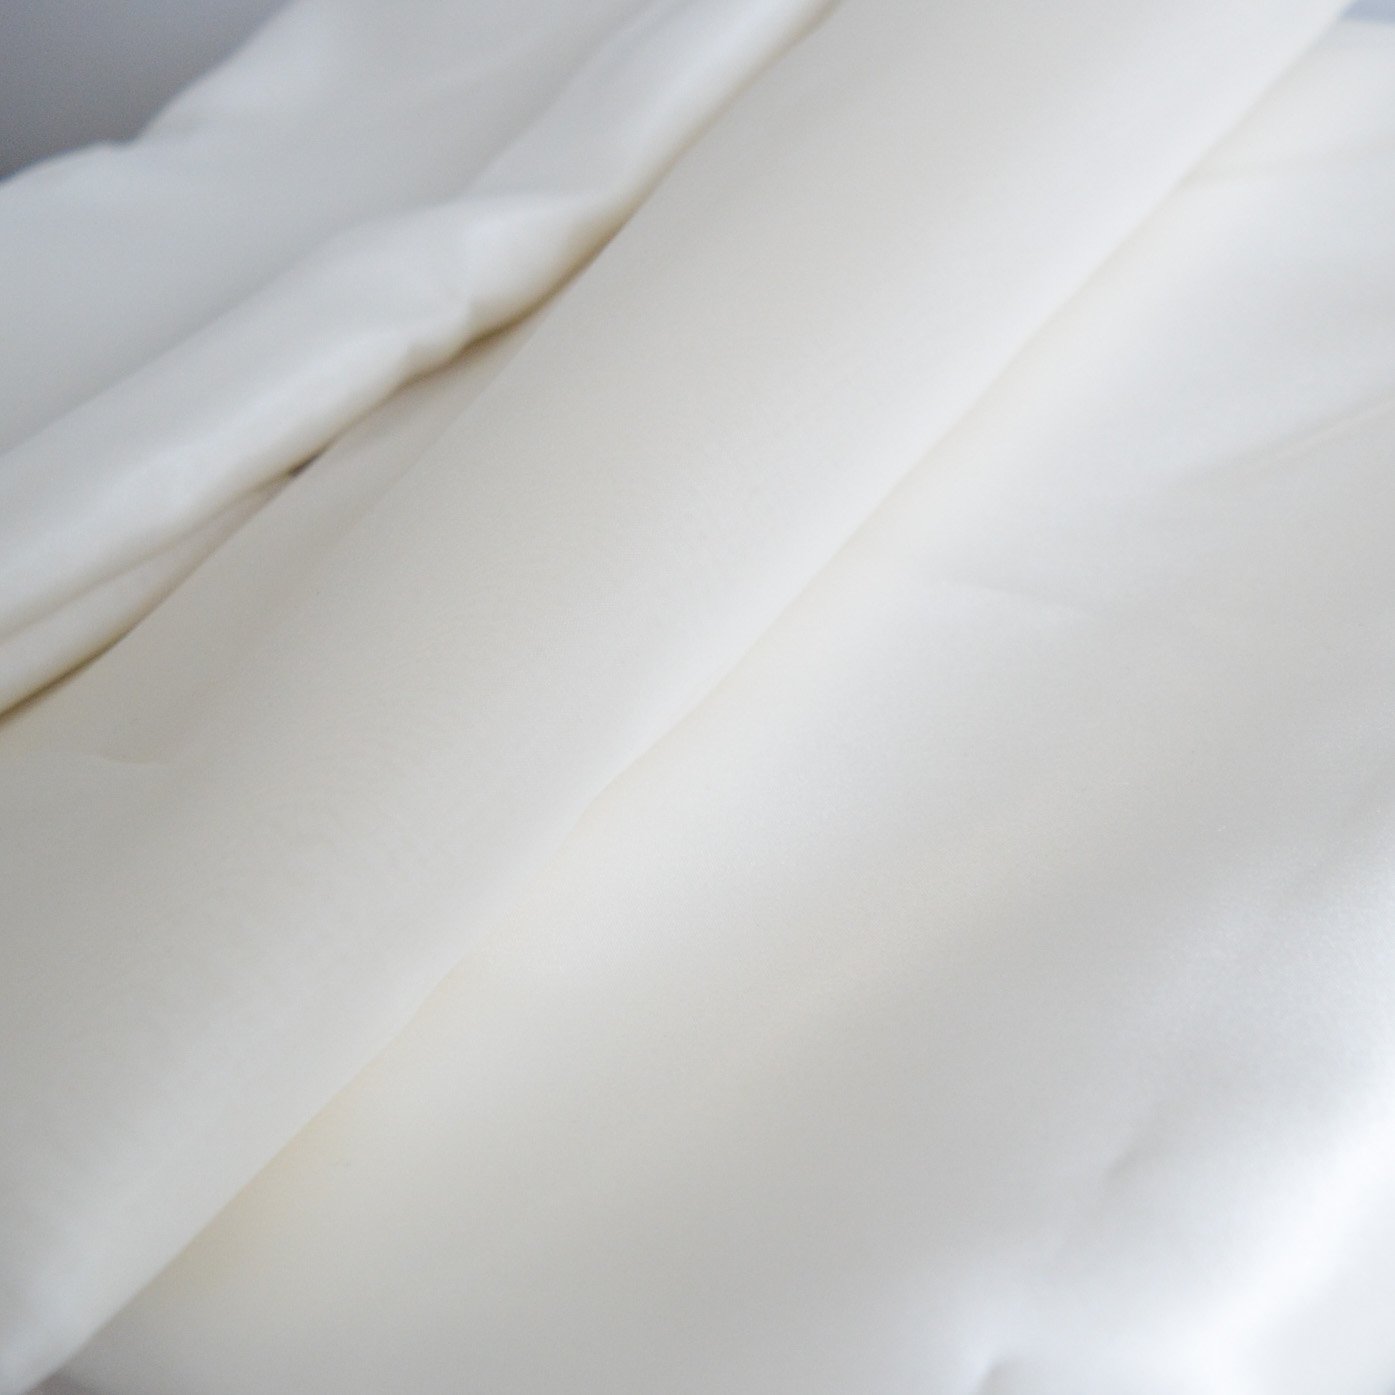
As for my fabric choices, I chose an off-white silk charmeuse as the underdress. A silk habotai light weight (8mm) silk for the dress lining. And for the overdress I was torn between the tulle I used on the mock-up and a silk organza. I love how sheer the tulle is, but I honestly struggled a bit working with it on the mock-up. It was so slippery and so hard to see what I was cutting, and the one I was using was very weak! It even ripped a little when I was trying on the mock-up, which really wouldn’t work for hugging and dancing and just the general merriment one does on their wedding day. So I started considering a silk organza I had in my stash. It seemed like it might be too stiff, it just didn’t have the same drape as the tulle, but it is such a beautiful fabric, and it is very strong too. So I decided to do an embroidery swatch on both fabrics.
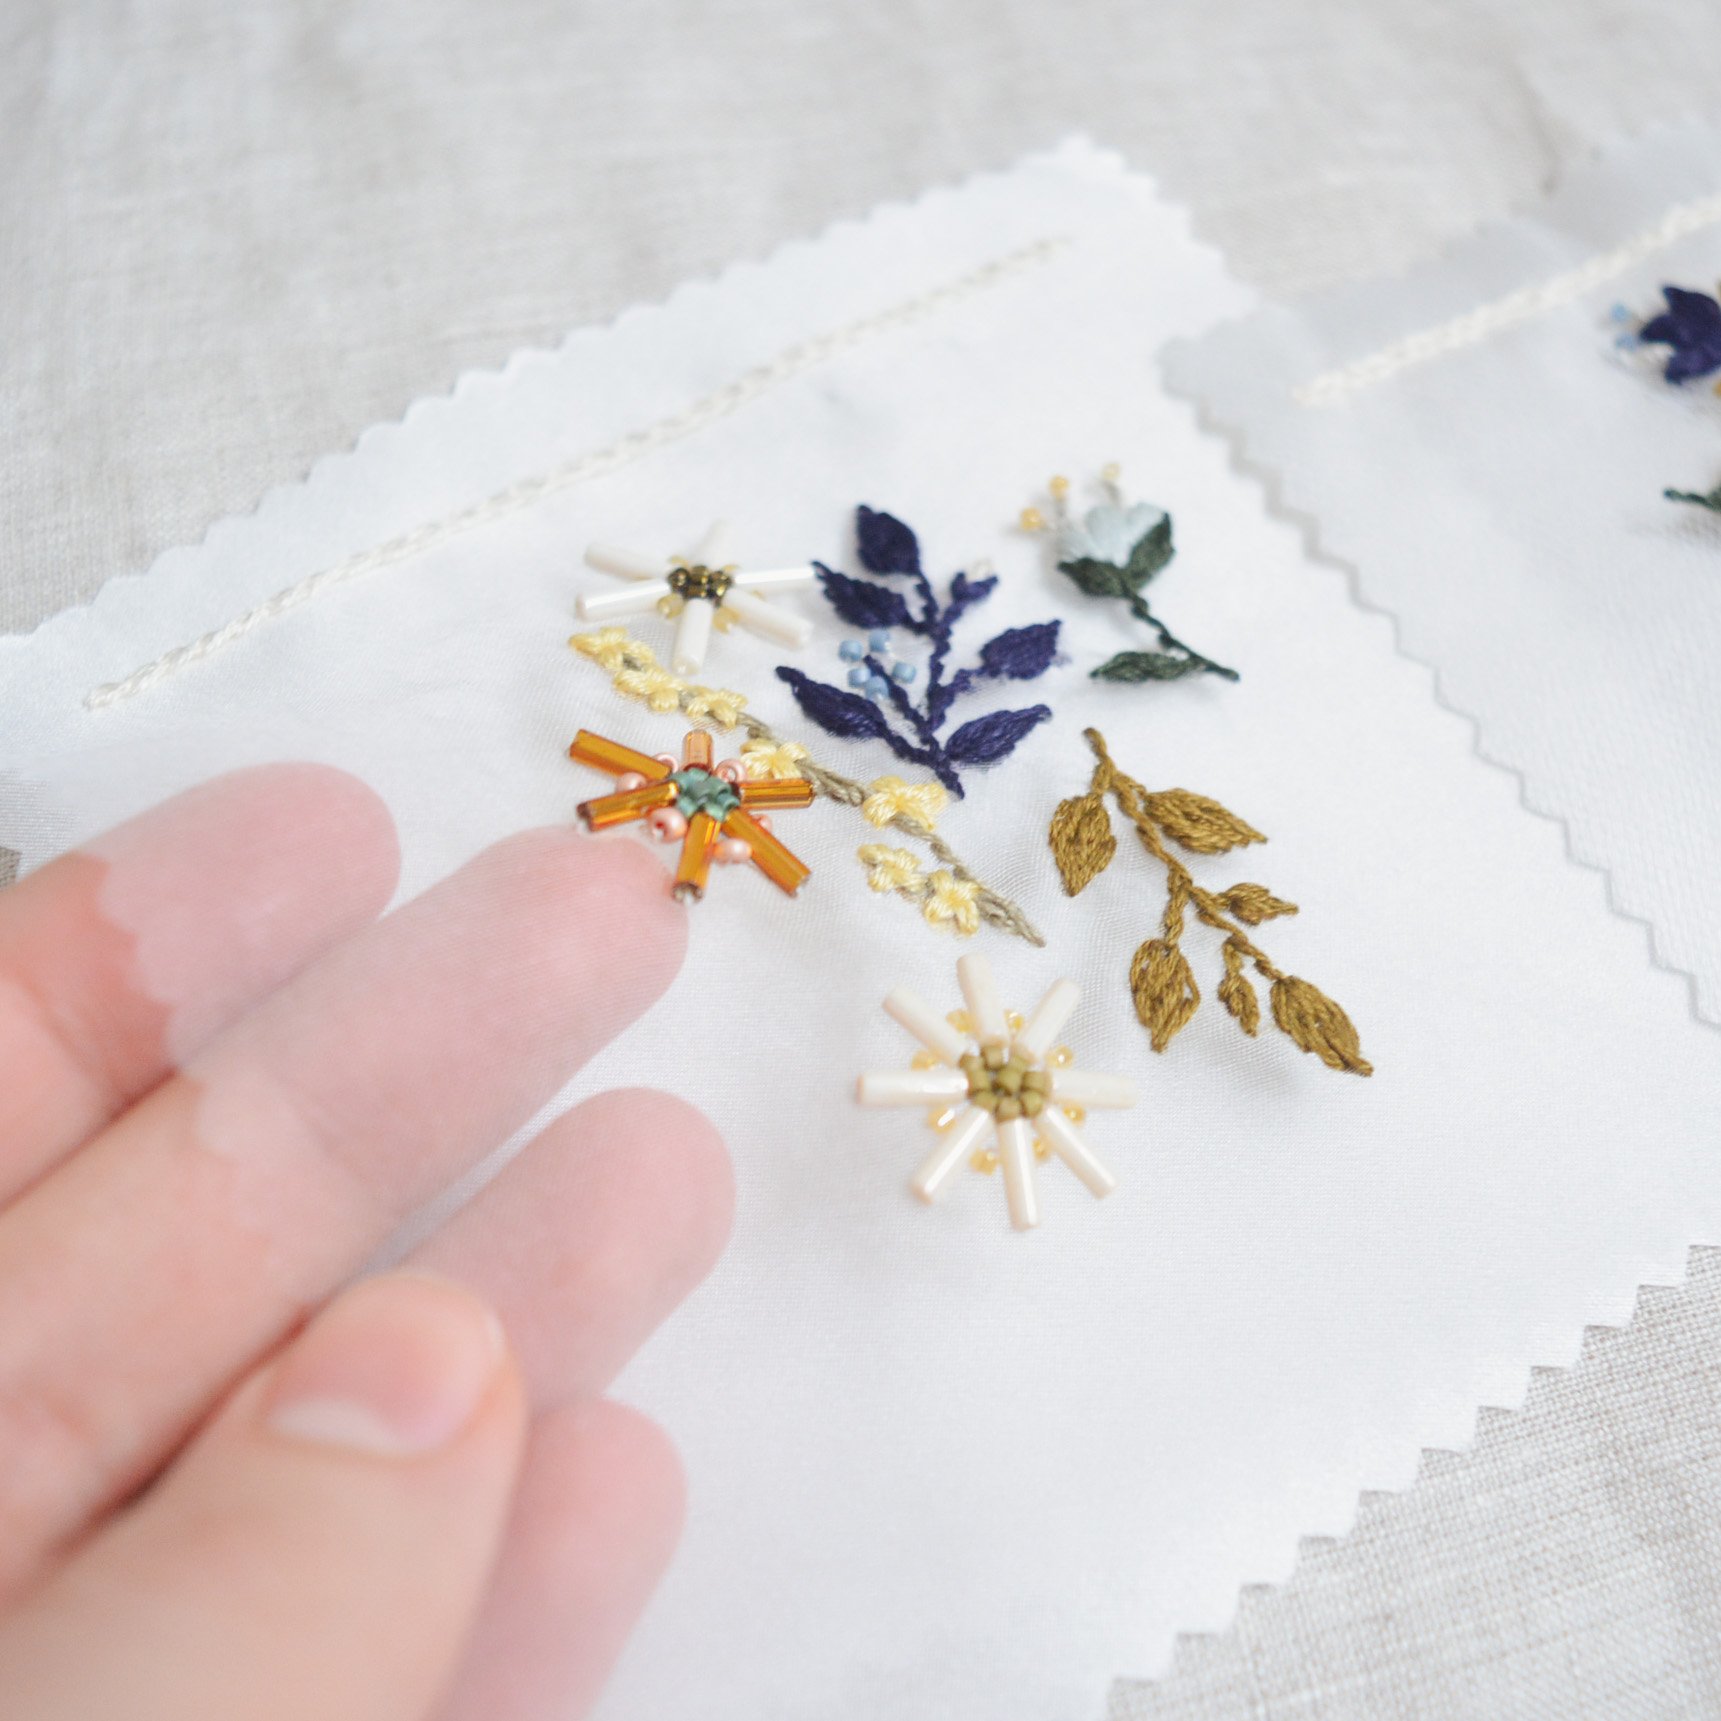
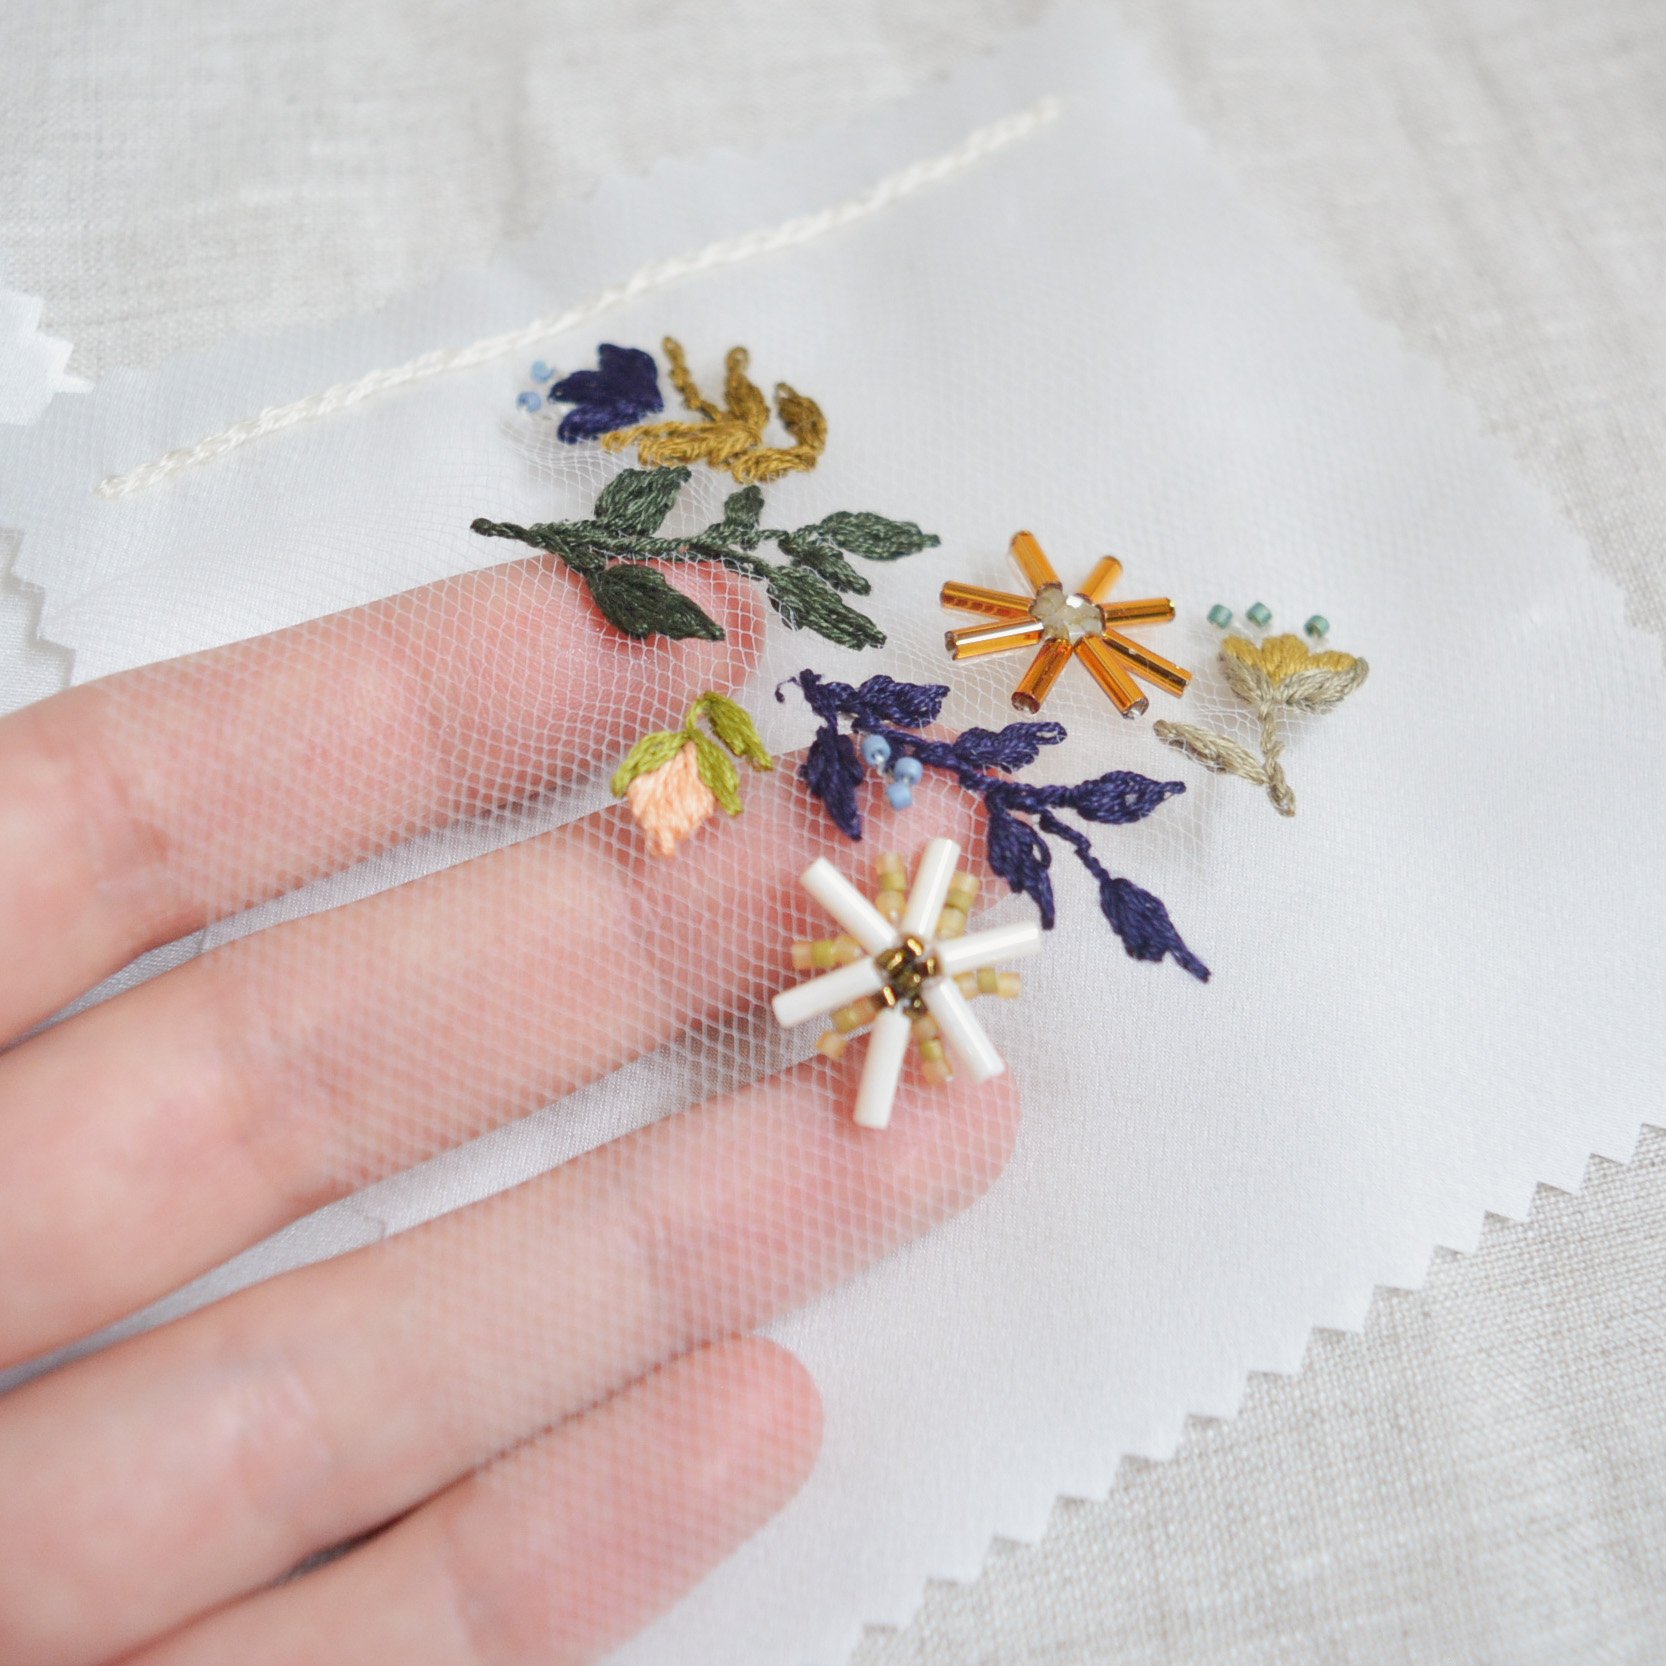
These swatches gave me the chance to practice the type of embroidery I want to do on the dress, and I got to see how each embroidered sheer fabric would look overtop the silk charmeuse. This process sold me on the silk organza, it was just so much more enjoyable to work with, and I was more excited when I held it in my hands. As for the drape, I spent some time googling silk organza dresses and wedding dresses, and I found lots of beautiful examples. I think as long as the fabric is cut the right way then it will drape in a nice feminine way. There are of course a lot of seamstresses who make very boxy garments with organza, but I don’t think with the pattern I’m using it will be boxy at all.
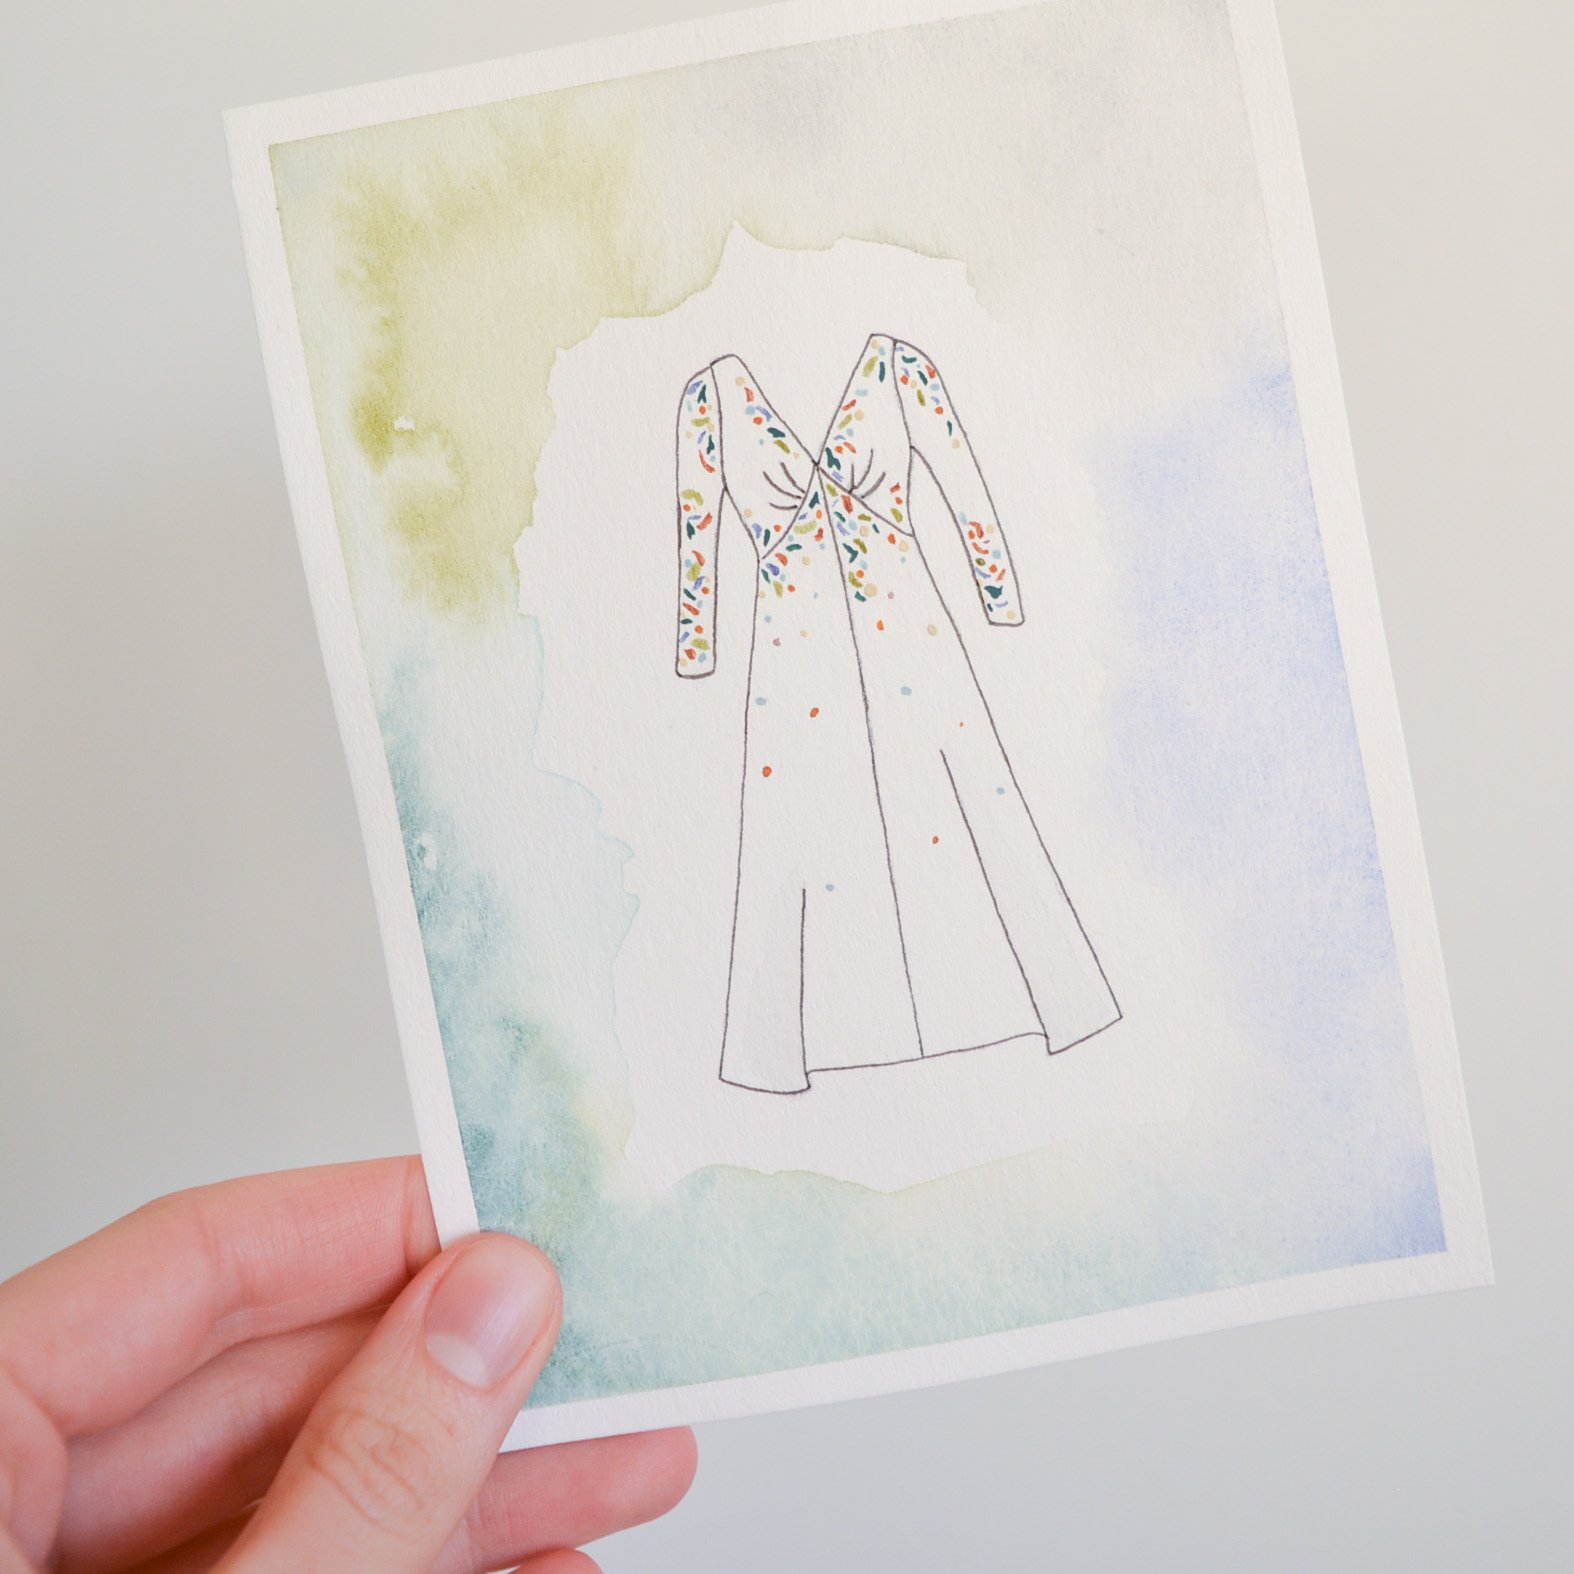
And my embroidery turned out exactly as I hoped. Lots of floral and botanical elements and then the beaded starbursts just make me so happy. It’s all enjoyable to stitch and not too time consuming (which is very important, considering this dress has a deadline!).

So that’s pretty much where I am now. I feel really confident to power ahead on the final dress. I am going to be hand stitching the entire thing because the thought of putting these fabrics anywhere near my machine just stresses me out. I’ve never had luck sewing fabrics like this and I would just much rather turn on some music and stitch away by hand. In fact I’ve been following a couple hand sewing teachers lately and have really been preferring that process. I bought myself an instructional book called Hand Sewing Clothing: A Guide by Louisa Owen Sonstroem so that I would have as many tips and tricks before I really got started on this dress. So this week I will be working on thread tracing all my pattern pieces. This is essentially drawing the pattern pieces onto your fabric using basting stitches. I always do this anyways for embroidered panels but for this project I’m going to try it for all the pattern pieces. It will make for some very precise sewing. Then I need to plan all my embroidery pattern arrangements for each pattern piece, and then it’ll be onto the mammoth portion of this project: the embroidery!

Supplies and resources I’m using so far:
Lune Dress pattern from French Poetry
Hand Sewing Clothing: A Guide by Louisa Owen Sonstroem
Silk Charmeuse fabric from Rokko Fabrics
Silk Organza fabric from Maiwa
Silk Habotai 8mm lining fabric from Maiwa
Beads are from Beadworks on Granville Island
