100 Days of Stitching Birds

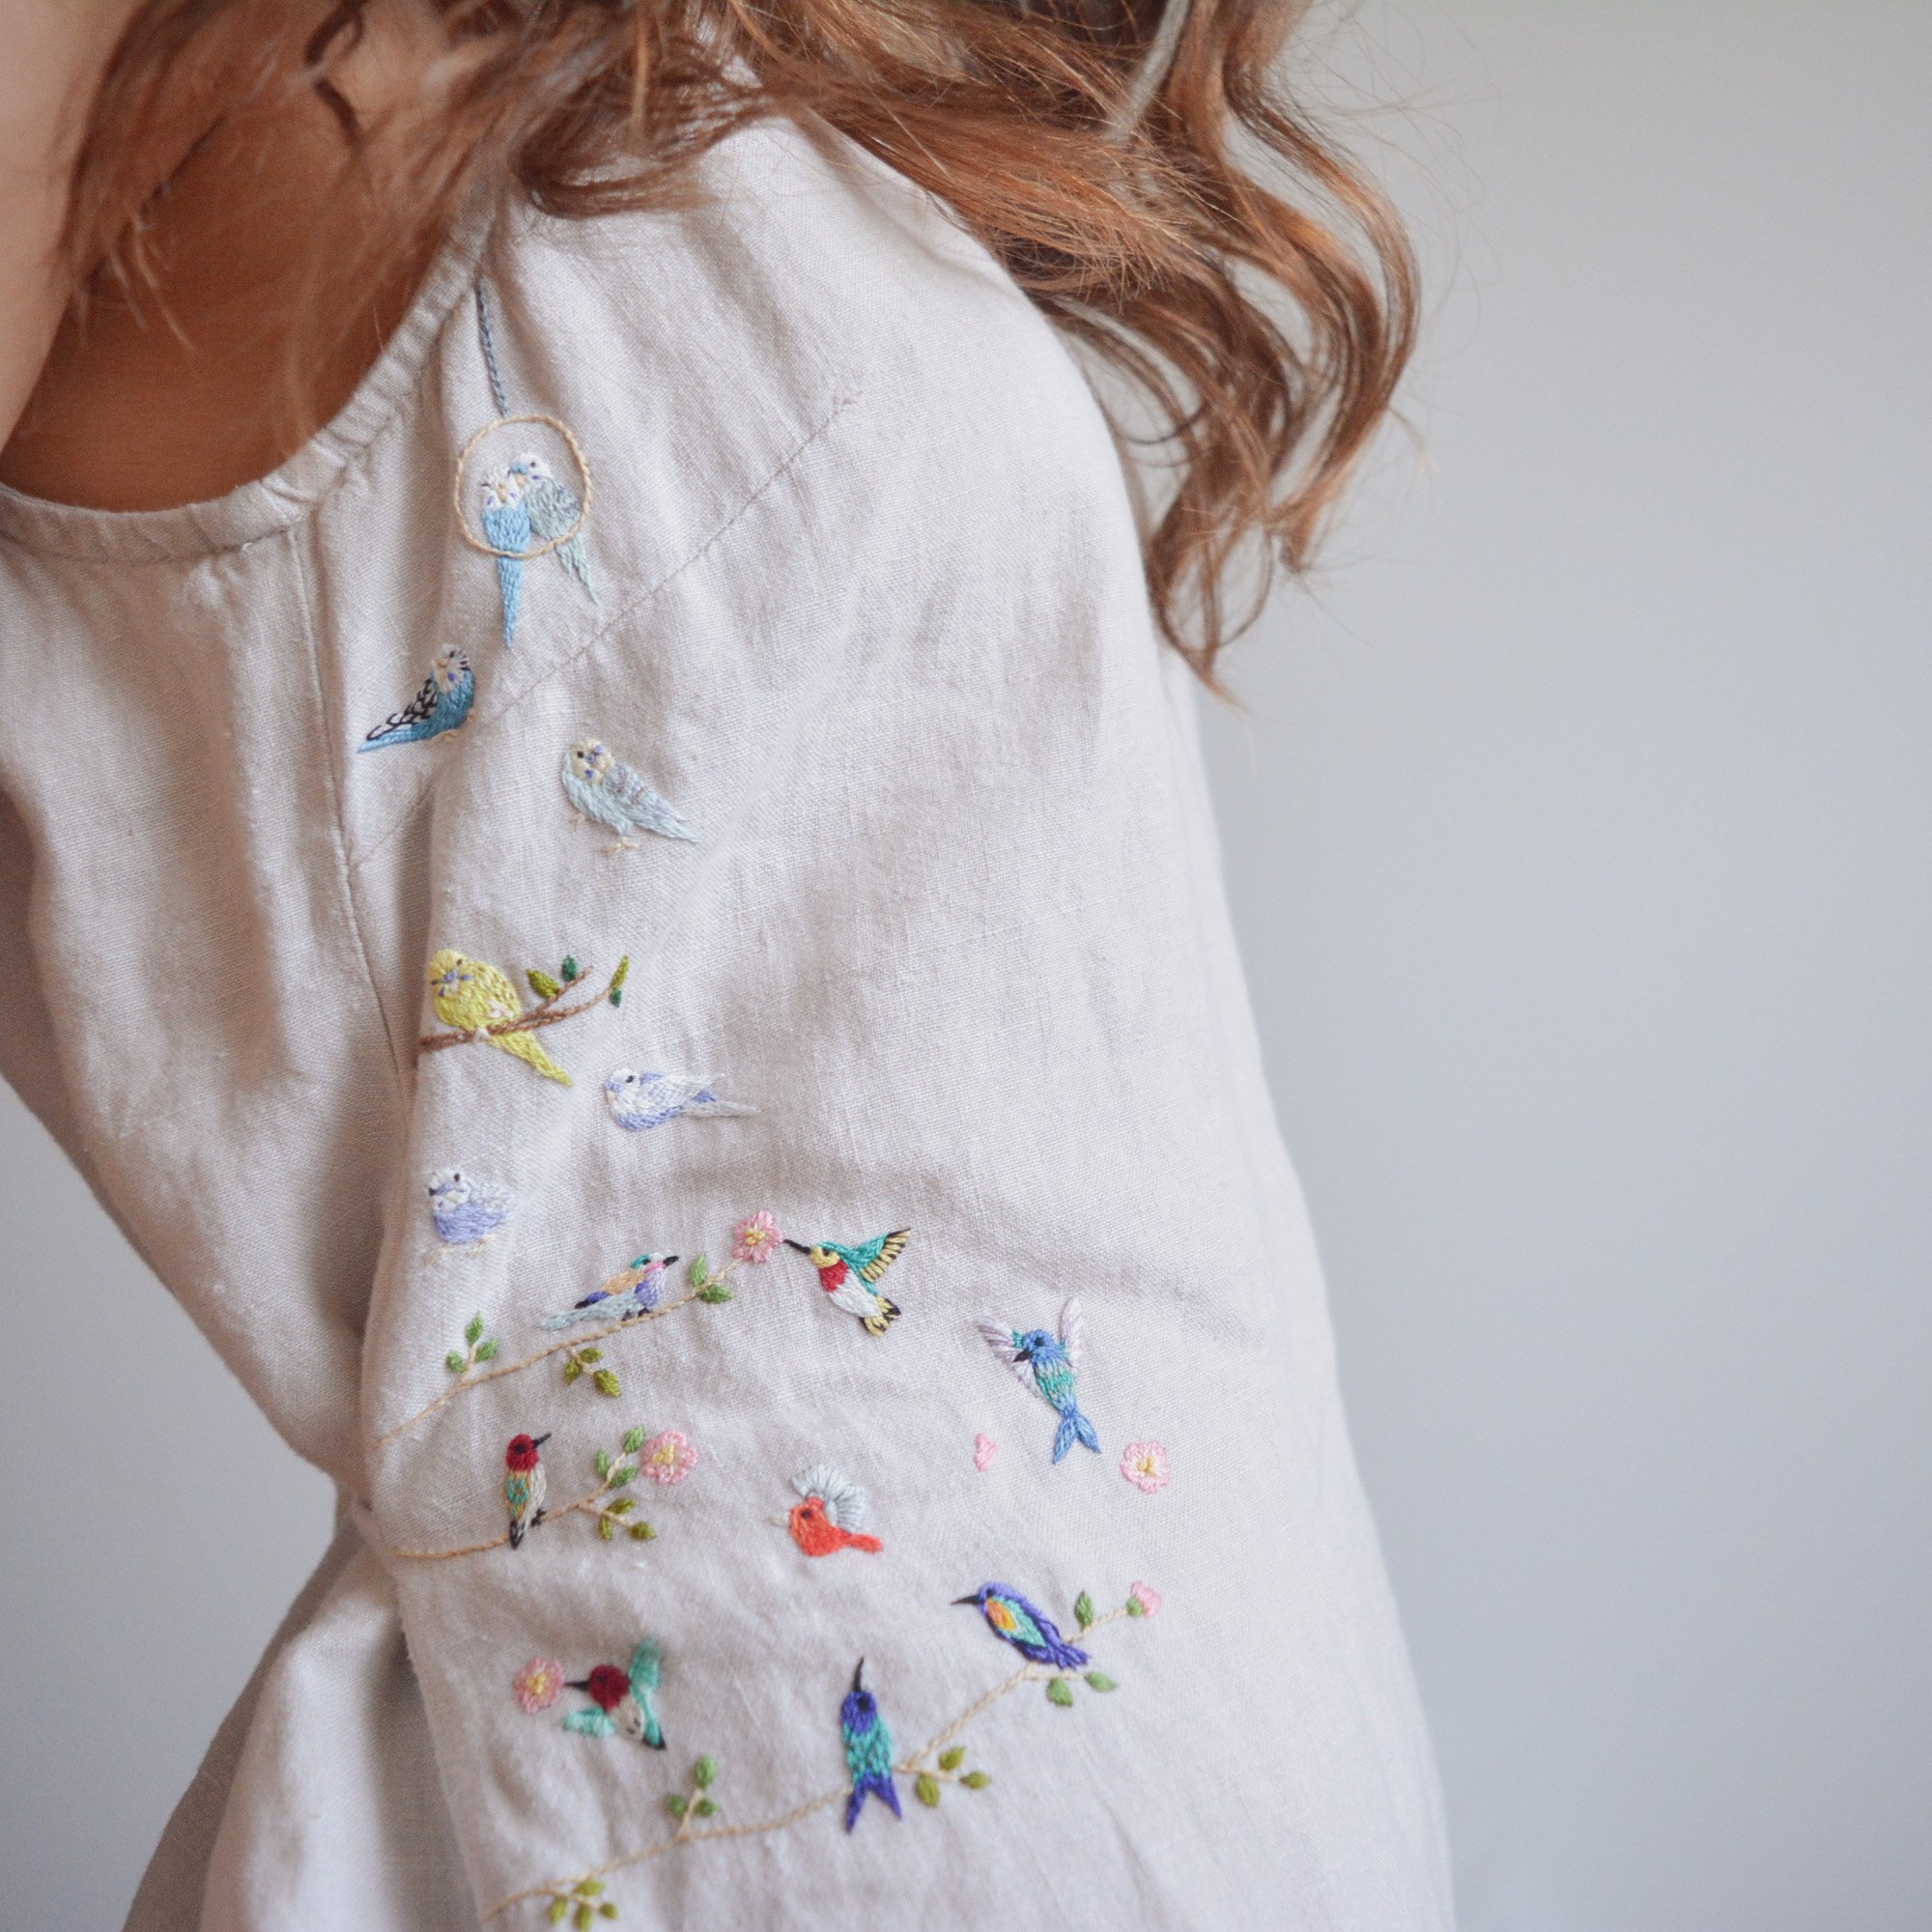
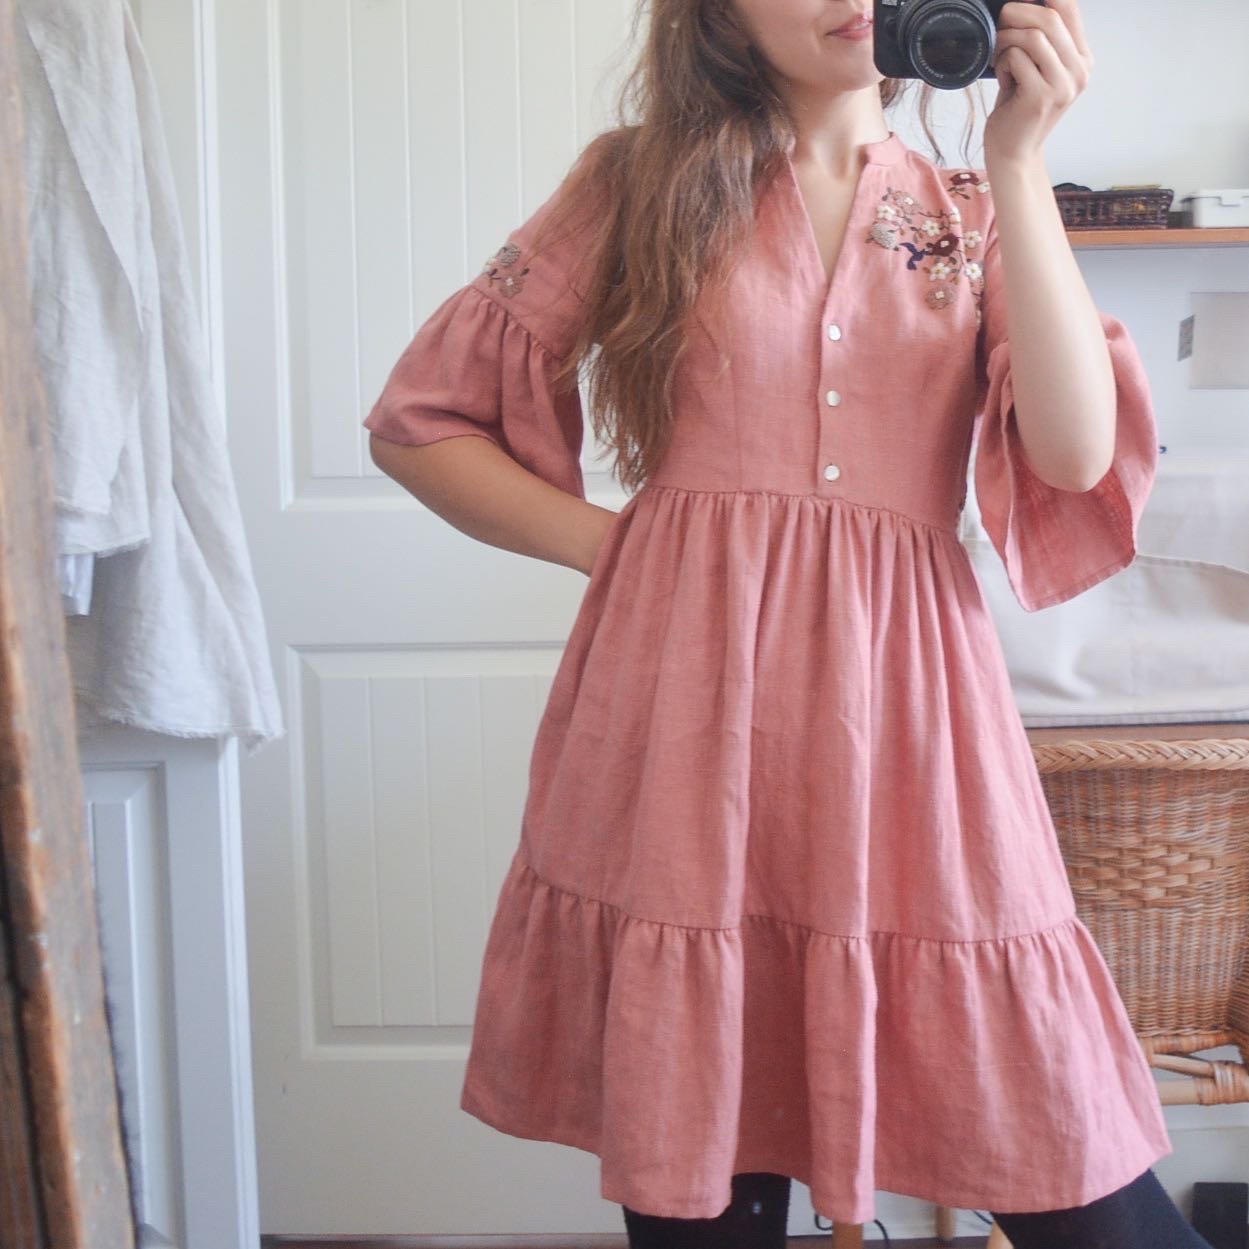
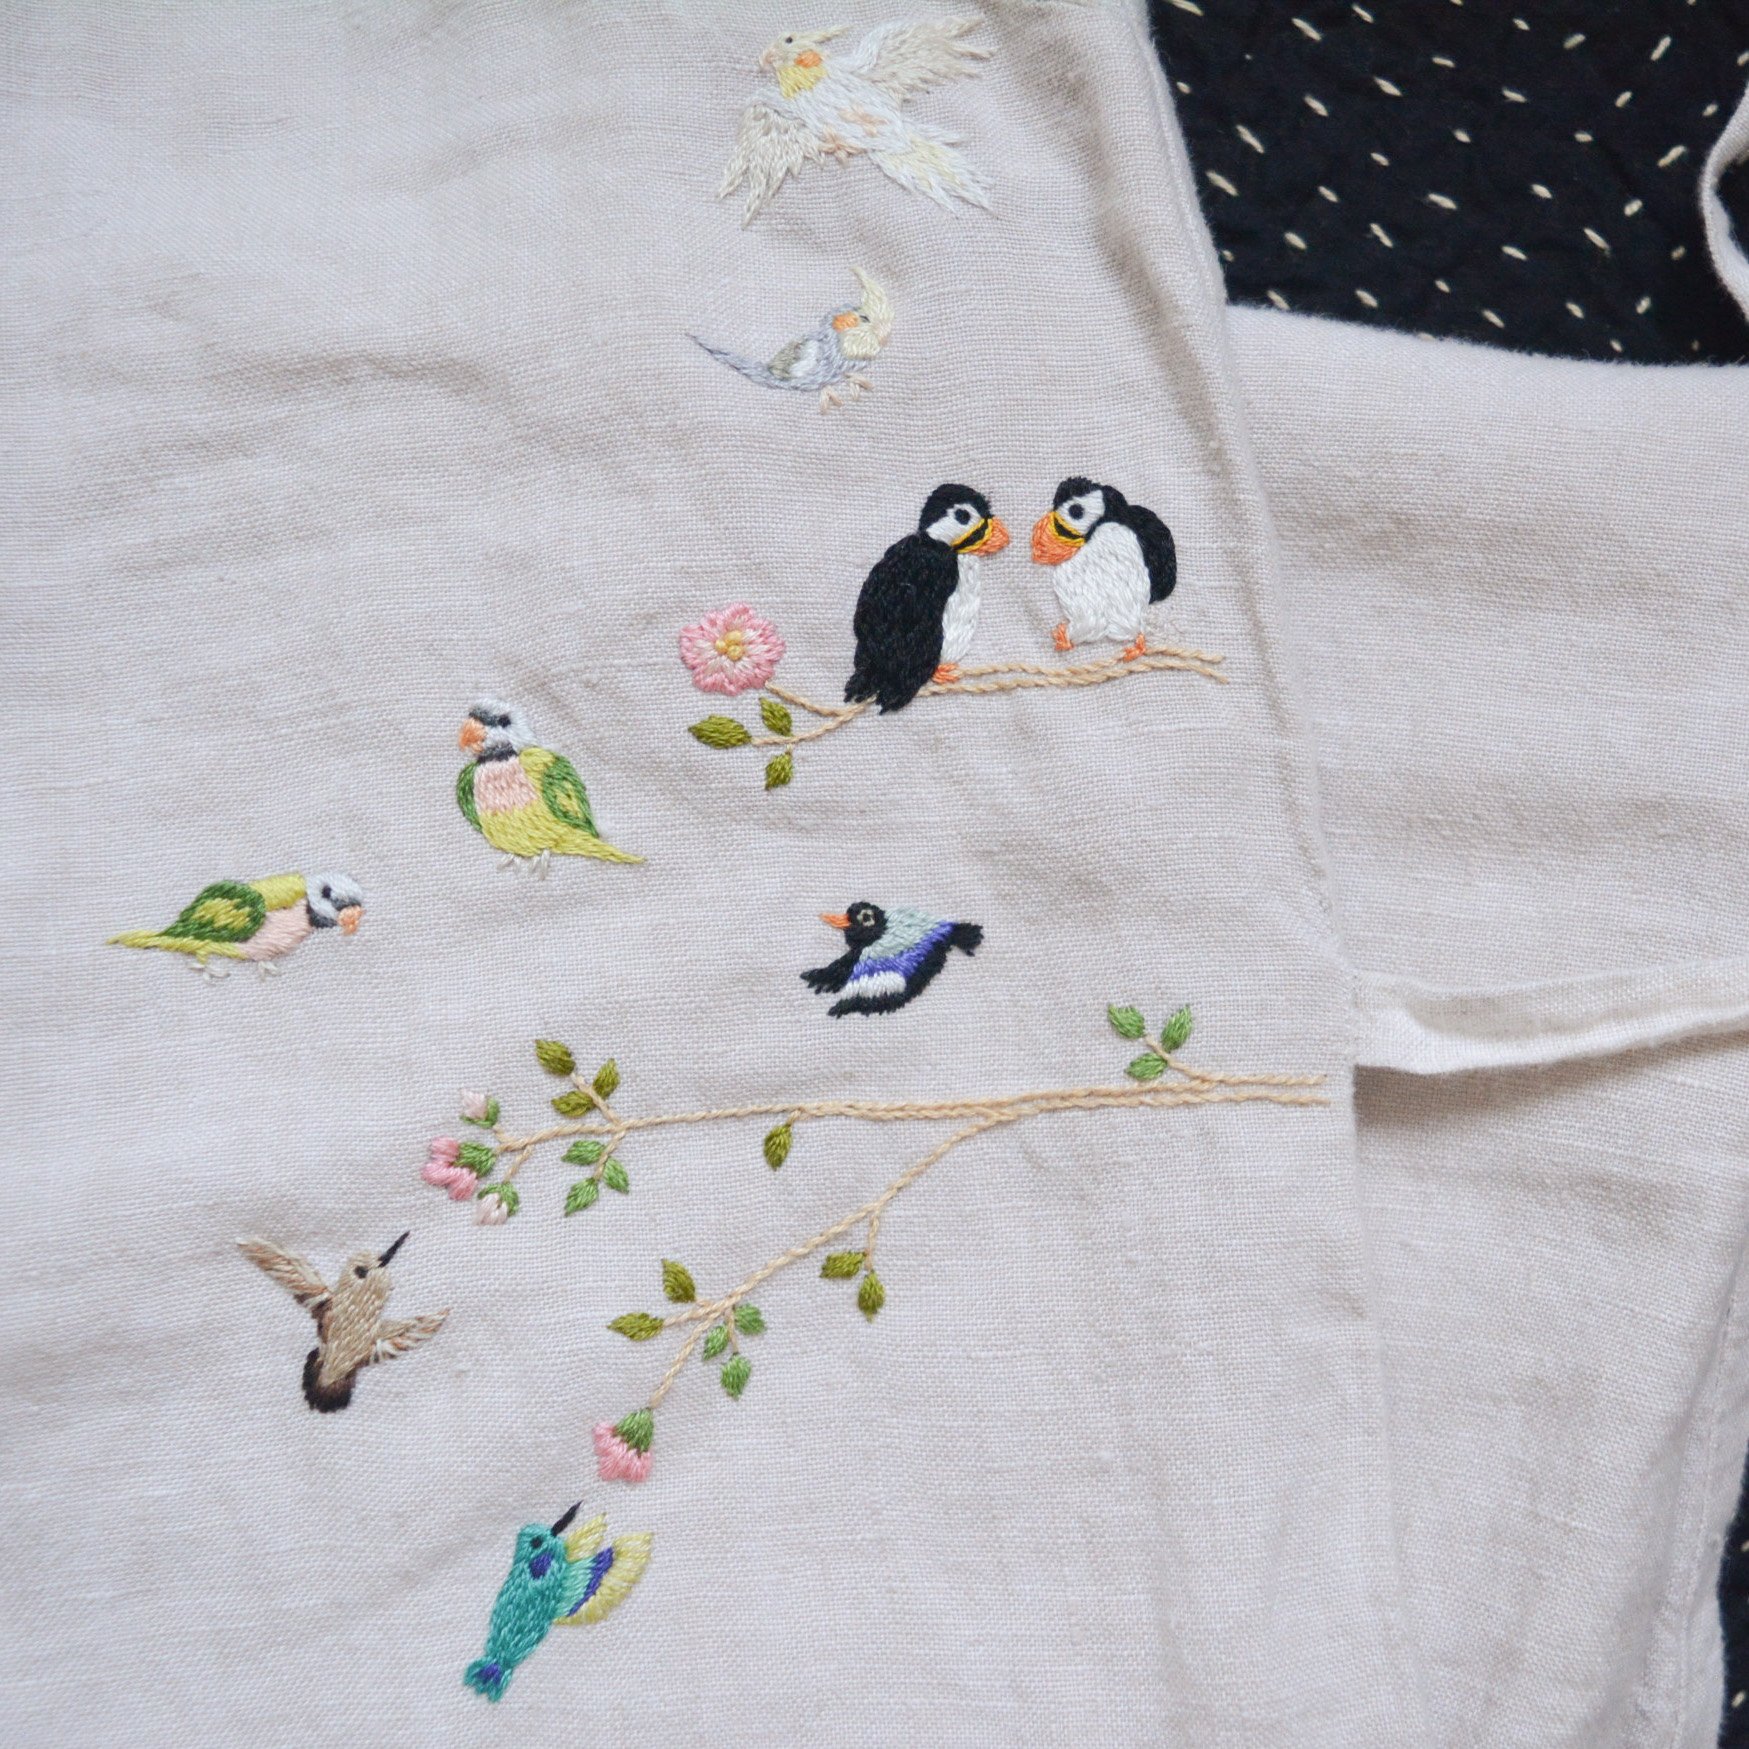
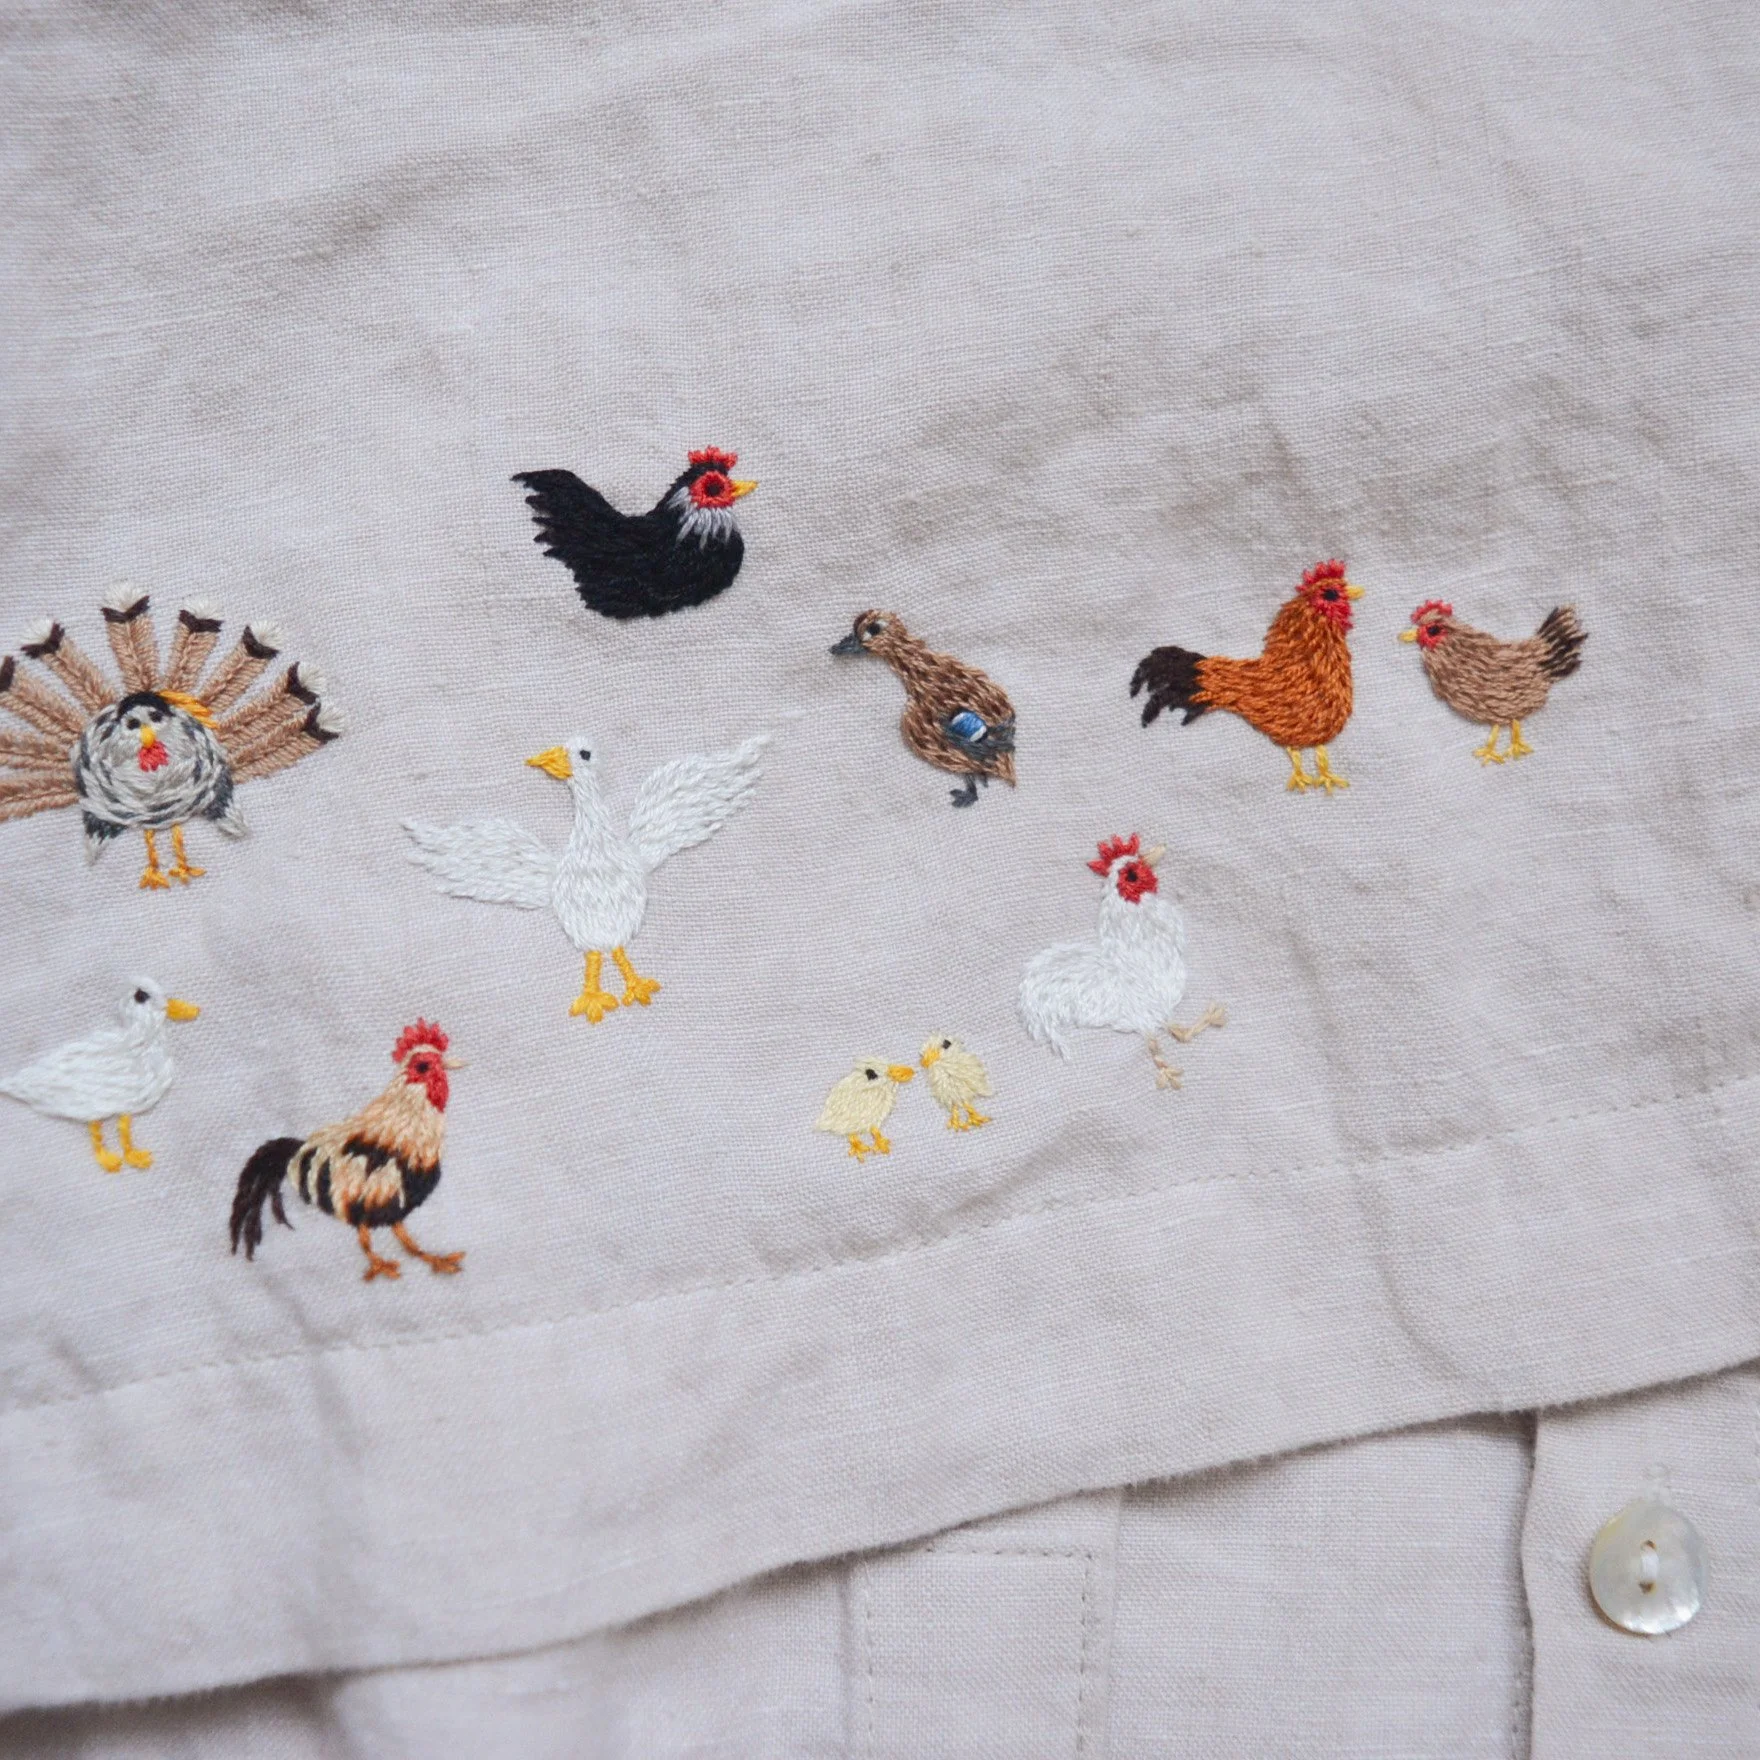
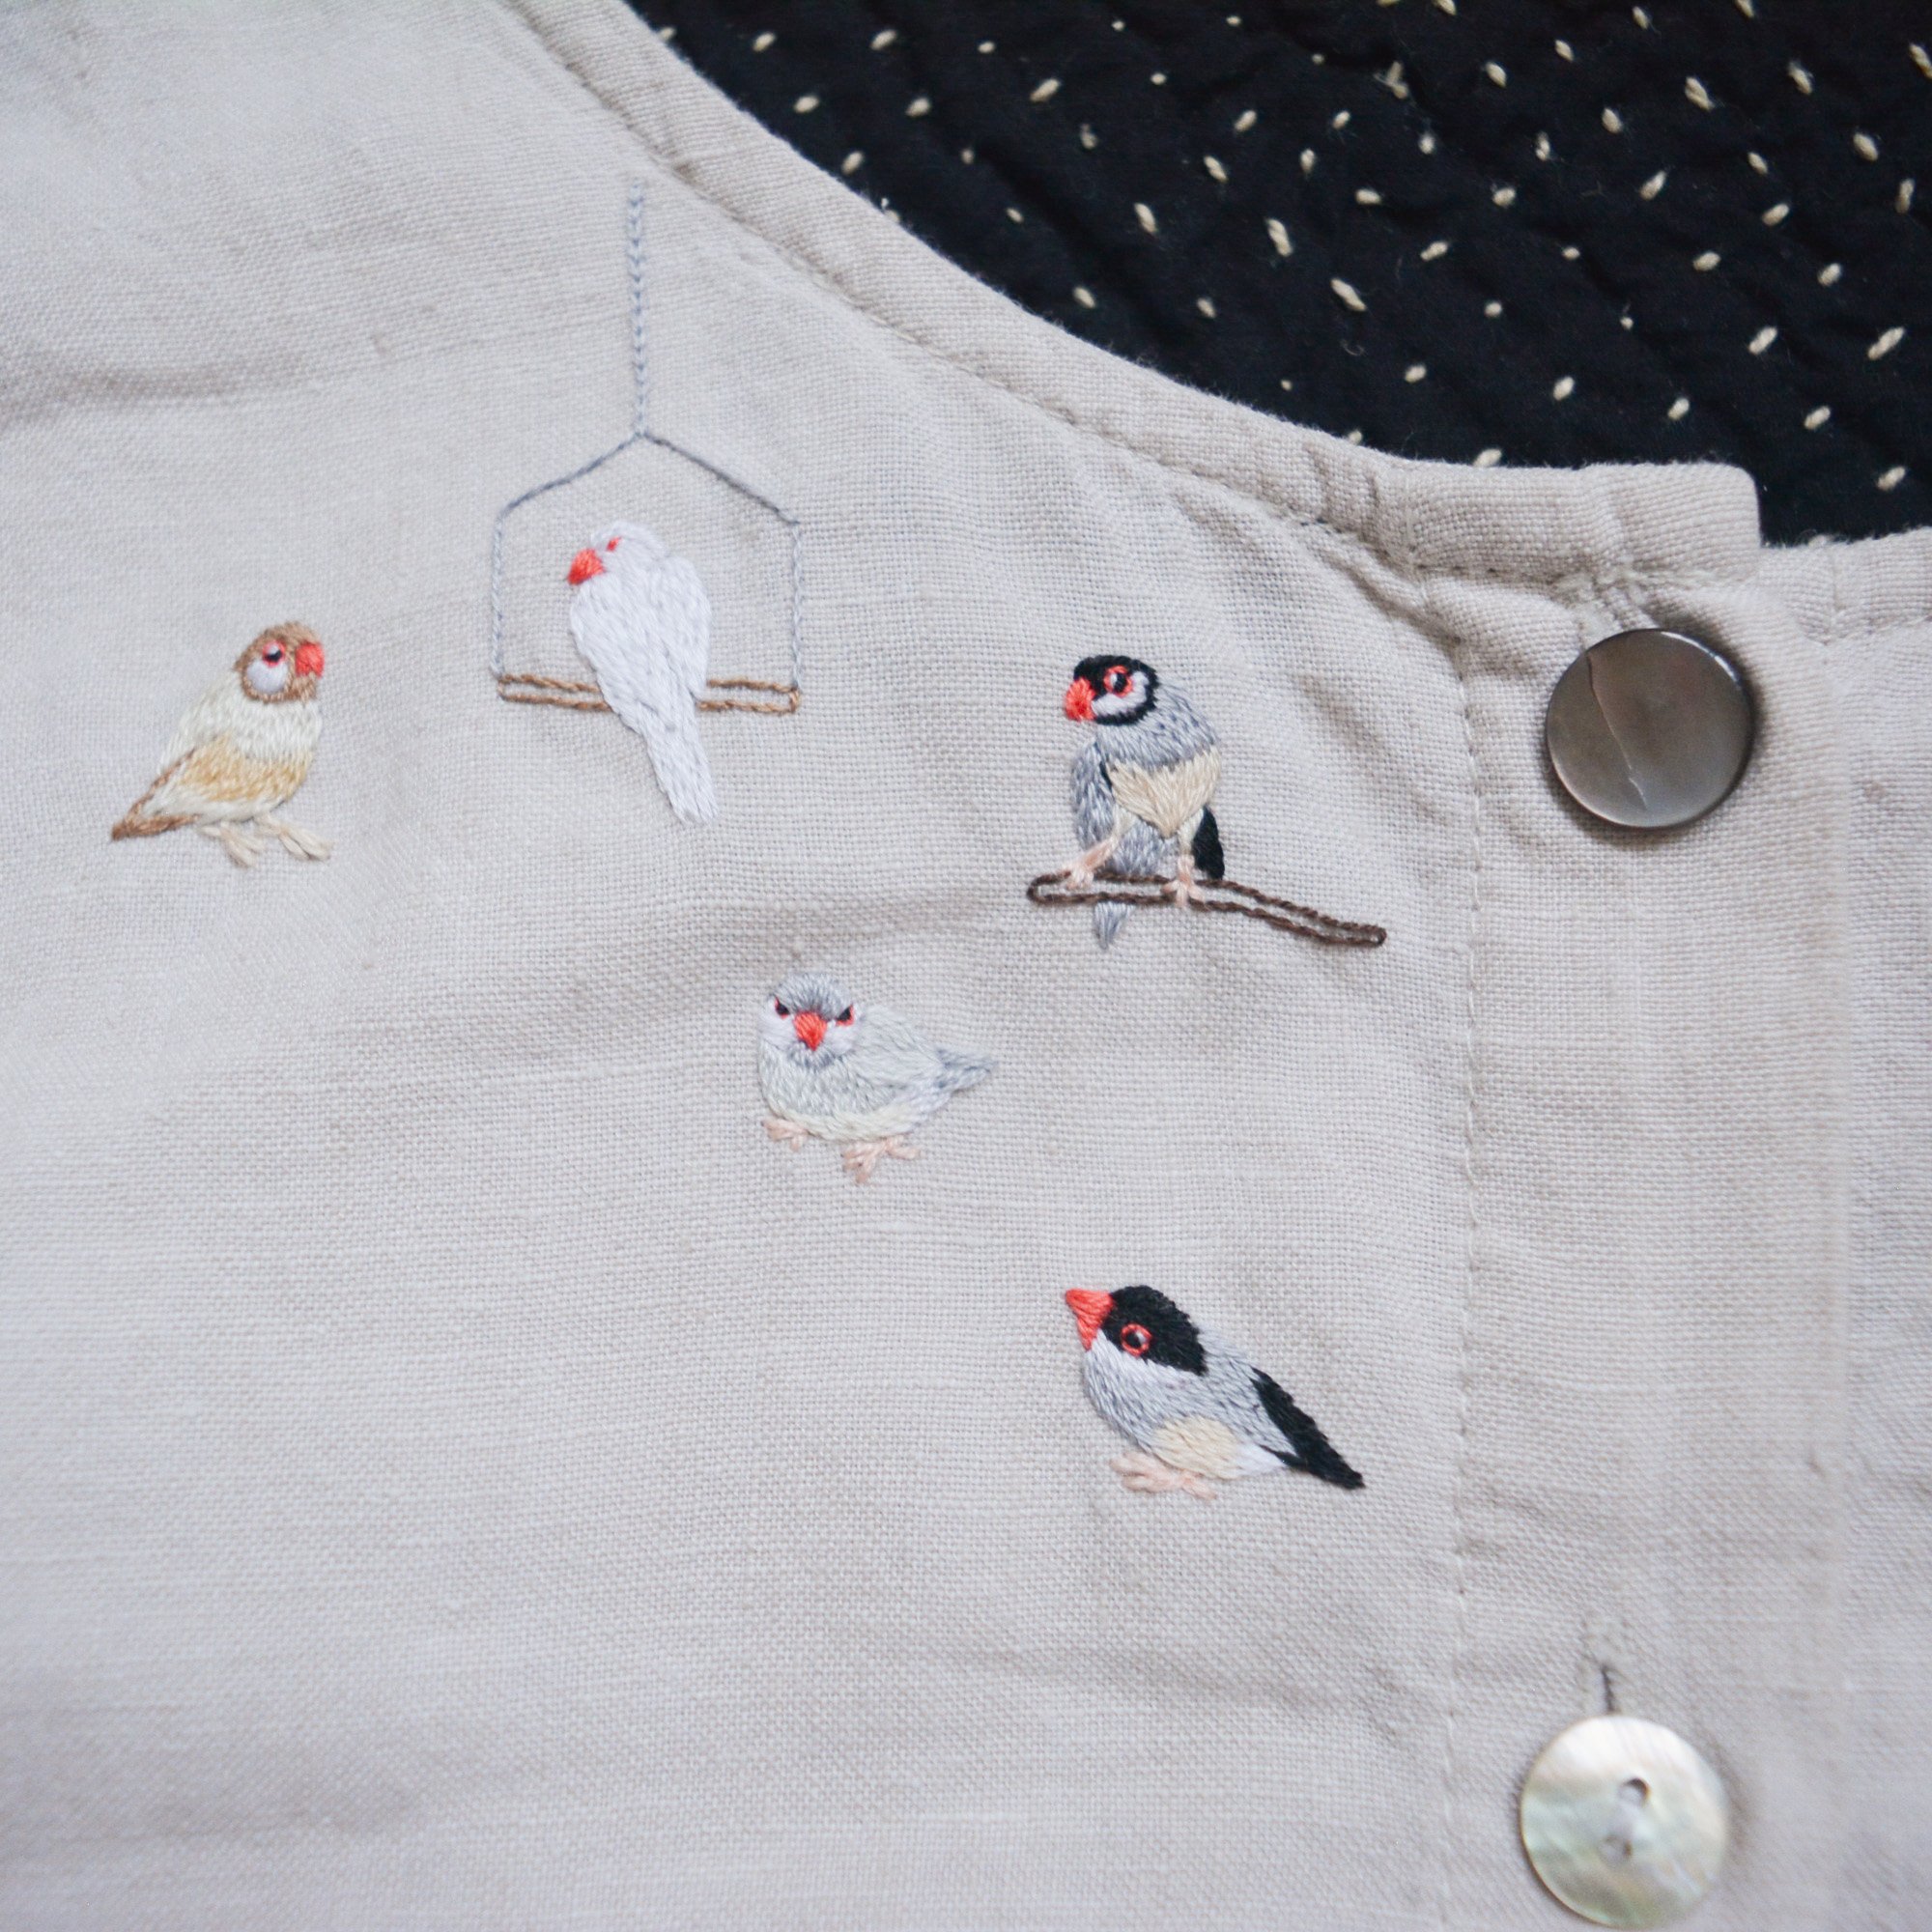
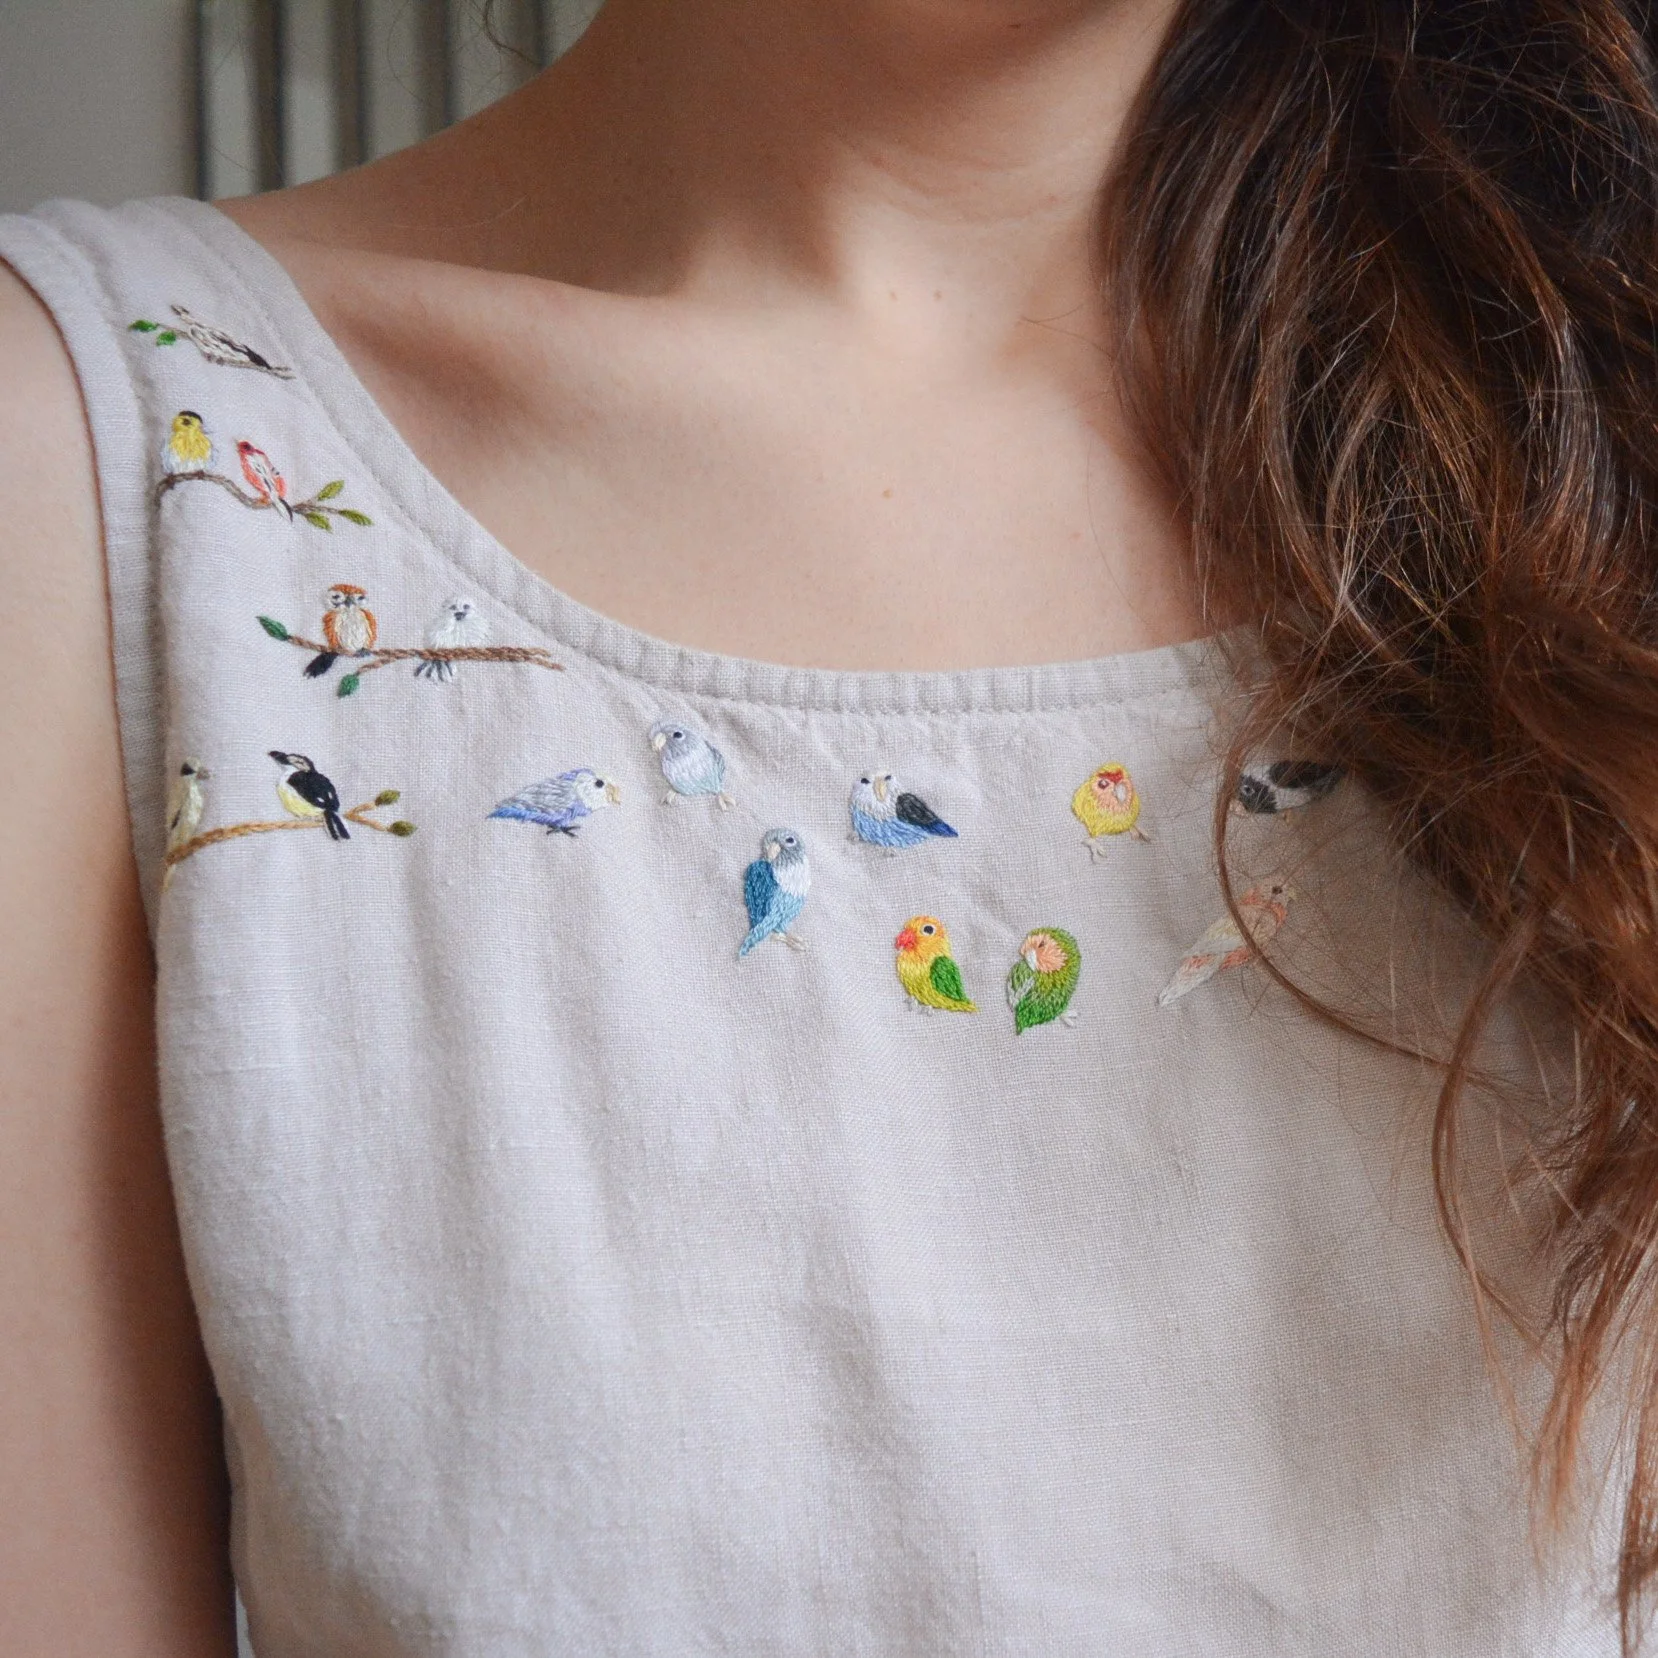
I just finished embroidering 100 birds onto a thrifted linen dress. Spread out over 100 days, this was my bird-a-day project. This project became a little more consuming than I anticipated, with each bird taking anywhere from 1-3 hours to stitch. You’d think doing this sort of practice each day might make me quicker, but I don’t think it did. Although I do think my decision making muscles have improved. In the beginning I would spend so much time deciding exactly where each bird should live, and next to whom, but in the last month I find I can decide what to work on each day in seconds. 

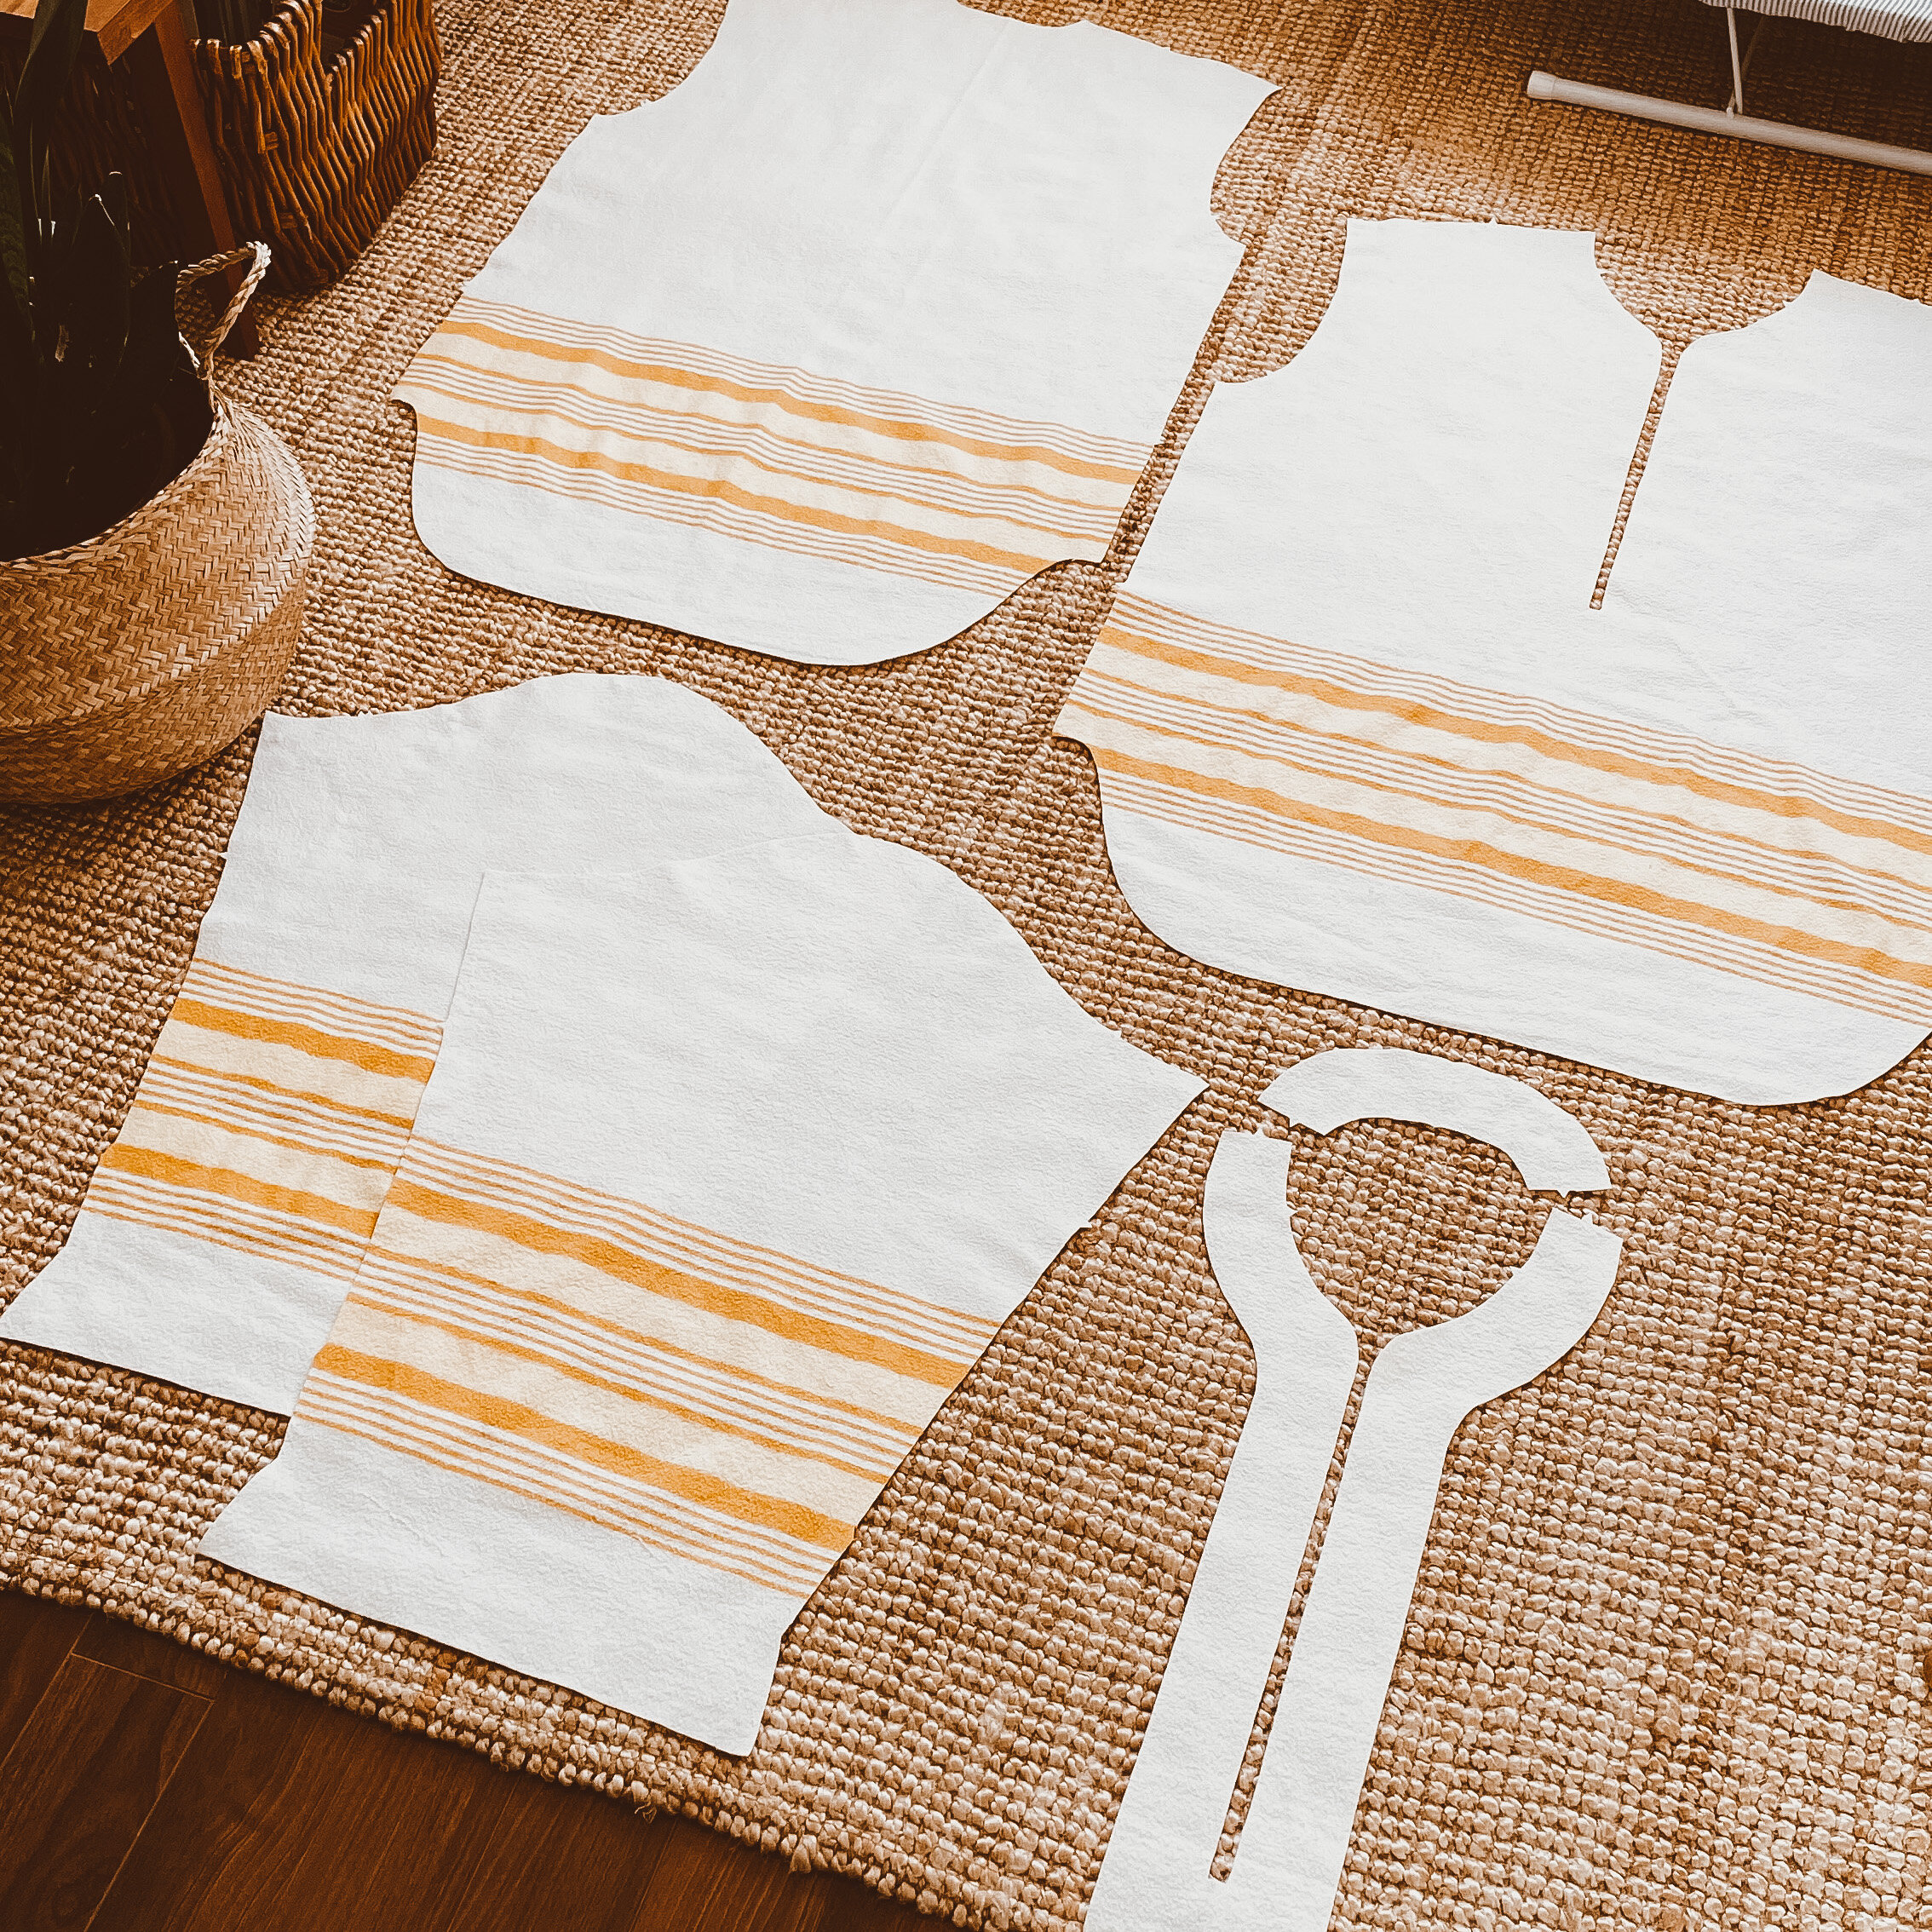
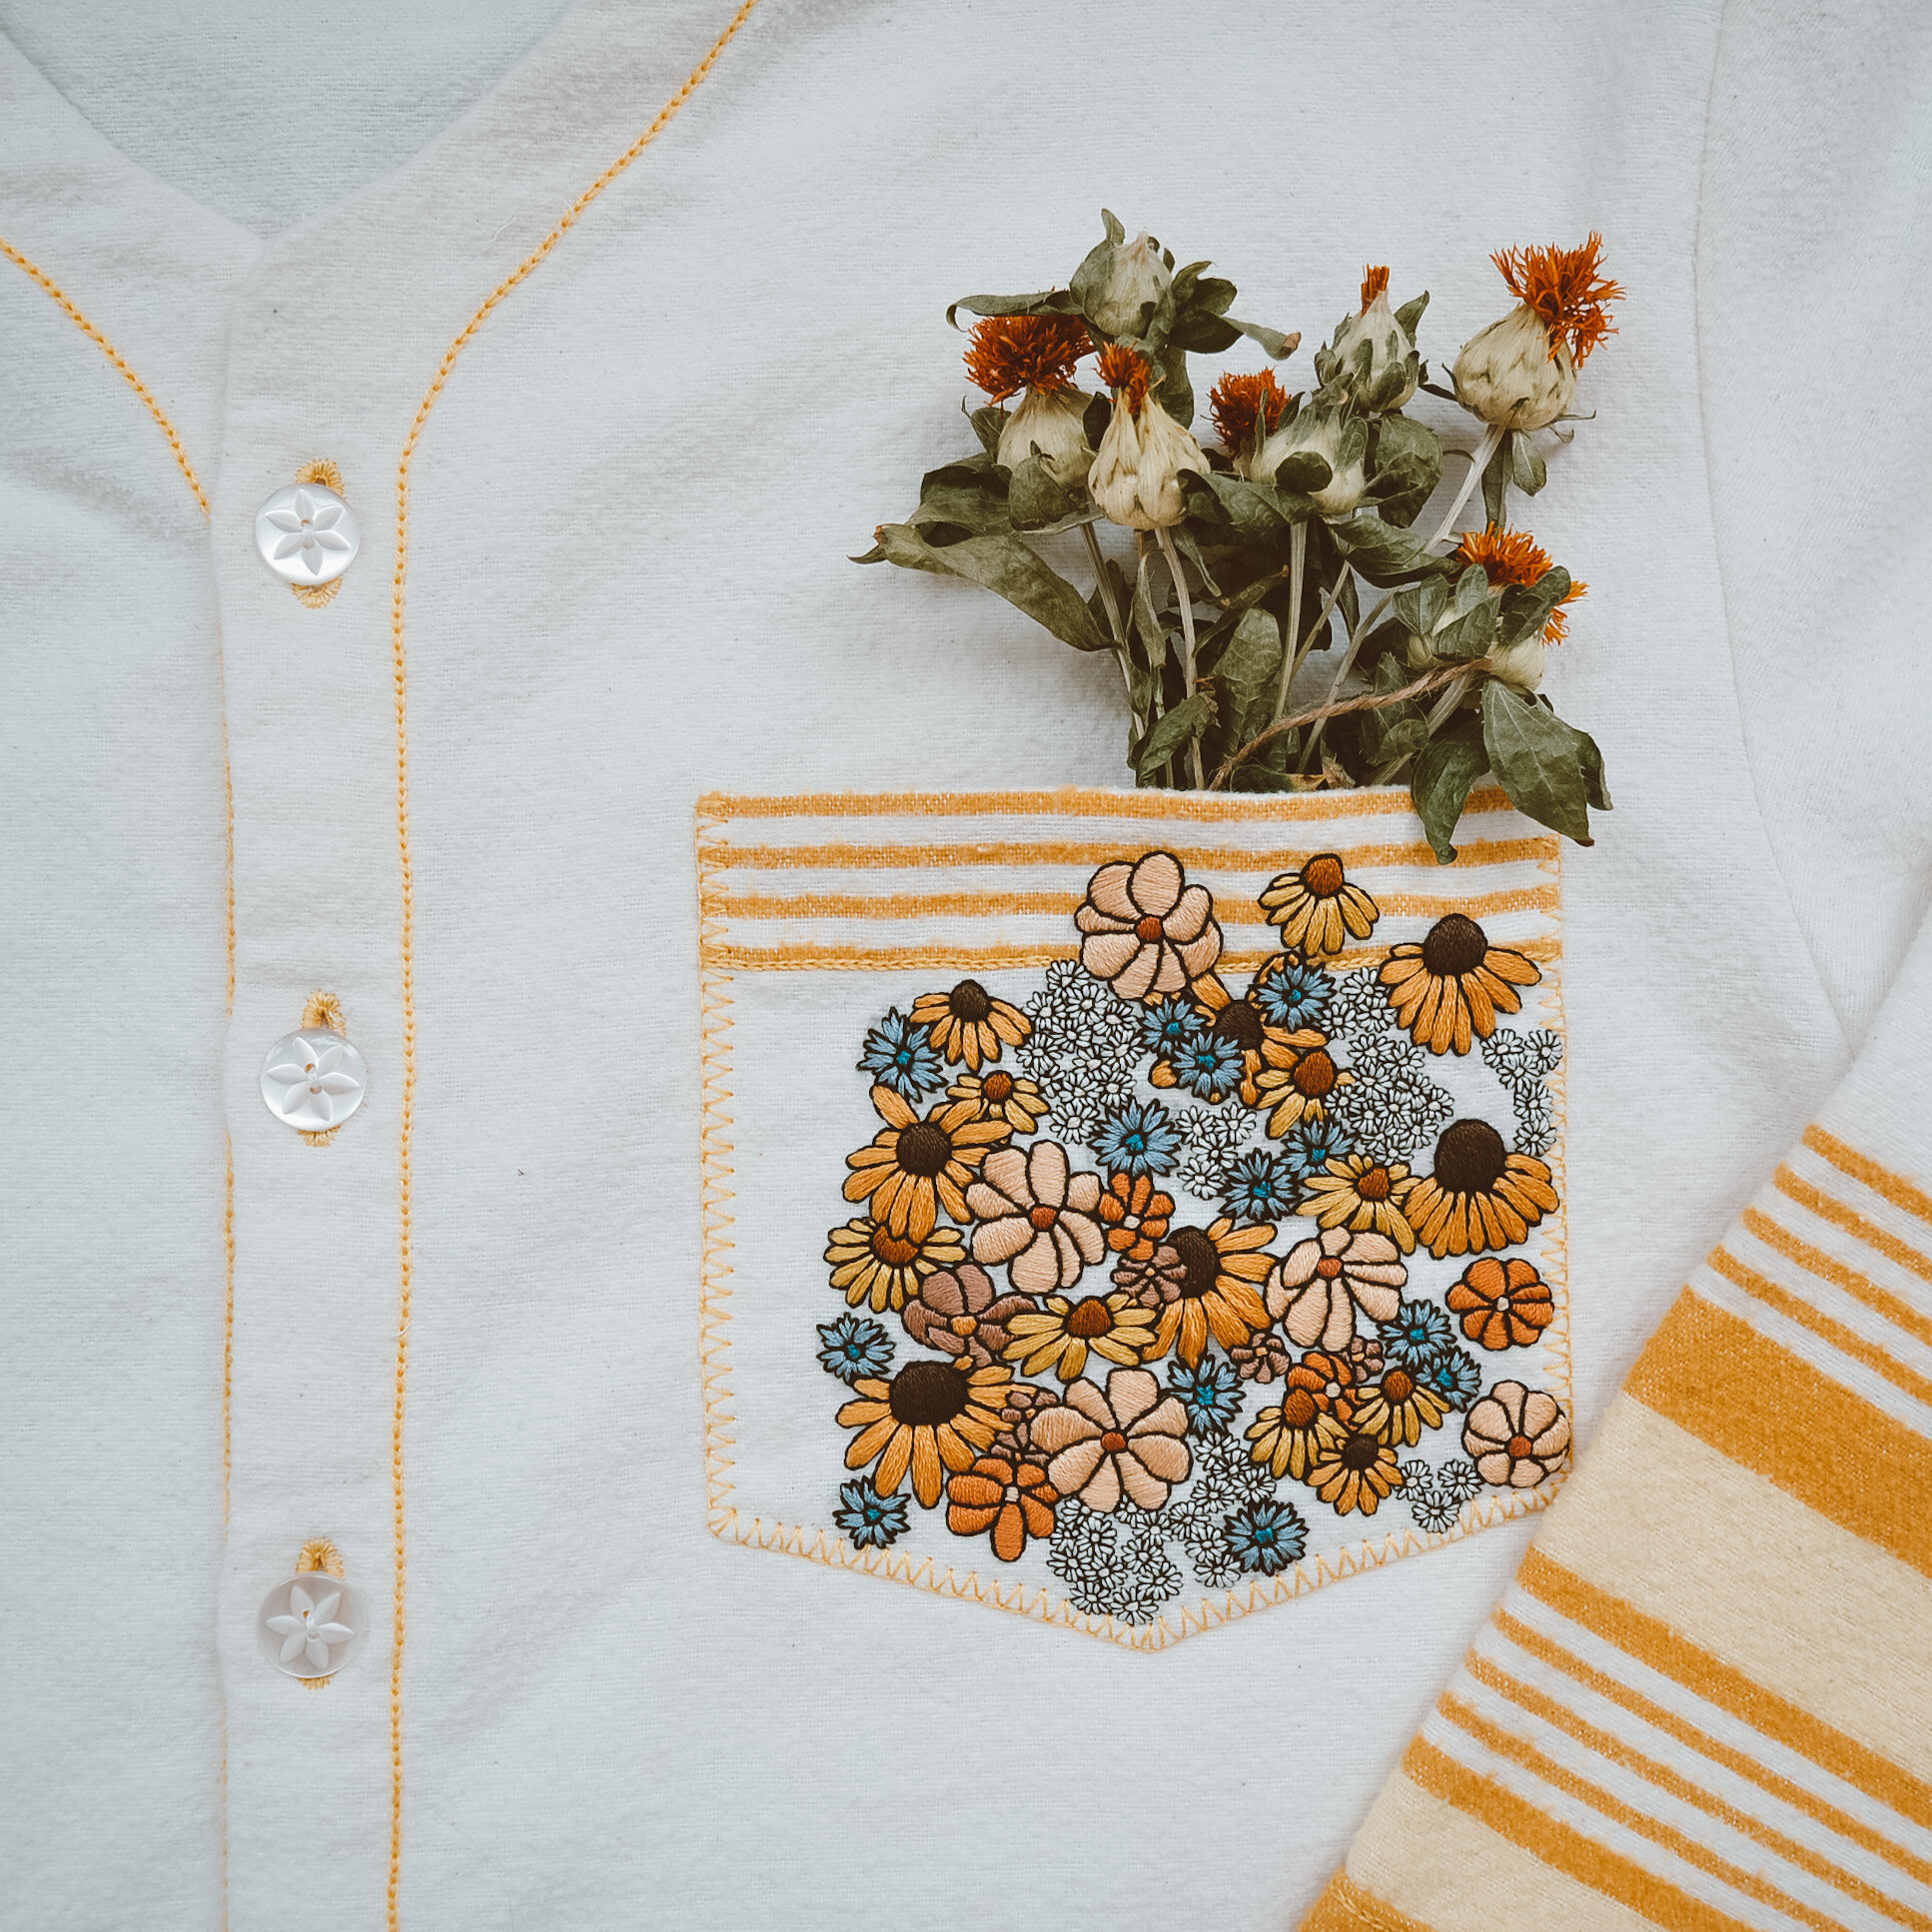
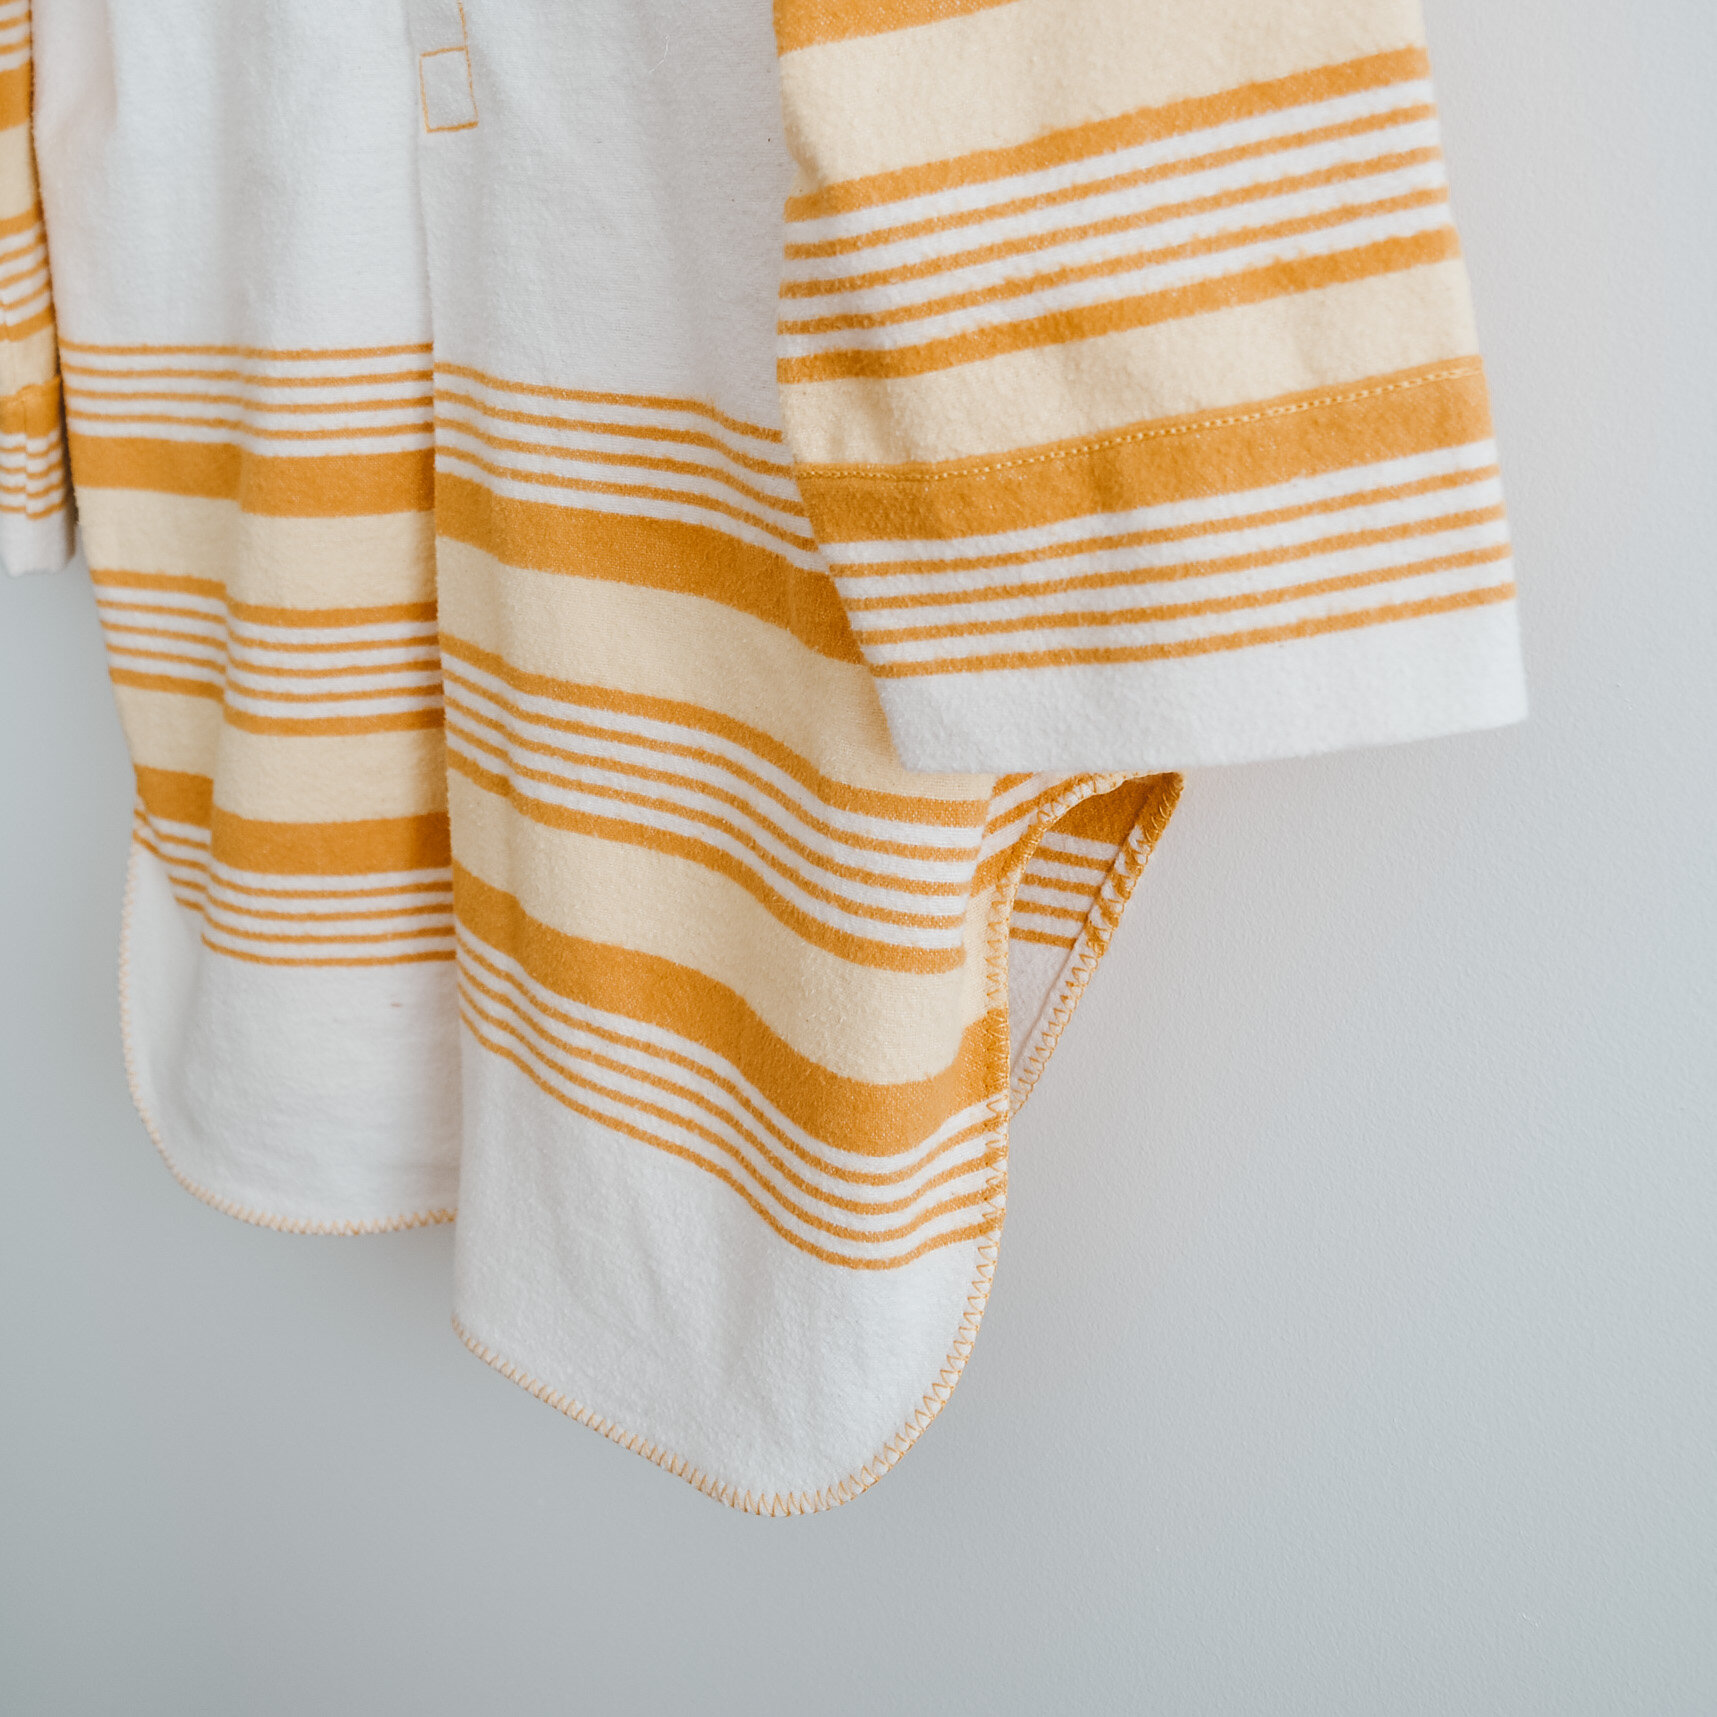
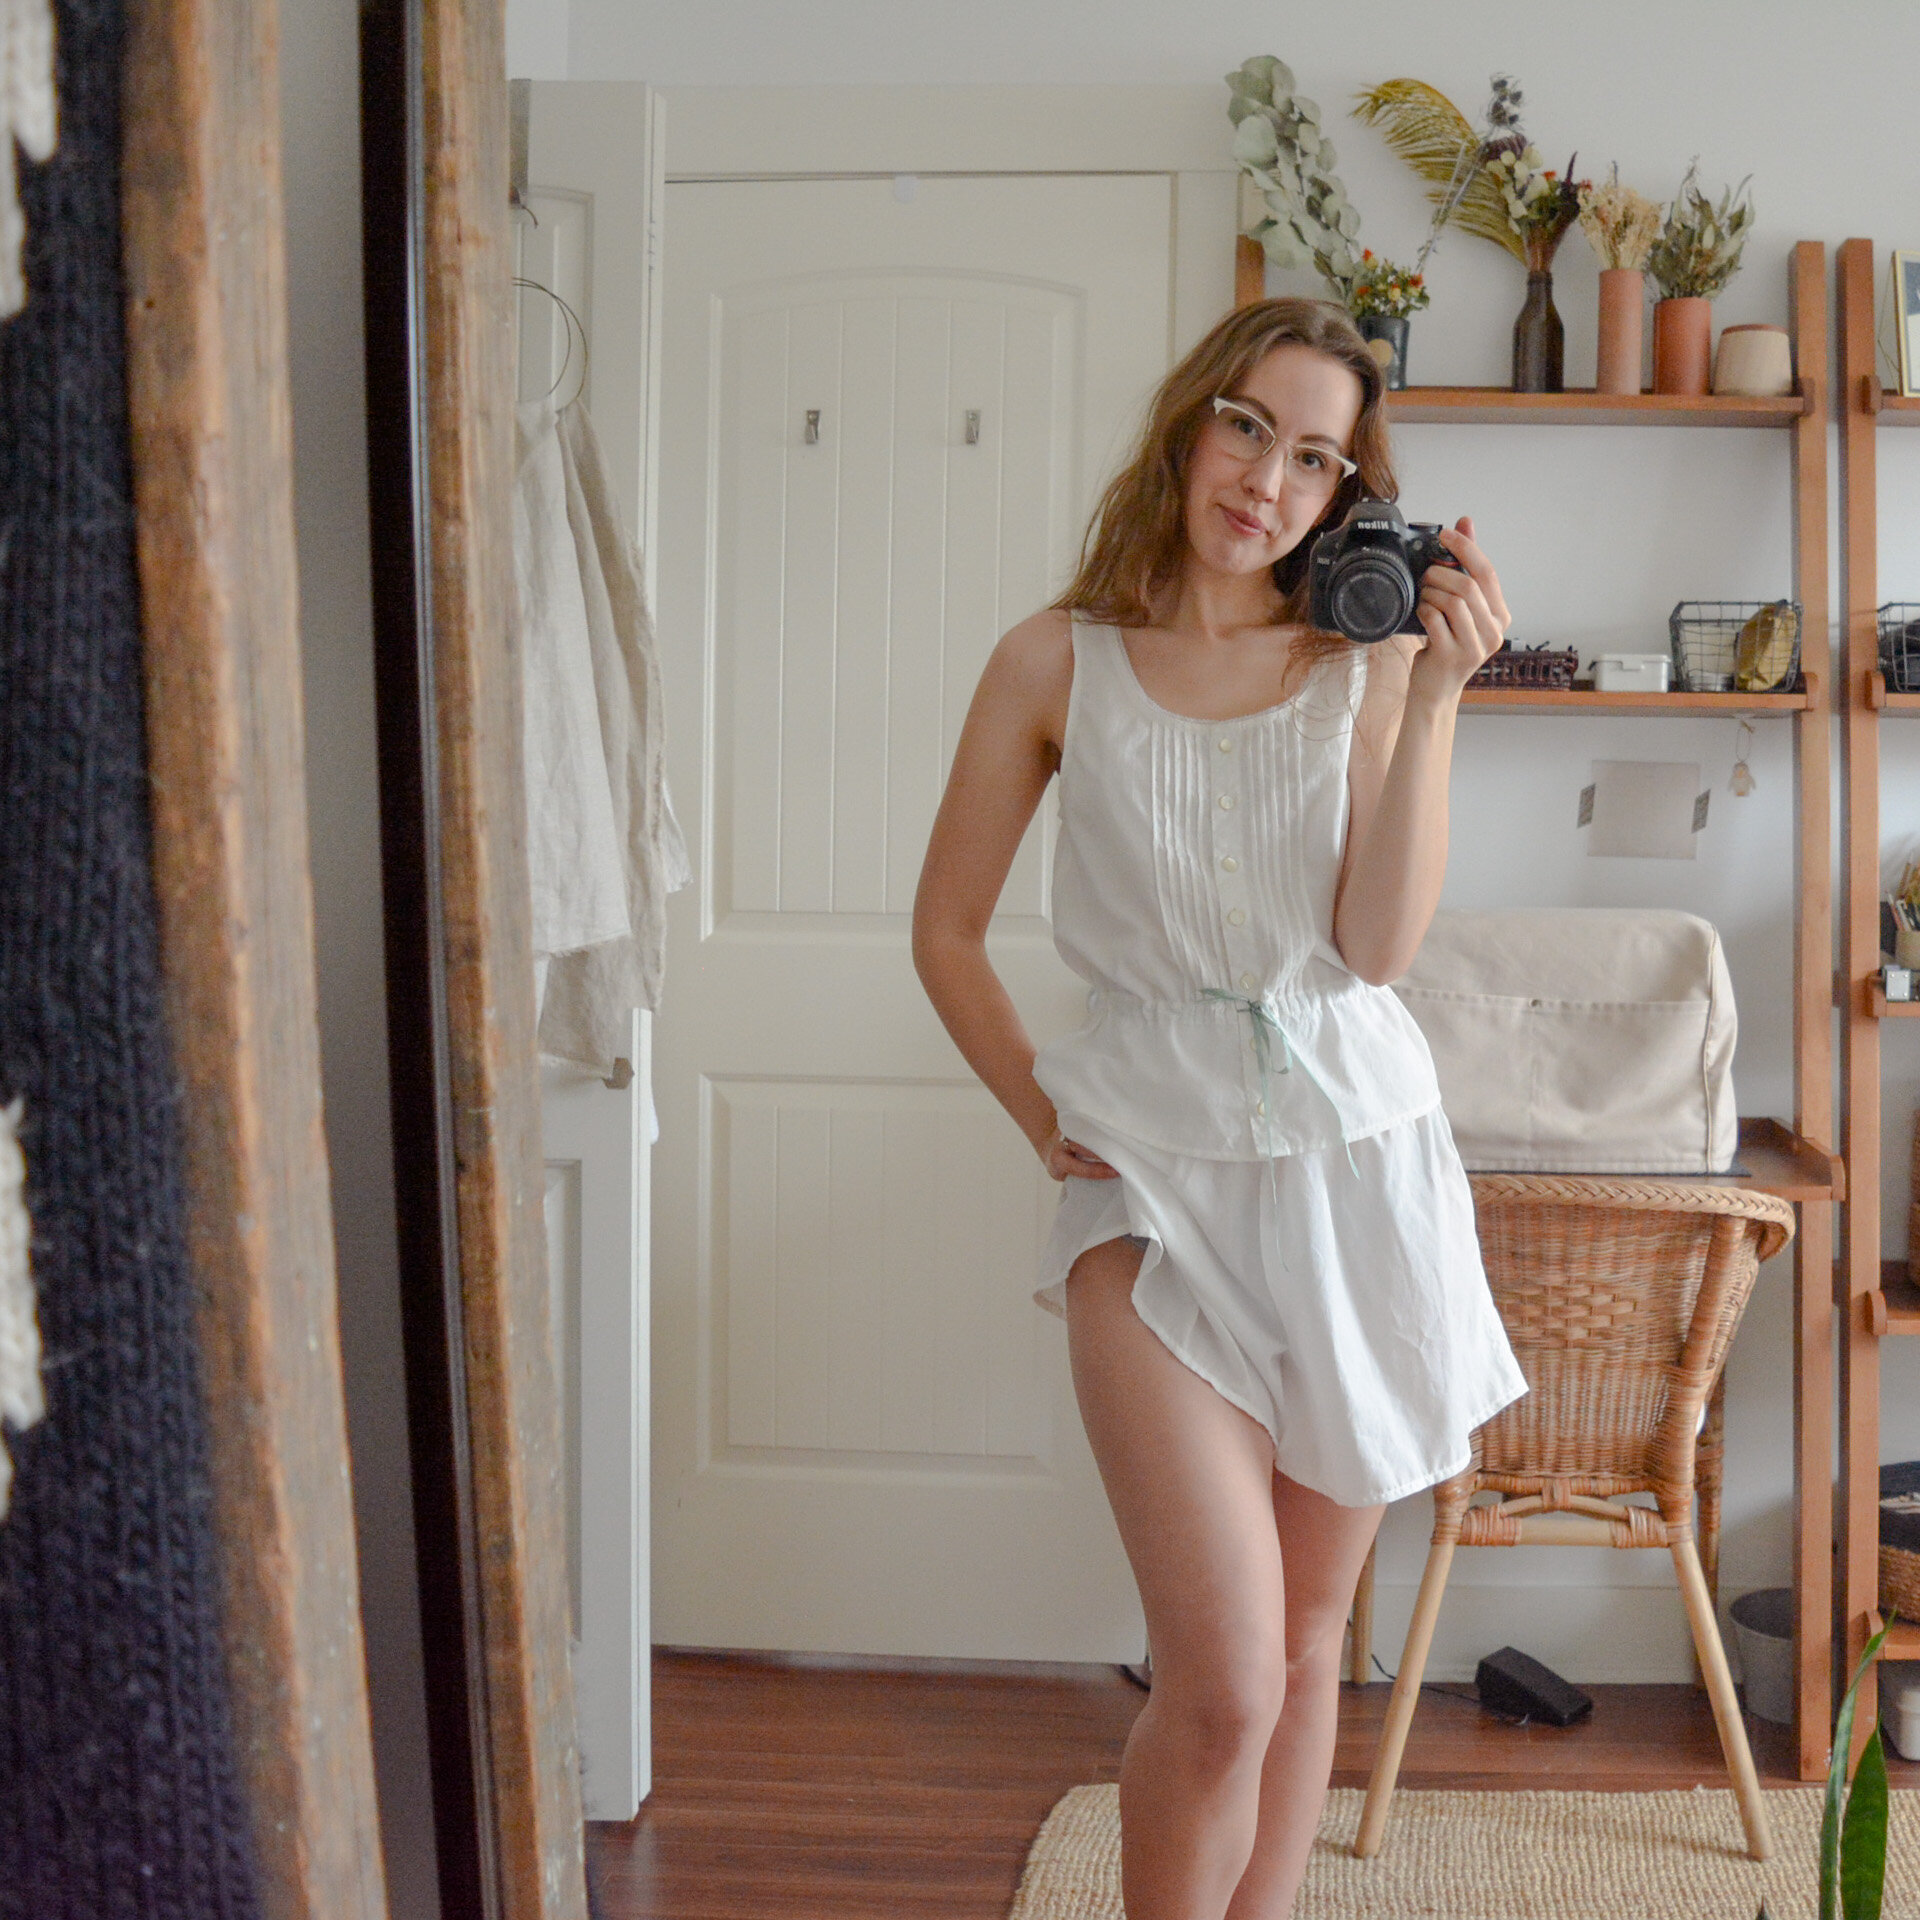
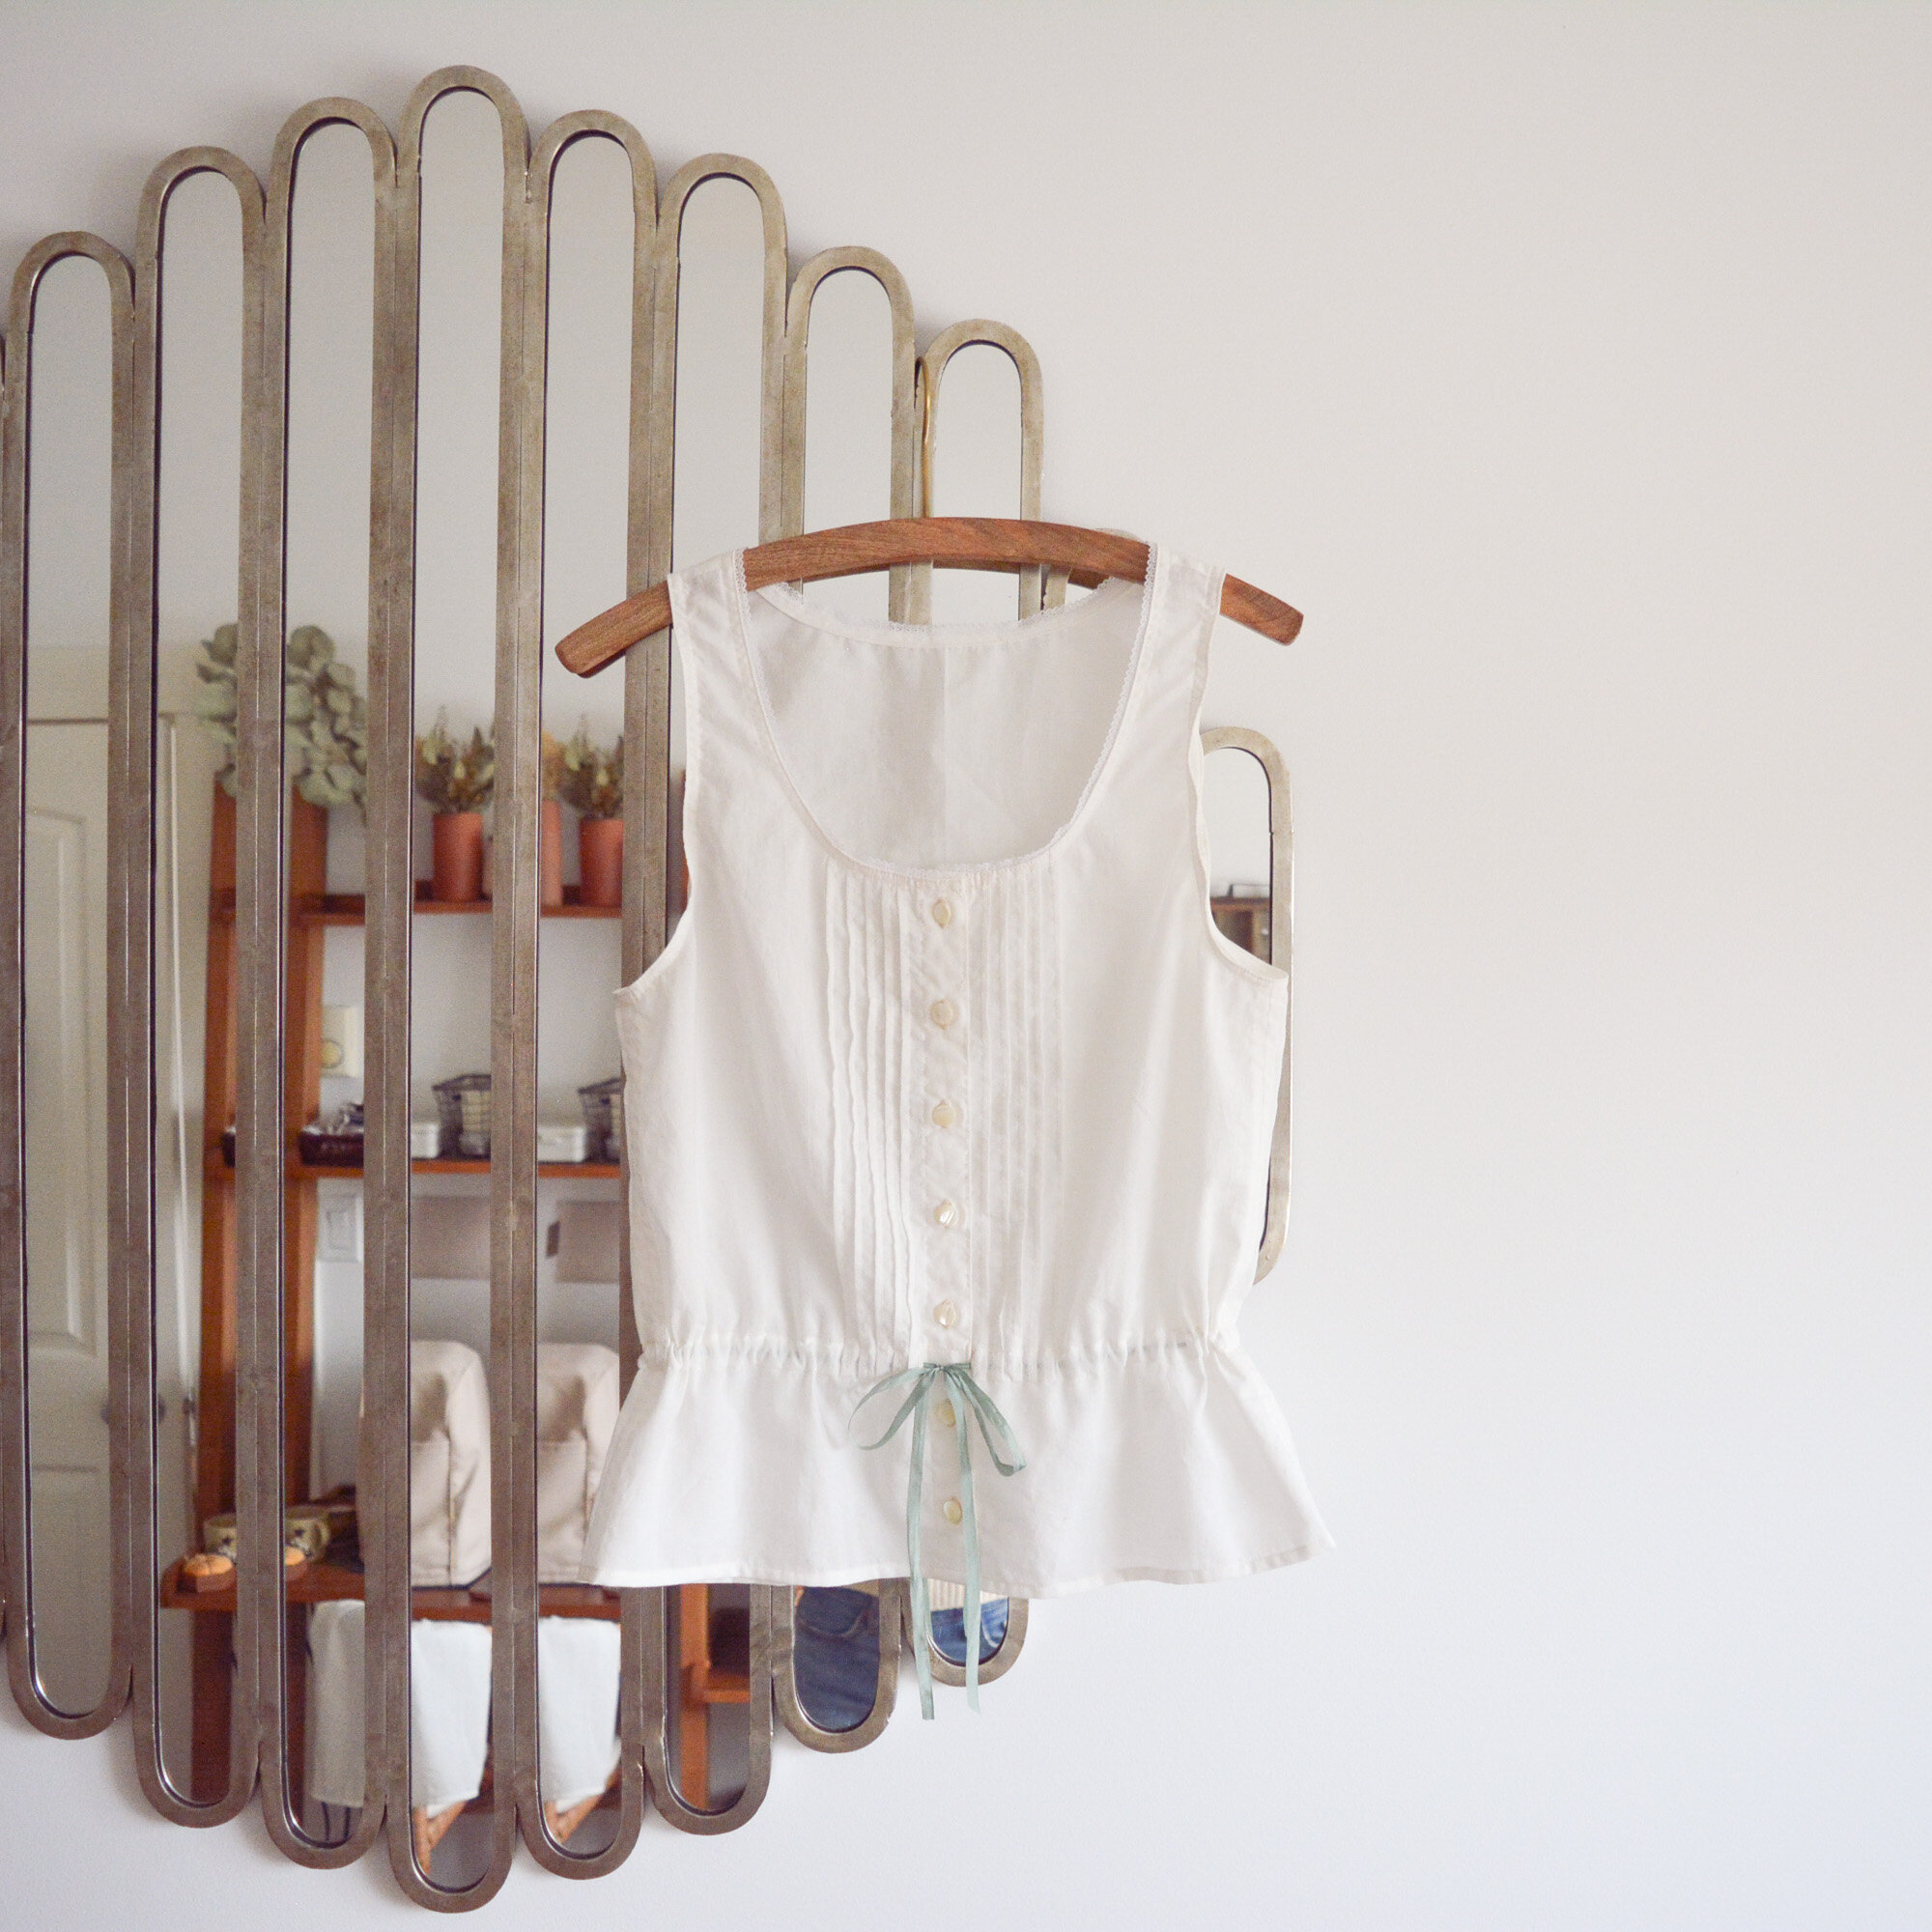
I found this linen shift dress at my local thrift store, and what a find! It’s really well made, the fabric is just perfect for embroidery, and it felt like a blank canvas just waiting to be decorated. I did of course have to do a little bit of work on the dress before I got started (I find that just about everything I thrift needs some love). I un-did the alterations that the previous owner had made to the dress (they took it in at the waist), and then I wore it a couple days to see what needed to be done. The buttons go all the way down the back of the dress, and I found when I walked they would pop open. This would not do! So I hand-stitched that seam closed so the buttons basically are just for looks now, which feels much more secure. I also shortened the dress an inch or two, replaced a couple missing buttons, and added a waist tie. I love adding waist ties to my thrift finds, it helps give me that hourglass shape without making any time-consuming and more permanent alterations to the clothes. Now that the dress was perfect for me in terms of structure, I could start to think about decoration.

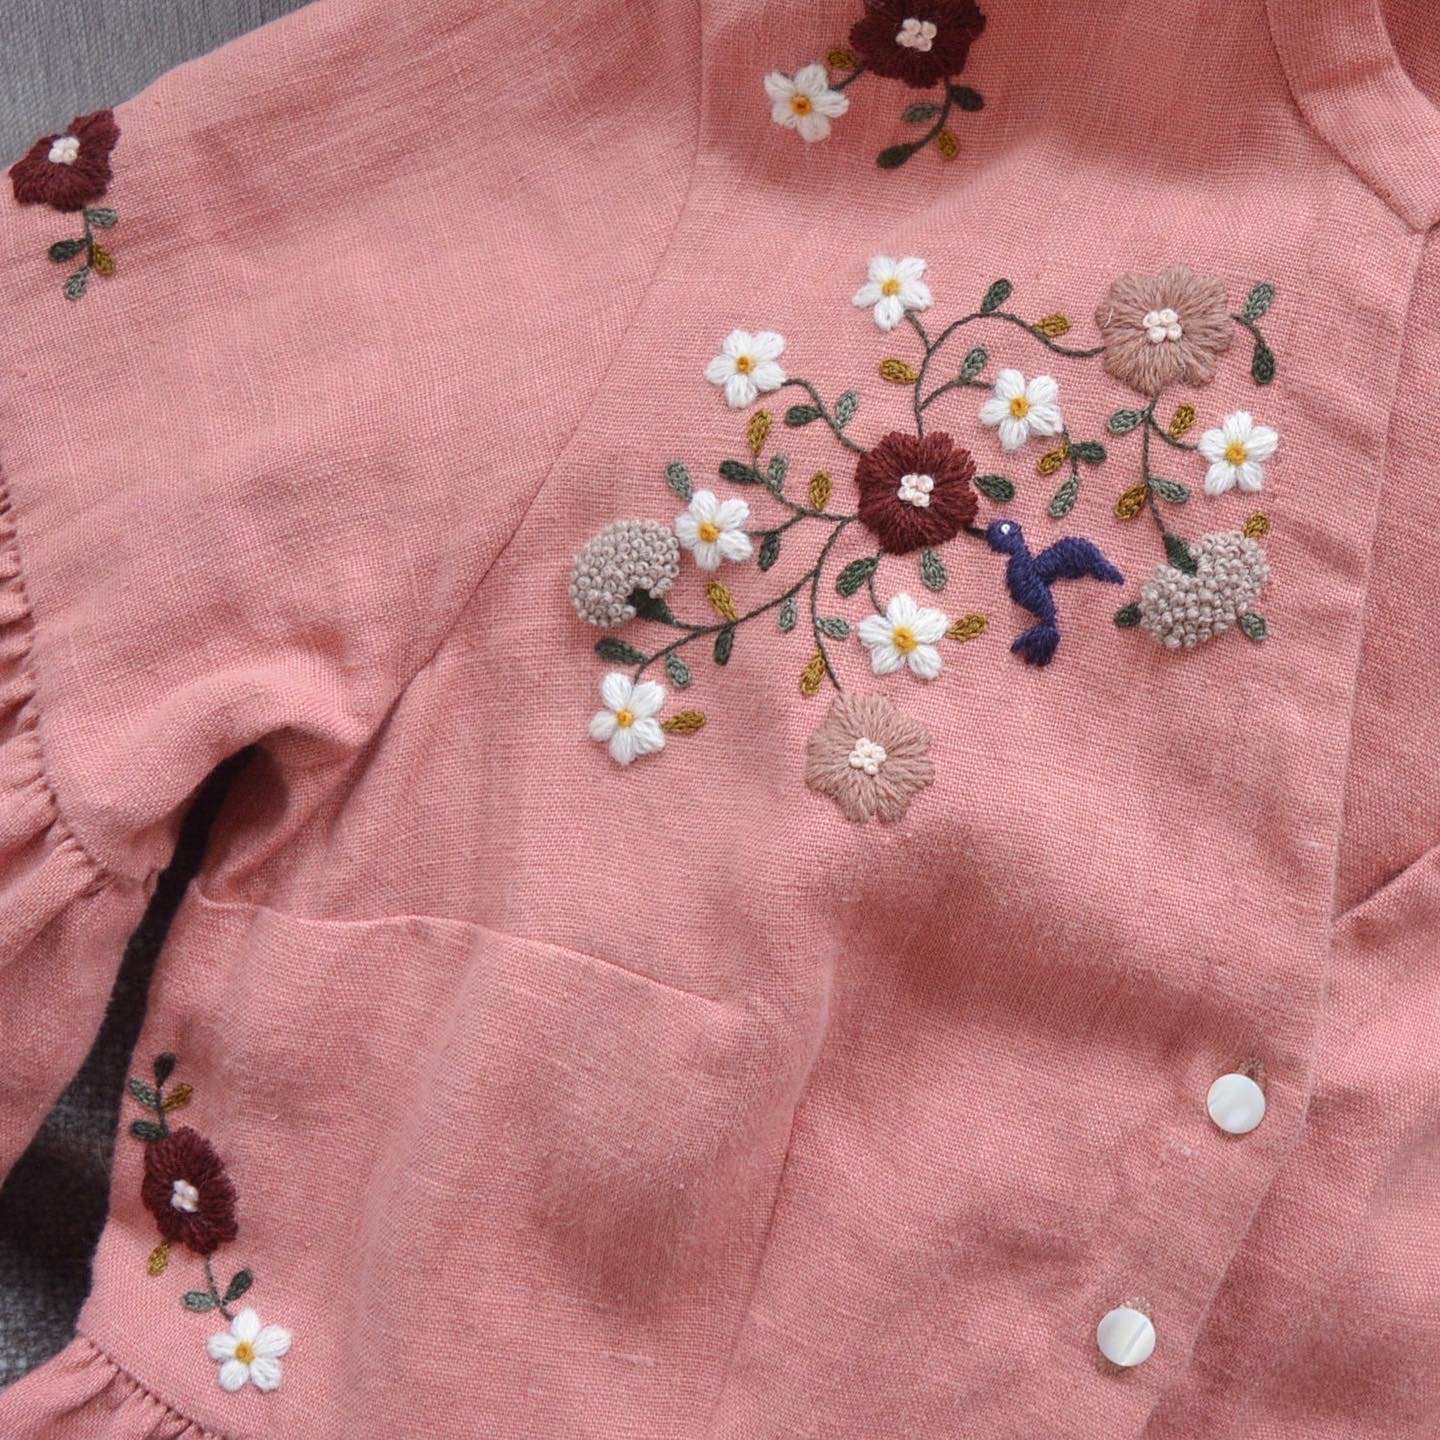
The pattern book I used is a Japanese craft book I found on Etsy. I’ll link to the shop I ordered it from at the bottom of this post. I don’t read or speak Japanese, but the pictures are all I really need. And the odd time I needed a little more help I just used Google Translate, so handy!

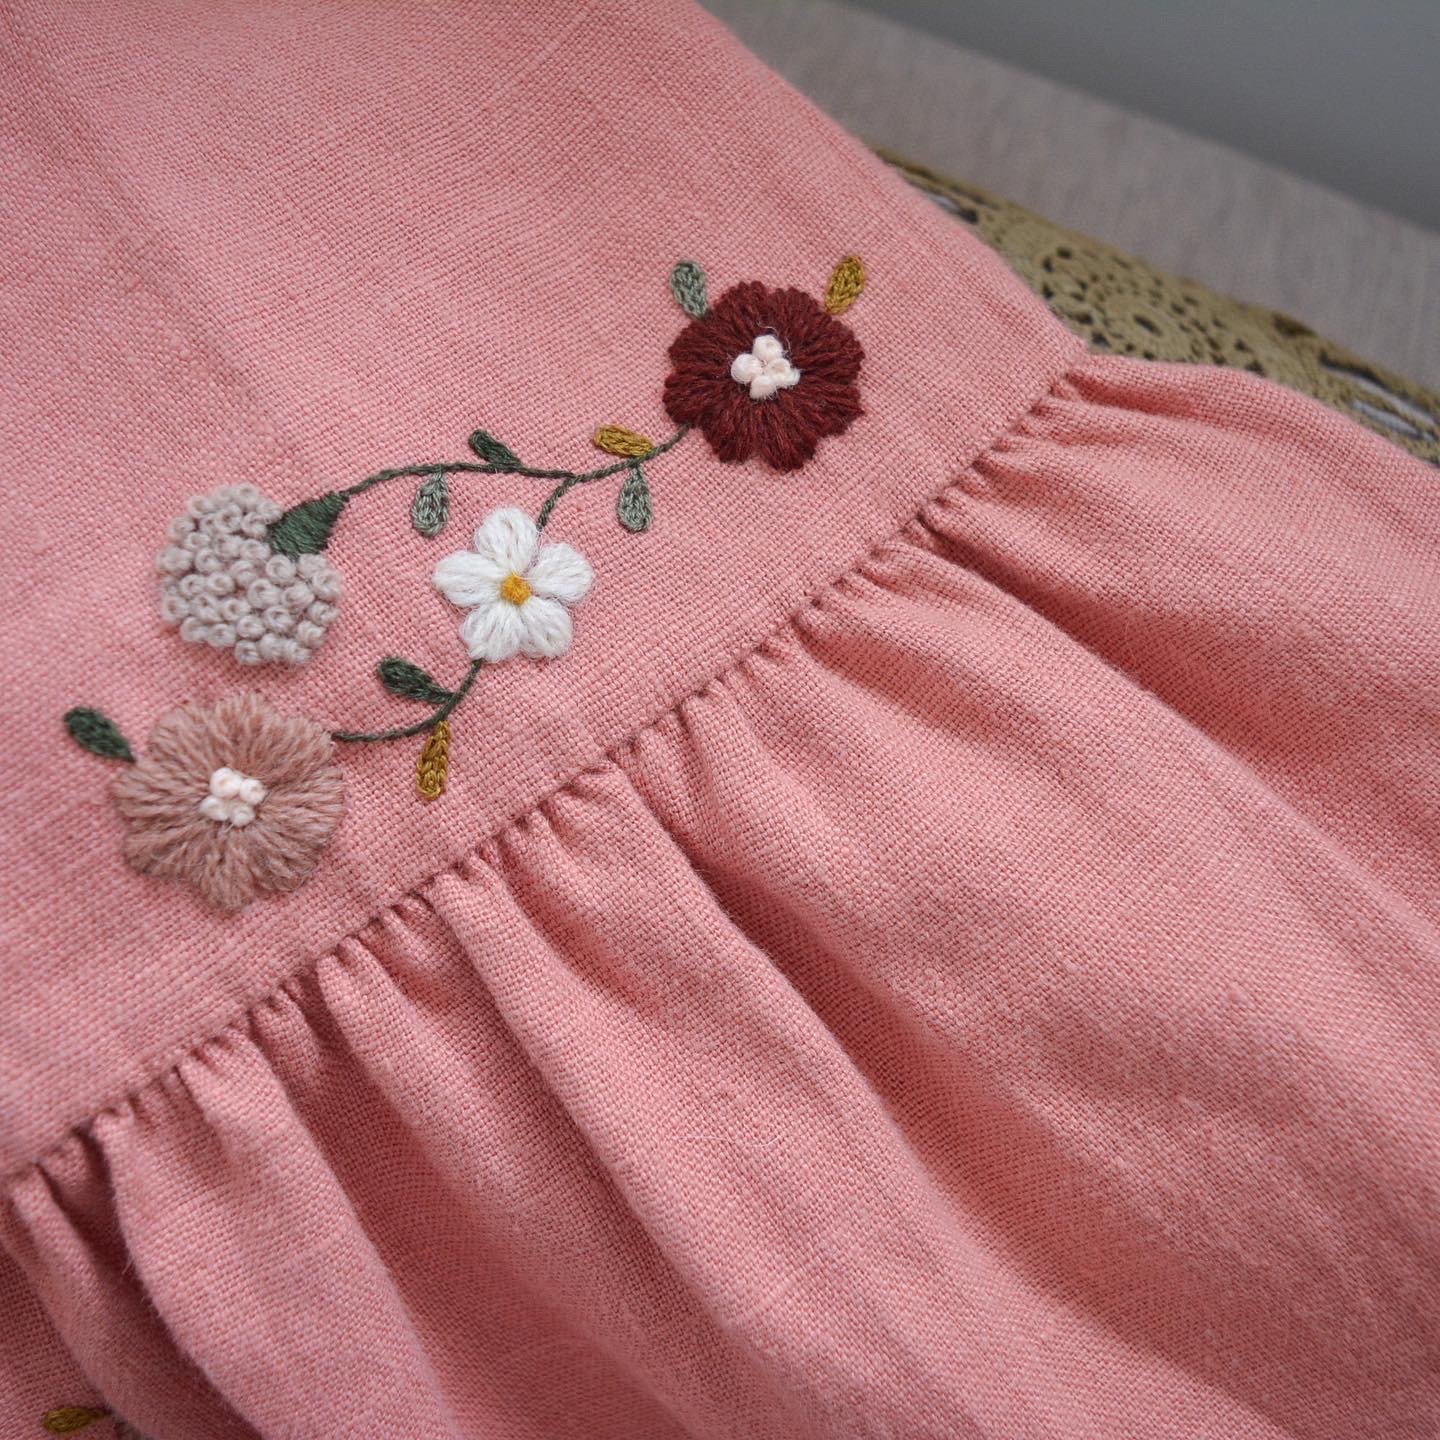
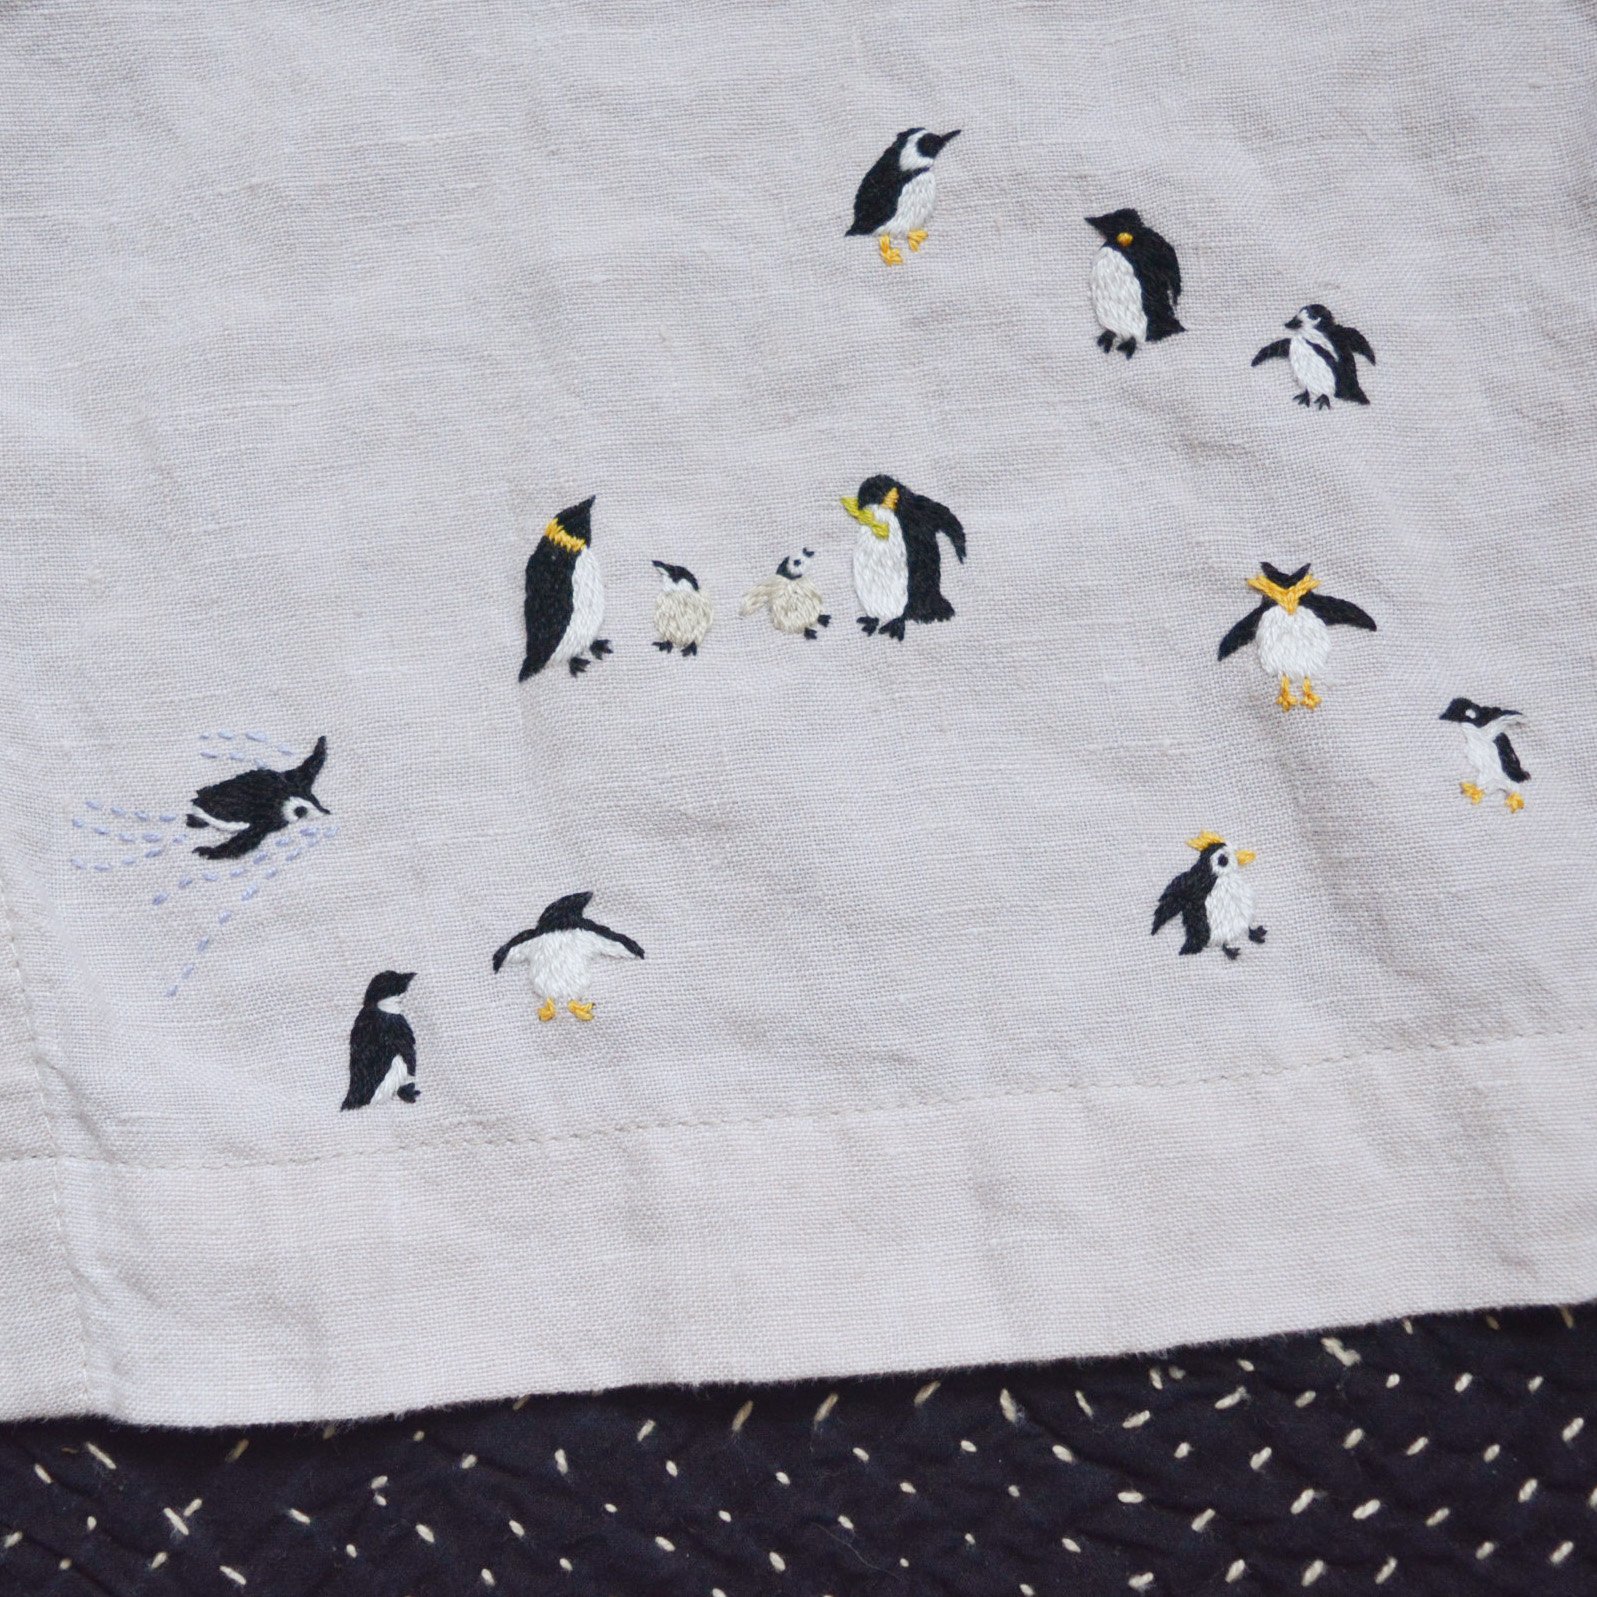
I used my go-to thread (dmc cotton embroidery floss) and started stitching birds in no particular order. I do try to keep themed birds in roughly the same area on the dress. There is a scene of penguins hanging out near the hem and I just love how they look all together. But I try not to stress too much about getting them all in the perfect spot. I’m so happy with how it looks at this point, the birds are small enough that you can barely tell what they are unless you’re right next to me, which gives it a more delicate and whimsical feel. It’s not too flashy.

There are still a lot of empty spaces though! I could definitely see myself adding another 100 birds, maybe a sequel challenge for later in the year. For now I have an upcoming deadline for a very important project, my wedding dress! So I will take a step back from the birds for now, and see if I can whip up a wedding dress by April. Wish me luck!

Little Bird Embroidery: I bought my copy here

Botanical Embroidered Myosotis Dress

Just a quick post here to catalogue a make from last September, the Myosotis Dress from Deer and Doe Patterns. I’ll link to the supplies I used at the bottom of this post. I am so so happy with how this turned out (no mods were made to the pattern), it was made to be a fun party dress and that’s exactly what it feels like when I wear it. It is also nearly all hand finished, the inside is almost as beautiful as the outside. The gathers are even hand-sewn stroke gathers, which to me is a much more enjoyable process than machine sewn gathers, even though it does take longer. Enjoy these photos and then check out some of the linked resources!

Fabric: Laundered Linen in Vintage Rose colour from Maiwa

Pattern: Myosotis Dress from Deer and Doe Patterns

Embroidery Pattern: Embroidered Botanicals book by Yumiko Higuchi

Hand-sewn gathers: recently learned in a class from Sewn Stories

Wool thread: Crewel Wool Thread from Appleton’s Wool

Cotton thread: cotton 6-strand embroidery floss from dmc embroidery

Sewing a Nightshirt from a Thrifted Texmade Ibex Bedsheet

2021-03-29_15-13-42.jpg

Since I've started obsessively thrifting I have a new joy for sewing and embroidery. This was my first full circle project that started with me getting giddy in a thrift store about a Texmade Ibex bed sheet that brought me right back to my childhood. I love that feeling of nostalgia I get in thrift stores, but the sheet had so many holes and stains that I just enjoyed the memories that seeing it brought me, and then carried on my way. As I worked my way through the rest of the thrift store I just could not stop thinking about it. When I was younger my siblings and I had these same flannel bedsheets (in a different colour way) and we also had matching pyjamas made out of the same striped flannel. On top of that my teddy bear even had matching pyjamas! So when I got the idea to turn this damaged sheet into an adult version of those pyjamas I basically ran back to the linen department of the thrift store to scoop it up.

2021-04-10_21-59-38.jpg

This nightshirt wasn't exactly on my list of things to make for the upcoming season, or for my home, but it was just such a fun idea in my head that it got bumped to the front of my project queue and I've been working on it almost non-stop for the last month. I wanted to make it really special with some embroidery on the front pocket and the edges finished with the same blanket stitch that the sheet edges are finished with. I'm using a vintage sewing pattern here that I found on Etsy: Butterick 6885. It's a unisex pattern for a nightshirt and pants. After cutting out the pieces for the nightshirt it looks like I might have enough leftover to make some shorts, but anyways that will be a later project, I usually just sleep in a nightshirt anyways.

For the pocket piece I cut it in a way that would be mostly blank fabric with just a bit of the stripe running along the top. I needed a blank canvas for the embroidery but I still wanted it to tie in nicely with the stripes on the shirt. I used an embroidery pattern by Sarah K. Benning called Summer Flowers. It's not available currently on her website but a couple times a year she will do a re-release of all her old embroidery patterns. It was a pretty fiddly embroidery pattern but my main frustration with it was that I just could not get the pattern transferred onto the fabric. Usually to transfer patterns I just trace them with pencil or use some graphite transfer paper, but the flannel was too fluffy for this and it was so hard to get even the most basic shape of the flowers down. So basically I ended up just eyeballing it flower by flower which worked well enough. Next time I work with flannel I'm going to buy some of that paper that you print the pattern onto, embroider, and then it dissolves away in water. There was also a lot of outlining on this pattern but I actually loved that and found it very relaxing.

Once I had the embroidery done I could cut out the pocket piece and start assembling the night shirt. Attaching the pocket is the first step of the pattern so I couldn't start the until the embroidery was done. The shirt came together very fast, only slowed down by the fact that I wanted to do so much hand-stitching on it. I used a closed blanket stitch to attach the pocket and hem the bottom of the shirt, and I used chain stitch around the collar and the sleeve cuffs. I am so happy with this nightshirt, it almost feels too beautiful to wear to bed.

Making this just really made me so enthusiastic about all the possibilities there are when it comes to thrifting. I would have never thought to make something like this if I hadn't seen the sheet and got the inspiration from that first. Another section in the thrift store that I've been getting a lot of inspiration from is the table linens. There are often such beautiful hand embroidered napkins and tablecloths. Sometimes stained from years of families gathering and enjoying meals, but if cut the right way could be made into summer dresses, camisoles (something like my Wattlebird Cami), and baby clothes. Anyways, now back to my list of things I would actually like to have done by summer! I would like to sew a couple more lightweight summer dresses and I have a wedding dress I need to start planning as well!

2021-04-10_22-01-17.jpg

Some more posts for you to check out:

Butterick 6250: Whimsical Vintage Cotton Pyjamas

2021-03-04_18-36-40.jpg

The plan was that these pyjamas were going to be a mock-up. Sewn up in an inexpensive lightweight white cotton this first time, as my final vision for these includes tediously hand embroidered fabric, naturally dyed silk or cotton lawn, and potentially some handmade lace trim. Considering how time consuming all that will be I decided to use this mock-up to practice as much as I could: hand stitched silk buttonholes, hand-felled seams, and very careful stitching on the hems and pin tucks. I'm so happy I did all this. This mock-up turned out to be such a lovely, whimsical set of pyjamas. I probably cut a size too big for the shorts but they work in this lightweight cotton and they just are so floof-y and wonderful to prance around the house in. I also feel like I always learn so much from hand stitching, and I never regret using every excuse to practice.

The cami is much more involved than the shorts, which are just done with an elastic waist. Pin tucks always make me a little nervous (if you aren't precise with them you can really alter the fit of the garment), but ultimately sewing from a pattern is just working your way through each step. So what looks daunting is always simple once you break it down. I added a silk ribbon to the casing which makes these pyjamas so feminine, I always love when a garment defines my waist. This mock-up turned out to be such a romantic set, and I'm eager to make it up again with even more special material.

2021-03-04_18-21-26.jpg

Some links that might be helpful:

lightweight organic cotton: Maiwa

delicate cotton lace: Cotton Lace

vintage sewing pattern: Butterick 6250

A Vintage Pattern and the Three Day Cardigan

2020-10-24_17-56-46.jpg

Drawing sketches of my garment plans and then bringing them to life is still new to me but I love how it turns the process of making my clothes into what feels like a purposeful story. Each project starts to take on its own narrative in my head and finishing becomes so exciting as all the elements start to come together. I first did a sketch for my Wattlebird Cami + Fawn Skirt combo and I'm hoping this habit will become the prevailing practice for me.

The Three Day Cardigan by Plystre Knitwear has been on my mind for some time now because I thought if I loved the fit, it could become a pattern I knit up in multiple colours. I also really thought I might be able to knit an entire cardigan in three days (we may as well note here that was absolutely not the case). I ordered some yellow yarn from Knitting for Olive and while I waited for that to come in the mail I did the quick watercolour sketch of the cardigan paired with a wool skirt that I just started sewing.

2020-10-01_15-12-53.jpg

I've been getting some sewing inspiration from browsing Etsy for vintage patterns and then starting to plan from there. This wool skirt is from a 1940's pattern which is so simple but still has some beautiful details. It did take me 2 mock-ups to fit before I could cut into the wool and make the real skirt, but that's also because I'm still fairly new to altering patterns to fit me, so the adjustments I make to patterns don't always work perfectly the first time. Anyways this skirt became such a special project to me because I put so much care and attention into the details. The lining is a pomegranate dyed silk habotai fabric, the linen yoke facing is from that same dye, the wood buttons up the back were very carefully considered, and the linen bias tape as a hem facing looks so professionally finished to me. This skirt had so many tiny little hand finishing stitches put into it to make it look polished on both the outside and the inside.

Eventually my intention is to add some floral wool embroidery to the cardigan but I'm holding off because I'm still undecided on the colour. The cardigan is knit up using Knitting for Olive Pure Silk in Quince and their Soft Silk Mohair in Marshmallow Yellow, and I think these two colours together create a tone that just doesn't complement my skin. So while I love the idea of a soft butter yellow fitted cardigan, this particular one might get a dip in a dye bath before I add the embroidery. Still undecided, but for now I will try to wear these pieces as often as I can before spring arrives and wool skirts and fuzzy cardigans become impractical.

Links for cardigan resources:

Pattern: Three Day Cardigan by Warunee Bolstad

Yarn: Knitting for Olive Pure Silk in Quince

Yarn: Knitting for Olive Soft Silk Mohair in Marshmallow Yellow

Links for wool skirt resources:

Pattern: A lucky find from Etsy

Wool: Atex Designer Fabrics

Lining: 8mm silk habotai from Maiwa

Dye: ground pomegranate rind from Maiwa

Read about my experience dying with pomegranate here.